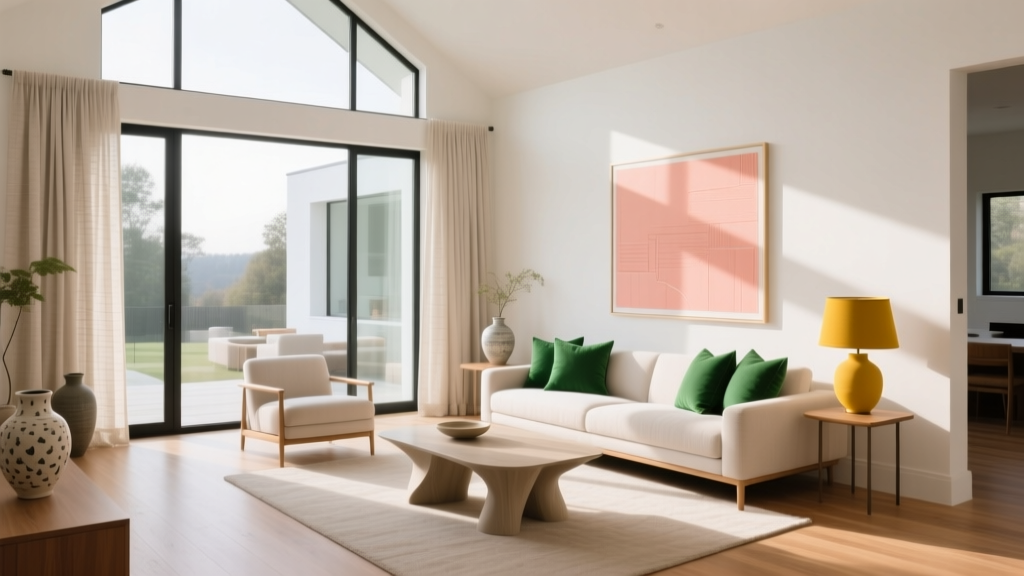
Gallery Wall Ideas to Refresh Any Room
Why Gallery Walls Still Work
A gallery wall is one of the most personal decorating choices you can make. It transforms a blank wall into a curated collection of art, photos, and objects that reflect your taste and memories. The key to a successful gallery wall is planning — not perfection.
Layout 1: The Grid
Arrange frames of identical size in neat rows and columns. This works best with matching frames for a gallery-like feel. Ideal for hallways, stairways, and above sofas where symmetry creates calm.
Grid Tips
- Use 2-inch spacing between frames (minimum)
- Hang at eye level — center of the arrangement at 57-60 inches from floor
- Start with 6 frames (2x3) and expand as needed
Layout 2: The Salon Cluster
Mix frame sizes, styles, and art types in an organic cluster. This feels collected over time rather than planned. Include a variety of pieces: fine art prints, family photos, vintage postcards, small mirrors, and even textiles in shadow boxes.
Layout 3: The Ledge Display
Install floating shelves or picture ledges and lean frames against the wall. This allows easy rearrangement without new nail holes. Layer frames at different depths for visual interest — large pieces in back, small ones in front.
Framing Guidelines
- Consistency: Matching frames create cohesion in grid layouts
- Variety: Mixed frames (wood, metal, ornate, simple) work in salon clusters
- Mats: White mats make small artwork feel substantial
- Scale: Include at least one oversized piece as an anchor
What to Include Beyond Art
A gallery wall doesn't have to be all framed prints. Consider mixing in:
- Small sculptural objects mounted on floating shelves
- Woven baskets or textile wall hangings
- Vintage signs or architectural salvage pieces
- Children's artwork in matching frames
- Botanical prints pressed under glass
Planning Your Layout Before Hanging
Trace each frame on kraft paper, cut out the shapes, and tape them to the wall. Rearrange until the composition feels balanced. This prevents unnecessary nail holes and lets you visualize the final result. Take a photo of the paper layout before removing it — you'll need it as a reference when hanging the real frames.
More Articles
 Best Bedding Choices for Better Sleep & Style in 2026
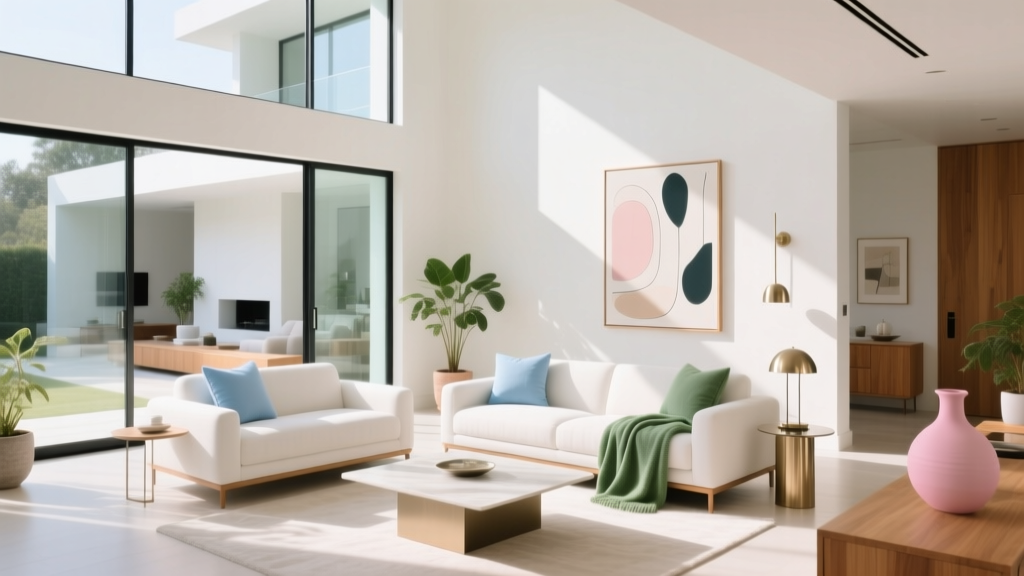 Minimalist Gallery Wall: 1 Statement vs Many Frames (2026)
 Summer Living Room Refresh: 10 Under-$200 Updates
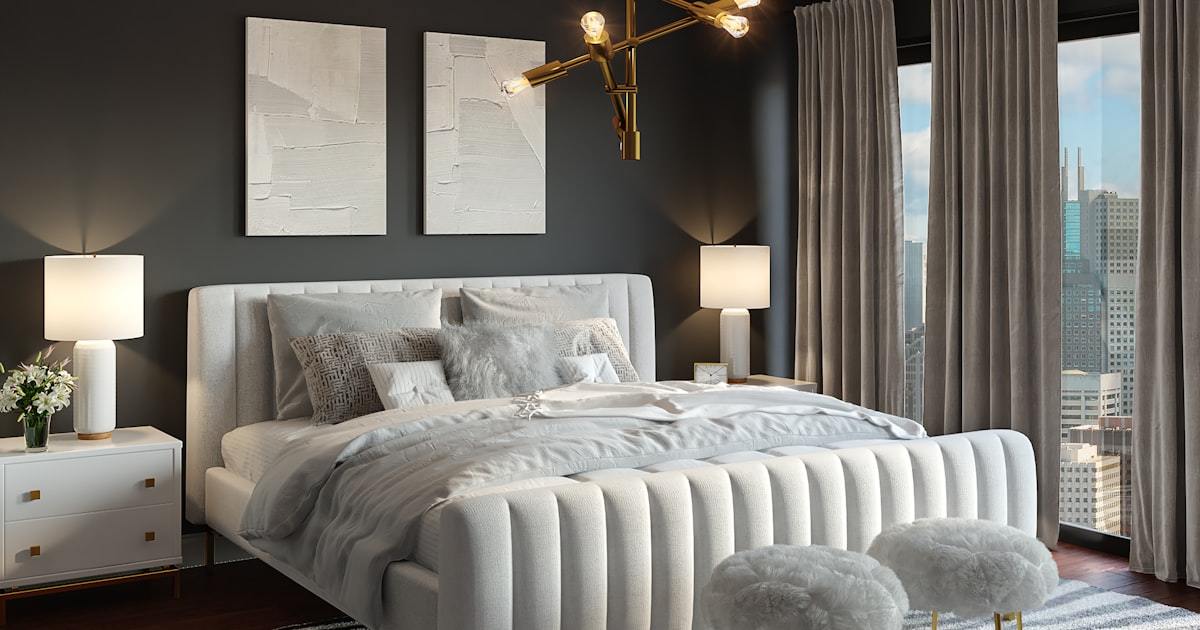 The Minimalist Living Room That Actually Feels Lived-In
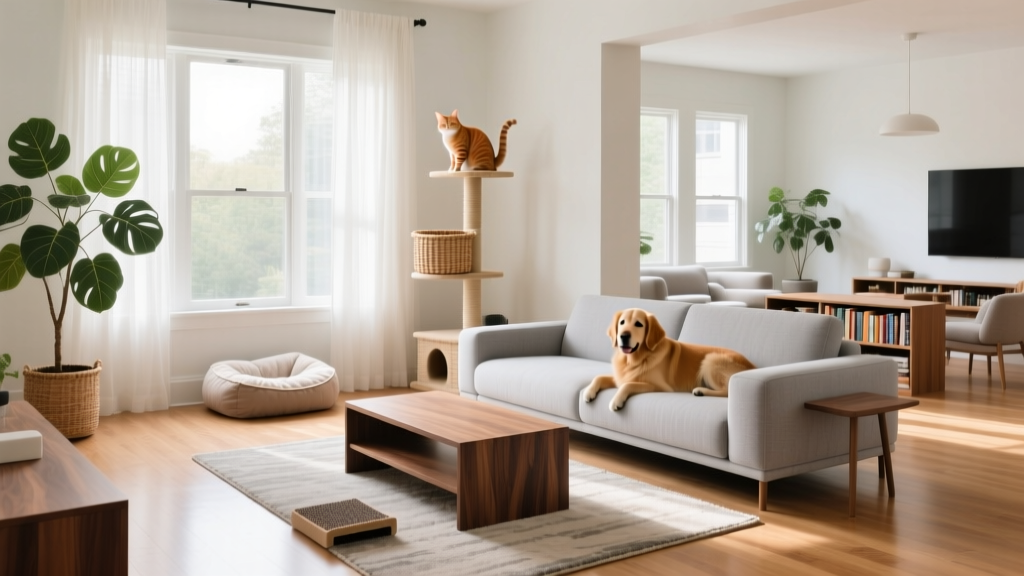 Pet-Friendly Living Room Layouts for 2026
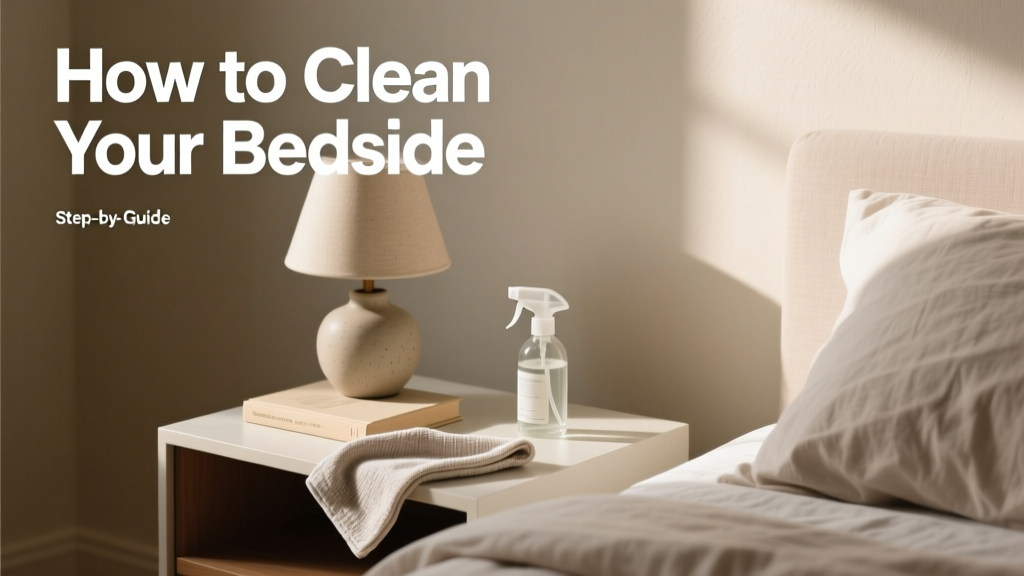 How to Clean Bedside Tables: Quick 2026 Guide
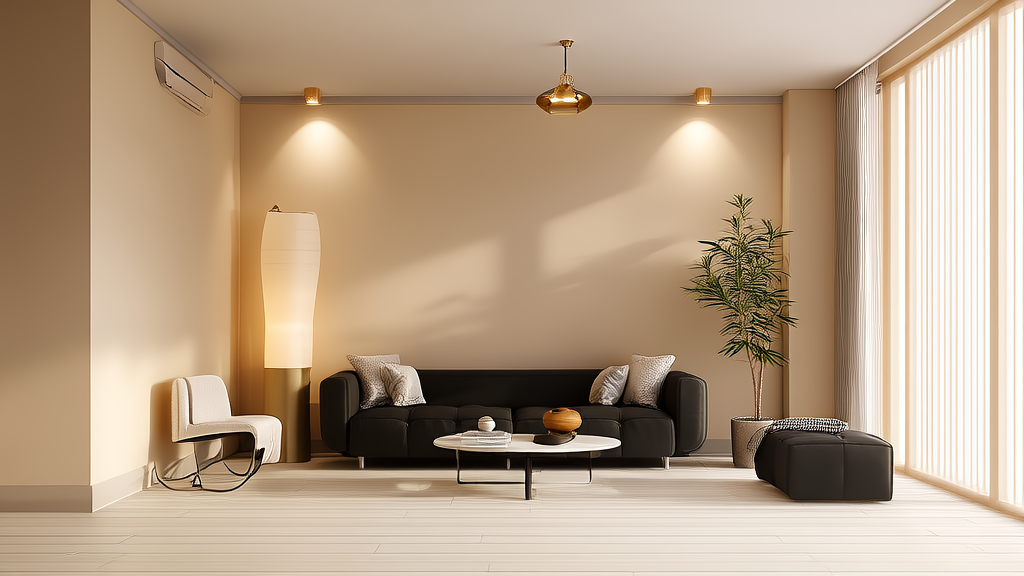 Flawless Interior Walls: Step-by-Step Guide
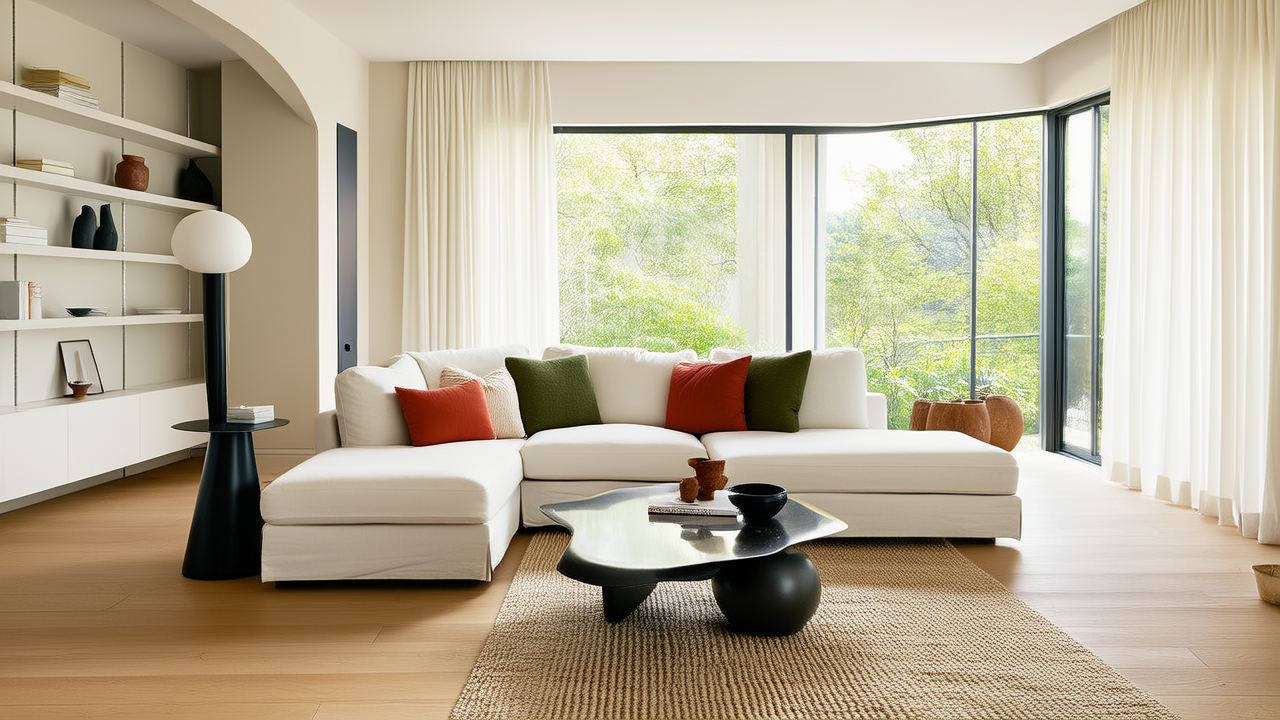 Room Design vs. Storage: Shaping Daily Life
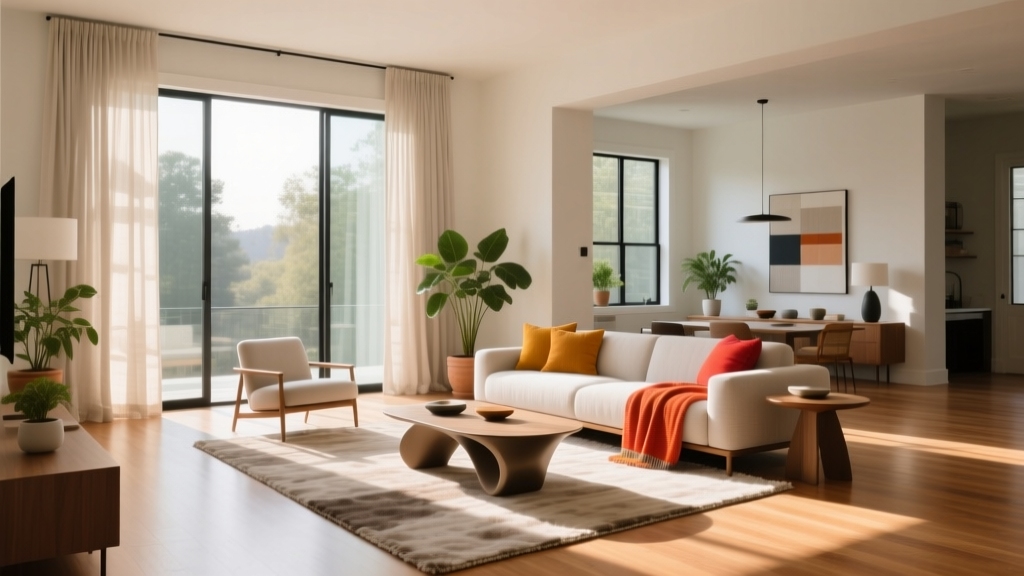 Studio Living Room Zones That Work
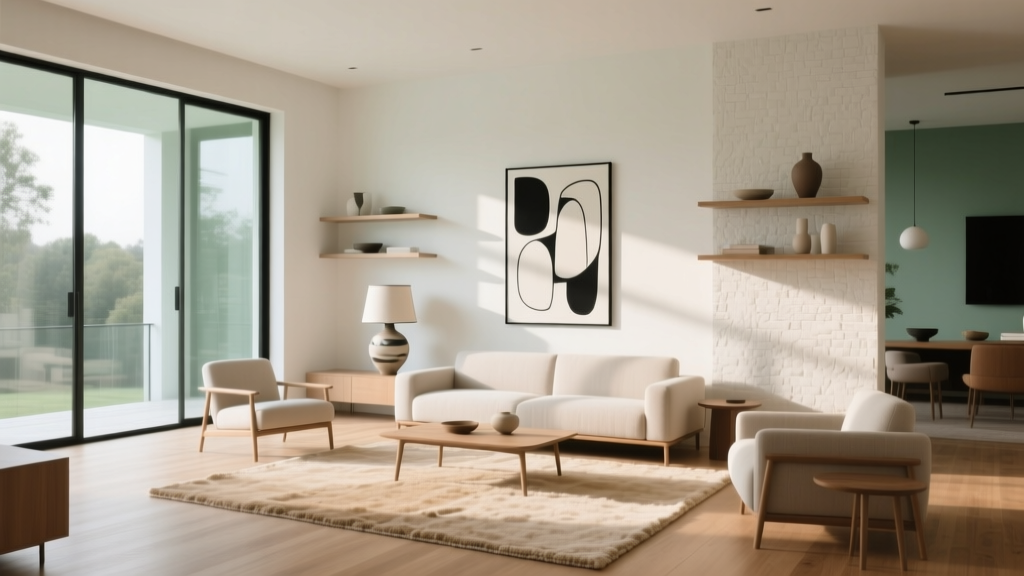 Gallery Wall Layouts That Look Intentional