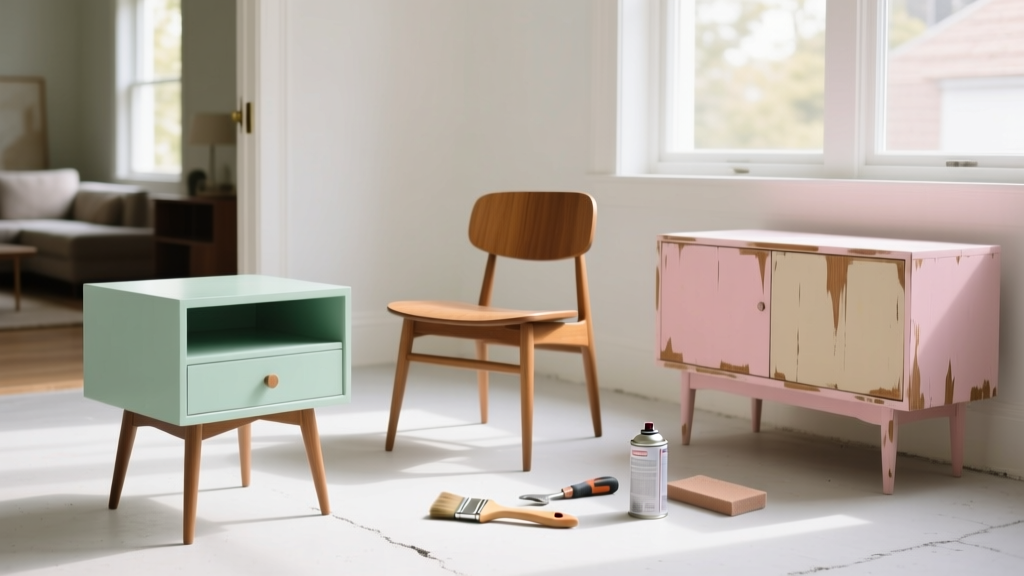
Thrift Furniture Flipping: Transform Pieces for Under $20
How to Spot Quality Thrift Store Furniture—Before You Even Pick Up the Sandpaper
Not all thrifted furniture is created equal—and the secret to profitable, satisfying flips starts with discernment. Look past dated upholstery or chipped paint: focus on solid-wood construction (tap legs and drawer fronts—they should sound dense, not hollow), dovetail or finger-joint drawer corners, and hardwood frames (oak, maple, walnut, or cherry). Avoid particleboard, MDF, or veneer-over-composite unless it’s structurally sound and you’re planning a bold painted finish. Mid-century modern, Mission, and traditional American pieces from the 1940s–1970s are goldmines—many were built to last generations. Pro tip: Visit stores mid-week when new donations arrive, and always inspect underside labels—brands like Heywood-Wakefield, Baker, or even vintage Lane often signal craftsmanship worth saving.

Essential Tools & Supplies—All Under $20 Total
You don’t need a workshop to flip furniture—just smart, budget-conscious basics. A full transformation can cost less than $20 if you prioritize versatility: 80-, 120-, and 220-grit sandpaper ($6 for a multi-pack); water-based chalk or acrylic paint ($8–$12 for a quart that covers 3+ medium pieces); a microfiber roller and angled brush ($4); and modern cabinet pulls or vintage-inspired knobs ($5–$8 for a set of four). Skip expensive sprayers or primers—most thrifted wood responds beautifully to light sanding + one coat of paint + one topcoat of water-based poly (optional but recommended for durability). Bonus: Use old T-shirts as rags, vinegar-water solution for cleaning grime, and a rubber mallet for reassembling drawers without damage.
Three Real-Life Transformations—Under $20 Each
Dresser → Sleek Media Console
A scratched 1960s oak dresser ($8) got sanded smooth, painted matte black, and fitted with brushed brass bar pulls ($4). We removed the middle drawer, added adjustable plywood shelves behind a clean-cut opening, and mounted a floating shelf above for cable management—total time: 6 hours. Result? A custom-looking entertainment hub that rivals $400 retail designs.
Worn Wingback Chair → Curved Velvet Statement Piece
A $6 upholstered chair with intact frame and springs was stripped to its frame, lightly sanded, and repainted in warm taupe. Using $9 upholstery fabric (a remnant from a local shop) and basic staple gun skills, we reupholstered seat, back, and arms with deep-button tufting—no sewing required. New tapered wooden legs ($3 online) elevated the silhouette instantly.
Scuffed Pine Table → Organic Modern Dining Centerpiece
A $5 drop-leaf table received a transformative wash: 1 part white vinegar + 2 parts water to lift decades of wax, followed by hand-sanding with 120-grit. Instead of painting, we applied two coats of matte clear tung oil—enhancing grain while adding warmth and wipeable protection. New black iron hairpin legs ($7) replaced wobbly originals, turning it into a minimalist 4-seater with serious Instagram appeal.
Pro Tips for High-End Looks on Thrift-Store Budgets
Elevating thrifted pieces isn’t about spending more—it’s about intentionality. Embrace negative space: Paint only drawer fronts or table aprons while leaving natural wood tops or legs exposed for contrast. Mix metals thoughtfully: Pair brass hardware with black-painted frames for luxe tension. Scale matters: Swap oversized knobs on small dressers for petite ceramic or glass options—they read as custom, not cheap. And always finish with a lighting test: hold your piece near a window or lamp. If shadows fall cleanly and edges look crisp—not fuzzy—you’ve nailed the professional polish. Remember: The most convincing ‘designer’ detail isn’t price tag—it’s precision.
More Articles
 How To Start Bedrooms: A Practical, Step-by-Step Framework for Designing Functional and Restorative Sleep Spaces
 Wood Common Mistakes: How Professionals Avoid Costly Errors in Construction, Millwork, and Finishing
 How To Organize Paint: A Practical, Space-Saving System for Homeowners and DIYers
 Coastal Grandmother Style: Modern Update
 Cheap vs Premium Materials: Performance, Longevity, and Real-World Cost Analysis
 Scandinavian vs. Japandi: Which Minimalist Style Is Right for Your Home?
 Layout Colorguides Essentials: Precision, Consistency, and Cross-Platform Fidelity
 Summer Style Guide: Layering Textures Without Overheating Your Space
 Pet-Friendly Fabrics: A Home Style Guide
 Japandi Living Room Style Guide