## Introduction: My Thrift Store Obsession
I still remember finding my first real thrift store gem: a battered oak dresser outside Goodwill, priced at just $15. It had water stains, one missing knob, and peeling veneer. Most people walked past it. I saw potential. That dresser, after a weekend of sanding, painting, and hardware swaps, became the statement piece in my bedroom — and launched my obsession with thrift store furniture flips.
Over the past five years, I've transformed over 200 pieces of secondhand furniture. I've turned $3 nightstands into designer-looking accents and rescued $12 bookshelves that now anchor entire living rooms. The average project costs under $25. If you're ready to see dollar signs where others see junk, keep reading.
## Why Thrift Store Furniture Is the Ultimate Budget Decor Hack
Thrift store furniture offers three things that new flat-pack furniture simply cannot:
**Solid wood construction.** Most pre-2000s furniture used real hardwood — oak, maple, walnut. That $10 nightstand is probably solid oak with dovetail joints. Modern furniture at the same price is particleboard wrapped in laminate. Solid wood takes paint beautifully and lasts decades.
**Unique character.** Mass-produced furniture all looks identical. Vintage pieces have architectural details — turned legs, carved edges, raised panel doors — that add instant personality to any room you won't find at a big-box store.
**Sustainability.** Over 12 million tons of furniture end up in US landfills annually. Every piece you flip is one less item filling a dump. You're decorating and making an eco-friendly choice simultaneously.
## My Essential Flip Toolkit
Here's my starter kit for under $110:
- **Orbital sander** (Black+Decker BDEMS600) — $35. Non-negotiable for anything bigger than a small shelf.
- **Sandpaper assortment** (120, 220, 320 grit) — $12.
- **Purdy 2-inch angled sash brush** — $15. Cheap brushes leave bristles everywhere.
- **Foam rollers** (4-inch mini, high-density) — $8 for a 3-pack for smooth finishes.
- **Krud Kutter degreaser** — $7. Cuts through decades of furniture polish.
- **Tack cloth** — $5 for removing sanding dust.
- **Cordless drill and Minwax wood filler** — $28 for hardware swaps.
Most are one-time purchases serving dozens of projects.
## Paint Choices That Actually Work
I've tested 15+ paints on furniture. Here's the breakdown:
**Best overall: Benjamin Moore Advance** ($55/gallon). A waterborne alkyd that levels like oil paint but cleans up with water. The finish is incredibly durable. I use semi-gloss for dressers, satin for bookshelves.
**Best budget: Valspar Cabinet Enamel** ($28/gallon at Lowe's). With a foam roller, you get 90% of the Advance quality. I've used this on over 40 pieces.
**Best chalk finish: Rust-Oleum Chalked** ($14/quart). No sanding or priming needed — clean, paint, then seal with Minwax Polycrylic (satin, $10/quart).
**My go-to primer: Zinsser BIN Shellac-Based** ($25/quart). Blocks bleed-through stains, dark wood, and water damage in one coat. Dries in 45 minutes. Work in a ventilated area.
## Flip #1: The $12 Dresser Into a Modern Media Console
**The before:** A standard 1980s oak dresser, six drawers, brass pulls, honey stain. $10 to $20 at every thrift store.
**The transformation:** Remove drawers. Sand with 120-grit, then 220-grit. Apply Zinsser BIN primer. Paint with Benjamin Moore Advance in "Chantilly Lace" — two coats on body, three on drawers. Lightly sand between coats with 320-grit.
**Hardware swap:** Fill old hardware holes with Minwax wood filler, sand smooth, then drill new holes for matte black bar pulls. I use Cosmas 587-128MB pulls from Amazon ($2.50 each). Measure center-to-center carefully.
**The result:** A clean media console that looks like a $600 West Elm piece. Total cost: $18. Time: one weekend.
Pro tip: Remove middle drawers and install shelf brackets inside for an open compartment perfect for streaming devices.
## Flip #2: The $5 Nightstand Into a Gold-Accented Accent Table
**The before:** Single-drawer nightstand with dated stain and brass knob. $3 to $8.
**The transformation:** Clean with Krud Kutter, sand with 120-grit. Paint the body in Benjamin Moore "Hale Navy" — two coats. Paint the drawer front white, tape off horizontal stripes, spray-paint with Rust-Oleum Metallic Gold ($6/can). Remove tape while tacky.
**Hardware swap:** Add a ceramic knob from Hobby Lobby ($4 to $8 on sale days).
**The result:** A striking accent table I've sold for $85 to $120. Total cost: $15 to $20.
## Flip #3: The $8 Coffee Table Into a Farmhouse Statement
**The before:** Rectangular wooden coffee table, often pine with veneer. $5 to $15.
**The transformation:** Sand solid wood to bare with 120-grit. Apply Minwax Pre-Stain conditioner ($10), then Varathane "Dark Walnut" stain ($12/pint) — two coats wiped on with a rag. For damaged veneer, paint the base matte black and replace the top with a stained 1x12 pine board from Home Depot ($12), attached with L-brackets.
**The result:** A chunky farmhouse coffee table. Total cost: $20 to $30.
## Flip #4: The $3 Chair Into a Reupholstered Dining Statement
**The before:** Wooden dining chairs with torn seats. $3 to $5 each.
**The transformation:** Unscrew seat cushions from underneath. Strip old fabric with pliers. Cut new 2-inch upholstery foam from Joann ($15 for a sheet covering four seats). Wrap with outdoor canvas from Joann's bargain section ($5 to $8 per chair). Staple underneath with a heavy-duty stapler ($12), pulling tight from center outward. Paint chair frames in contrasting colors — navy with mustard seats works beautifully.
**The result:** A coordinated dining set costing $30 total versus $400+ new.
## Pro Tips for Professional Results
**Label hardware in ziplock bags.** Nothing kills momentum like mismatched screws during reassembly.
**Check structural integrity.** Wobbly joints can be reglued with $5 wood glue. Cracked frames or warped tops aren't worth the effort.
**Trust the smell test.** Musty or smoke odors are nearly impossible to remove completely.
**Shop strategically.** Visit on restock days (usually Tuesday or Wednesday — ask staff). Check the "as-is" loading dock area for fixable pieces at rock-bottom prices.
**Photograph everything.** Before photos document your progress and create stunning before-and-after content.
## Where to Find the Best Pieces Beyond Thrift Stores
**Estate sales** via EstateSales.net. Last-day prices drop 50% to 75%. I scored a $2,000 mahogany sideboard for $20 this way.
**Facebook Marketplace and Craigslist.** Search "free" and "curb alert" for desperate sellers.
**Habitat for Humanity ReStore.** Contractor donations mean higher quality at 40% to 60% below thrift prices.
**Affluent neighborhood garage sales.** A $5 Goodwill dresser might be $1. Go early with cash.
## Final Thoughts: Your First Flip Starts Today
Your first flip doesn't need to be perfect — it just needs to happen. Start with a $3 nightstand. Practice your technique. Sand too much? That's how you learn. Paint dripped? Sand it down and try again.
I started with a $15 curb-side dresser and paint from my garage. Today, my home is filled with pieces that cost a fraction of retail but look custom-designed. Every piece has a story.
Now go find your $20 treasure.
*Sarah Jenkins is a DIY decorator who has flipped over 200 pieces of furniture on a budget. Follow her projects at thedecormag.com.*
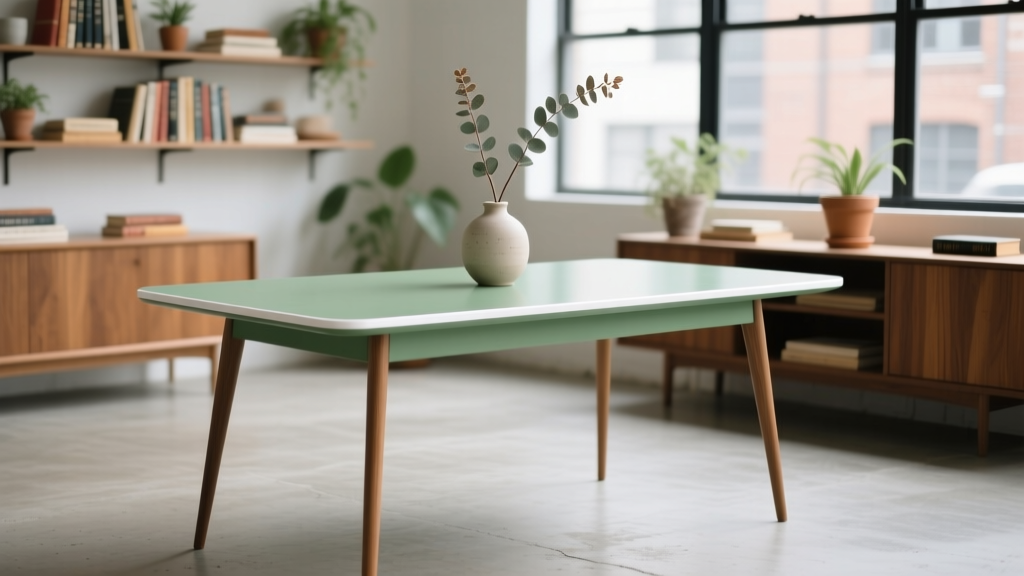
 Setup Outdoor Essentials: A Practical, Brand-Tested Guide for Patios, Decks, and Backyards
 How To Start Kitchens: A Practical, Step-by-Step Blueprint for Launching a Commercial Kitchen Business
 Coastal vs Beach House Style Explained
 Minimalist Decor on a Budget in 2026
 Coastal Grandmother Style: Effortless Elegance at Home
 Minimalist Style Guide for Studio Apartments
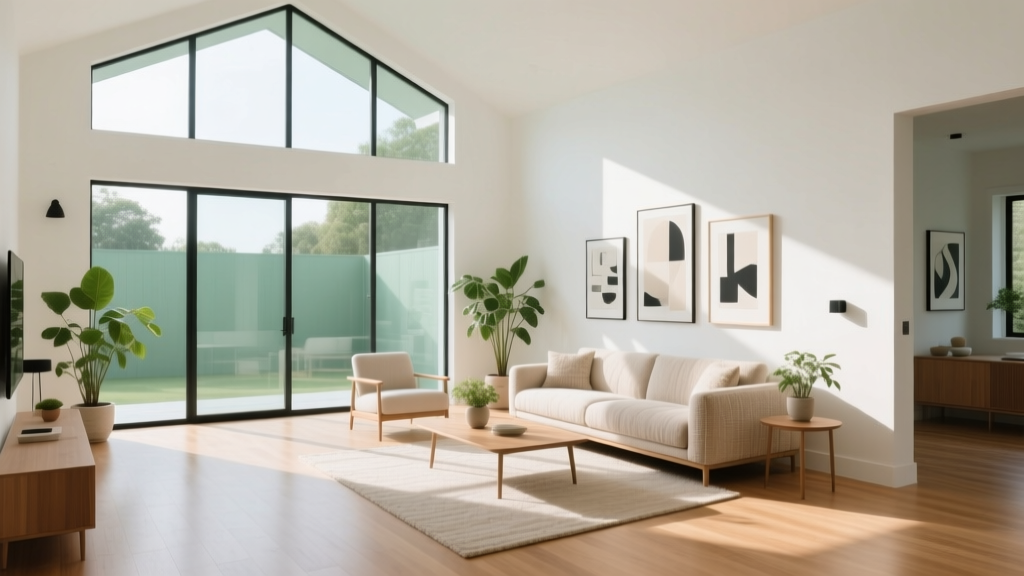 Studio Apartment Zoning: Define Spaces Without Walls
 Scandinavian vs. Japandi: Which Minimalist Style Is Right for Your Home?
 Pet Hair Resistant Fabrics: Best Upholstery for Dog & Cat Homes
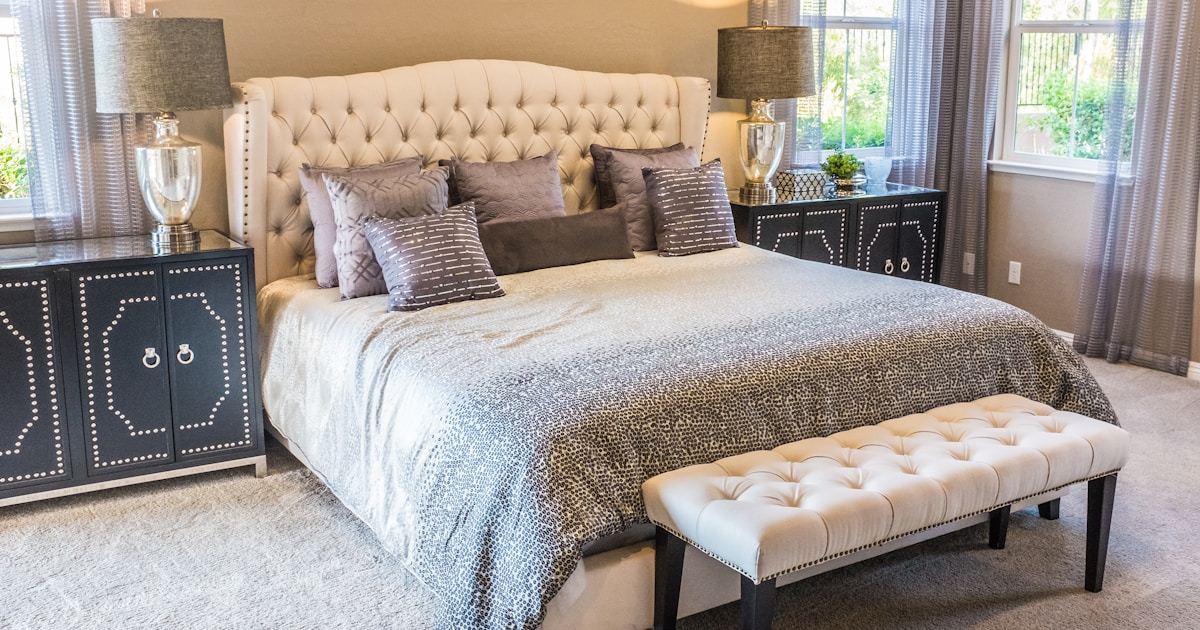 Capsule Furniture: 8 Pieces That Style a One-Bedroom Apartment