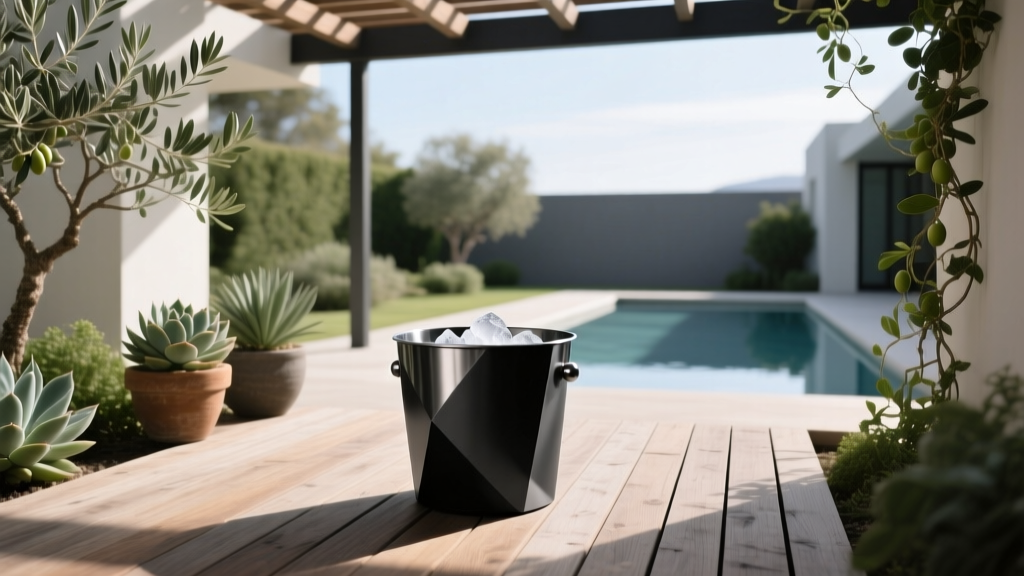
Best Outdoor Ice Bucket Station Ideas - The Decor Mag
An outdoor ice bucket station is one of those small upgrades that instantly makes a patio, deck, or garden entertaining area feel “finished.” It keeps drinks cold, reduces trips inside, and creates a natural gathering point—just like a kitchen island does indoors. Whether you host big backyard barbecues or prefer quiet evenings with a sparkling water and a good book, a dedicated drink-cooling spot adds comfort, convenience, and a touch of resort-style patio living.
Better yet, an outdoor ice bucket station doesn’t have to be expensive or complicated. You can build a simple self-serve setup with a weatherproof side table and a handsome galvanized tub, or go all-in with a built-in outdoor bar station that includes storage, lighting, and prep space. With the right materials and a few smart layout choices, it can look great in every season—and stay easy to maintain year-round.
What Makes a Great Outdoor Ice Bucket Station?
The best outdoor ice bucket stations balance function and style. Before you choose a design, make sure your setup checks the basics:
- Cold retention: Insulated buckets, lidded tubs, and shaded placement help ice last longer.
- Drainage: Meltwater needs an easy, clean way out (a drain plug, hidden bucket, or nearby planting bed gravel strip).
- Stable surface: A level base prevents tipping—especially on pavers, gravel, or a sloped deck.
- Storage: You’ll want room for cups, bottle openers, napkins, and backup beverages.
- Traffic flow: Place it where people naturally circulate, but not where it blocks doors, grills, or pathways.
Ideal Placement for Patio Flow
For comfortable outdoor living, aim for these clearances:
- 24–36 inches of walkway clearance around the station.
- At least 48 inches away from grill heat zones (more if you’re using a large smoker).
- Near seating, not inside it: Put the station within 6–10 feet of the main lounge or dining area so guests can grab drinks without hovering over conversations.
Outdoor Ice Bucket Station Ideas (From Simple to Showstopping)
1) The Classic Beverage Tub on a Console Table
This is the easiest upgrade for patios and decks: a narrow outdoor console behind a sofa or along a fence line topped with a beverage tub.
Best for: Small patios, renters, quick party setups
Recommended materials:
- Table: Powder-coated aluminum, teak, acacia (sealed), or HDPE/poly lumber
- Bucket/tub: Stainless steel, galvanized steel, or double-wall insulated plastic
Style tip: Add a tray for bar tools and a small lantern or cordless table lamp to make it feel intentional at night.
Budget range: $80–$450 (table + tub)
2) The Rolling Bar Cart with Ice Bucket + Prep Shelf
A weather-resistant bar cart turns your ice bucket station into a mobile outdoor drink hub. Park it near the dining area during dinner, then roll it by the fire pit for after-dinner drinks.
Look for:
- Locking wheels (essential on decks and pavers)
- Powder-coated metal frames
- Removable serving tray top
- Lower shelf tall enough for bottles
Pro layout move: Keep the cart in partial shade to reduce ice melt, then use a small side table nearby as a “pickup zone” for finished drinks.
Budget range: $150–$700
3) Built-In Outdoor Kitchen Ice Station (Luxury + Practical)
If you’re building or upgrading an outdoor kitchen, consider a dedicated ice bin or insulated drawer. It’s the cleanest, most integrated option for year-round outdoor entertaining.
Best for: Frequent hosts, outdoor kitchens, covered patios
Recommended materials:
- Cabinetry: Marine-grade polymer, stainless steel, or sealed masonry bases
- Countertop: Granite, concrete (sealed), sintered stone, or porcelain slabs (excellent for freeze-thaw climates)
- Ice bin: Stainless steel drop-in with drain kit
Drainage tip: Tie the drain into a dry well, French drain, or a dedicated drain line. Avoid dumping meltwater directly onto wood decking.
Budget range: $1,500–$8,000+ (depending on cabinetry and plumbing)
4) The Stock Tank “Party Station” for Big Gatherings
A galvanized stock tank makes a bold statement and can chill dozens of drinks at once. Place it on gravel or pavers, add a scoop, and let guests self-serve.
Design upgrade: Build a simple wood surround (cedar or pressure-treated lumber) to elevate the look and add a ledge for cups.
Placement note: Full tanks get heavy. Choose the location first, then fill with ice.
Budget range: $120–$600
5) The Side Table with Hidden Ice Bucket (Sleek for Lounges)
Many modern outdoor side tables are designed with a concealed cooler insert. This is a great approach for minimalist patios where you don’t want party gear visible.
Best for: Pool decks, modern patios, smaller lounge zones
Material picks: Resin wicker with aluminum frame, powder-coated steel, or teak with a removable insulated liner
Budget range: $90–$500
6) The Garden Entertaining Nook (Ice Bucket + Plant Styling)
Create a dedicated “drink moment” near a pergola, under string lights, or beside a garden bench. The trick is to blend the ice bucket station into your landscaping.
Layout formula:
- One small outdoor table or potting bench
- One ice bucket or tub
- One vertical element (trellis, tall planter, or slim screen)
- Two layered plant groupings for softness
Plant suggestions (by feel):
- Mediterranean vibe: Lavender, rosemary, dwarf olive (in a pot), thyme
- Tropical/poolside vibe: Bird of paradise (warm climates), cordyline, elephant ear (seasonal), foxtail fern
- Modern and architectural: Boxwood (or inkberry holly), snake plant (warm zones), agave (dry climates), dwarf fountain grass
- Pollinator-friendly: Salvia, coneflower, catmint, yarrow
Budget range: $150–$900 (table + decor + plants)
Materials That Hold Up Outdoors (And Look Better Over Time)
Outdoor design is only as good as its durability. Choose materials that match your climate and maintenance tolerance.
Best Ice Bucket Materials
- Stainless steel: Clean, modern, rust-resistant; great for coastal areas if it’s marine-grade.
- Double-wall insulated: Best ice retention; ideal for hot climates and sunny patios.
- Galvanized steel: Rustic charm; can develop patina; keep it dry between uses to extend life.
- Heavy-duty resin: Lightweight, budget-friendly; choose UV-stable options to prevent fading.
Best Surfaces for Stations and Counters
- Teak: Naturally weather-resistant; looks great even as it silvers.
- Powder-coated aluminum: Low maintenance; won’t rust.
- Concrete (sealed): Modern; excellent for built-ins; reseal as recommended.
- Porcelain/sintered stone: High-end performance; resistant to heat, stains, and freeze-thaw cycles.
Seasonal and Climate Considerations (Keep It Working Year-Round)
Hot, Sunny Climates
- Choose insulated buckets with lids to slow melting.
- Place stations in partial shade or under umbrellas/pergolas.
- Use light-colored surfaces to reduce heat absorption.
- Keep a small bar towel nearby to wipe condensation and prevent slippery puddles.
Rainy or Humid Regions
- Opt for powder-coated aluminum or HDPE furniture.
- Use lidded storage bins for napkins, openers, and stirrers.
- Add a drip tray or waterproof mat beneath the station to protect decking.
Freeze-Thaw Winters
- Avoid leaving water in buckets or built-in bins—freeze expansion can crack liners.
- Choose porcelain, granite, or sealed concrete for outdoor counters.
- Store metal tubs indoors or in a shed to prevent corrosion and staining.
- If you entertain in winter, pair the station with a covered patio heater zone and keep beverages away from snowmelt areas.
Coastal/Yard Near Salt Air
- Use marine-grade stainless steel or powder-coated aluminum.
- Rinse metal surfaces occasionally to reduce salt buildup.
- Skip cheap steel that will pit and rust quickly.
Design Details That Make Your Ice Bucket Station Feel Custom
Small upgrades turn a basic cooler setup into a true outdoor bar station.
- Lighting: Add warm string lights overhead or a cordless lamp on the station for evening patio living.
- Backsplash or screen: Use a slatted wood panel, reed fencing, or outdoor art to define the zone.
- Serveware: Melamine cups, acrylic “glass,” and stainless pitchers feel elevated and won’t shatter near pools.
- Trash and recycling: Hide a small lidded bin under the console or use a matching outdoor waste can nearby.
- Soft goods: Outdoor pillows or a small rug help the station read as part of the living space.
Common Mistakes to Avoid
- Placing the station in full sun: Ice disappears fast and drinks get warm. Shade wins.
- Ignoring drainage: Meltwater can stain decking, attract bugs, and create slippery surfaces.
- Using untreated wood: It warps, cracks, and stains—especially around constant moisture.
- Overcrowding the seating area: Guests need room to move; keep pathways open.
- No storage plan: A station without openers, napkins, and a scoop becomes a series of trips inside.
- Choosing the wrong scale: A tiny bucket for large parties (or a huge tank for a small balcony) looks off and functions poorly.
Quick Shopping and Setup Guide (With Budget Ranges)
Starter Setup: $50–$150
- Galvanized tub or basic insulated bucket
- Outdoor-safe tray
- Bag of ice + scoop + bottle opener
Mid-Range Upgrade: $150–$600
- Weatherproof side table or narrow console
- Stainless bucket with lid
- Outdoor storage bin for supplies
- Cordless lamp or lantern
Entertainer’s Station: $600–$2,500
- Rolling bar cart or modular outdoor cabinet
- Insulated ice bin with drain or high-performance cooler insert
- Dedicated prep surface + bar tool set
- Planters and lighting to define the zone
FAQ: Outdoor Ice Bucket Stations
How do I keep ice from melting so fast outdoors?
Use a double-wall insulated bucket with a lid, keep it in shade, and pre-chill the bucket (or cooler insert) before adding ice. Larger ice cubes melt slower than small cubes.
What’s the best surface to place an ice bucket station on?
Level pavers, concrete, or a stable deck area work best. On gravel, use a paver pad or a compacted base so carts and tables don’t wobble.
Can I build a DIY outdoor ice station without plumbing?
Yes. Choose a tub with a drain plug and empty it into a bucket or watering can as it melts. If you want a cleaner look, hide a small container inside a lower cabinet shelf.
What plants work well around an outdoor bar or drink station?
Go for fragrant, tough plants that handle heat and occasional splashes: lavender, rosemary, salvia, dwarf grasses, and evergreen shrubs (like boxwood or inkberry) for structure.
What’s the easiest low-maintenance option for year-round patio living?
A powder-coated aluminum side table with a lidded insulated bucket is hard to beat. Store the bucket indoors in winter, and the table can stay outside in most climates.
Next Steps: Choose a Style, Pick a Spot, Host More Often
Start by deciding how you entertain—casual family dinners, pool days, weekend parties, or cozy fire pit nights—then match your outdoor ice bucket station to that rhythm. Measure your space, prioritize shade and drainage, and select weather-friendly materials that won’t become a maintenance burden. Once the station is in place, add one finishing touch (lighting, plants, or a serving tray) to make it feel like a true part of your outdoor living design.
Want more patio ideas, landscaping inspiration, and outdoor entertaining upgrades? Explore the latest outdoor living guides on thedecormag.com.
More Articles
 How to Create a Spiral Herb Garden - The Decor Mag
 Outdoor Pavilion Insect Screen Options - The Decor Mag
 Outdoor Living Project Checklist: A Practical, Step-by-Step Workflow for Landscape Professionals
 How to Create a Square Foot Garden - The Decor Mag
 How to Design a Drought-Tolerant Landscape - The Decor Mag
 Outdoor Kitchen Griddle Top Surface Guide - The Decor Mag
 How to Design a Permaculture Garden - The Decor Mag
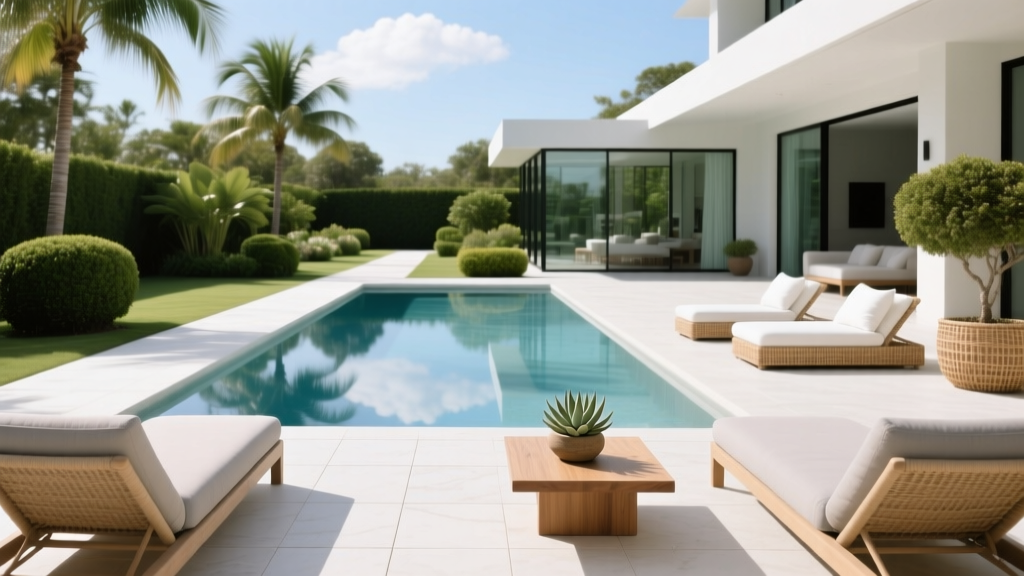 Poolside Design and Decor Ideas - The Decor Mag
 Outdoor Living Performance: 7 Costly Mistakes That Sabotage Durability, Comfort, and Value
 How to Start Living Rooms: Building Functional, Weather-Resilient Outdoor Living Spaces from the Ground Up