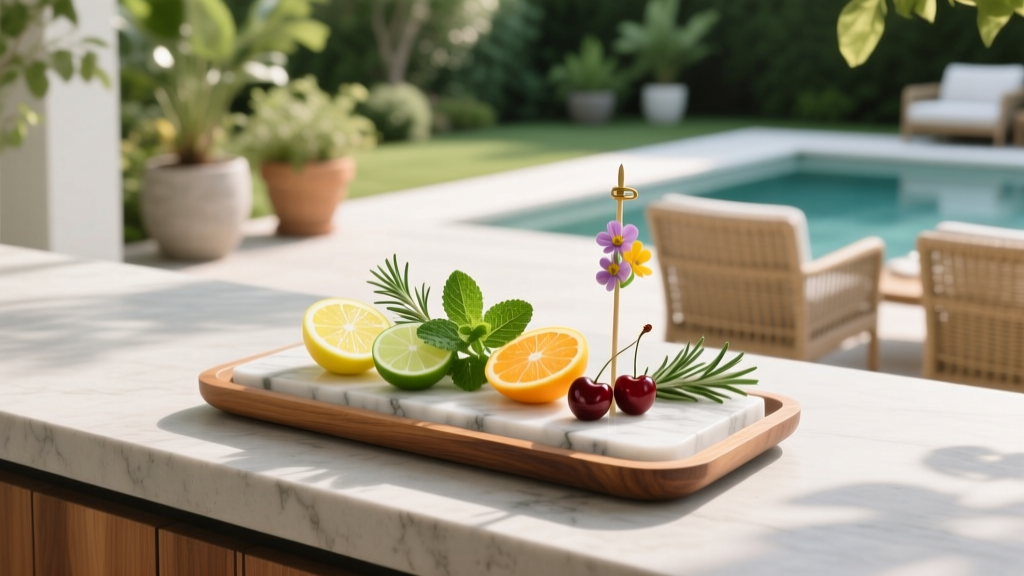
Best Outdoor Bar Garnish Tray Ideas - The Decor Mag
An outdoor bar is more than a place to pour drinks—it’s a destination within your patio, deck, or garden. And when guests gather, the smallest details often make the biggest impact. A well-designed outdoor bar garnish tray keeps citrus, herbs, salts, and cocktail extras organized, clean, and ready to serve, turning casual backyard hosting into a polished outdoor living experience.
Garnish trays also solve real outdoor entertaining problems: wind, bugs, sun exposure, sticky messes, and the constant back-and-forth to the kitchen. Whether you’re styling a compact balcony bar cart or building a full outdoor kitchen, the right tray setup supports a smooth flow, protects ingredients, and looks great on your patio bar top year-round.
Below are practical, design-forward garnish tray ideas—with material recommendations, plant pairings, layout tips, maintenance guidance, and budget ranges—so your outdoor bar station feels as intentional as the rest of your landscaping.
What Makes a Great Outdoor Bar Garnish Tray?
Indoor garnish caddies don’t always hold up outside. For patio living, prioritize durability, easy cleaning, and smart compartmentalization.
Must-have features
- Lid or cover: Helps protect from insects, pollen, and wind-blown debris.
- Compartment sizing: Mix of small (salt, cherries) and medium (lime wedges, orange slices) sections.
- Non-slip base: Keeps trays stable on stone, concrete, and composite decking.
- Drainage or removable inserts: Reduces sogginess with citrus and rinsed herbs.
- UV- and weather-resistant materials: Prevents warping and fading in sun.
Ideal dimensions (quick guide)
- Small bar cart: 10–14 inches wide, 4–6 compartments
- Standard patio bar: 14–20 inches wide, 6–8 compartments
- Outdoor kitchen island: 18–24 inches wide, 8–10 compartments (or two trays)
Outdoor Bar Garnish Tray Styles That Look Great on Patios
1) Covered garnish caddy for bug-prone yards
If your outdoor living space is surrounded by lush landscaping, flowering borders, or a pool, a covered caddy is the easiest upgrade you can make. Look for clear lids so guests can see options without leaving ingredients exposed.
- Best materials: Tritan (impact-resistant), polycarbonate, stainless steel
- Design tip: Match metal accents to your patio furniture—brushed stainless with modern aluminum frames, matte black with powder-coated steel sets.
- Budget range: $20–$60
2) Stainless steel insert tray for outdoor kitchen countertops
For built-in outdoor kitchens, a stainless insert tray feels seamless and professional. It also handles heat, sun, and frequent washing better than many plastics.
- Best with: Granite, concrete, porcelain, or stainless counters
- Pro layout move: Position the tray between your cutting board zone and the ice well so garnishes flow logically from prep to pour.
- Budget range: $40–$150 (depending on size and inserts)
3) Rustic wood-and-metal tray for garden bars
For a pergola bar, potting-shed-style bar nook, or a patio with warm wood tones, go rustic. The trick is choosing outdoor-friendly wood and treating it correctly.
- Best woods: Teak, ipe, acacia (sealed), cedar (sealed)
- Finish recommendation: Marine-grade spar varnish or outdoor oil for teak/ipe
- Practical note: Keep citrus in small removable bowls to avoid acid staining.
- Budget range: $30–$120
4) Modular ramekin set for flexible entertaining
Instead of one big tray, use a set of small outdoor-safe bowls on a larger serving platter. This approach is easy to refresh during long gatherings and ideal for households that like to change drink menus by season.
- Best materials: Melamine (high-quality), enamelware, stainless cups, glazed stoneware
- Style idea: Choose a platter that matches your patio decor—slate-look melamine for modern, enamel for cottage, white ceramic for coastal.
- Budget range: $25–$80
5) Mini garnish tray for a compact balcony or small deck
Working with a narrow bar shelf or bistro table? Use a slim tray plus a single herb pot beside it. This keeps the footprint small without sacrificing style.
- Ideal setup: 4 compartments + 1 small lidded jar (for sugar/salt)
- Space-saving add-on: Clip-on bar caddy or a magnetic utensil strip (on metal carts)
- Budget range: $15–$45
Smart Garnish Tray Layouts (So Hosting Feels Effortless)
The best outdoor design is functional design. Set your garnish station up like a mini assembly line, tailored to your outdoor bar layout.
Layout A: The “Cocktail Line” (best for patio bars and outdoor kitchens)
- Ice bucket/ice well on the left (or closest to your dominant hand)
- Garnish tray centered
- Tools zone (jigger, spoon, muddler) on the right
- Glassware stacked behind
Why it works: You reduce drips and congestion, and guests intuitively move through the station.
Layout B: The “Self-Serve Spritz Bar” (best for parties)
- Tray 1: Citrus (orange wheels, lemon wedges, grapefruit)
- Tray 2: Herbs + fruit (mint, basil, berries)
- One labeled jar: Sugars/salts
- One carafe zone: Sparkling water, tonic, or a batched spritz base
Design tip: Use small label tags or a chalkboard bar sign to keep things tidy and reduce hovering.
Layout C: The “Grill + Bar Combo” (best near outdoor dining)
If your bar sits near the grill, keep smoky flavors and savory garnishes on one side:
- Pickled onions, jalapeño slices, grilled citrus
- Herb garnish: rosemary sprigs (great with whiskey drinks)
- Rim salts: chili-lime, smoked salt
Materials That Hold Up Outdoors (And Look Intentional)
Outdoor living spaces face sun, temperature swings, and moisture. Choose materials that match your climate and your patio furniture finishes.
Best materials for outdoor garnish trays
- Stainless steel: Long-lasting, easy to sanitize, modern look; can get hot in direct sun.
- Tritan or polycarbonate: Clear, impact-resistant, lightweight; look for UV-stabilized versions.
- Melamine: Affordable and stylish; choose heavy-duty, BPA-free, and avoid high heat.
- Teak (sealed) with removable bowls: Warm, upscale; requires periodic oiling or sealing.
- Powder-coated aluminum tray + inserts: Great for coastal patios if hardware is corrosion-resistant.
Materials to avoid outdoors (or use carefully)
- Cheap acrylic: Can haze, crack, and discolor in sun.
- Untreated wood: Warps and stains quickly with citrus and moisture.
- Iron without proper coating: Rust risk, especially in humid or coastal climates.
Fresh Garnish Ideas That Pair With Landscaping (Herbs, Edibles, and Fragrance)
One of the most satisfying patio upgrades is growing your own cocktail garnishes. It ties your outdoor bar to your garden design and makes entertaining feel seasonal and curated.
Best garnish plants for patios and outdoor kitchens
- Mint: Vigorous and reliable; keep in a pot to prevent spreading in garden beds.
- Basil: Loves warmth; place near a sunny wall or in raised planters.
- Rosemary: Drought-tolerant once established; excellent near grills and Mediterranean landscaping.
- Thyme: Low-growing, fragrant; works as edging in herb gardens or in container combos.
- Lemongrass: Great for tropical patio themes; can overwinter indoors in cold climates.
- Edible flowers: Nasturtiums, pansies, calendula (use only pesticide-free blooms).
Container design ideas (looks good and performs well)
- Modern patios: Matte black or charcoal fiberstone planters + upright rosemary and basil.
- Coastal decks: White ceramic pots + mint and thyme; add blue-and-white textiles nearby.
- Rustic gardens: Aged terracotta + mixed herbs; tuck pots near a pergola post for fragrance.
Budget ranges for a “bar garnish garden”
- Starter (2–3 herbs in nursery pots): $20–$45
- Upgraded (decorative planters + potting mix): $60–$180
- Built-in look (raised planter or herb wall near bar): $250–$1,200+
Seasonal Garnish Tray Ideas for Year-Round Outdoor Living
Refreshing your garnish tray by season keeps your outdoor entertaining feeling new—without changing your entire patio design.
- Spring: Strawberries, basil, edible flowers, lemon wheels. Pair with soft outdoor cushions and fresh potted blooms.
- Summer: Watermelon cubes, mint, lime wedges, tajín-style rim seasoning. Add shade via umbrellas or pergola canopies to protect ingredients.
- Fall: Apple slices (toss with a little lemon to prevent browning), rosemary, cinnamon sticks, smoked salt. Incorporate warm lighting and outdoor throw blankets.
- Winter (mild climates or covered patios): Cranberries, orange peels, thyme, candied ginger. Use a lidded tray and keep it closer to a heat source-free zone.
Climate & Maintenance Considerations (So It Stays Clean and Guest-Ready)
Hot, sunny climates
- Use covered trays and keep them under a patio umbrella, pergola, or shade sail.
- Avoid leaving clear plastic trays in full sun all day to reduce warping and clouding.
- Pre-chill inserts or bowls indoors so citrus stays fresh longer.
Humid, rainy climates
- Choose stainless steel or high-quality plastic that won’t absorb moisture.
- Bring trays inside after use; standing water encourages mold and odors.
- Consider a bar cabinet with doors to store trays near your outdoor kitchen.
Coastal yards
- Opt for marine-grade stainless when possible and rinse hardware occasionally to reduce salt buildup.
- Avoid cheap metals; powder-coated finishes should be high quality and chip-resistant.
Easy cleaning routine (5 minutes)
- Dump leftover citrus and herbs into compost.
- Rinse inserts immediately to prevent sticky residue.
- Wash with mild dish soap; avoid harsh abrasives on clear lids.
- Dry fully before storing to prevent mildew smells.
Outdoor Bar Garnish Tray Upgrades That Make It Feel High-End
These small additions elevate your patio bar setup without a full renovation.
- Matching bar tools: Stainless or matte black set ($20–$80).
- Dedicated cutting surface: Teak or composite cutting board ($25–$90).
- Rim station: Two lidded jars for sugar and salt, plus a lime dish ($10–$40).
- Outdoor-safe runner: Helps define the bar zone and prevents sliding ($20–$70).
- Task lighting: Rechargeable LED lamp or under-pergola string lights for nighttime hosting ($25–$150).
Common Mistakes to Avoid
- Skipping a lid: Open trays attract insects and collect debris, especially near gardens and water features.
- Overloading compartments: Too much fruit bruises quickly and looks messy; refill in small batches.
- Placing trays in direct sun: Ingredients wilt and sweat; plastics can warp and metal can get uncomfortably hot.
- Using untreated wood: It stains, absorbs odors, and can harbor bacteria after repeated use.
- Forgetting traffic flow: If the garnish tray blocks glassware or ice, guests cluster and spills increase.
- Not planning storage: Leaving trays outdoors overnight shortens their lifespan and invites pests.
FAQ: Outdoor Bar Garnish Trays
What’s the best material for an outdoor garnish tray?
Stainless steel is the most durable and easiest to sanitize. For lightweight, budget-friendly options, choose UV-stabilized Tritan or high-quality melamine with a fitted lid.
How do I keep bugs away from my outdoor garnish tray?
Use a tray with a tight-fitting lid, keep it in the shade, and set it away from flowering plants. For extra protection, place the tray inside a larger covered bar caddy or use fine mesh food covers during peak bug hours.
Can I leave my garnish tray outside all season?
It’s better to store it indoors or in a closed outdoor cabinet when not in use. Sun and moisture shorten the life of plastics, degrade finishes, and can cause odors if any residue remains.
What garnishes hold up best for outdoor parties?
Whole herbs (rosemary, thyme), firm citrus wedges, and sturdy fruit like pineapple and grapes last longer than delicate berries or thin slices. Keep backups chilled inside and replenish as needed.
How can I make a garnish tray look stylish on my patio bar?
Coordinate materials with your outdoor furniture (matte black, stainless, teak), keep the tray neatly portioned, and add a small potted herb nearby. A matching cutting board and labeled jars for rim salts instantly elevate the look.
Next Steps: Build a Garnish Station That Matches Your Outdoor Living Style
Start with one decision: choose a covered tray that fits your bar surface and your climate. Then design the station around it—ice on one side, tools on the other, and herbs or garnish plants within arm’s reach. Add shade, a simple cleaning routine, and a seasonal garnish rotation, and your outdoor bar will feel ready for everything from quick weeknight cocktails to full patio parties.
For more outdoor bar setups, patio design inspiration, landscaping ideas, and year-round outdoor living upgrades, explore the latest guides on thedecormag.com.
More Articles
 Outdoor Living Style Buying Guide: Matching Aesthetics, Function, and Climate for Lasting Impact
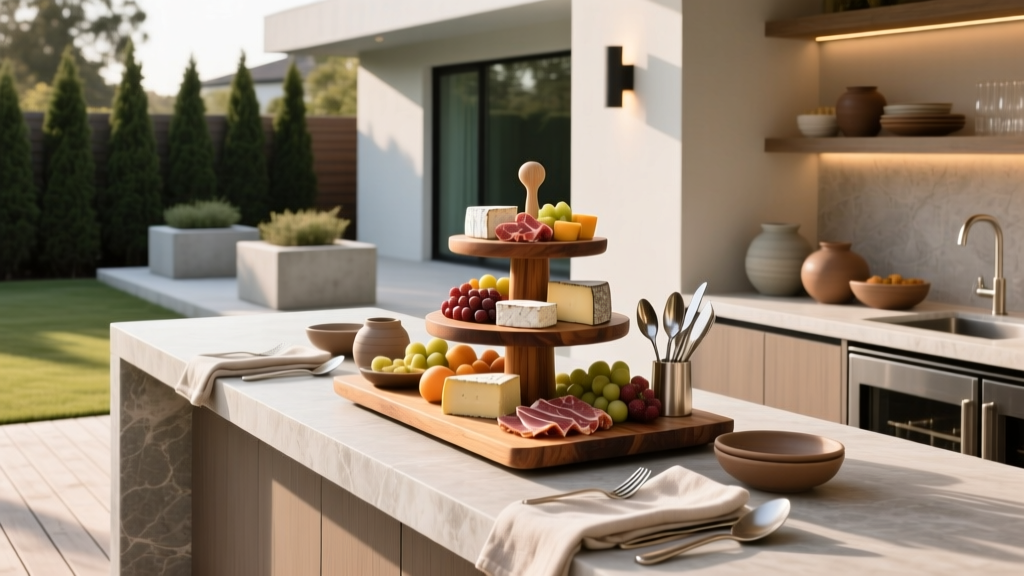 Best Outdoor Bar Charcuterie Station - The Decor Mag
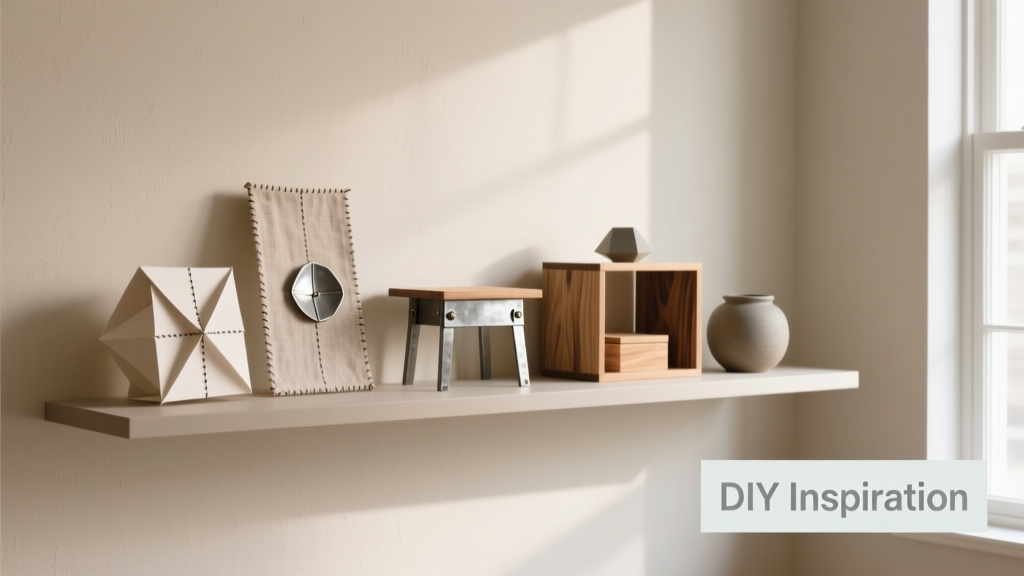 12 Practical DIY Style Ideas for Outdoor Living Spaces That Deliver Professional Results
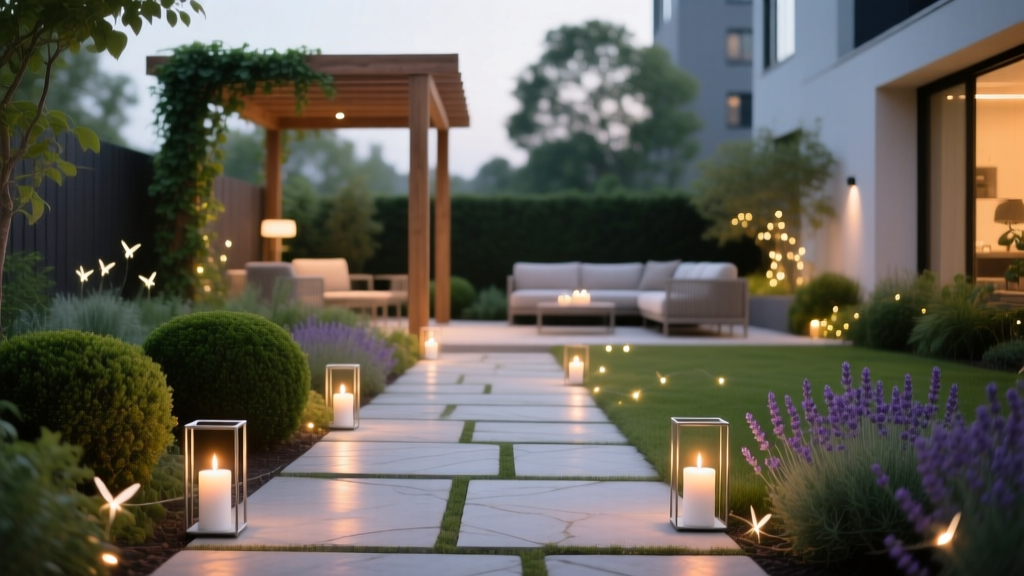 How to Design a Candlelit Garden Path - The Decor Mag
 How to Create a Potager Garden - The Decor Mag
 Outdoor Kitchen Ventilation Guide - The Decor Mag
 Outdoor Pergola Fairy Light Draping Guide - The Decor Mag
 How to Create a Lantern Garden - The Decor Mag
 Best Color Guides for Summer: Science-Backed Palettes for Outdoor Living Spaces
 How to Design a Cottage Core Garden - The Decor Mag