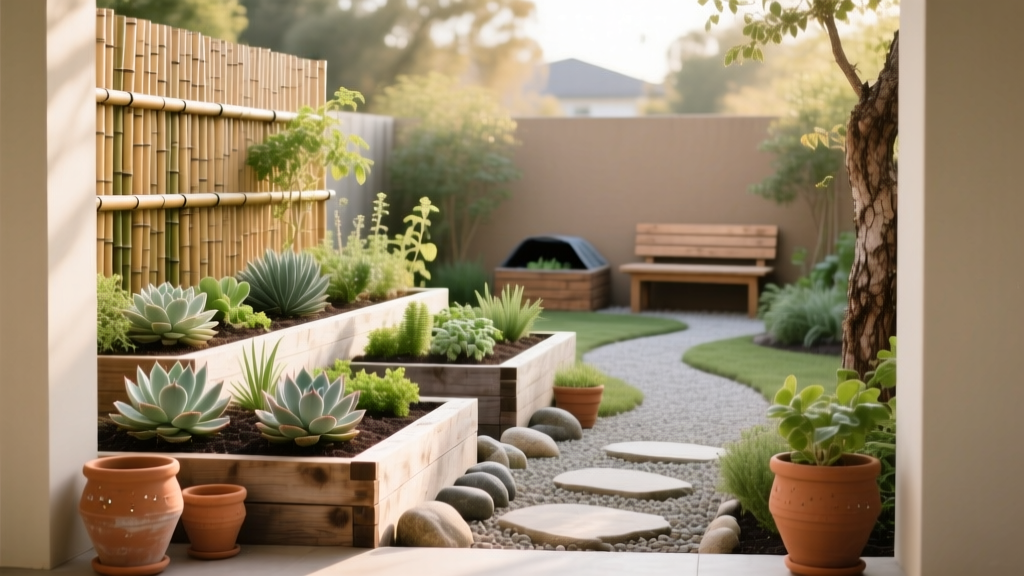
How to Design a Permaculture Garden - The Decor Mag
A great outdoor living space isn’t just a patio with furniture—it’s a landscape that feels alive, generous, and easy to care for. A permaculture garden delivers exactly that: a yard designed to work with nature, producing beauty and food while reducing water use, waste, and weekend maintenance. The result is a more comfortable, resilient backyard—one that supports year-round outdoor living, from summer dinners under string lights to winter views of evergreen structure and seedheads dusted with frost.
Permaculture design also fits the way homeowners actually use their spaces. You can create cozy seating nooks, pathways that invite wandering, a patio that looks into a layered planting bed (instead of a blank fence), and edible landscapes that feel elevated rather than “messy.” Whether you have a suburban lot, a side yard, or a small patio garden, permaculture principles help you design with intention—so your garden gets better every season.
Below is a practical, expert approach to designing a permaculture garden that looks polished, supports outdoor entertaining, and delivers a healthier landscape with fewer inputs over time.
What Makes a Garden “Permaculture” (and Why Homeowners Love It)
Permaculture is a design approach inspired by natural ecosystems. Instead of relying on constant fertilizers, frequent mowing, and thirsty lawns, you build a landscape where plants, soil, water, and wildlife support each other.
Core permaculture ideas, simplified
- Work with your site: sun, wind, slope, soil, and shade dictate the best layout.
- Stack functions: one element does multiple jobs (a shade tree cools the patio, feeds pollinators, and provides fruit).
- Use layers: groundcovers, shrubs, vines, small trees, canopy—like a forest edge.
- Build soil: compost, mulch, and minimal disturbance replace heavy chemical inputs.
- Favor perennials: they come back stronger each year and reduce replanting costs.
For outdoor design and landscaping, this translates into a yard that’s greener in summer, more structured in winter, and more enjoyable every month of the year.
Step 1: Start with a “Lifestyle + Site” Plan
Before buying plants, decide how you want to live outside. Permaculture works best when it supports real routines: grilling, lounging, kids playing, a dog run, a quiet coffee spot, or a cutting garden by the kitchen door.
Map your zones (easy homeowner version)
- Zone 1 (daily): right outside doors—herbs, salad greens in containers, compost caddy, tool storage.
- Zone 2 (often): raised beds, berry bushes, a greenhouse shelf, pollinator beds near the patio.
- Zone 3 (occasionally): orchard trees, larger beds, seasonal crops, rain garden.
- Zone 4/5 (minimal/untouched): habitat corner, native thicket, logs/rocks for beneficial insects.
Quick site checklist
- Sun: note full sun (6–8+ hours), part sun, and deep shade areas.
- Water: where does runoff flow during storms? Where does the soil stay soggy?
- Wind: identify harsh winter winds and hot summer gusts—great places for hedges or screens.
- Views: what do you see from the patio and main windows? Design for beautiful “outdoor room” sightlines.
Practical tip: Take photos from the same spots in spring, summer, and fall. This makes it easier to design year-round structure and seasonal color.
Step 2: Design the Layout Like an Outdoor Room
A permaculture garden can look refined and intentional when the layout is strong. Think in shapes, edges, and circulation—just like interior design.
Layout moves that look polished (and function better)
- Anchor the patio with a “view bed”: place your most layered planting bed where it frames the seating area.
- Create clear paths: a main route (4 ft wide) plus smaller garden paths (18–24 in) into planting areas.
- Use curved bed lines thoughtfully: gentle curves feel natural and help slow water runoff.
- Build microclimates: a wall or fence can create warmth for figs, grapes, or early greens.
Material recommendations for paths and patios
- Permeable pavers: allow rainfall to soak in, reducing puddles and runoff.
- Decomposed granite (DG): elegant, patio-friendly, and great for garden paths; stabilize with edging.
- Gravel + stepping stones: budget-friendly, easy to install, and excellent drainage.
- Reclaimed brick or stone: adds instant character; ideal for cottage-style outdoor living spaces.
Budget ranges (typical installed costs vary by region):
- Mulch paths: $0.50–$2/sq ft
- Gravel paths: $2–$6/sq ft
- DG paths/patios: $4–$10/sq ft
- Permeable paver patio: $12–$30/sq ft
Step 3: Plant Like a “Forest Edge” (Even in Suburbia)
The most homeowner-friendly permaculture planting style is a food-and-flower landscape that mimics the edge of a woodland: layered, productive, and beautiful from the patio.
Build layers (the permaculture planting template)
- Canopy: fruit or nut trees; or ornamental shade trees that cool the patio.
- Understory: smaller fruit trees, large shrubs.
- Shrubs: berries, flowering natives, evergreen structure.
- Herbaceous layer: perennials, culinary herbs, pollinator plants.
- Groundcovers: living mulch that suppresses weeds and protects soil.
- Root crops: tucked into sunny pockets or raised beds.
- Vines: trained on fences, pergolas, or trellises to save space.
Plant suggestions that look great in an outdoor living landscape
Edible favorites (choose varieties suited to your climate):
- Fruit trees: apple, pear, plum, peach, persimmon; citrus in warm regions.
- Berries: blueberries (acid-loving), raspberries, blackberries, currants, gooseberries.
- Herbs near the patio: rosemary, thyme, chives, sage, oregano, basil (annual), parsley (biennial).
- Vines: grape, hardy kiwi (vigorous), passionfruit (warm climates).
Ornamental + ecological “workhorses”:
- Pollinator perennials: echinacea, salvia, yarrow, bee balm, anise hyssop.
- Native grasses for movement: little bluestem, switchgrass (region-dependent).
- Evergreen structure: inkberry holly, dwarf conifers, rosemary (mild winters), manzanita (dry climates).
- Groundcovers: creeping thyme, strawberries, clover (in moderation), sedums for sunny dry edges.
Design tip for “high-end” curb appeal: Repeat plant groupings in threes or fives along a path, and edge beds cleanly with steel, stone, or brick. Permaculture can be abundant without looking chaotic.
Step 4: Water Design—Harvest Rain, Slow Runoff, Irrigate Smart
Smart water design is one of the biggest upgrades you can make for landscaping and patio living. Less runoff means fewer muddy edges, healthier plants, and more predictable seasonal growth.
Homeowner-friendly permaculture water strategies
- Rain barrels or cisterns: collect roof runoff for containers and garden beds.
- Swales or gentle berms: on sloped yards, slow water and soak it into soil (professional help may be wise on steep grades).
- Rain gardens: a planted basin that captures downspout runoff—beautiful and functional.
- Drip irrigation: efficient for beds, shrubs, and fruit trees; pairs perfectly with mulch.
Material recommendations:
- Mulch: arborist wood chips (often free/low cost), shredded bark for a tidier look near patios.
- Drip lines: 1/2-inch poly tubing with pressure-compensating emitters for consistent watering.
- Rain barrel kit: include a debris screen and overflow hose routed away from foundations.
Budget ranges:
- DIY rain barrel setup: $80–$250
- Drip irrigation for a small-to-medium yard: $150–$600 DIY; $800–$2,500 installed
- Rain garden (plants + soil amendments): $300–$2,000+
Step 5: Soil Building and Composting That Doesn’t Look Messy
Healthy soil is the engine of a low-maintenance permaculture garden. The best part: you can do it in a way that still feels clean and design-forward for a patio-focused backyard.
Simple soil strategy
- Mulch 2–4 inches: keep it a few inches away from trunks and crowns to prevent rot.
- Compost top-dress: add a 1/2–1 inch layer in spring and/or fall around perennials and shrubs.
- Minimize digging: protect soil structure and beneficial organisms.
Compost placement that works for outdoor living
- Place compost bins in Zone 1 or Zone 2 (convenient), but screen them with a trellis, hedge, or decorative panel.
- Choose a lidded tumbler for smaller yards to reduce pests and keep things tidy.
- Pair compost with a small tool cabinet or weatherproof storage bench near the garden gate.
Outdoor Furniture and Structures That Pair Beautifully with Permaculture
Permaculture gardens shine when the outdoor living setup feels intentional—comfortable seating, durable materials, and shade structures that also support vines and habitat.
Furniture recommendations (durable, garden-friendly)
- Dining set: powder-coated aluminum or FSC-certified teak for longevity; budget $700–$3,500.
- Lounge seating: modular outdoor sofa with solution-dyed acrylic cushions (better fade resistance); $1,200–$6,000.
- Benches in the garden: simple steel-and-wood or concrete bench tucked along a path; $250–$1,500.
- Storage: weatherproof resin or metal deck box for pruning tools and drip parts; $120–$500.
Structures that add comfort and productivity
- Pergola or shade sail: creates a cooler patio microclimate; pergolas can host grapes or hardy kiwi.
- Trellises: attach to fences for vertical herbs, berries, or flowering vines—great for small-yard landscaping.
- Raised beds: use cedar, redwood, or steel; keep them near the kitchen door for daily harvesting.
Material tip: For raised beds, choose cedar (moderate cost, rot-resistant) or powder-coated steel (sleek, modern, long lifespan). Avoid older pressure-treated lumber if you’re growing food unless you’re confident it meets current safety standards.
Climate and Maintenance: Design for Your Region and Your Schedule
Permaculture is adaptable, but your climate should steer plant choices, irrigation design, and seasonal tasks.
Design adjustments by climate
- Hot/dry climates: prioritize shade trees, mulching, drip irrigation, and drought-tolerant natives; use gravel/DG patios for heat resilience.
- Humid/rainy climates: focus on airflow, fungal-resistant fruit varieties, and well-drained soil; consider rain gardens for stormwater.
- Cold winters: choose hardy perennials, protect young fruit trees, and plan winter interest with evergreens and ornamental grasses.
- Coastal/windy sites: add windbreak hedges and salt-tolerant species; secure furniture and choose corrosion-resistant hardware.
Seasonal rhythm for year-round outdoor living
- Spring: top-dress compost, refresh mulch, check drip lines, plant cool-season annuals and herbs.
- Summer: deep water early mornings, harvest regularly, prune for airflow, keep pathways weed-free for a tidy look.
- Fall: plant trees and shrubs (often best for root growth), add leaves as mulch, seed cover crops in beds.
- Winter: prune fruit trees (as appropriate), plan next year’s layout, protect containers, enjoy structure and evergreen form from indoor views.
Maintenance reality check: A permaculture garden reduces repetitive chores (like constant fertilizing and mowing), but it still needs seasonal attention—especially in the first 1–3 years while plants establish.
Common Mistakes to Avoid
- Planting without a layout: impulse purchases often create clutter and complicated maintenance.
- Ignoring mature size: fruit trees and shrubs need spacing for airflow and harvesting access.
- Underestimating sunlight: “part shade” can mean poor fruiting—place edibles in the best light.
- Overcomplicating water features: keep irrigation and rain capture simple enough to maintain.
- No clear paths: stepping into beds compacts soil and makes the garden feel unruly.
- Too many annuals: they’re fun, but perennials and shrubs provide the backbone for a low-maintenance landscape design.
FAQ: Permaculture Garden Design
Can a permaculture garden look modern and clean?
Yes. Use crisp edging (steel or stone), repeat plant groupings, and choose a limited palette of shrubs and grasses for structure. Add abundance in contained “pockets” near paths and seating areas.
Do I need a big yard to start permaculture?
No. A patio permaculture setup can include container herbs, a dwarf fruit tree, vertical trellises, and a small pollinator border. Start with Zone 1 improvements closest to your door.
What are the easiest plants for beginners?
Herbs (rosemary, thyme, chives), berries (raspberries or blueberries if soil fits), and resilient perennials (yarrow, salvia, echinacea). Choose locally adapted natives for the lowest maintenance.
How do I keep it from attracting pests?
Design for balance: diverse flowers for beneficial insects, clean harvest habits, proper spacing for airflow, and secure compost systems. Use netting for berries if birds are a problem.
Is permaculture expensive to install?
It can be budget-friendly if you phase it. A starter plan with mulch, a few shrubs, drip irrigation basics, and a couple of trees might run $500–$2,500 DIY. A more complete backyard redesign with hardscaping, irrigation, and mature plants can run $10,000–$50,000+ depending on size and materials.
How long until it feels “established”?
Expect noticeable improvement in the first season, solid establishment by year two, and a more self-supporting ecosystem by years three to five—especially as trees and shrubs mature.
Next Steps: Your 30-Day Permaculture Upgrade Plan
- Week 1: Observe sun and water flow; sketch your patio view lines and main paths.
- Week 2: Choose one outdoor “room” goal (dining, lounging, fire pit) and place it on the plan.
- Week 3: Install or refresh paths and mulch; set up a small compost solution.
- Week 4: Plant the backbone: 1–2 trees or large shrubs, plus a repeated mix of perennials and groundcovers around the patio.
A permaculture garden is one of the most satisfying ways to elevate outdoor living: it’s design-forward, environmentally smart, and genuinely useful. Start small, build the structure first, and let each season add another layer of beauty and abundance.
For more patio ideas, landscaping inspiration, and outdoor design guides, explore the latest on thedecormag.com.
More Articles
 Best Outdoor Planters for Every Style - The Decor Mag
 How to Create a Herb Garden Near the Kitchen - The Decor Mag
 How to Create a Hugelkultur Garden Bed - The Decor Mag
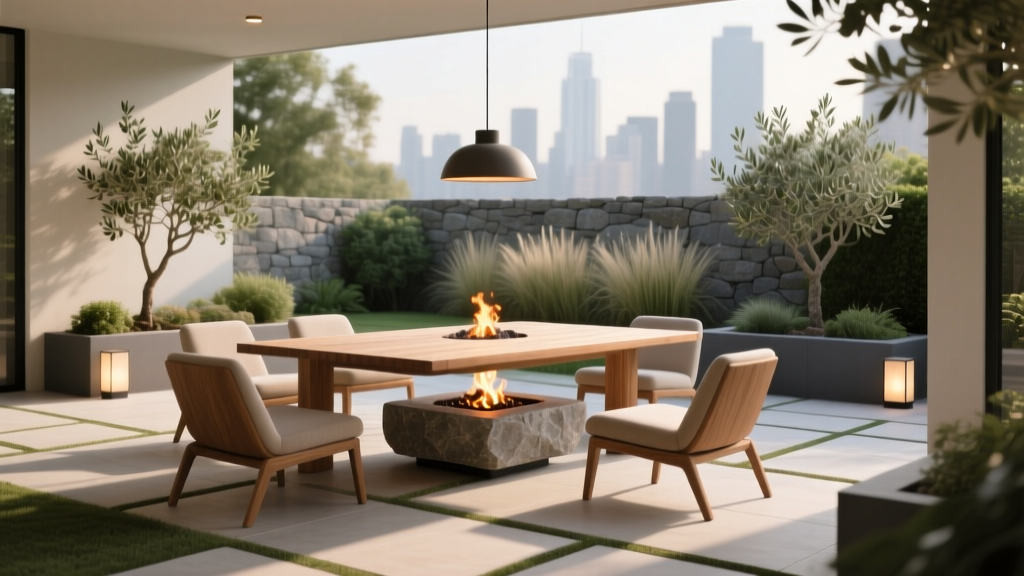 How to Create an Outdoor Dining Area - The Decor Mag
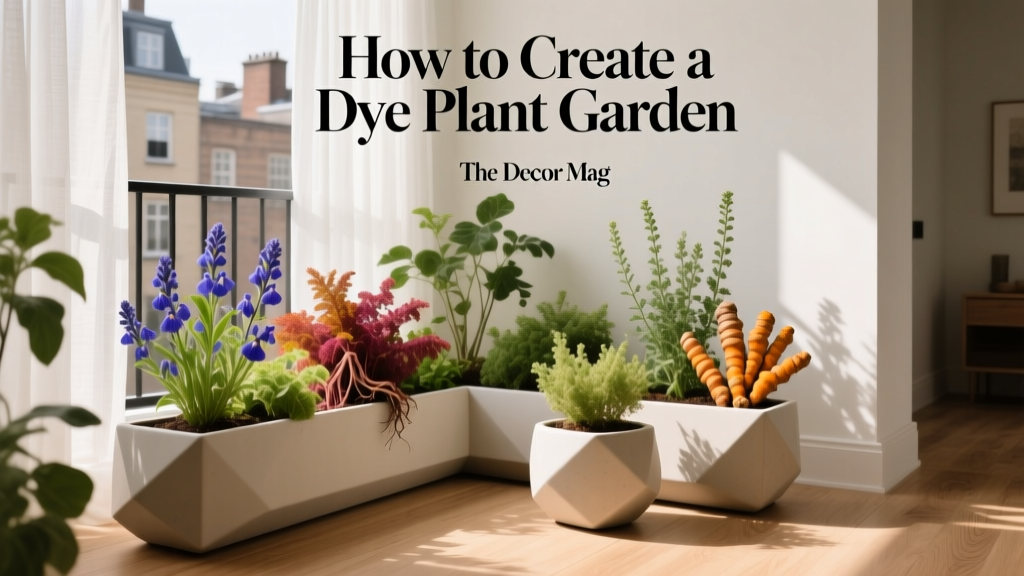 How to Create a Dye Plant Garden - The Decor Mag
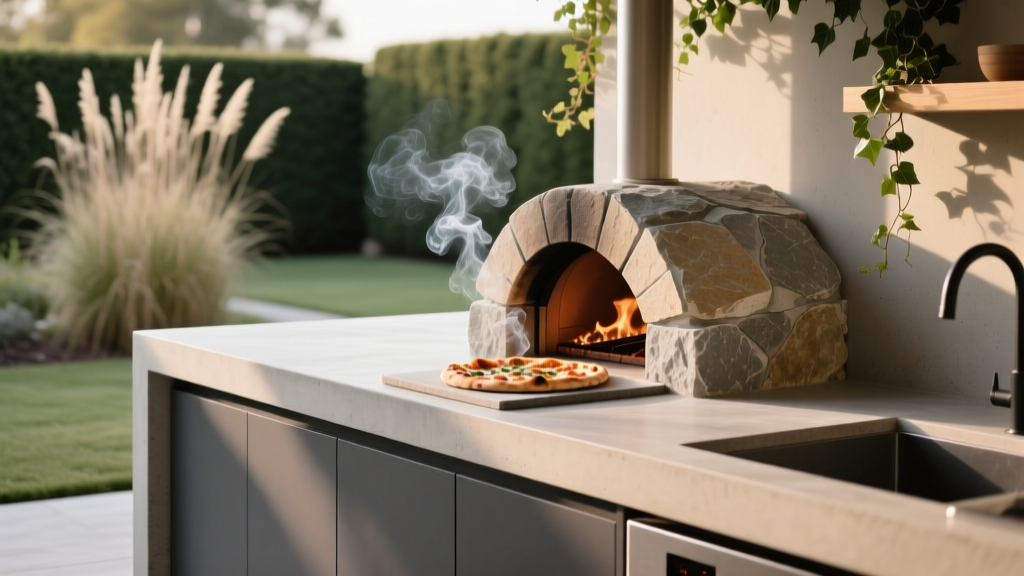 Outdoor Kitchen Pizza Stone Installation - The Decor Mag
 Best Outdoor Bar Nut Bowl Collection - The Decor Mag
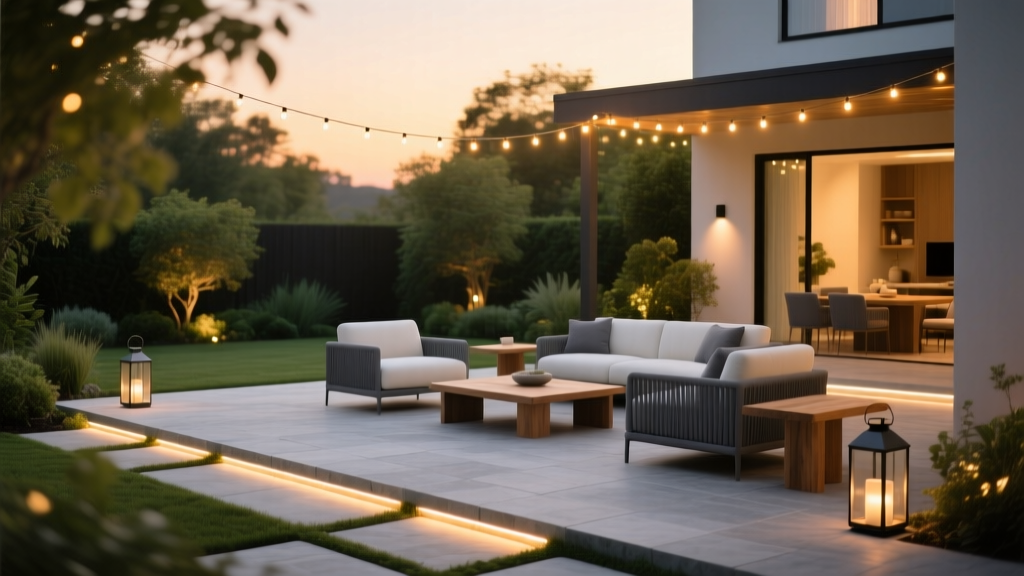 Best Outdoor Lighting Ideas for Ambiance - The Decor Mag
 Outdoor Kitchen Electrical Planning Guide - The Decor Mag
 Best Outdoor Bar Menu Board Display - The Decor Mag