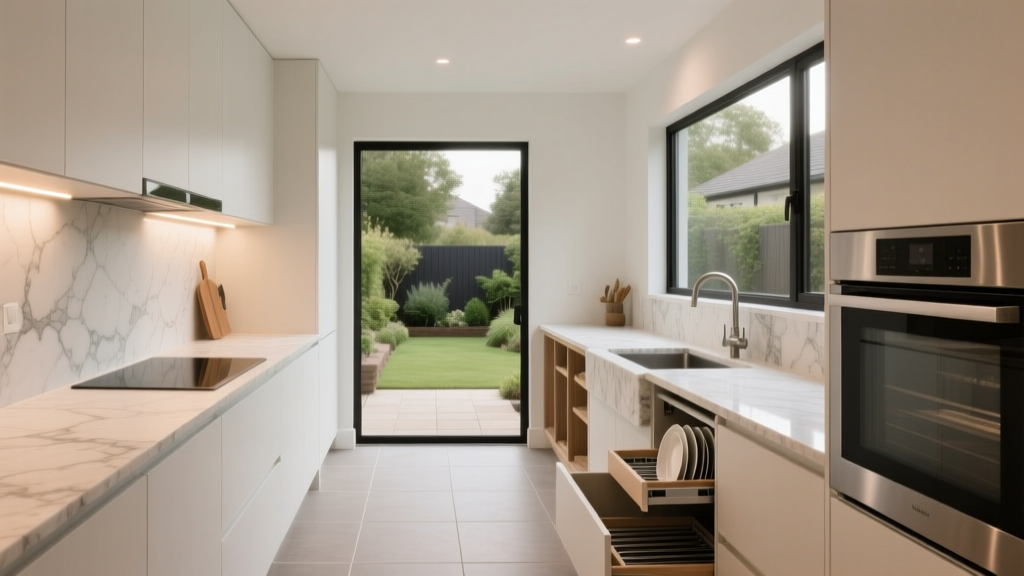
How to Design a Kitchen with a Scullery - The Decor Mag
A well-designed kitchen has to do two jobs at once: look great and work hard. That’s where a scullery kitchen (often called a “back kitchen” or “prep pantry”) becomes a game-changing renovation choice. By moving the mess—prep, dishes, small appliances, overflow storage—out of the main sightline, a scullery helps the primary kitchen feel calmer, cleaner, and more welcoming.
Sculleries are also having a moment because they fit today’s kitchen design trends: open-plan living, statement islands, integrated appliances, and minimalist cabinetry. Homeowners want kitchens that feel like furniture, not workshops—without giving up the practical zones that make cooking easier. A scullery delivers that balance, adding a dedicated work zone that protects the “front-of-house” kitchen’s aesthetic.
If you’re planning a kitchen renovation or reworking your layout, this guide walks through the best scullery kitchen designs, recommended dimensions, materials, cost ranges, and common mistakes to avoid—so your space looks intentional and performs beautifully for years.
What Is a Scullery (and How Is It Different from a Pantry)?
A traditional pantry focuses on dry goods storage. A scullery is more functional: it’s a secondary kitchen zone used for prep, clean-up, and appliance storage. Many modern sculleries combine both roles, acting as a walk-in pantry plus a working counter area.
What a Scullery Typically Includes
- Extra counter space for food prep, baking, or assembling platters
- Secondary sink (often a deep single bowl) for washing and rinsing
- Dishwasher (or space for one), especially useful for entertaining
- Appliance garage zones for toaster, espresso machine, air fryer, mixer
- Open shelving or tall pantry cabinets for bulk items and servingware
- Waste/recycling pull-outs or a hidden bin zone
Who Benefits Most from a Scullery Kitchen?
- Households that cook daily and want a more efficient kitchen workflow
- Entertainers who want a clean main kitchen during gatherings
- Families who need extra storage and a “drop zone” for groceries
- Open-concept homes where clutter is always visible
Planning the Layout: Where a Scullery Works Best
Great scullery kitchen design starts with circulation. The best sculleries are positioned so they’re easy to access from the main work triangle (sink/cooktop/fridge) but not blocking traffic through the kitchen.
Common Scullery Layout Options
1) Walk-Through Scullery (Pass-Through)
This sits between the kitchen and another space (often dining room, mudroom, or garage entry). It’s ideal for busy households because it reduces crossing paths in the main kitchen.
- Best for: large renovations, open-plan kitchens, frequent entertaining
- Watch for: keeping counters clear so the passage still functions
2) Dead-End Scullery (Back Room)
A single entry off the main kitchen—like a small room behind cabinetry or a hidden door.
- Best for: keeping mess fully out of sight
- Watch for: ensuring enough turning space if two people work inside
3) Scullery Wall or Niche (Micro-Scullery)
If you don’t have a full room, you can create a scullery-style run with a pocket door, tall cabinets, and a prep counter. This is a smart approach in smaller homes.
- Best for: modest square footage, budget-conscious renovations
- Watch for: ventilation and power planning for appliances
Recommended Measurements and Clearances
Use these practical dimensions when planning your kitchen renovation:
- Minimum scullery width: 5 ft (1.5 m) works for a single run + walkway; 6–7 ft (1.8–2.1 m) is more comfortable.
- Aisle clearance: 36 in (915 mm) minimum; 42 in (1065 mm) preferred if two people will pass.
- Counter depth: 24 in (610 mm) standard; consider 27–30 in (685–760 mm) where appliances live.
- Counter height: 36 in (915 mm) standard; a 34–35 in (865–890 mm) baking section can reduce shoulder strain for kneading.
- Shelf depth: 10–12 in (250–305 mm) for spices and jars; 14–16 in (355–405 mm) for plates and pantry bins.
- Door type: pocket or sliding doors save space and keep sightlines clean.
Designing Zones: Prep, Clean-Up, Storage, and Appliances
The most functional scullery kitchens are planned like a compact workstation. Think in zones, then layer in storage so everything has a designated home.
Prep Zone
- Prioritize uninterrupted counter space: aim for 36–48 in (915–1220 mm) of clear prep area.
- Add a pull-out cutting board or a dedicated butcher block section for heavy chopping.
- Install task lighting directly over the counter (more on lighting below).
Clean-Up Zone
- A single-bowl undermount sink (18–24 in wide) handles sheet pans and large pots well.
- Place dishwasher adjacent to the sink for easy loading.
- Include a drying cabinet or dish rack shelf above the sink if you prefer air-drying.
Storage Zone
- Use full-height pantry cabinets for bulk goods and small appliances.
- Choose pull-out shelves (18–24 in deep) for heavy items—less digging, fewer spills.
- Add labeled bins for “breakfast,” “baking,” “snacks,” and “meal prep” to keep organization consistent.
Appliance Zone
Today’s kitchen design trend is keeping counters clear in the main kitchen. A scullery is the perfect place for:
- Espresso/coffee station with water access if possible
- Stand mixer with lift-up shelf (prevents heavy lifting)
- Air fryer and toaster oven (plan for heat clearance)
- Microwave drawer or compact microwave for quick reheats
Materials and Finishes: Durable, Cleanable, and Quiet
A scullery is a high-use zone. Choose materials that handle moisture, heat, and frequent wipe-downs—while still complementing your main kitchen design.
Countertop Recommendations (with Comparisons)
- Quartz: non-porous, low maintenance, highly stain resistant. Great for busy households. Cost: $60–$120/sq ft installed.
- Porcelain slab: extremely heat resistant and durable; excellent for a hardworking prep area. Cost: $70–$140/sq ft installed.
- Butcher block: warm and forgiving for prep, but needs regular oiling and can stain. Best as a section, not the whole counter. Cost: $40–$100/sq ft installed.
- Stainless steel: commercial performance and easy sanitizing; shows scratches (which many consider patina). Cost: $80–$200/sq ft installed.
Cabinetry and Hardware
- Use laminate or high-quality painted MDF for budget-friendly durability; upgrade hinges and slides for longevity.
- Consider plywood boxes if your scullery will carry heavy loads (appliances, bulk storage).
- Choose soft-close hinges and full-extension drawer slides to reduce noise and improve access.
Flooring That Handles Spills
- Porcelain tile: top choice for water resistance and easy cleaning. Cost: $6–$20/sq ft installed.
- LVP (luxury vinyl plank): softer underfoot and budget-friendly; choose a high-wear layer for durability. Cost: $4–$12/sq ft installed.
- Engineered wood: warmer look but needs caution with standing water. Cost: $8–$18/sq ft installed.
Backsplash and Wall Finishes
- Use full-height tile behind the sink for splash protection.
- Washable paint (scrubbable satin or semi-gloss) works well elsewhere.
- For a timeless look: white ceramic subway or zellige-style tile pairs well with most kitchen renovation styles.
Lighting, Power, and Ventilation: The “Invisible” Must-Haves
Even a beautiful scullery becomes frustrating if it’s dim, underpowered, or overheats from appliances.
Lighting Plan
- Ambient: recessed LEDs or a low-profile ceiling fixture.
- Task: under-cabinet LED strips (3000K warm-white is a popular modern kitchen sweet spot).
- Inside cabinets: motion-sensor lights help in tall pantry storage.
Electrical Recommendations
- Add more outlets than you think: plan at least one outlet every 4 ft (1.2 m) along counter runs, plus dedicated outlets for major appliances.
- Include USB-C outlets for tablets/recipes and charging.
- If building a coffee station, consider a dedicated circuit for espresso machines and grinders.
Ventilation Tips
- If you’ll run heat-producing appliances (air fryer, toaster oven), include a quiet exhaust fan or ensure strong HVAC return airflow.
- A pocket door helps hide clutter, but ensure the room doesn’t trap heat and odors.
Budget and Cost Ranges: What a Scullery Adds to a Renovation
Scullery kitchen costs vary widely based on whether you’re converting existing space or building new square footage, and whether you add plumbing (sink/dishwasher).
Typical Cost Ranges (U.S.)
- Micro-scullery (cabinet run + door, no plumbing): $3,000–$12,000
- Mid-range scullery (cabinets + counters + outlets + upgraded storage): $12,000–$30,000
- Full scullery with sink + dishwasher + custom storage: $25,000–$60,000+
Where Costs Rise Fast
- Plumbing moves: adding a sink and dishwasher can add $2,000–$10,000+ depending on access and distance to lines.
- Custom cabinetry: beautiful and efficient, but it’s often the biggest budget driver.
- Premium surfaces: porcelain slabs and stainless counters tend to cost more than quartz or laminate.
Budget-Smart Design Approaches
- Keep plumbing close to existing kitchen lines to minimize labor.
- Use semi-custom cabinetry and spend on a few high-impact upgrades (pull-outs, waste sorting, appliance lifts).
- Mix materials: durable quartz for most counters + a small butcher block baking station.
Organization Features Worth the Upgrade
Sculleries shine when they’re organized. These additions improve daily function and keep the main kitchen clutter-free.
- Pull-out pantry columns: ideal for oils, spices, and narrow storage gaps.
- Tray dividers: store sheet pans, cutting boards, and serving platters vertically.
- Integrated waste + recycling: a double pull-out bin reduces visual mess.
- Appliance garage with tambour or pocket doors: hides cords and visual noise.
- Bulk storage bins: choose clear, stackable containers to reduce packaging clutter.
Maintenance Advice: Keep It Looking New
- Quartz: wipe with mild soap; avoid abrasive pads. Clean spills quickly to prevent dulling from harsh chemicals.
- Porcelain: highly stain resistant; use pH-neutral cleaners. Avoid dropping heavy cast iron on corners.
- Butcher block: oil regularly (every 3–6 weeks initially, then as needed). Use trivets; wipe standing water immediately.
- Stainless steel: follow the grain; use microfiber cloths to reduce streaking.
- Cabinet interiors: add wipeable liners under oils and spices to prevent residue buildup.
Common Mistakes to Avoid
- Making it too narrow: a cramped scullery becomes a bottleneck. Protect the aisle clearance (36–42 in).
- Not planning outlets: relying on one or two plugs leads to tangled cords and unsafe appliance use.
- Skipping task lighting: shadows on prep surfaces make cooking harder and less safe.
- Underestimating storage needs: if the scullery becomes “where stuff goes,” it needs pull-outs, zones, and labeling.
- Choosing delicate finishes: glossy, scratch-prone surfaces can look worn quickly in a hardworking back kitchen.
- Poor door planning: doors that swing into work zones waste space; pocket or sliding doors usually perform better.
FAQ: Designing a Kitchen with a Scullery
Do I need a scullery if I already have a walk-in pantry?
Not necessarily. If your pantry is only for food storage, a scullery adds prep and clean-up function. If your pantry already has counters, outlets, and space for appliances, you may already have a scullery-like setup.
How big should a scullery be?
A functional scullery can start around 20–30 sq ft for a micro-scullery run, but 40–80 sq ft is more comfortable for a sink, dishwasher, and meaningful counter space. The best size depends on whether it’s a pass-through or dead-end layout.
Should a scullery match the main kitchen finishes?
It should coordinate, but it doesn’t have to match exactly. Many homeowners choose simpler, more durable finishes in the scullery (easy-clean flooring, budget-friendly cabinet fronts) while keeping the main kitchen more “showpiece.”
Is a second sink worth it?
If you cook often or entertain, a second sink is one of the most valuable scullery upgrades. It supports simultaneous tasks (rinsing produce, soaking pans, filling pots) and keeps the main kitchen sink clear.
Can I add a scullery in a small kitchen?
Yes—consider a micro-scullery behind pocket doors, a tall cabinet wall with an appliance garage, or converting an adjacent closet/laundry nook. The key is power, lighting, and a dedicated counter run so it functions like a true back kitchen.
What’s the best door for a scullery?
Pocket doors and sliding doors are top choices because they don’t steal floor space. If you prefer a hinged door, ensure it swings away from the main work zone and doesn’t collide with cabinet doors or drawers.
Next Steps: Turn Your Scullery Idea into a Working Plan
Start by identifying what you want out of your main kitchen: cleaner counters, a more minimalist look, better entertaining flow, or extra storage. Then design your scullery around the tasks that create the most clutter—small appliances, dirty dishes, bulk groceries, and meal prep.
- Measure your available footprint and confirm clearances (36–42 in aisles).
- Choose a layout (walk-through, dead-end, or micro-scullery niche).
- Prioritize zones: prep, clean-up, storage, and appliances.
- Lock in durable materials (quartz/porcelain, wipeable paint, water-resistant flooring).
- Plan lighting and outlets early—before cabinetry is finalized.
For more kitchen renovation guidance, storage solutions, and timeless kitchen design ideas, explore the latest inspiration on thedecormag.com.
More Articles
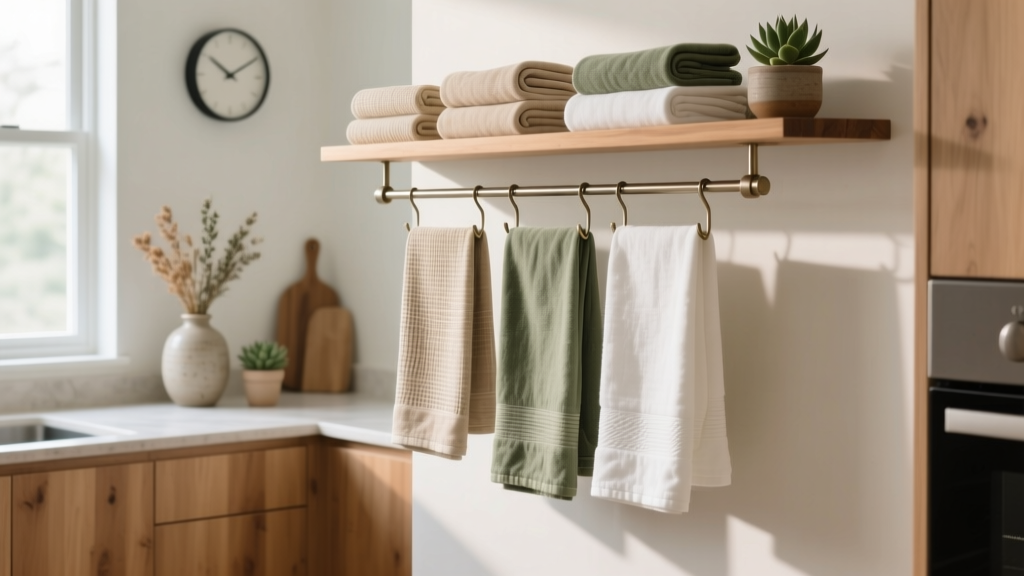 Best Kitchen Towel Storage Ideas - The Decor Mag
 Kitchen That Inspires Cooking: Design Ideas (2026)
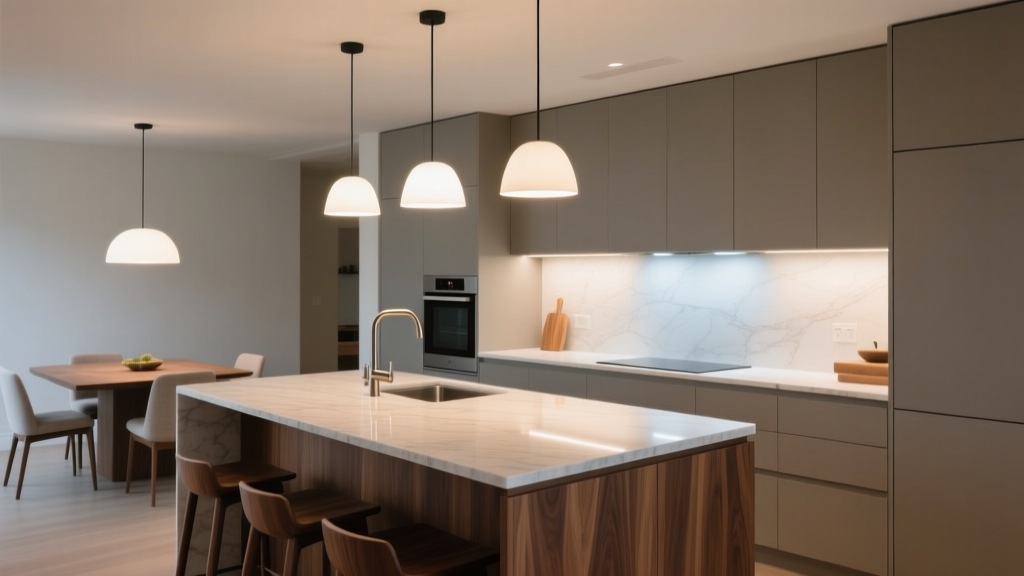 How to Choose Kitchen Lighting Temperature - The Decor Mag
 Science for Beginners: Clear, Kitchen-Tested Principles You Can Use Today
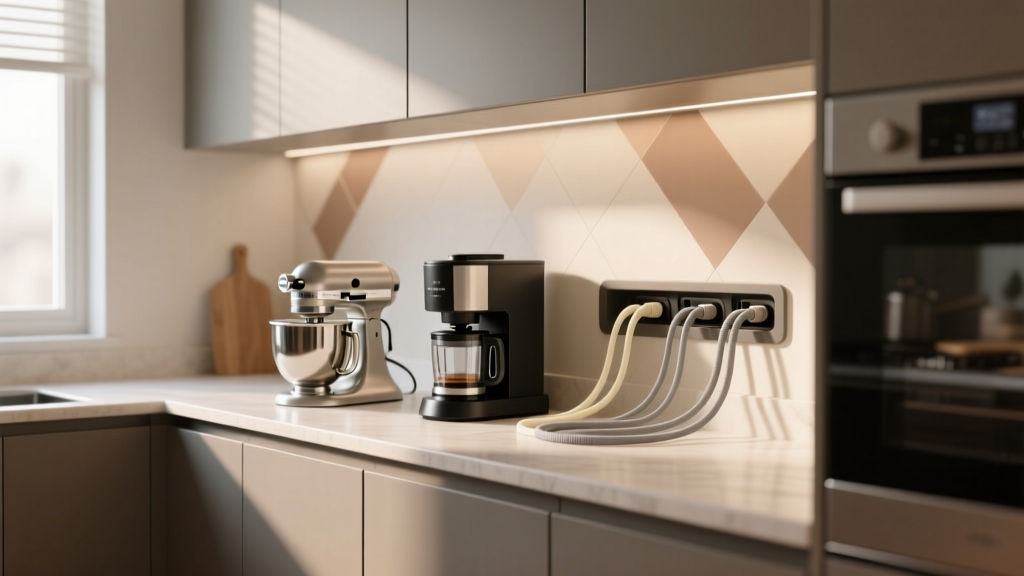 Best Kitchen Appliance Cord Management - The Decor Mag
 Industrial Kitchen Design Inspiration - The Decor Mag
 Kitchen Backsplash Ideas That Stand Out - The Decor Mag
 Open Concept Kitchen Renovation: Pre-Demolition Checklist
 Kitchen Butcher Block Countertop Care - The Decor Mag
 Best Kitchen Cutting Board Wall Mount Ideas - The Decor Mag