
Open Crumb Baking: Fermentation Tips for Better Bread
Matching open with proof means designing fermentation so the dough develops an open, irregular crumb while the oven locks that structure in place. In practice, you tune hydration, starter activity, bulk temperature, shaping tension, final proof, steam, and baking temperature as one system. A dough at 78 percent hydration proofed at 76°F may be too weak if the oven runs cold, while a cooler 72°F proof can deliver beautiful holes if steam is generated for the first 20 minutes. This guide explains how professional bakers and home cooks can align proofing and baking for sourdough, yeasted bread, and enriched doughs using measurable targets and reliable equipment.
What Matching Open With Proof Means in a Working Kitchen
In bread baking, the phrase open with proof refers to the relationship between fermentation and the final crumb. Open describes holes that vary from small and irregular to large, glossy, and tear-shaped. Proof describes the stage where yeast and bacteria produce gas while gluten matures. When those two are matched, the dough expands predictably in the oven and holds an airy structure after baking. When they are mismatched, the loaf may look dramatic on the bench but collapse, gum out, or bake into a tight, dense crumb.
The matching process starts before ingredients are measured. A baker chooses flour protein, water percentage, levain or yeast level, ambient temperature, and proofing method with a target bake in mind. A 70 percent hydration dough baked in a hot 500°F oven with 20 minutes of steam needs a different proof than an 85 percent dough baked in a home oven that loses heat quickly. The goal is to make proofing and baking partners rather than separate steps.
Why Proofing Temperature and Time Shape the Open Crumb
Fermentation is a temperature-controlled race between gas production and gluten strength. Yeast and lactic acid bacteria produce carbon dioxide, ethanol, and acids. The dough must trap those gases in cells of gluten and starch. If proofing is too warm or too long, the gas becomes abundant but the network weakens. If proofing is too cold or short, the network remains strong but the loaf has little lift and a tight crumb.
Gas Production and Gluten Strength
At 75 to 78°F, a typical sourdough levain made at a 1 to 2 to 2 ratio can peak in four to six hours. At that temperature, CO2 production is steady, and many wheat doughs retain enough elasticity to stretch. At 82 to 86°F, gas production may double, but protease enzymes and acid can soften gluten faster. A dough that doubles quickly can still close the crumb if the oven spring is delayed or the final proof is pushed too far.
Enzyme Activity and Flavor
Proofing also changes starch and protein breakdown. Longer, cooler proofs at 38 to 45°F allow slower acid development and more complex flavor without excessive weakening. A 12 to 16 hour retard in a refrigerator set at 3 to 5°C can give a 75 percent hydration sourdough a more open crumb than a 2 hour warm proof because the dough strengthens overnight while retaining gas. Brands such as King Arthur Bread Flour at about 12.7 percent protein and Bob’s Red Mill Artisan Bread Flour around 13.5 percent protein handle extended fermentation differently, so the same proof schedule may not produce the same open structure.
How to Match Hydration, Fermentation, and Oven Spring
Hydration is the easiest variable to change, but it must be matched to proofing and baking. A 65 percent hydration dough is easier to shape and can hold a tight crumb. An 80 to 85 percent hydration dough is more extensible, allowing gas to push larger pockets if the oven springs hard. However, high hydration doughs need more fermentation support. If the bulk is underproofed, the crumb may be gummy; if overproofed, the loaf spreads and the top becomes flat.
Oven spring is the moment when gas, steam, and starch expansion force the loaf upward. Matching open with proof means the dough reaches the oven with enough gas to expand but enough structure to survive. For most artisan loaves, aim for a final proof where the dough increases by 50 to 80 percent, depending on temperature, and still springs 25 to 35 percent in the first 15 minutes of baking. A dough that springs more than 40 percent in the oven may have been underproofed; one that barely rises may be overproofed.
Practical Proofing Methods for an Open Crumb
Room-Temperature Bulk Fermentation
Room-temperature bulk fermentation is the backbone of many open crumb formulas. For a 1,000 gram sourdough batch with 20 percent levain, hold the dough between 75 and 78°F for three to five hours. Use stretch and folds every 30 minutes for the first two hours, then switch to coil folds every 45 to 60 minutes if the dough feels delicate. The bulk is finished when the dough has increased 40 to 60 percent, shows domed strength, and smells lightly tangy, not boozy.
Retarded Final Proof
Retarding after shaping slows yeast while preserving gas. Place shaped loaves in 8 to 9 inch round bannetons, wrap, and cool at 3 to 5°C for 10 to 16 hours. A 75 to 80 percent hydration dough often benefits from a longer retard because the cooler temperature firms gluten and makes scoring more controlled. When you move the loaf to a 500°F oven, the cold interior delays setting, allowing steam to expand pockets before the crust hardens.
Steam and Oven Spring
Steam keeps the surface plastic for the first 15 to 20 minutes. A Lodge 7.25 quart enameled Dutch oven preheated at 500°F for 45 minutes can trap enough moisture from the dough and any added water to create strong spring. Le Creuset Signature 7.25 quart Dutch ovens perform similarly, though lighter cast iron may need a few extra minutes to stabilize. If using a Breville Smart Oven Air Fryer Pro with a baking stone, inject 10 to 12 sprays of water into the chamber and bake on a covered setting or use a cloche.
Equipment Choices That Help You Match Proof to Bake
Equipment does not create open crumb by itself, but it makes the match repeatable. A mixer that develops gluten quickly can shorten bulk time. A Bosch MUM5 or KitchenAid Pro Line 600 with a dough hook can build a 12 percent protein wheat dough in 8 to 12 minutes on speed 2, while a Cuisinart Precision Stand Mixer may need 10 to 15 minutes depending on load. If you mix by hand, longer folds may replace machine strength, but you still need to match the resulting dough to proofing temperature.
Temperature control is the second major factor. An Anova Precision Oven can hold proofing at 78°F with 0.5 degree accuracy, far steadier than a warm kitchen corner. A Thermomix TM6 Fermentation mode at 37°C can proof dough in one hour for quick yeast breads, but it is too warm for many high-hydration sourdoughs. A ThermoPro TP49 thermometer placed near the dough, not on a hot oven wall, tells you whether your proof is actually happening at your target temperature.
- Use a 9 inch banneton for 800 to 1,000 gram rounds and a 10 inch oval for 1,200 gram bâtards.
- Use a digital scale accurate to 0.1 gram for yeast and levain, especially below 2 grams of instant dry yeast.
- Use a Dutch oven at least 5 quarts so the loaf can rise without touching the lid.
- Use an infrared or probe thermometer to check dough temperature before bulk, targeting 76 to 78°F for wheat sourdough.
- Use a Meater 2 probe or oven thermometer to confirm the oven recovers after steam is released.
A simple equipment table can prevent mismatches between proofing conditions and baking conditions.
| Proofing Stage | Target Temperature | Typical Time | Sign to Match | Effect on Open Crumb |
|---|---|---|---|---|
| Levain build | 75 to 78°F | 4 to 6 hours | Domed peak, 2 to 2.5 times volume | Steady gas without early acid weakening |
| Bulk fermentation | 74 to 78°F | 3 to 5 hours | 40 to 60 percent rise, smooth domed skin | Creates the primary gas cells |
| Final proof | 72 to 76°F | 1 to 2 hours | 50 to 80 percent rise, slow spring back | Expands and connects large holes |
| Retarded proof | 36 to 40°F | 10 to 16 hours | Firm but not frozen, slight dome | Controls fermentation and improves scoring |
| Oven spring | 500°F with steam | 15 to 20 minutes | Rapid lift, surface stretches | Sets open structure before collapse |
Common Mistakes That Close the Crumb
The first mistake is treating the recipe as a clock. A 4 hour bulk written in a book may assume 76°F ambient temperature and a mature levain. If your kitchen is 68°F, the same dough may need 6 hours. If your kitchen is 84°F, it may be done in 2.5 hours. Matching open with proof requires watching dough temperature, rise, and feel, not only the timer. A dough that is too cold will bake with uneven holes; a dough that is too warm may collapse at the shoulders.
The second mistake is shaping that is too tight or too loose. Tight shaping seals the surface and can trap small gas pockets, producing a dense core. Overly loose shaping cannot hold structure, so large holes merge and the loaf spreads. Aim for surface tension that resists a fingertip but still allows the dough to expand 25 percent during final proof. The third mistake is insufficient steam. If the crust sets before the loaf expands, the crumb closes even if proofing was ideal.
Underbaking also damages the open crumb. A loaf pulled at 195°F internal temperature may feel hollow but retain gummy starch near the center. For most wheat sourdoughs, target 205 to 210°F internal temperature. Enriched doughs with butter and eggs may finish closer to 190 to 200°F, but high-hydration lean loaves need more time to dry the crumb. If the loaf is not baked enough, the large holes collapse when the structure cools.
A Simple Test Kitchen Protocol for Consistent Results
Once you understand the variables, run a controlled bake to find your kitchen match. Use the same flour, hydration, and oven setup for three bakes. Change only one proofing factor each time. Keep notes on dough temperature, bulk duration, final proof, oven recovery, and crumb openness. This method is more reliable than chasing a perfect loaf from a video because it adapts fermentation to your equipment.
- Mix 1,000 grams of King Arthur Bread Flour with 700 grams of water, 20 grams salt, and 200 grams mature levain for a 70 percent hydration loaf.
- Bring dough to 76°F using a warm or cool water blend, and record the starting temperature with a ThermoPro or Meater probe.
- Rest 30 minutes, then perform four sets of stretch and folds at 45 minute intervals, stopping early if the dough becomes smooth and domed.
- Bulk ferment at 75 to 78°F until the dough increases 50 percent and the surface reflects light evenly.
- Shape gently into an 800 gram round, place in a floured banneton, and proof at 74°F for 90 minutes or retard at 38°F for 12 hours.
- Preheat a 7.25 quart Lodge Dutch oven at 500°F for 45 minutes, then bake covered for 20 minutes.
- Uncover, reduce heat to 450°F, and bake 20 to 25 minutes until internal temperature reaches 208°F and the crust is deep mahogany.
Compare the three outcomes. The warm final proof usually gives larger holes but less consistency. The retarded proof often gives a more controlled open crumb and better scoring. If your oven loses heat, add a second Dutch oven preheat or use a cloche. If your mixer overheats the dough, use colder water so bulk fermentation does not run past the point where gluten can hold the gas.
Matching open with proof is ultimately a balance of biology and physics. Fermentation creates the holes; the oven sets them. Your job is to make each stage finish at the right moment. Start with a dough temperature target, choose a hydration the flour can support, give the loaf enough steam, and record the result. Once the proofing schedule and baking schedule agree, the open crumb stops being a surprise and becomes a repeatable kitchen outcome.
More Articles
 Best Budget Kitchen Appliances Under $300 (2026)
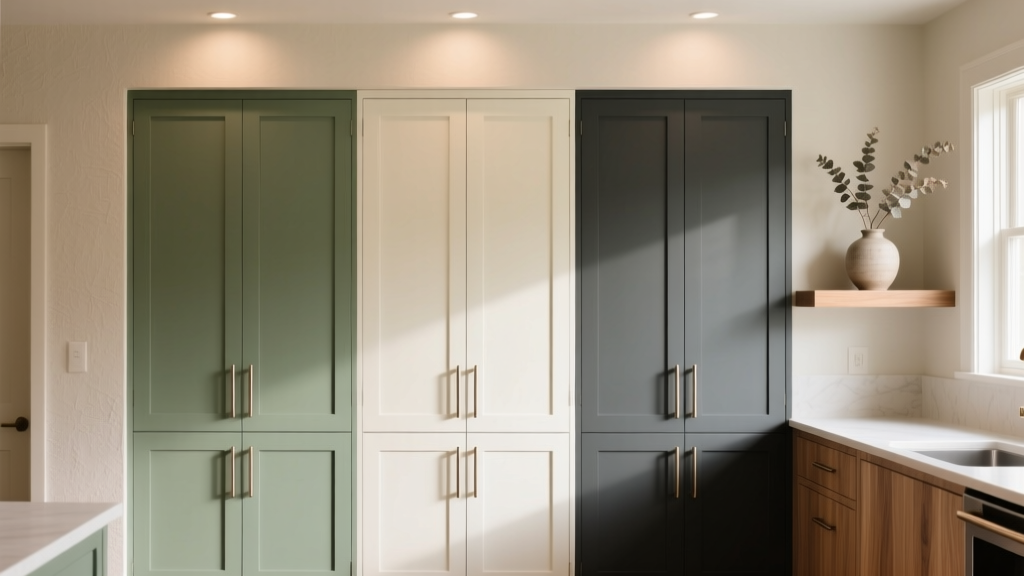 Kitchen Cabinet Color Trends - The Decor Mag
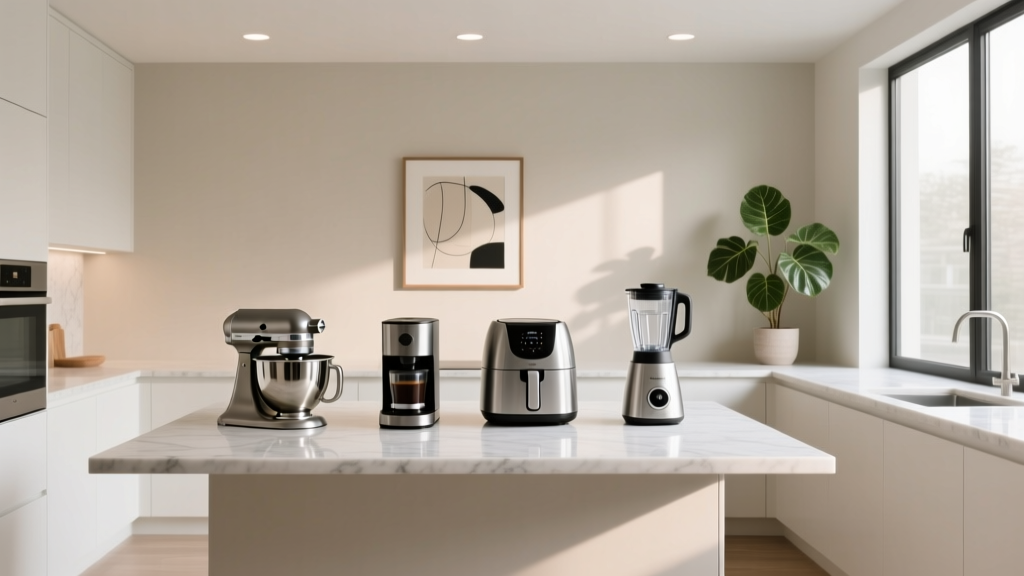 Best Kitchen Appliance Maintenance Schedule - The Decor Mag
 Smart Kitchen Tech: How to Incorporate in 2026
 Top Design Styleguides for 2026: Real Examples & Tips
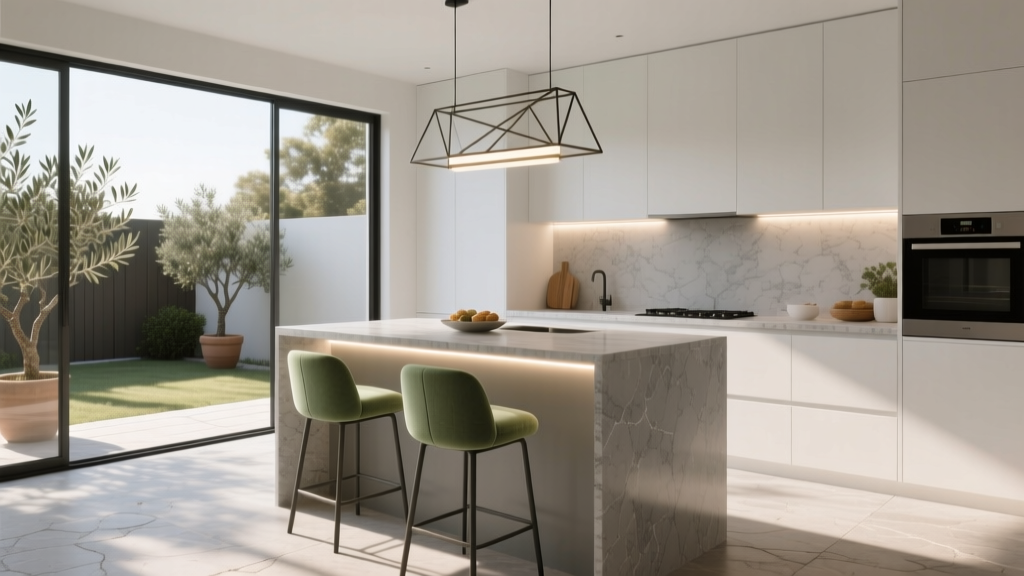 How to Design a Kitchen with a Breakfast Bar - The Decor Mag
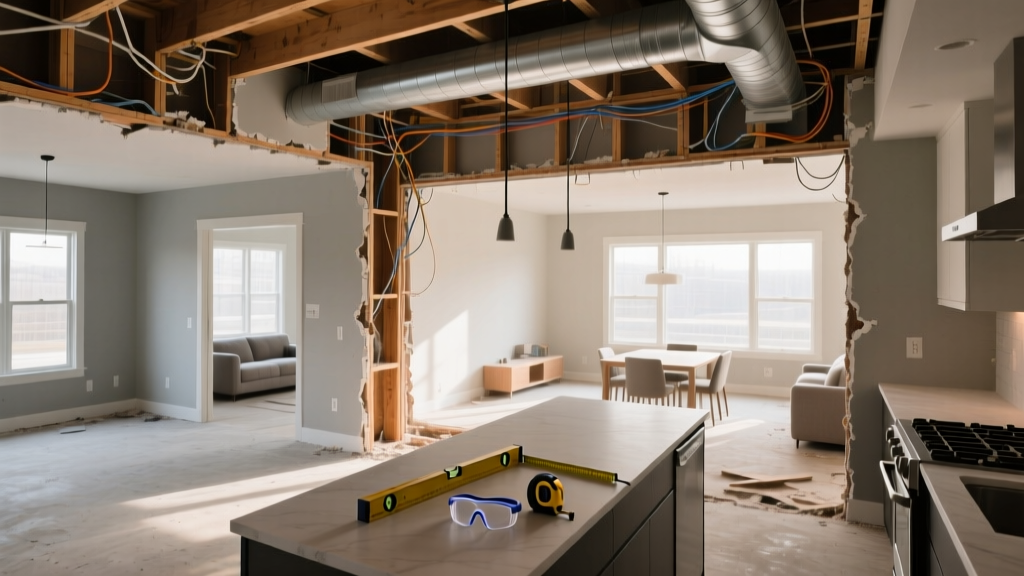 Open Concept Kitchen Renovation: Pre-Demolition Guide
 Best Kitchen Baking Sheet Vertical Storage - The Decor Mag
 Industrial Kitchen Design Inspiration - The Decor Mag
 Walk-In Pantry Kitchen Design Ideas (2026)