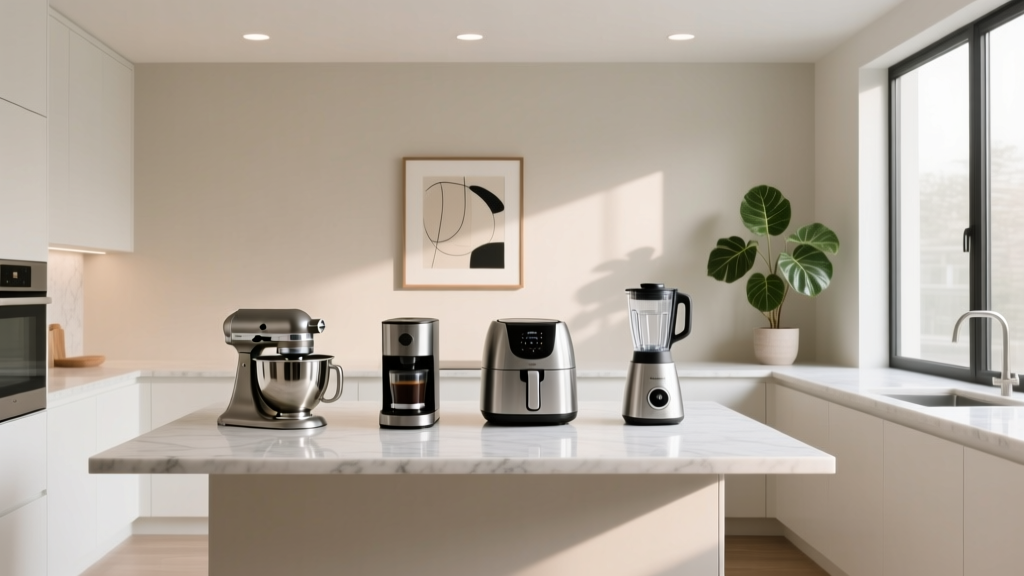
Best Kitchen Appliance Maintenance Schedule - The Decor Mag
A well-designed kitchen isn’t just about the right cabinet color or the perfect pendants over the island. The way your appliances perform day after day has a huge impact on how your kitchen feels to live in—quiet, efficient, odor-free, and reliably ready for everything from weeknight dinners to holiday hosting.
For homeowners planning a kitchen renovation (or refreshing an existing space), an appliance maintenance schedule is one of the most practical “design upgrades” you can adopt. It protects the investment you’ve made in premium finishes and built-ins, reduces emergency repair calls, and keeps your kitchen workflow smooth—especially in open-concept layouts where noise and odors travel quickly.
Below is a realistic, room-by-room-friendly schedule you can follow, plus renovation-minded tips on layouts, materials, ventilation, and storage that make maintenance easier. The goal: appliances that last longer, perform better, and look like they belong in a magazine-worthy kitchen—because they do.
The Maintenance Mindset: Design for Easy Access
Before getting into the calendar, start with one principle that timeless kitchens share: if it’s hard to reach, it won’t get cleaned. When planning a kitchen renovation or optimizing your current layout, prioritize access and clearances.
Recommended clearances and “maintenance-friendly” design details
- Refrigerator: Leave 1–2 inches behind and above (or per manufacturer specs) for airflow. Ensure doors can open at least 90° without hitting walls or islands.
- Range and cooktop: Maintain side clearances required by code and manufacturer; aim for 15 inches of landing space on at least one side for safer use and easier cleaning.
- Dishwasher: Provide a clear path to remove the bottom rack fully—avoid drawer pulls or islands that block the door when open.
- Vent hood: Size and duct it correctly (more below). A well-performing hood reduces grease buildup on cabinets, lighting, and ceilings.
- Water shutoffs: Install accessible shutoff valves for the dishwasher, refrigerator ice maker, and sink. A dedicated access panel can save cabinetry later.
Materials that make appliance zones easier to maintain
- Quartz countertops: Low-porosity and easy to wipe—great around ranges and coffee stations.
- High-quality laminate or lacquered cabinetry: Wipes clean, but choose fingerprint-resistant finishes in high-touch homes.
- Backsplash choices: Large-format porcelain slabs or tiles with minimal grout lines cut cleaning time behind the cooktop.
- Flooring: Porcelain tile and sealed LVP handle appliance leaks better than untreated wood; use watertight underlayment where appropriate.
Your Best Kitchen Appliance Maintenance Schedule (Daily to Yearly)
Use this as a master schedule. If you’re renovating, consider printing it and storing it in a drawer organizer near appliance manuals and warranty documents.
Daily (5–10 minutes)
- Wipe appliance fronts: Especially stainless steel and matte finishes near handles. Use a microfiber cloth and a cleaner recommended for your finish.
- Clear range spills: Wipe fresh splatters on glass tops and surrounding counter edges to prevent baked-on residue.
- Run the dishwasher smartly: Scrape, don’t pre-rinse heavily (modern detergents need some soil). Check that spray arms spin freely.
- Quick sink/disposal rinse: Run water for 10–15 seconds after disposal use; avoid fibrous foods.
Weekly (20–40 minutes)
- Dishwasher filter clean: Remove and rinse the filter. This is one of the biggest performance boosters for odor control and spotless dishes.
- Degrease cooktop grates and knobs: Warm soapy water works for many; avoid abrasives on enamel.
- Microwave interior wipe-down: Steam clean with a bowl of water and lemon for 2–3 minutes, then wipe.
- Refrigerator “reset”: Toss leftovers, wipe sticky shelves, and check for blocked vents inside.
- Small appliance station tidy: Coffee maker area, toaster crumbs, air fryer baskets—your kitchen will look instantly more organized.
Monthly (45–90 minutes)
- Clean the oven door glass: Use a manufacturer-approved product; avoid razor scraping unless your manual allows it.
- Inspect refrigerator door gaskets: Wipe with mild soap; test sealing by closing a paper strip—if it slips easily, the gasket may need attention.
- Descale coffee/espresso machines: Follow your model’s cycle. Hard water builds scale fast and changes flavor.
- Range hood exterior wipe: Grease attracts dust; regular wiping prevents yellowing and sticky buildup.
- Check under-sink area: Look for moisture around dishwasher hoses, disposal connections, and shutoff valves.
Quarterly (Every 3–4 months)
- Deep-clean the dishwasher: Run a cleaning cycle with a dishwasher cleaner or citric-acid-based product. Clean spray arms if clogged.
- Clean range hood filters: Metal mesh filters often go in the dishwasher (verify first); baffle filters usually wash well with hot soapy water.
- Vacuum refrigerator coils (if accessible): Coils clogged with dust make fridges work harder, raising energy use.
- Inspect appliance cords and outlets: Look for heat discoloration or fraying; address promptly with a qualified electrician.
Biannually (Twice a year)
- Calibrate oven temperature (if model supports it): If bakes are inconsistent, calibration can help.
- Replace refrigerator water filter: Common schedule is every 6 months, but usage and water quality matter.
- Clean behind/under large appliances: Carefully pull out the refrigerator and range if safe; use an appliance roller mat if you do this regularly.
- Check ice maker and drip tray: Clean per manufacturer directions to reduce odors and buildup.
Yearly (Plan a “kitchen maintenance weekend”)
- Schedule a pro range/hood inspection (gas): Especially for gas ranges—confirm safe combustion and proper ventilation.
- Inspect dishwasher supply line: Consider a braided stainless steel line; replace aging plastic lines.
- Review warranties and replace wear parts: Gaskets, filters, and water lines are cheaper than major repairs.
- Audit kitchen organization: Re-evaluate zones (prep, cook, clean, coffee) and adjust storage for how you live now.
Appliance-by-Appliance Maintenance Guide (With Renovation Tips)
Refrigerator: Preserve performance and prevent odor
Key tasks: wipe door gaskets monthly, replace water filters every 6 months, vacuum coils quarterly (as applicable).
Design recommendations:
- Counter-depth vs. standard-depth: Counter-depth looks built-in and streamlines kitchen design, but offers less capacity. Standard-depth is often more budget-friendly per cubic foot.
- Panel-ready trend: Panel-ready refrigerators create a seamless cabinetry look—a top kitchen design trend—yet require precise installation and ventilation clearances.
- Floor protection: If using hardwood, add a discreet protective mat under the fridge to guard against small leaks.
Budget range: $1,000–$3,000 for most quality freestanding models; $6,000–$15,000+ for built-in and premium panel-ready options (plus cabinetry panels and install).
Dishwasher: Quiet, clean, and odor-free
Key tasks: filter weekly, deep clean quarterly, check hoses twice yearly.
Design recommendations:
- Choose a quiet model for open-concept kitchens: Look for 44–50 dBA for noticeably quiet operation.
- Plan the “clean-up zone”: Place dishwasher within 36 inches of the sink when possible for efficient loading and plumbing simplicity.
- Consider a panel-ready dishwasher: Great for modern, minimal kitchens. Pair with a visible status light or floor beam indicator so you know it’s running.
Budget range: $500–$1,200 for solid performers; $1,200–$2,500+ for premium quiet models and panel-ready designs.
Range, Cooktop, and Oven: Clean heat is better heat
Key tasks: wipe daily/weekly, deep-clean monthly, inspect gas connections yearly with a pro if needed.
Design recommendations:
- Induction trend (and maintenance win): Induction cooktops are easier to clean than gas and many electric coils, and they keep kitchens cooler—great for busy households.
- Landing zones: Ensure at least 15 inches of counter space adjacent to the cooktop/range for safer transfers and fewer spills.
- Backsplash choice: A slab or large-format tile behind the cooktop minimizes grout scrubbing.
Budget range: $700–$2,500 for many freestanding ranges; $2,500–$8,000+ for pro-style; induction cooktops often $1,200–$4,000+.
Vent Hood: The hidden hero of a clean kitchen
Key tasks: wipe monthly, clean filters quarterly, inspect ducting during renovations.
Design recommendations:
- Vent outside whenever possible: Ducted hoods outperform recirculating models for grease and odor control.
- Match hood size to cooktop: A common guideline is a hood at least as wide as the cooking surface; many designers prefer 3 inches wider on each side for better capture.
- Makeup air planning: Higher-CFM hoods may require makeup air depending on local code—factor this into renovation budgets early.
Budget range: $300–$1,000 for basic; $1,000–$3,500+ for designer or high-performance models, plus ducting and installation costs.
Microwave, Speed Oven, and Wall Ovens: Keep vents clear
Key tasks: weekly interior wipe-down, monthly check vents and trim, yearly review door seals.
Design recommendations:
- Drawer microwaves: A popular kitchen renovation choice that frees up visual space. Ensure the surrounding cabinetry is planned to manufacturer specs for airflow.
- Wall oven heights: Install with comfortable access—many homeowners prefer the primary oven rack near waist to chest height for safer lifting and fewer spills.
Garbage Disposal: Small habits prevent big clogs
Key tasks: weekly rinse routine, monthly deodorize, avoid misuse.
- Run cold water before, during, and 10–15 seconds after use.
- Avoid grease, pasta, rice, fibrous peels, and “flushable” wipes.
Budget range: $100–$350 for disposal units; $200–$600+ installed depending on electrical/plumbing conditions.
Budget Planning: What Maintenance Costs (and Saves)
Maintenance costs are usually modest compared to repairs or early replacement. Plan a small annual line item in your kitchen budget—especially if you’ve invested in premium appliances.
- Filters and cleaners: $50–$200/year (refrigerator filters, dishwasher cleaner, descaler).
- Wear-and-tear parts: $20–$150/year (gaskets, hoses, small components as needed).
- Professional service: $150–$400 per visit (region and appliance type vary), often worthwhile for gas, ventilation, or persistent performance issues.
Renovation tip: When comparing appliance packages, consider the “ownership cost” alongside the purchase price. A slightly higher-priced dishwasher with a stainless tub, accessible filter, and strong parts support can be a better long-term value.
Common Mistakes to Avoid
- Skipping the dishwasher filter: Odors and poor cleaning often trace back to a neglected filter.
- Using harsh abrasives on stainless steel: Scratches and cloudy patches are hard to reverse. Use microfiber and finish-appropriate products.
- Ignoring ventilation needs during a kitchen renovation: An underpowered or recirculating hood leads to greasy cabinets and lingering smells—especially in open-concept kitchens.
- Blocking appliance airflow with tight cabinetry: Panel-ready and built-in looks require correct clearances; overheating reduces lifespan.
- Forgetting shutoff access: A hidden valve behind a built-in can turn a small leak into a cabinet-damaging event.
- Overloading circuits: New appliance upgrades sometimes exceed old electrical capacity. Include an electrician in your renovation plan.
Kitchen Organization Ideas That Make Maintenance Automatic
Great kitchen design supports good habits. A few organization upgrades can reduce mess and shorten cleaning time.
Set up zones with storage that supports them
- Cooking zone: Store degreaser-safe wipes, microfiber cloths, and a soft brush in a pull-out near the range.
- Coffee zone: Add a drawer insert for descaling solution, filters, and measuring tools.
- Clean-up zone: Keep dishwasher tabs, rinse aid, and a small brush in a caddy under the sink with a drip tray.
- Food storage zone: Use clear bins in the fridge and pantry to cut spills and make weekly resets faster.
Small design upgrades with big payoffs
- Pull-out tray under small appliances: A 12–18 inch deep slide-out shelf makes it easier to pull out mixers or air fryers and clean behind them.
- Dedicated trash/recycling pull-out: Reduces crumbs and clutter on counters, improving kitchen organization.
- Toe-kick vacuum or sweep inlet: A trend in high-function kitchens; helps keep floors clean around cooking zones.
FAQ: Kitchen Appliance Maintenance Schedule
How often should I clean my dishwasher filter?
Weekly is ideal for most households, especially if you run the dishwasher frequently. At minimum, check it every 2–3 weeks to prevent odors and redepositing food particles.
Do I really need to vacuum refrigerator coils?
If your model has exposed or accessible coils, yes—every 3–6 months is a smart schedule. It improves efficiency and can extend the refrigerator’s lifespan. Some newer models have sealed coils and don’t require this; check your manual.
What’s the best way to keep stainless steel appliances from streaking?
Use a clean microfiber cloth, apply a small amount of stainless cleaner (or mild soap and water), and wipe with the grain. Buff dry with a second microfiber cloth. Avoid abrasive pads and chlorine-based cleaners.
How do I know if my range hood is actually working well?
Common signs it’s underperforming include lingering cooking smells, greasy film on nearby cabinets, and visible smoke that isn’t captured. Make sure filters are clean, the hood is ducted outdoors when possible, and the hood size matches the cooktop.
Are panel-ready appliances harder to maintain?
They can be slightly more complex because ventilation and access are more dependent on correct installation. The maintenance tasks are similar, but it’s crucial to follow manufacturer clearance requirements and ensure service access panels are planned during the kitchen renovation.
What maintenance should I plan right after a kitchen remodel?
Within the first month, confirm appliance clearances, register warranties, label shutoff valves, and run a quick check for leaks at the dishwasher and refrigerator water line. It’s also a great time to start the weekly dishwasher filter habit while everything is still new.
Next Steps: Make Your Kitchen Run Like It Looks
Choose one easy habit to start today—cleaning the dishwasher filter weekly or wiping down appliance fronts nightly—then add one monthly task to your calendar. If you’re planning a kitchen renovation, build maintenance into the design: proper ventilation, smart clearances, accessible shutoffs, and organized zones that make upkeep feel effortless.
For more kitchen renovation ideas, appliance guides, and timeless kitchen design inspiration, explore the latest at thedecormag.com.
More Articles
 Kitchen Marble Countertop Pros and Cons - The Decor Mag
 Sustainable vs. Kitchen: Rethinking Design, Appliances, and Daily Habits for Real Environmental Impact
 Best Kitchen Cutting Board Care Products - The Decor Mag
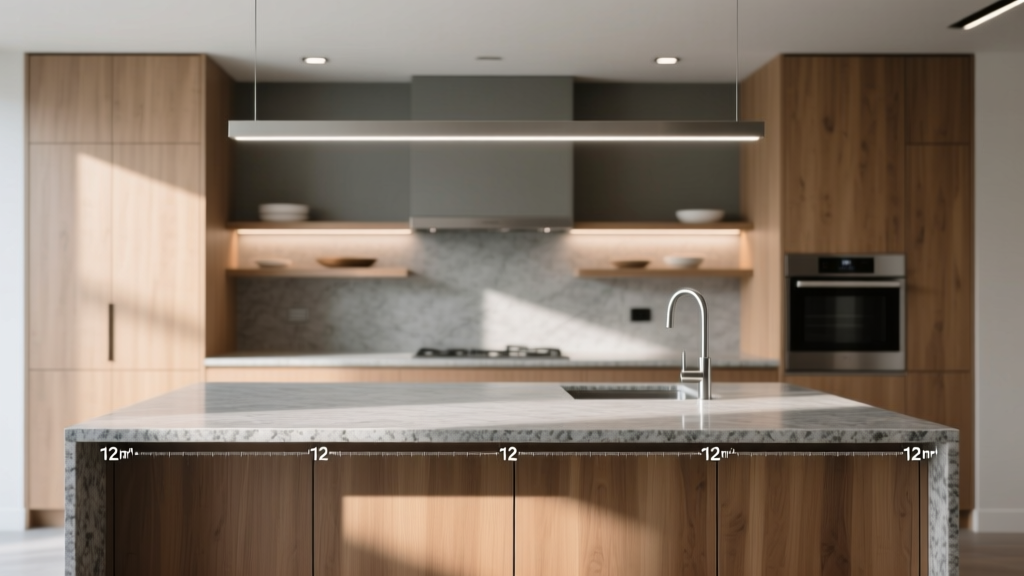 Kitchen Countertop Overhang Rules (2026)
 Open Concept Kitchen Renovation: Pre-Demolition Guide
 Best Kitchen Food Storage Container Systems - The Decor Mag
 How to Choose the Perfect Kitchen Countertop - The Decor Mag
 How to Design a Kitchen for Multiple Cooks - The Decor Mag
 Best Kitchen Paper Towel Holder Options - The Decor Mag
 Statement Kitchen Lighting Design (2026)