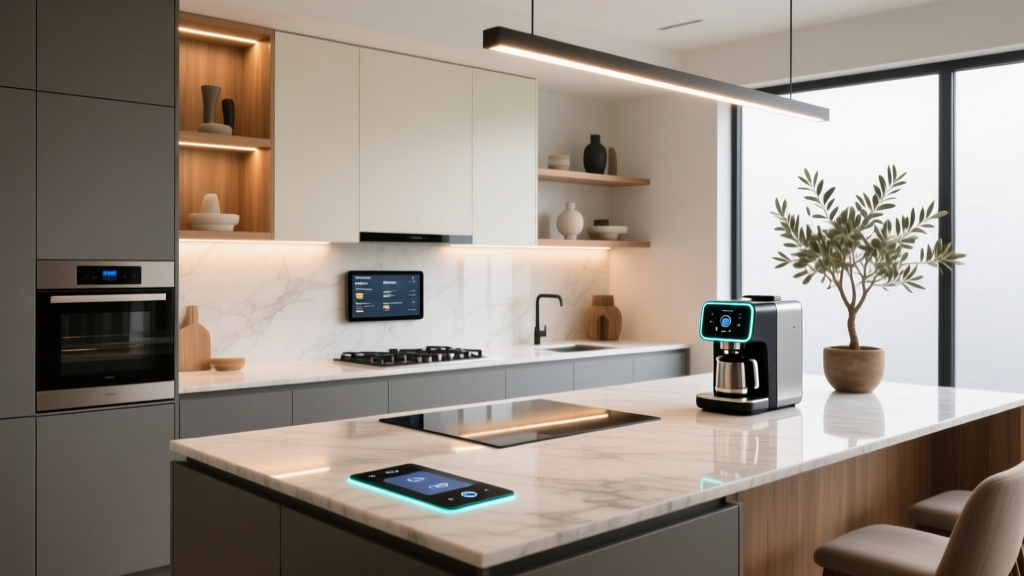
Smart Kitchen Tech: How to Incorporate in 2026
The kitchen has always been the hardest-working room in the home—part workshop, part gathering spot, part command center. Today, smart kitchen technology makes that work smoother: lights respond to your hands being full, faucets dispense the exact amount of water for pasta, refrigerators track groceries, and ovens help prevent overcooking. When smart features are chosen with intention, they don’t just feel “high-tech”—they make a renovated kitchen more functional, comfortable, and organized.
For homeowners planning a kitchen renovation (or looking to improve an existing space), the goal isn’t to pack your kitchen with gadgets. It’s to integrate smart systems that solve everyday pain points: poor task lighting, cluttered counters, inconsistent cooking results, energy waste, and the constant “Where is that?” search. The best smart kitchen design looks timeless, works intuitively, and is built around your layout, storage plan, and how you actually cook.
This guide breaks down the most practical ways to incorporate smart tech in your kitchen, with design recommendations, cost ranges, measurements that matter, and mistakes to avoid—so your kitchen renovation delivers real-life benefits, not just novelty.
Start with a Smart Tech Plan (Before You Pick Appliances)
Audit your routines and pain points
Smart tech works best when it’s targeted. Before shopping, list what frustrates you most:
- Not enough task lighting over prep areas
- Forgetting the oven is on or timers are scattered across devices
- Hands full while cooking (lights, faucet, music controls)
- Cluttered counters from chargers, speakers, and small appliances
- Hard-to-reach storage and pantry “black holes”
- Temperature inconsistency in the fridge or wine storage
Build your kitchen’s “smart backbone”
Think in layers: power, data, and control. Even if you don’t buy every smart device now, wiring and placement decisions during renovation can save major cost later.
- Electrical: Plan dedicated circuits for major appliances; include more outlets than you think you need.
- Network: Strong Wi-Fi (or wired Ethernet for reliability) where appliances live—especially behind built-ins.
- Control points: Decide where you’ll manage smart features (phone app, voice assistant, wall keypad, or a smart display).
Measurements and placement that prevent regrets
- Outlet height above countertop: Typically 4–6 inches above the counter surface, aligned to backsplash design.
- Under-cabinet lighting: Place LED strips toward the front of the cabinet underside to reduce shadows on the counter.
- Appliance ventilation clearances: Follow manufacturer specs exactly—smart fridges and wall ovens often need strict airflow.
- Charging zones: Include at least one hidden charging drawer or a pop-up outlet in an appliance garage to protect sightlines.
Budget snapshot
- Foundational upgrades (outlets, circuits, switches): $500–$3,000+ depending on scope
- Network improvements (mesh Wi-Fi, extra access point): $200–$800
- Whole-kitchen integration (professional smart home system): $2,000–$10,000+
Smart Lighting: The Highest-Impact Upgrade for Most Kitchens
If you do one smart upgrade, make it lighting. Smart lighting improves safety, mood, and kitchen functionality—and it complements both modern kitchen design trends and timeless layouts.
Layer your lighting (and control it intelligently)
- Ambient: Recessed lights or ceiling fixtures for overall illumination
- Task: Under-cabinet LEDs, pendants over island seating, sink lighting
- Accent: Toe-kick lighting, glass cabinet lighting, open-shelf highlights
Smart features that matter
- Scenes: “Prep,” “Cooking,” “Dinner,” “Nightlight,” and “Cleaning” presets
- Motion sensors: Ideal for pantries, toe-kicks, and mudroom-adjacent kitchens
- Dimming: Choose smooth dimming LED drivers to prevent flicker
- Color temperature tuning: Set 2700K–3000K for warm ambiance; 3500K–4000K for crisp task work
Design recommendations
- Toe-kick LED strips: Install 2–4 inches back from the toe-kick face for a soft wash of light; pair with motion for nighttime navigation.
- Under-cabinet channels: Use aluminum channels with diffusers for a seamless look and better heat management.
- Backsplash coordination: If you’re using reflective tile or polished stone, dimming becomes even more important to reduce glare.
Cost ranges
- Smart dimmer switch: $40–$120 each
- Under-cabinet LED strip system: $200–$800 depending on length, driver quality, and install
- Motion sensors: $20–$80 each (plus wiring or battery maintenance)
Maintenance tips
- Choose high-CRI LEDs (90+ CRI) so food looks natural and countertops read true.
- Keep LED drivers accessible (not buried behind fixed panels) for easier replacement.
- Wipe diffusers monthly to prevent grease haze from dulling light output.
Smart Appliances That Earn Their Space
Smart kitchen appliances vary widely—some features are truly helpful, others are rarely used. Prioritize appliances that improve cooking results, reduce waste, and fit your kitchen layout.
Smart ranges and wall ovens
Best for homeowners who bake, entertain, or juggle multiple dishes.
- Remote preheat and alerts: Great for busy households (but always prioritize safety and local codes).
- Guided cooking: Temperature probes and step-by-step modes reduce overcooking.
- Air-fry and convection features: Popular in current kitchen renovation trends, especially for families.
Cost range: $1,200–$6,000+ depending on brand and configuration.
Smart refrigerators and freezers
Look for practicality: storage, temperature stability, and organization—not just screens.
- Door-in-door or flexible zones: Helps with organization and minimizes cold air loss.
- Temperature alerts: Useful for secondary fridges, garages, or vacation homes.
- Inventory tools: Can help reduce food waste if your household will actually use them.
Cost range: $1,500–$5,500+.
Smart dishwashers
- Leak detection and auto shutoff: High value for peace of mind.
- Cycle customization: Helpful if you regularly wash mixed loads.
Cost range: $700–$2,000+.
Ventilation and air quality
A powerful hood is a timeless functional upgrade. Smart ventilation adds convenience, especially in open-concept kitchen design.
- Auto-sensing fans: Increase speed when heat and smoke rise.
- Filter reminders: Helps maintain performance.
Cost range: $300–$2,500+ depending on CFM, insert vs. chimney style, and ductwork complexity.
Common layout tip: protect your work triangle
Even the smartest appliances can’t fix a cramped plan. In most kitchens, keep clearances functional:
- Walkways: 36 inches minimum; 42 inches preferred; 48 inches for busy, multi-cook kitchens
- Island clearance: Aim for 42–48 inches around the island if it’s a primary prep zone
- Landing zones: Provide 15–18 inches of counter space next to the fridge and cooktop when possible
Smart Water, Safety, and Energy Controls
Touchless or smart faucets
Touchless faucets are one of the most used smart upgrades because they directly support hygiene and cooking flow.
- Hands-free activation: Ideal for messy prep and baking
- Measured dispensing: Useful for coffee, rice, and pasta (set ounces or cups)
- Temperature indicators: Helps prevent accidental scalding
Cost range: $250–$900+.
Maintenance: Clean the sensor area and aerator regularly to prevent mineral buildup; consider a whole-home or under-sink filtration system if you have hard water.
Leak detection and shutoff valves
Water damage is a renovation budget killer. Smart leak sensors and automatic shutoff valves are a protective investment.
- Place sensors under the sink, dishwasher, refrigerator water line, and any beverage station.
- Consider a whole-home shutoff if your kitchen is on an upper floor or you travel often.
Cost range:
- Leak sensors: $25–$100 each
- Automatic shutoff valve (installed): $500–$1,500+
Smart plugs and energy monitoring
For small appliances (coffee makers, kettles, lamps), smart plugs can reduce clutter and improve routines without a full renovation.
- Use smart plugs for scheduled shutoff and energy tracking.
- Choose models rated for the appliance load; avoid using smart plugs for high-wattage devices unless explicitly approved.
Cost range: $15–$60 per plug.
Organization Meets Tech: Smarter Storage and Cleaner Counters
Kitchen organization is a cornerstone of good design. Smart tech can support it—but the real win is integrating power and lighting into storage so your counters stay clear.
Charging drawers and appliance garages
- Charging drawer: A dedicated drawer with integrated outlets/USB for phones, tablets, and small devices.
- Appliance garage: A counter-height cabinet with a roll-up or pocket door for toaster, blender, and coffee station.
Design specs to consider:
- Plan 12–16 inches of depth for most small appliances; deeper if storing a stand mixer.
- Include ventilation or leave clearance so heat from devices doesn’t build up.
- Use easy-clean materials inside: melamine, stainless panels, or washable liners.
Cost range: $200–$1,500+ depending on cabinetry and electrical work.
Smart pantry lighting and inventory habits
- Install motion-activated lighting in pantries and tall cabinets.
- Use clear, stackable bins and label systems; tech can’t fix a pantry without zones.
Materials that pair well with smart features
- Quartz countertops: Low maintenance, consistent patterning; great near charging zones and appliance garages.
- Sintered stone: Excellent heat resistance; ideal if you want a seamless backsplash-to-counter look behind smart outlets.
- Backsplashes: Large-format porcelain slabs reduce grout lines—easier to clean around switches and outlets.
- Cabinet finishes: Matte or satin finishes hide fingerprints better than high-gloss, especially near touchscreens and handles.
Voice Control, Displays, and Kitchen-Friendly Automation
Voice assistants and smart displays can be genuinely helpful in a cooking zone—if you keep them out of splash areas and avoid overcomplicating routines.
Where to place smart displays
- Keep at least 24 inches away from the sink and direct cooktop splatter zones.
- Mount under upper cabinets with a bracket, or use a dedicated shelf at eye level.
- Plan a nearby outlet (hidden inside a cabinet with a small grommet) for a cleaner look.
Automations that feel natural
- “Good morning” scene: soft lighting, coffee plug on, news timer
- “Cooking” scene: bright task lighting, ventilation on, music volume reduced
- “Dinner” scene: pendant dim, warm color temperature, toe-kick accent on
- “Good night” scene: all lights off except toe-kick nightlight, check that appliances are off
Budgeting for Smart Kitchen Tech (Without Overbuilding)
A practical approach is to spend more on infrastructure and the daily-use features, and less on novelty upgrades.
Three smart tech budget tiers
- Starter ($300–$1,500): smart dimmers, a few smart plugs, motion sensors for pantry/toe-kick, leak sensors
- Mid-range ($1,500–$6,000): add a smart faucet, smart dishwasher, upgraded under-cabinet lighting, mesh Wi-Fi
- Renovation-level ($6,000–$20,000+): multiple smart appliances, whole-home leak shutoff, integrated control system, electrician-led rewiring and custom cabinetry features
Where smart spending pays off most
- Lighting upgrades (task + dimming + scenes)
- Leak prevention (sensors and/or shutoff)
- Ventilation that actually matches your cooking style
- Smart faucet if you cook daily
Common Mistakes to Avoid
- Buying devices before planning outlets and wiring: leads to visible cords, overloaded strips, and awkward placements.
- Ignoring Wi-Fi reliability: appliances in metal alcoves or behind thick walls may need a mesh node nearby.
- Overloading one brand ecosystem: choose devices that work with your preferred platform, but avoid locking into features you won’t use.
- Choosing glossy touchscreens in high-splatter zones: they show fingerprints and can be frustrating to clean.
- Skipping manual usability: every smart feature should still work easily with a switch, handle, or button.
- Forgetting maintenance: filter reminders are helpful, but you still need access panels and realistic cleaning routines.
FAQ: Smart Kitchen Design and Renovation
What’s the best first smart upgrade for an existing kitchen?
Smart lighting controls (dimmers and under-cabinet lighting) deliver the biggest day-to-day improvement with minimal disruption. Add motion lighting in the pantry and toe-kicks for an immediate functional upgrade.
Do smart appliances require special wiring?
Most smart appliances use standard electrical requirements for their category, but higher-end models may require dedicated circuits or specific voltage (especially wall ovens and induction ranges). Follow manufacturer specs and confirm during kitchen renovation planning.
How do I keep my smart kitchen from looking cluttered?
Plan hidden charging (a drawer or cabinet), use an appliance garage for countertop machines, and prioritize smart switches over multiple tabletop hubs. Clean backsplash lines and fewer visible cords are key to a timeless kitchen design.
Are smart faucets worth it?
If you cook often, yes. Hands-free activation and measured dispensing reduce mess and streamline prep. In hard-water areas, budget for maintenance like aerator cleaning and consider filtration to protect the valve and sensor.
What should I prioritize if I’m on a tight renovation budget?
Start with lighting, leak detection, and a solid Wi-Fi setup. These upgrades support kitchen functionality and protect your investment. You can add smart appliances later as older units age out.
Will smart tech affect resale value?
Thoughtful smart upgrades—especially lighting, leak protection, and quality appliances—can improve buyer appeal. Avoid overly customized systems that require niche apps or complex handoffs; keep controls intuitive and include manual options.
Next Steps: Create a Smarter Kitchen That Still Feels Like Home
Pick two or three smart upgrades that match how you live—often lighting, leak protection, and one standout appliance or faucet. Then design the kitchen around clean wiring, strong task lighting, and smart storage so the tech supports your space rather than dominating it. If you’re renovating, bring your electrician and kitchen designer into the planning early to coordinate outlets, clearances, and cabinet solutions that look seamless.
For more kitchen renovation guidance, organization ideas, and timeless kitchen design inspiration, explore the latest on thedecormag.com.
More Articles
 The Actually For Checklist: A Precision-Driven Kitchen Readiness System for Home Cooks and Professionals
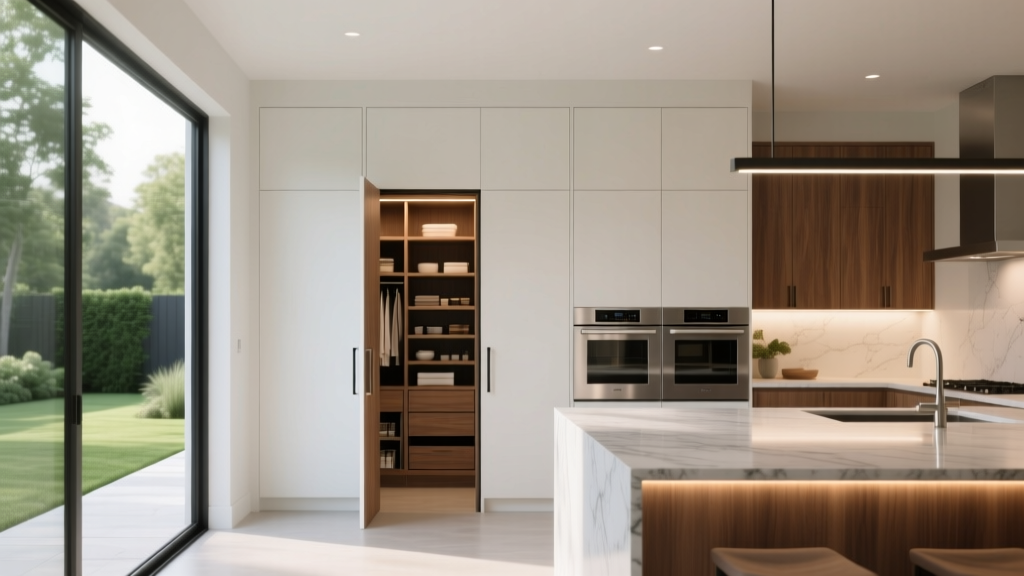 Walk-In Pantry Kitchen Design Ideas (2026)
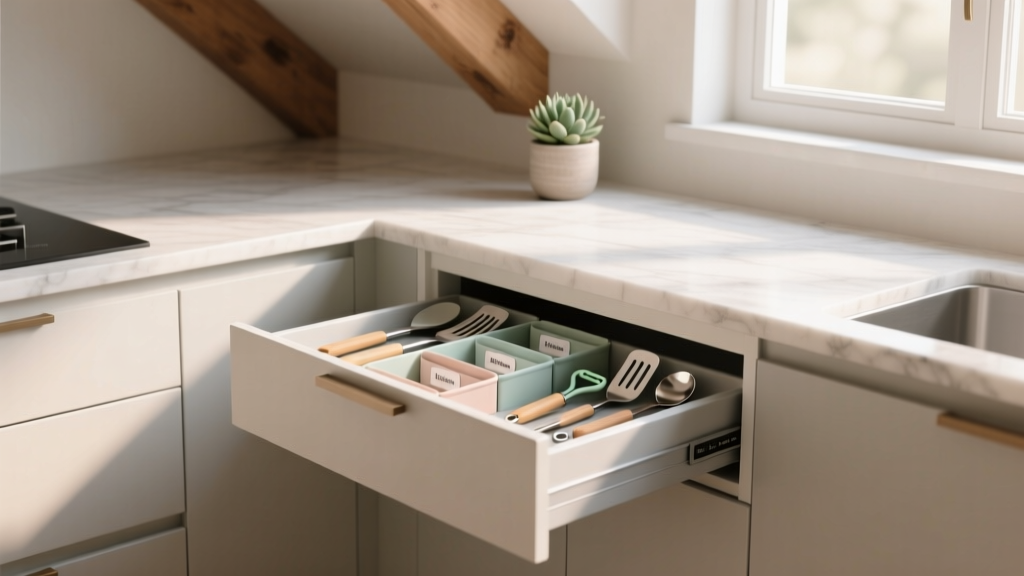 Best Kitchen Drawer Organization Systems - The Decor Mag
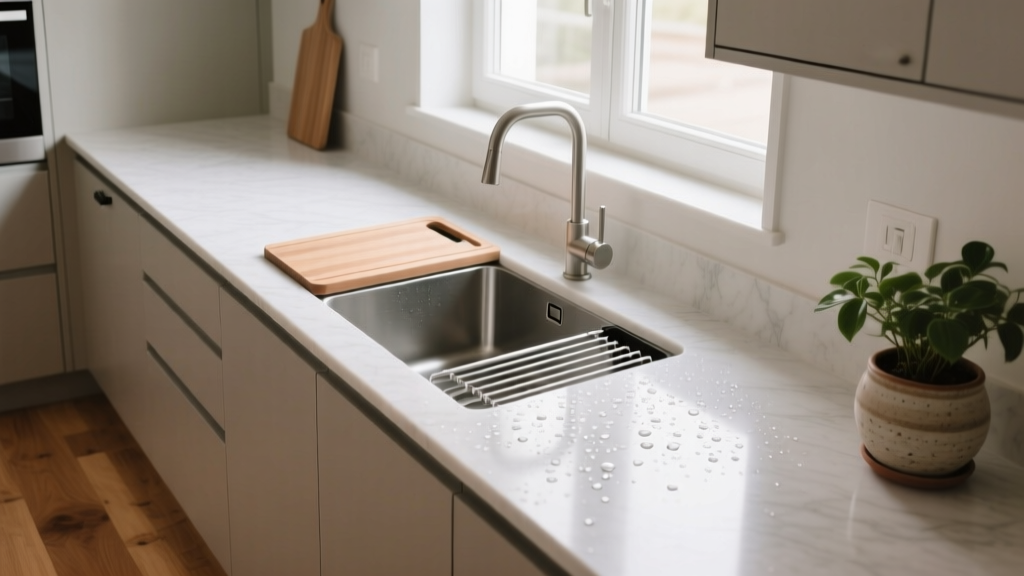 Kitchen Integrated Drainboard Sink Guide - The Decor Mag
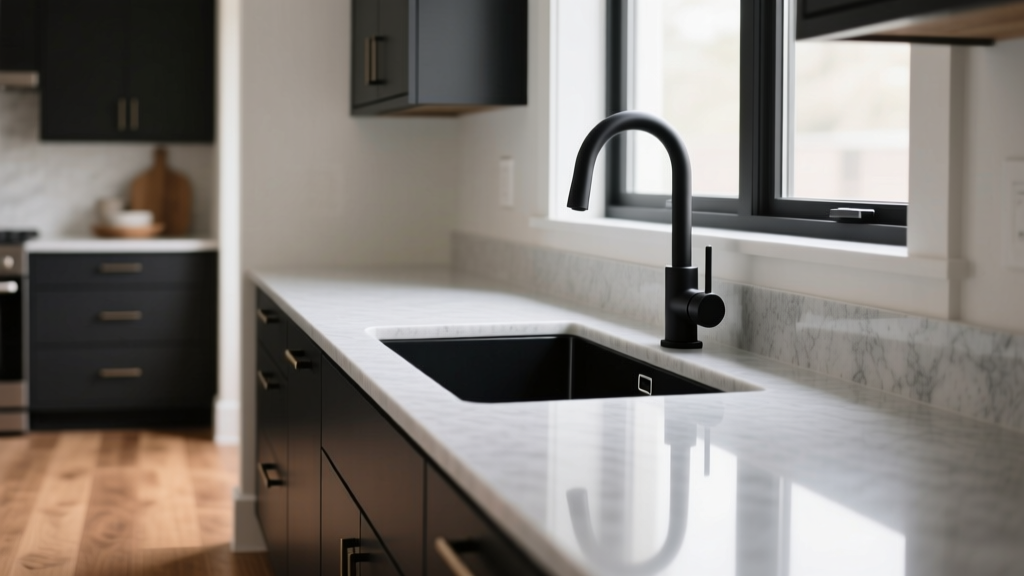 Kitchen Matte Black Fixture Trends - The Decor Mag
 Best Kitchen Table Linen Storage - The Decor Mag
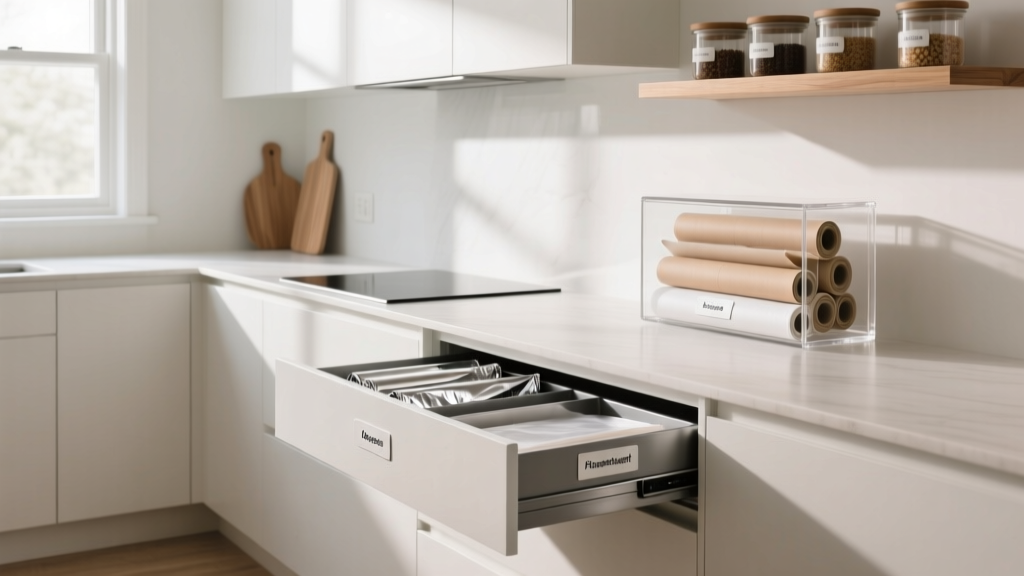 Best Kitchen Wrap Storage Solutions - The Decor Mag
 Kitchen Arched Doorway to Kitchen Design - The Decor Mag
 Best Kitchen Rug Options for Comfort - The Decor Mag
 How to Incorporate Color in a White Kitchen - The Decor Mag