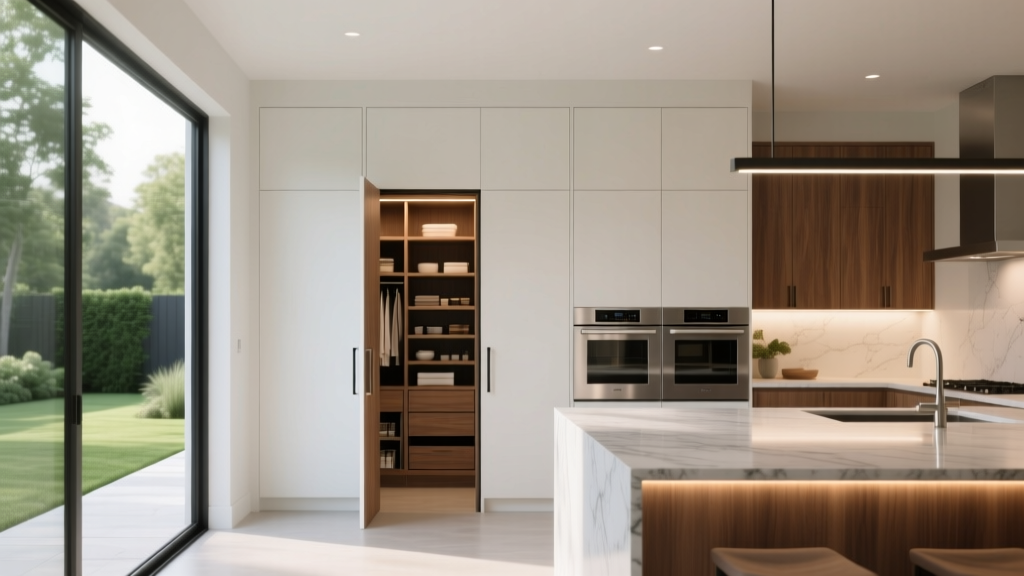
Walk-In Pantry Kitchen Design Ideas (2026)
A walk-in pantry is one of those kitchen upgrades that feels instantly luxurious—but it’s also one of the most practical. It can reduce visual clutter, improve kitchen organization, and make everyday cooking smoother by keeping ingredients, appliances, and smallwares within reach but out of sight. For homeowners planning a kitchen renovation, a well-designed walk-in pantry often delivers a bigger lifestyle impact than another bank of upper cabinets.
That said, a walk-in pantry only works when it’s designed with real traffic flow, storage zones, and the kitchen’s layout in mind. Size alone won’t save it—poor shelving depth, awkward door swings, or a dark, unventilated room can turn a dream pantry into a cramped closet. This guide breaks down the layouts, measurements, materials, costs, and common mistakes so you can design a pantry that looks great, functions flawlessly, and stays organized long-term.
Why a Walk-In Pantry Is Worth Designing Carefully
Compared to standard pantry cabinets, a walk-in pantry offers:
- Higher storage capacity without crowding the main kitchen perimeter.
- Better organization through zones (baking, snacks, breakfast, bulk goods, small appliances).
- Cleaner sightlines, which supports today’s trend toward minimalist, calmer kitchens.
- More flexibility for appliance garages, beverage stations, and overflow prep space.
Current kitchen design trends favor hidden storage, pantry “back kitchens”, and butler’s pantry hybrids—but the timeless principle remains the same: place frequently used items closest to where they’re used, and make everything easy to see, reach, and clean.
Plan the Pantry Location: Layout Comes First
Best placements in a functional kitchen layout
For most kitchen renovations, the ideal walk-in pantry is:
- Near the refrigerator (unloading groceries becomes faster).
- Close to the main prep zone (between fridge and sink/cooktop if possible).
- Out of the primary traffic lane to avoid collisions during busy cooking.
If your kitchen supports it, positioning the pantry just off the kitchen—rather than inside the work triangle—often creates better flow. A short “pantry corridor” can also reduce visual clutter in an open-concept kitchen.
Walk-in pantry vs. butler’s pantry vs. back kitchen
- Walk-in pantry: Storage-first, typically shelving and bins. Best for food and small appliances.
- Butler’s pantry: Often includes counter space, glassware storage, or a beverage fridge; great for entertaining.
- Back kitchen (scullery): A secondary working zone with sink, dishwasher, or extra cooking; higher cost but highly functional.
If your renovation budget allows, a walk-in pantry with a short run of countertop can be the sweet spot: it delivers “back kitchen” benefits without the full plumbing expense.
Recommended Pantry Sizes and Clearances (With Real Measurements)
Comfort and accessibility depend more on clearance than square footage. Use these practical guidelines when planning:
- Minimum comfortable width: 4 ft (1220 mm). This allows shelving on one side and a usable walkway.
- Ideal width for two-sided shelving: 5–7 ft (1520–2130 mm).
- Minimum walkway clearance: 36 in (914 mm); 42 in (1067 mm) feels noticeably better.
- Standard shelf depth: 12–16 in (305–406 mm). Deeper shelves can hide items behind each other.
- Counter depth (if included): 24 in (610 mm) standard.
- Door width: 28–32 in (711–813 mm) minimum; 36 in (914 mm) is ideal for carrying bulk items.
Tip: If you want shelves on both sides, don’t exceed 16 in depth per side unless the pantry is wide enough. Two 20-in shelves plus a 36-in walkway creates an uncomfortable 76-in width requirement (over 6 ft).
Choose the Right Pantry Layout
1) Single-wall pantry (best for tight footprints)
All shelving is on one side, with hooks or shallow racks on the door. This works well in narrower spaces (around 4 ft wide).
Best for: Smaller homes, condo kitchens, remodels where space is limited.
2) Galley pantry (high capacity, highly efficient)
Shelves on both sides with a centered walkway. This is one of the most functional walk-in pantry designs for serious cooking.
Best for: Families, bulk shopping, frequent meal prep.
3) U-shaped pantry (maximum storage, but mind the corners)
Three-sided shelving increases capacity but can create tricky corner access. Use corner solutions or limit shelf depth at corners.
Best for: Larger kitchens; homeowners who want zones (baking, snacks, entertaining).
4) Pantry with countertop + outlets (small appliance friendly)
Adding a 24-in-deep counter and dedicated outlets turns the pantry into an appliance hub—ideal for mixers, air fryers, coffee gear, or microwave placement.
Best for: Clutter-free countertops and modern “hidden kitchen” aesthetics.
Materials and Finishes That Hold Up
Shelving material comparisons
- Painted wood/MDF shelves: Clean look, customizable. Choose high-quality paint and sealed edges. Best for dry goods and baskets.
Maintenance: Wipe with damp cloth; avoid soaking seams. - Plywood shelves: Stronger than MDF, better for heavier loads (bulk flour, appliances).
Maintenance: Seal with durable paint or clear coat to resist stains. - Wire shelving: Budget-friendly and ventilated, but smaller items tip and it can feel less “built-in.”
Maintenance: Easy to wipe; choose epoxy-coated wire to prevent rust. - Melamine/laminate systems: Smooth, wipeable, great value. Edge banding quality matters.
Maintenance: Mild cleaner; avoid abrasive pads on laminate surfaces.
Flooring: durability and cleanability first
Your walk-in pantry should handle spills, crumbs, and rolling step stools. Great options:
- Luxury vinyl plank (LVP): Water-resistant, budget-friendly, softer underfoot.
- Porcelain tile: Extremely durable and easy to clean; choose a matte finish for better traction.
- Engineered hardwood: Beautiful continuity if your kitchen has wood floors, but seal gaps and wipe spills quickly.
Practical tip: If your main kitchen has hardwood, consider porcelain tile that visually matches wood in the pantry for extra spill protection.
Doors: swing, pocket, or glass?
- Hinged door: Affordable and simple, but confirm it won’t block walkways or cabinet doors.
- Pocket door: Space-saving and sleek; costs more and depends on wall structure.
- Glass pantry door: Trend-forward, but it requires organization discipline (and can show clutter).
Lighting, Ventilation, and Power: The Hidden Essentials
Lighting that prevents “black hole pantry” syndrome
- Ceiling LED fixture (flush mount or slim panel) for general lighting.
- LED strip lighting under shelves for visibility and a high-end look.
- Motion sensors for hands-free convenience when carrying groceries.
Aim for a bright, neutral color temperature (around 3000K–3500K) to make labels readable without feeling harsh.
Ventilation and temperature control
Pantries can run warm, especially if they share a wall with ovens or get afternoon sun. Consider:
- A louvered door or under-door gap for passive airflow.
- A small return vent if the pantry is fully enclosed.
- Avoid placing heat-generating appliances in the pantry unless ventilation is planned.
Electrical planning (often forgotten)
If you want a countertop, coffee station, charging drawer, or appliance storage, plan outlets early. Typical pantry upgrades include:
- 2–4 outlets along the counter wall
- A dedicated circuit for a microwave or beverage fridge (if included)
- USB outlets for device charging
Organization Zones That Stay Organized
The most functional pantry design is “a place for everything,” supported by zones and containers. A strong baseline setup includes:
Suggested zones (customize to your household)
- Daily grab zone: Snacks, breakfast items, lunch supplies at eye level.
- Cooking zone: Oils, vinegars, spices, canned goods close to prep access.
- Baking zone: Flour, sugar, baking tools, stand mixer storage.
- Backstock zone: Bulk items, paper towels, overflow beverages.
- Appliance zone: Air fryer, blender, slow cooker; ideally near an outlet/counter.
Shelf spacing guidelines (so tall items actually fit)
- 10–12 in spacing: cans, jars, spices, small bins
- 12–14 in spacing: cereal boxes, oils, condiments
- 14–18 in spacing: small appliances, tall bottles, paper towel packs
Products and storage solutions that work
- Clear airtight containers for flour, sugar, rice, pasta (prevents pests and looks streamlined).
- Pull-out wire baskets for onions/potatoes (ventilated) and for snack organization.
- Lazy Susans for sauces, nut butters, and oils to eliminate “lost in back” items.
- Tiered can risers for visibility in narrower shelves.
- Label system (simple, consistent) to keep categories stable over time.
Maintenance tip: Keep a small handheld vacuum or crumb brush in the pantry. A 2-minute weekly reset prevents sticky buildup and attracts fewer pests.
Budget and Cost Ranges for a Walk-In Pantry
Costs vary widely depending on whether you’re carving out new square footage, moving walls, adding electrical/plumbing, or choosing custom millwork.
Typical cost ranges (U.S.)
- Basic refresh (paint + wire/laminate shelving): $500–$2,500
- Mid-range built-in pantry (semi-custom shelving, improved lighting, containers): $2,500–$7,500
- High-end custom pantry (cabinetry, stone/quartz counter, LED lighting, pocket door): $7,500–$20,000+
- Pantry with plumbing (sink, dishwasher, “back kitchen” features): $15,000–$40,000+
Where to spend vs. save
- Spend on: lighting, durable shelving, proper clearances, outlets (if appliances live here).
- Save on: decorative finishes inside the pantry (unless it’s visible), standard containers instead of “designer” sets.
Budget tip: If you’re deciding between expanding the pantry or upgrading the kitchen cabinets, prioritize layout and pantry accessibility first. A well-planned pantry can allow you to reduce upper cabinets—one of the most expensive cabinet components in many kitchen renovations.
Common Walk-In Pantry Design Mistakes to Avoid
- Overly deep shelves (18–24 in) that create clutter piles. Stick to 12–16 in for most shelving.
- No lighting plan, resulting in shadowy shelves and wasted storage.
- Ignoring door swing, causing bottlenecks or blocked cabinet access.
- Insufficient walkway clearance (less than 36 in feels tight fast).
- Placing the pantry too far from prep, making it inconvenient and underused.
- No power outlets when you intend to store or use appliances inside.
- Skipping moisture/odor control near trash, pet food, or recycling areas.
Design Moves That Feel On-Trend Without Sacrificing Function
- Soft, warm whites and greiges inside pantries for a clean, timeless look (paired with bright, neutral lighting).
- Natural wood accents (oak shelves or a wood counter) to echo today’s warmth-forward kitchen trends.
- Mixed storage (open shelves + pull-out baskets + drawers) for a custom feel.
- Hidden pantry doors (cabinet-integrated or matching wall paneling) for seamless modern kitchens.
Trend-forward doesn’t have to mean high maintenance. The most enduring kitchens pair calm aesthetics with highly practical storage systems.
Actionable Next Steps: How to Get Your Pantry Design Right
- Audit your inventory: Count categories (snacks, canned goods, baking, appliances) and note what’s currently cluttering counters.
- Measure your available space: Confirm width, depth, ceiling height, and door placement options.
- Pick a layout: Single-wall, galley, U-shape, or counter-equipped pantry.
- Plan electrical and lighting early: Decide if you want appliances, a beverage area, or a microwave inside.
- Design shelf spacing by category: Make tall zones intentional so cereal boxes and small appliances fit.
- Choose materials you’ll actually maintain: wipeable floors, durable shelving finishes, and containers that suit your cooking style.
FAQ: Designing a Kitchen with a Walk-In Pantry
How big does a walk-in pantry need to be?
A functional minimum is often around 4 ft wide with shelving on one side and a 36 in walkway. For shelving on both sides, 5–7 ft wide is more comfortable depending on shelf depth.
Should pantry shelves be 12 inches or 16 inches deep?
For most kitchen organization needs, 12 in deep shelves improve visibility and reduce clutter. 16 in works well for larger packages and bins. Deeper than 16 in is where items tend to disappear behind each other unless you use pull-out trays.
Is a pocket door worth it for a pantry?
It can be—especially in tight kitchen layouts where a swinging door would block traffic or collide with cabinets. Pocket doors typically cost more due to framing and hardware, but they create a cleaner flow in many kitchen renovations.
Can you put a microwave in a walk-in pantry?
Yes, if you plan for proper ventilation, a dedicated outlet/circuit as needed, and a safe counter height. Avoid enclosing heat-producing appliances in a tight, unventilated space.
What’s the best flooring for a pantry?
LVP is a popular renovation choice because it’s water-resistant and cost-effective. Porcelain tile is the most durable and easiest to clean for frequent spills. Choose based on how much moisture and heavy storage your pantry will handle.
How do I keep a walk-in pantry organized long-term?
Use zones, keep the most-used items at eye level, rely on clear containers and labeled bins, and schedule a quick reset weekly. A simple rule: if you can’t see it, you won’t use it—so prioritize visibility and easy reach.
If you’re planning a kitchen renovation or upgrading your kitchen organization, a thoughtfully designed walk-in pantry can change how your whole home functions—day after day. Explore more kitchen design ideas, layout inspiration, and renovation guides on thedecormag.com.
More Articles
 Small Alternatives to Spaces: Smart, Space-Saving Kitchen Solutions That Actually Work
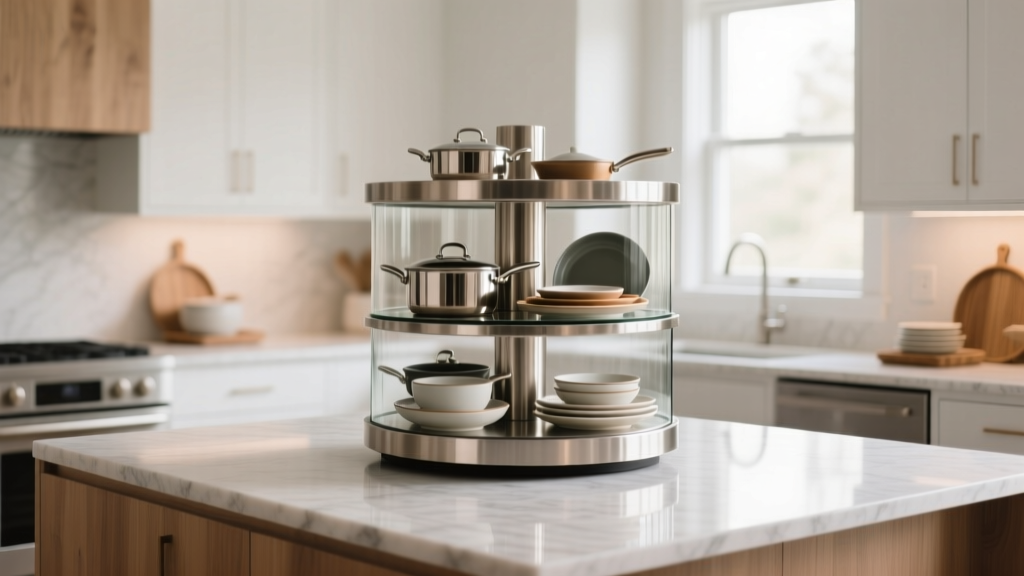 Best Kitchen Lazy Susan Options - The Decor Mag
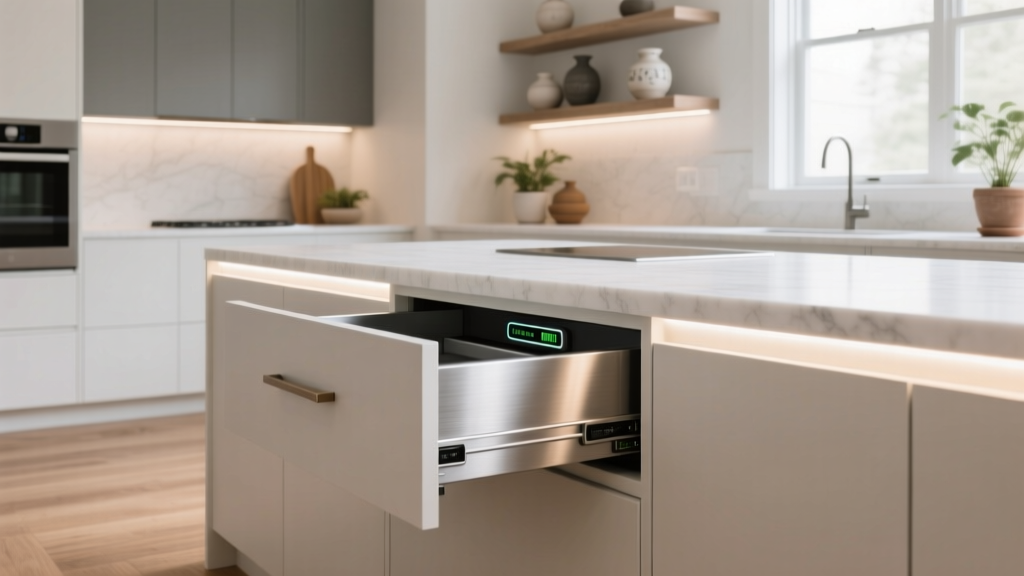 Best Kitchen Charging Drawer Solutions - The Decor Mag
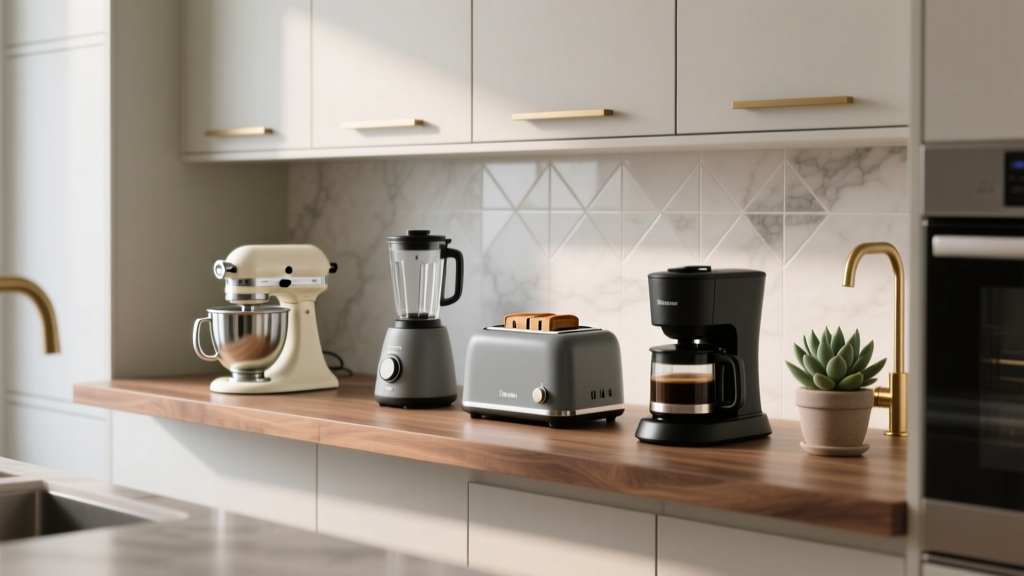 Best Kitchen Small Appliance Storage - The Decor Mag
 Best Kitchen Specialty Ingredient Storage - The Decor Mag
 How to Organize Family Life: Practical Systems for Calm, Connection, and Consistency
 Kitchen Textured Backsplash Tile Trends - The Decor Mag
 Kitchen Natural Stone Backsplash Guide - The Decor Mag
 Kitchen Fluted Range Hood Cover Ideas - The Decor Mag
 Kitchen Natural Light Design Tips (2026)