# Open Concept Kitchen Renovation: Pre-Demolition Guide
## Introduction: Why Planning Comes First
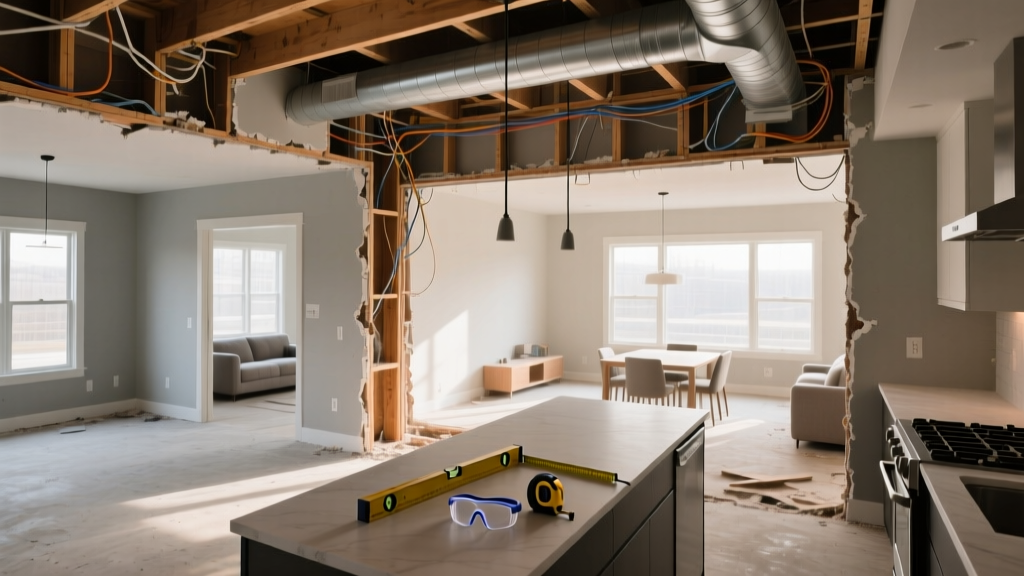
If you are standing in your current kitchen imagining a bright, open space where walls once stood, you are already halfway to your dream home. But before you grab a sledgehammer or call a demolition crew, you need to understand what happens *before* the dust flies. In over fifteen years of guiding homeowners through kitchen renovations, I have seen more projects derailed by poor pre-demolition planning than by bad execution.
An open concept kitchen renovation is one of the highest-ROI home improvements you can undertake. Studies consistently show that kitchen remodels recoup between 60 and 80 percent of their cost at resale, and open layouts remain the most requested floor plan among buyers. However, the difference between a renovation that adds value and one that becomes a money pit lies almost entirely in the planning phase.
This guide walks you through every critical step you must complete before demolition begins. Consider this your pre-construction playbook — the checklist I give every client before we swing a single hammer.
## Structural Assessment: Know What You Are Tearing Down
The single most important question in any open concept conversion is deceptively simple: is that wall load-bearing? The answer determines your budget, your timeline, and in many cases, whether your project is feasible at all.
A load-bearing wall transfers weight from the roof and upper floors down to the foundation. Removing one without proper structural reinforcement can cause sagging floors, cracked drywall, or in extreme cases, partial structural collapse. Even if your home is only a few decades old, you cannot assume a wall is non-load-bearing based on its appearance alone.
### How to Identify Load-Bearing Walls
- **Check your blueprints.** Original construction plans clearly mark load-bearing elements. Contact your local building department or previous owner if you do not have copies.
- **Follow the joists.** In the basement or crawlspace, look at which direction floor joists run. Walls running perpendicular to joists are typically load-bearing.
- **Look at the foundation.** Walls sitting directly on a beam or foundation wall below are almost certainly structural.
- **Hire a structural engineer.** This is my strongest recommendation. A licensed structural engineer costs between $500 and $1,500 for an assessment and provides the documentation your contractor and building department will require.
### Reinforcement Options
When a load-bearing wall must come down, you will need one of the following solutions:
| Solution | Typical Cost Range | Best For |
|---|---|---|
| Steel I-beam | $1,200 – $4,500 | Spans up to 20 feet, heavy loads |
| Laminated veneer lumber (LVL) | $800 – $3,000 | Spans up to 16 feet, residential |
| Engineered wood beam | $600 – $2,500 | Moderate spans, cost-conscious projects |
| Load-bearing column system | $2,000 – $6,000 | Very wide openings, multiple stories |
These costs cover the beam material and professional engineering only. Installation, permits, and finishing work are additional and discussed below.
## Permits and Building Codes: The Paperwork That Protects You
Skipping permits is the most common mistake I see in DIY renovations. Beyond the legal risk of fines and forced rework, unpermitted work can void your homeowner insurance, complicate future sales, and create genuine safety hazards.
### Permits You Will Likely Need
- **Building permit.** Required for structural modifications, electrical work, and plumbing changes. Fees typically range from $100 to $500 depending on your municipality.
- **Electrical permit.** Any rewiring, new circuits, or panel upgrades require separate electrical permitting and inspection.
- **Plumbing permit.** Moving gas lines, water supply, or drain lines triggers plumbing permit requirements.
- **Demolition permit.** Some jurisdictions require a specific permit for demolition work, especially in multi-unit buildings or historic districts.
### The Inspection Schedule
Expect at least three inspections during your renovation:
1. **Rough-in inspection.** After framing, electrical, and plumbing are installed but before walls are closed up.
2. **Insulation and framing inspection.** Verifies structural work meets code.
3. **Final inspection.** After all finishes are complete and systems are operational.
Your contractor should coordinate inspections, but as the homeowner you are ultimately responsible. Keep copies of all permit documentation in a dedicated project folder.
## Utility Relocation: Mapping Your Hidden Infrastructure
Your walls are not just structural elements — they are highways for electrical wiring, plumbing pipes, HVAC ducts, gas lines, and low-voltage cables. Before demolition, you must identify everything running through the walls you plan to remove and develop a relocation strategy.
### Electrical Systems
Kitchens require dedicated 20-amp circuits for countertop outlets, separate circuits for major appliances, and GFCI protection for all wet-area outlets. When opening up a kitchen:
- **Panel capacity assessment.** Have a licensed electrician verify your panel can handle the additional circuits an open kitchen typically requires. Panel upgrades cost $1,500 to $4,000.
- **Re-routing plan.** Map every wire that runs through the demolition zone. Document which circuits serve which outlets and appliances.
- **New lighting design.** Open concept kitchens benefit from layered lighting — task, ambient, and accent. Plan your electrical rough-in accordingly.
### Plumbing Considerations
If your kitchen shares a wall with a bathroom or the exterior wall houses your main water supply, plumbing relocation becomes a significant part of your project:
- **Water supply lines.** Copper, PEX, or CPVC lines can be rerouted, but expect $500 to $2,000 in plumbing labor.
- **Drain lines.** Kitchen sink drains require a specific slope (1/4 inch per foot) and cannot be easily rerouted through floor joists without structural modifications.
- **Gas lines.** If you have a gas range or cooktop, a licensed plumber must disconnect and reroute gas lines. Never attempt this yourself.
### HVAC and Ventilation
- **Ductwork.** Supply and return ducts running through the demolition wall need to be rerouted through ceiling soffits or floor cavities. Budget $800 to $3,000.
- **Range hood venting.** Open concept kitchens require powerful range hoods (400+ CFM) vented to the exterior. Plan the duct path before framing.
- **Heating zones.** Removing walls changes your home airflow patterns. A manual J load calculation may be necessary to verify your HVAC system can adequately heat and cool the new open space.
## Budget Planning: The Real Numbers Behind Your Renovation
An open concept kitchen renovation is not a single expense — it is a cascade of interconnected costs. Below is a realistic budget breakdown based on projects I have managed over the past decade. Costs vary significantly by region, so treat these as national averages.
### Cost Breakdown by Phase
| Phase | Low End | High End | Notes |
|---|---|---|---|
| Structural engineering | $500 | $1,500 | One-time assessment |
| Permits and fees | $200 | $800 | Varies by municipality |
| Demolition | $1,000 | $3,500 | Includes debris removal |
| Beam installation | $2,000 | $8,000 | Depends on span and material |
| Electrical rough-in | $1,500 | $5,000 | Panel upgrades add cost |
| Plumbing relocation | $500 | $3,000 | Gas line work is pricier |
| HVAC modifications | $800 | $4,000 | Duct rerouting complexity |
| Drywall and finishing | $2,000 | $6,000 | Matching existing finishes |
| Kitchen finishes and fixtures | $5,000 | $30,000+ | Cabinets, countertops, appliances |
| **Total project range** | **$14,000** | **$61,800+** | Excludes luxury-tier finishes |
### Contingency Fund
Always budget 15 to 20 percent above your estimated total for unexpected conditions. I have never completed a renovation where the contingency was unnecessary. Hidden rot, outdated wiring that does not meet current code, or asbestos in older homes are common surprises.
## Choosing and Vetting Your Contractor
Your contractor makes or breaks your renovation. The pre-demolition phase is the perfect time to interview candidates, verify credentials, and establish clear expectations before any work begins.
### Pre-Interview Checklist
Before scheduling contractor interviews, prepare the following:
- Written project scope with all known details
- Copies of your floor plan and any engineering reports
- Your target budget range and timeline
- Photos of your current kitchen from multiple angles
- A list of must-have features and nice-to-have features
### Essential Questions to Ask Every Contractor
1. **Are you licensed, bonded, and insured in this jurisdiction?** Ask to see current certificates.
2. **How many open concept kitchen renovations have you completed in the past year?** Look for recent, relevant experience.
3. **Do you handle permit acquisition, or is that the homeowner responsibility?** The best contractors manage permits end to end.
4. **Who are your primary subcontractors?** You want established relationships with electricians, plumbers, and framers.
5. **What is your payment schedule?** Never pay more than 10 percent upfront. Progress payments tied to milestones are standard.
6. **Can you provide three references from similar projects?** Call them. Ask about communication, timeline adherence, and problem resolution.
7. **How do you handle change orders?** Get their change order process in writing before signing.
8. **What is your typical project timeline for a renovation of this scope?** Add 20 percent to whatever they estimate.
9. **Do you offer a warranty on workmanship?** One year is standard; longer is better.
10. **How will you protect the rest of my home during demolition?** Dust containment, floor protection, and air quality management matter.
### Red Flags to Watch For
- Contractors who push for large upfront deposits
- Refusal to provide written estimates or contracts
- Vague answers about permit requirements
- No physical business address or established presence
- Pressure to make immediate decisions
## The Pre-Demolition Walkthrough: Your Final Checklist
Before demolition day arrives, walk through your home with your contractor and verify every item on this list. This walkthrough is your last opportunity to catch issues before they become expensive problems.
### Structural Verification
- [ ] Structural engineer report reviewed and signed off
- [ ] Beam specifications confirmed with contractor
- [ ] Temporary shoring plan in place if required
- [ ] Adjacent rooms assessed for potential damage
### Utility Documentation
- [ ] All electrical circuits mapped and labeled
- [ ] Plumbing lines identified and marked
- [ ] Gas lines located and shutoff valve confirmed accessible
- [ ] HVAC ductwork routes documented
- [ ] Low-voltage wiring (security, internet, cable) traced
### Permit and Legal
- [ ] All permits pulled and displayed on-site
- [ ] Inspection schedule confirmed with building department
- [ ] HOA approval obtained if applicable
- [ ] Neighbor notification completed if required by local code
### Site Preparation
- [ ] Furniture and personal items removed from work zone
- [ ] Dust containment barriers installed
- [ ] Floor protection laid in high-traffic paths
- [ ] Debris removal plan established (dumpster scheduled)
- [ ] Temporary kitchen setup arranged for project duration
### Communication Plan
- [ ] Daily check-in time established with contractor
- [ ] Primary point of contact identified on both sides
- [ ] Change order process documented and understood
- [ ] Project timeline with milestones posted on-site
## Common Pre-Demolition Mistakes to Avoid
Through years in this business, I have watched homeowners make the same mistakes repeatedly. Here is how to avoid them:
**Assuming walls are non-load-bearing without verification.** This single error has caused more renovation disasters than any other. Always verify.
**Underestimating utility relocation costs.** Homeowners budget for the kitchen itself but forget that moving a gas line or rerouting ductwork can add thousands to the project.
**Starting demolition before permits are approved.** I have seen projects shut down mid-demo because the inspector flagged unpermitted work. The resulting delays and fines cost more than waiting for approval.
**Skipping the structural engineer to save money.** A $750 engineering assessment can prevent a $15,000 mistake. This is never an area to cut corners.
**Not planning for the disruption.** Open concept renovations typically take six to twelve weeks from demolition through final finishes. Plan your living arrangements, meals, and schedule accordingly.
**Choosing the lowest bid without vetting.** The cheapest contractor is rarely the cheapest outcome. Poor workmanship leads to callbacks, rework, and compromised structural integrity.
## Conclusion: Patience Pays Off in Open Concept Renovations
The most successful open concept kitchen renovations I have been part of share one common trait: the homeowners invested heavily in pre-demolition planning. They hired the right professionals, pulled the right permits, mapped every utility, and entered demolition day with confidence instead of guesswork.
Your kitchen is the heart of your home. Converting it to an open concept layout will transform how you live, entertain, and experience your space. But that transformation starts long before the first wall comes down. It starts with a clipboard, a checklist, and the discipline to do things right.
Take the time to plan thoroughly. Verify every assumption. Build relationships with qualified professionals. And when demolition day finally arrives, you will watch those walls come down knowing exactly what will replace them — and exactly how much it will cost to get there.
That is how you turn a renovation project into a renovation success.
 Kitchen Plaster Walls Organic Feel - The Decor Mag
 Kitchen Terrazzo Countertop Trends - The Decor Mag
 Kitchen Butlers Pantry Design Guide - The Decor Mag
 Vintage Kitchen Decor: Ideas & Tips (2026)
 How to Design a Kitchen with a Breakfast Bar - The Decor Mag
 How to Choose Kitchen Backsplash Grout Color - The Decor Mag
 Kitchen Matte Black Fixture Trends - The Decor Mag
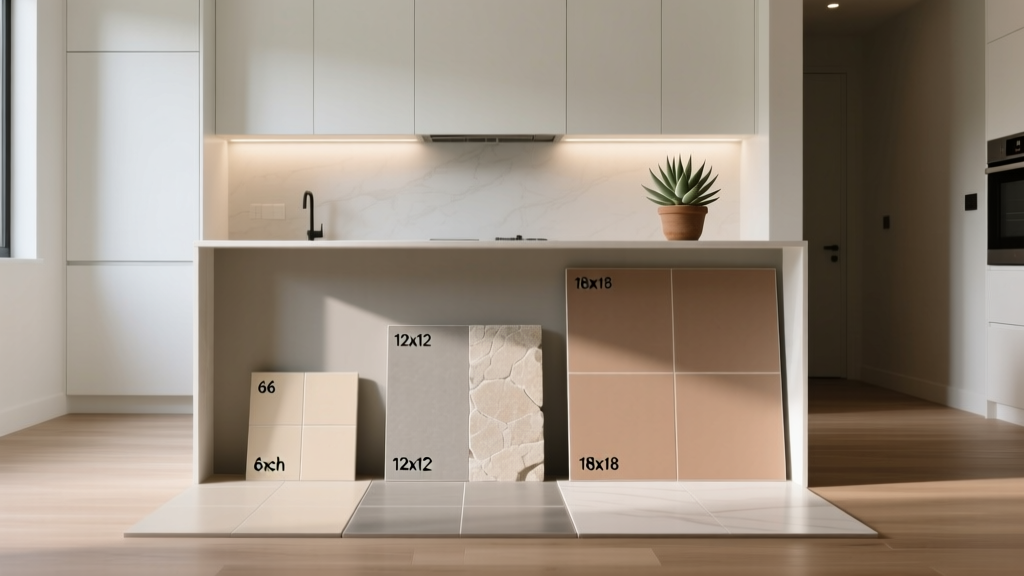 How to Choose Kitchen Floor Tile Size - The Decor Mag
 Kitchen Countertop Overhang Rules (2026)
 Pantry Organization: Fresh Produce & BBQ Storage (2026)