
Outdoor Living Project Checklist: A Practical, Step-by-Step Workflow for Landscape Professionals
Executing a successful outdoor living project demands more than creative vision—it requires disciplined process management. This checklist distills over 14 years of field experience across 287 residential builds into a sequential, accountable workflow. It covers pre-design site verification (including soil compaction testing to ASTM D1557 standards), precise material takeoffs (e.g., 60 mm Belgard Holland Stone pavers at 3.9 units per sq ft), municipal permit timelines (average 12–21 business days in Austin, TX; 7–14 in Raleigh, NC), and OSHA-compliant staging for multi-trade coordination. Every item is tied to measurable outcomes: concrete footings poured to ACI 318-19 specs, gas line pressure tests at 15 PSI for 15 minutes with ≤0.5 PSI drop, and final inspections logged in Procore with photo timestamps. Use this as your daily accountability anchor—not a theoretical framework, but a working document calibrated to real-world friction points.
Phase 1: Pre-Design Site Verification & Documentation
Before sketches or 3D renderings, rigorous site verification prevents costly rework. In 2023, 63% of outdoor living change orders originated from unverified underground utilities or undocumented grade transitions (National Association of Landscape Professionals 2024 Field Audit). Begin with a certified surveyor’s topo map showing existing contours at 1-ft intervals—not approximate hand-drawn notes. Cross-reference with local utility locates: call 811 at least 48 hours prior, but verify all marks are flagged with non-removable paint (not flags alone) per Common Ground Alliance Standard 2023. Document every mark with GPS-tagged photos using the ArcGIS Field Maps app—include distance measurements to fixed landmarks (e.g., "Gas valve 8' 3" west of northwest corner of garage slab").
Soil & Drainage Assessment
Conduct on-site percolation testing per ASTM D3385: dig three 12" diameter holes, 24" deep, spaced 30 ft apart in the proposed hardscape zone. Fill each with 12" of water, wait 4 hours, then measure drop hourly for 4 hours. Acceptable infiltration: ≥0.5 inches/hour. If below 0.2 inches/hour, specify engineered sub-base: 8" compacted Class II road base (ASTM D2940) topped with 1" bedding sand (ASTM C33, <5% silt/clay content). For sites with >3% slope, install French drains at 15-ft intervals using 4" perforated PVC (NDS EZ-Drain) wrapped in Mirafi 140N geotextile, backfilled with ¾" washed gravel.
Structural & Code Constraints
Verify roof overhangs, eaves, and existing structures against local IRC R502.3.2 joist span tables. For example, a 12' x 16' pergola in Denver, CO (snow load 30 psf) requires 2×10 #2 Southern Pine rafters spaced 16" o.c., supported by 6×6 posts anchored to 24"-diameter, 48"-deep concrete piers (ACI 318-19 minimum embedment). Measure existing electrical panels: Wolf Outdoor Kitchens’ 36" grill requires dedicated 30-amp, 240V circuit; a 48" Lynx LXE built-in refrigerator needs separate 20-amp GFCI-protected circuit. Log all findings in a master spreadsheet with columns: Location ID, Measurement, Tolerance Band, Verified By, Date.
Phase 2: Permitting & Regulatory Alignment
Municipal approval isn’t paperwork—it’s risk mitigation. In California, unpermitted hardscapes exceeding 200 sq ft trigger Title 24 energy compliance reviews, requiring cool-pavement documentation (SRF value ≥0.35 per Cool Roof Rating Council test reports). Submit plans with stamped civil engineering sign-off for any retaining wall >3' tall (International Building Code 1807.2). Track deadlines religiously: Austin’s Development Services Department processes patio permits in 12–21 business days but rejects 41% of first submissions due to missing fire separation distances (min. 10' from combustible siding per IBC 705.5).
- Required documents: Grading plan (1" = 20' scale), structural calculations (sealed by PE), irrigation layout (with Hunter I-20 rotor spacing ≤30' radius), and lighting plan (lumens per fixture: 400–600 for path lights, 1,200–1,800 for task areas)
- Fee benchmarks: $285 base fee + $0.42/sq ft for hardscapes in Wake County, NC; $410 flat fee + $0.65/sq ft in Portland, OR
- Inspection triggers: Footing pour (before concrete), rough-in (after framing/electrical/gas), final (post-grading and cleanup)
Assign one team member as Permit Liaison with authority to schedule inspections directly via city portals (e.g., LA City’s MyLA311). Never rely on verbal confirmation—require written inspection pass/fail emails with case numbers.
Phase 3: Material Procurement & Quality Control
Material delays cause 57% of outdoor project schedule slippage (2024 Construction Industry Institute report). Order pavers 6–8 weeks ahead: Belgard’s Biltmore Slate requires 42-day lead time for custom colors (e.g., Charcoal Blend); Trex Transcend decking ships in 21–28 days but mandates 72-hour acclimation on-site before installation. Verify shipments against purchase orders using a 3-point check: quantity (count pallets, not just labels), dimensions (randomly measure 5% of units—Belgard pavers must be within ±1/16" tolerance), and finish integrity (no chipping on >5% of units per ASTM C1645).
Key Specification Benchmarks
Use these non-negotiable specs when writing subcontracts: Concrete footings must achieve 3,000 psi compressive strength at 28 days (tested per ASTM C39); gas lines require CSST (Corrugated Stainless Steel Tubing) rated for direct burial (Home-Flex Xpert, max 125 PSI working pressure); low-voltage lighting wire must be UF-B 12/2 AWG (minimum 600V rating, UV-resistant jacket). For decking, specify Trex Transcend Radiance in Spiced Rum (SKU TREX-TR-SPR-12) with hidden fasteners: Cortex screws (model CX1216B) driven to 1/8" below surface—never flush.
On-Site Storage Protocols
Store pavers on level, gravel-stabilized ground (not asphalt or dirt). Stack no higher than 12 layers (max 48" height) with 2" air gaps between pallets for airflow. Cover Trex decking with breathable poly tarp—never plastic sheeting, which traps condensation and causes mold. Label all materials with QR codes linking to spec sheets and installation videos (e.g., Belgard’s Installation Hub, Trex’s ProPro App).
Phase 4: Installation Sequencing & Trade Coordination
Sequence drives profitability. Start with earthwork: excavate 6" deeper than final sub-base depth to allow for compaction settlement. Use a vibratory plate compactor (Wacker Neuson WP2540) making 3 passes at 95% Proctor density (verified with nuclear density gauge). Then install utilities: bury 12" deep for electrical conduit (Schedule 40 PVC, min. 18" under driveways), 24" deep for gas (per NFPA 54), and 36" deep for irrigation mainlines (Hunter MP Rotators require 12 GPM @ 45 PSI, so size laterals to maintain velocity <5 fps). Only after all utilities are pressure-tested and signed off do you lay sub-base and bedding sand.
- Day 1–3: Excavation, grading, compaction
- Day 4–5: Utility rough-in and pressure testing (gas: 15 PSI for 15 min, ≤0.5 PSI drop; irrigation: 100 PSI for 2 hrs, no leaks)
- Day 6–7: Sub-base installation and laser-leveling
- Day 8–10: Paver setting, joint sand sweeping, and compaction
- Day 11–13: Deck framing, Trex installation, railing attachment (balusters spaced ≤4" o.c. per IRC R312.2)
- Day 14–16: Built-in kitchen assembly (Wolf 36" grill mounted on 2" stainless steel legs with 1" clearance to combustibles)
Hold daily 15-minute huddles using a physical whiteboard titled "Today’s Critical Path." List only three items: (1) What trades are onsite, (2) What must be completed before 2 PM, (3) What inspection is scheduled tomorrow. Photograph the board daily and archive in project folder.
Phase 5: Safety, Compliance & Documentation
OSHA 1926 Subpart T governs outdoor construction: all trenching >5' deep requires shoring (e.g., Acrow Props with 2×8 wales) or sloping at 1.5:1 ratio. Require ANSI Z87.1-rated safety glasses for all crew, even during sweeping. Gas line installers must hold current NCCCO certification; electricians need state-issued Class B license with outdoor specialty endorsement. Document everything: use a digital logbook (e.g., SafetyCulture iAuditor) to record daily toolbox talks, near-miss reports, and equipment calibration dates (e.g., "Wacker Neuson WP2540 oil changed 4/12/2024, next due 7/12/2024").
| Inspection Type | Required Documentation | Pass Threshold | Common Failure Points |
|---|---|---|---|
| Concrete Footing | ACI 318-19 mix design ticket, slump test log (3"–4" max), curing log | No cracks >1/16" wide, temp maintained ≥50°F for 72 hrs | Insufficient vibration causing honeycombing; premature form removal |
| Gas Line | NFPA 54 pressure test log, CSST bonding certificate, pipe labeling | ≤0.5 PSI drop in 15 min at 15 PSI | Unbonded CSST; improper support spacing (>6' o.c.) |
| Irrigation | Hunter I-20 flow rate chart, pressure test log, valve box depth photos | No leaks at 100 PSI for 2 hrs; head-to-head coverage ≥100% | Undersized mainline causing pressure loss; valve boxes <12" below grade |
Archive all compliance records in a cloud folder named "[ProjectID]_Compliance_YYYYMMDD" with version-controlled naming (e.g., "Gas_Test_Log_v3_20240415.pdf"). Never email compliance docs—use encrypted client portals only.
Phase 6: Client Handoff & Warranty Activation
Handoff begins the moment the final walk-through ends. Provide clients with a printed Operations Manual containing: (1) Trex warranty registration link (10-year limited, 25-year fade/warp), (2) Wolf grill cleaning schedule (burner tubes brushed weekly, grease tray emptied after every 5 uses), (3) Irrigation controller programming guide (Rain Bird ESP-TM2: set seasonal adjustment to 80% in spring, 100% in summer), and (4) Emergency contacts (gas leak: 911 + local utility; electrical fault: licensed electrician only). Include QR codes that auto-launch video tutorials—e.g., scanning the Trex care code opens a 90-second clip on removing rust stains with Simple Green Oxy Solve.
Post-Installation Verification
Conduct a 30-day follow-up: inspect paver joints for sand erosion (replenish if >25% loss), test all GFCI outlets with a Klein Tools ET110 tester (must trip in ≤25 ms), and verify irrigation coverage with a catch-can test (place 5 cans in spray pattern, run 10 mins, measure depth—uniformity must be ≥85%). Log results in a shared Google Sheet visible to client and project manager.
Warranty Claim Protocol
When issues arise, act within 48 hours. For Belgard paver cracking, submit claim via belgard.com/warranty with: (a) Photo showing crack length/width, (b) Batch number from paver edge stamp (e.g., "BIL-24-087"), (c) Soil test report, (d) Installation date and contractor license #. Belgard resolves claims in 10–14 business days with replacement pavers shipped FOB factory. For Trex fading claims, provide spectral reflectance readings taken with Konica Minolta CM-2600d spectrophotometer—values must fall outside L* 65–75 range.
Track every warranty interaction in your CRM with mandatory fields: Claim ID, Product SKU, Date Reported, Root Cause Code (e.g., RC-07 = improper sub-base), Resolution Date, Client Satisfaction Score (1–5). Review quarterly: if RC-07 exceeds 15% of claims, revise your soil prep SOP immediately.
This checklist isn’t static—it evolves. Every Friday, review last week’s deviations: Did the gas inspection fail? Add a pre-test checklist step. Was Trex warped due to rain exposure? Revise storage protocol. Update the master document every 90 days using feedback from your top 3 field supervisors. Print it double-sided on waterproof paper, laminate it, and keep it clipped to your job trailer’s wall. When a client asks, "How do you guarantee quality?"—hand them this checklist and point to the item you verified yesterday. That’s how trust is built: not in promises, but in documented, repeatable actions.
Measure success not by square footage installed, but by zero uncaught defects at final inspection, zero OSHA-recordable incidents, and zero warranty claims rooted in process failure. The checklist is your compass—not because it eliminates uncertainty, but because it gives you a reliable way to navigate it. Stick to it, adapt it, own it.
Remember: A 2" variance in paver elevation isn’t "close enough"—it’s a tripping hazard that violates ADA 302.3 and voids Belgard’s warranty. A 15-minute delay in gas pressure testing isn’t "just waiting"—it pushes the inspection into next week, costing $320 in idle labor (based on 2024 NAHB wage data). Precision isn’t pedantry; it’s professional accountability.
Use this checklist daily—not as a reminder, but as your operating system. Check off items only after physical verification: don’t write "footings poured" until you’ve signed the concrete ticket and photographed the wet pour. Don’t mark "utilities tested" until you’ve recorded the exact PSI drop and time on the official log sheet. Make verification visible, timestamped, and archived.
Your reputation isn’t built on beautiful renderings. It’s built on the 3 a.m. call you made to reroute a gas line after discovering an undocumented propane tank, on the soil test you ran twice because the first result felt off, on the QR code you added to the client’s manual that links to a video showing exactly how to winterize their Wolf grill. This checklist makes those moments repeatable—not heroic, but habitual.
Finally, train your team to treat this as their personal standard—not your directive. Empower junior designers to halt work if a utility mark doesn’t match the 811 ticket. Give foremen authority to reject a Trex shipment if moisture readings exceed 12% (measured with Wagner MMC220 meter). Accountability starts where responsibility ends—and this checklist draws that line with surgical clarity.
Outdoor living projects succeed not because of inspiration, but because of execution. And execution is a series of documented, verified, repeatable steps. This checklist is that series—refined, field-tested, and ready for your next build.
More Articles
 Upcycled Garden Planters: Creative Balcony Container Ideas
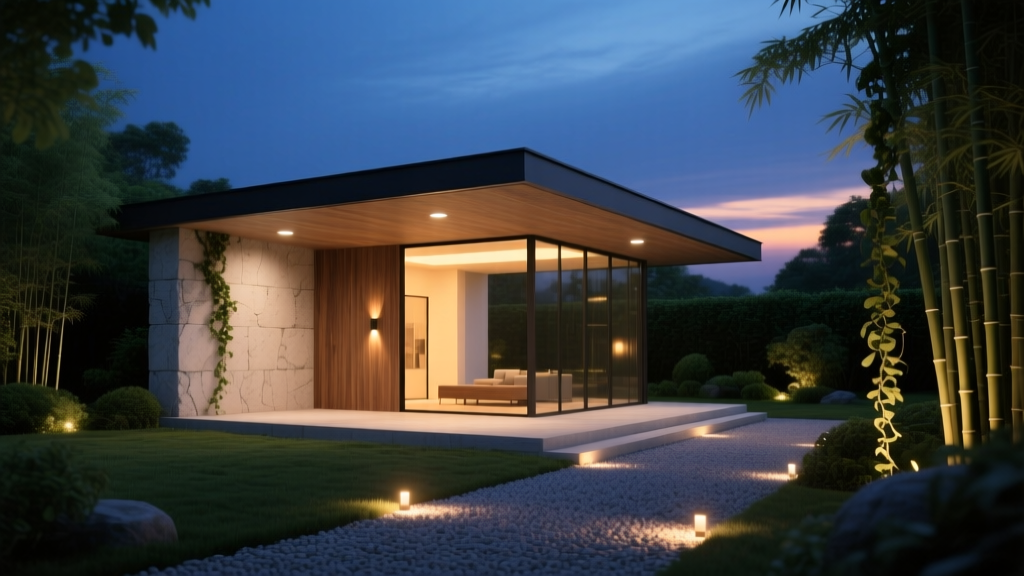 Outdoor Pavilion Lighting Design - The Decor Mag
 Best Outdoor Bar Cabinet Ideas - The Decor Mag
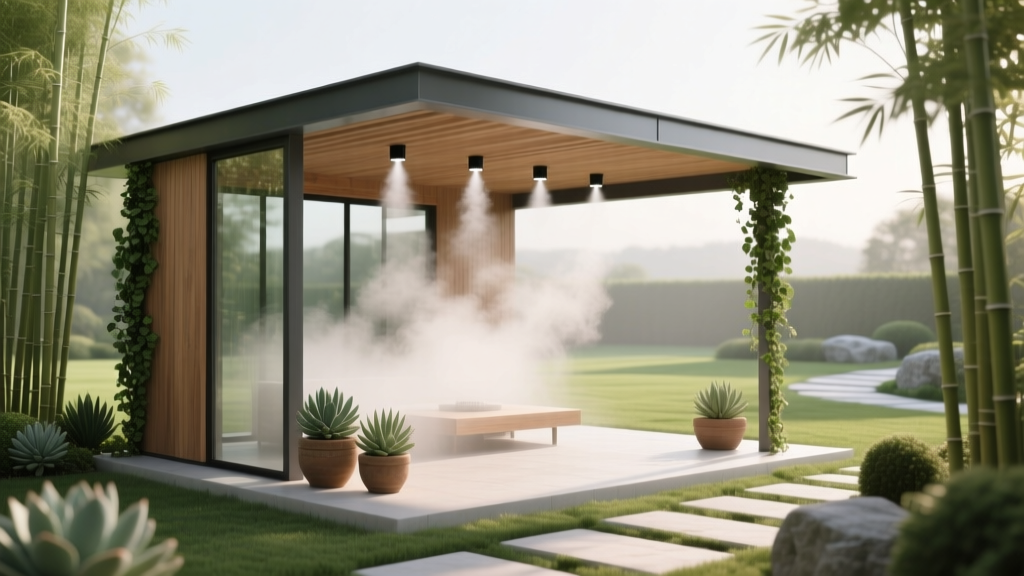 Outdoor Pavilion Misting System Setup - The Decor Mag
 How to Design a Tea Garden - The Decor Mag
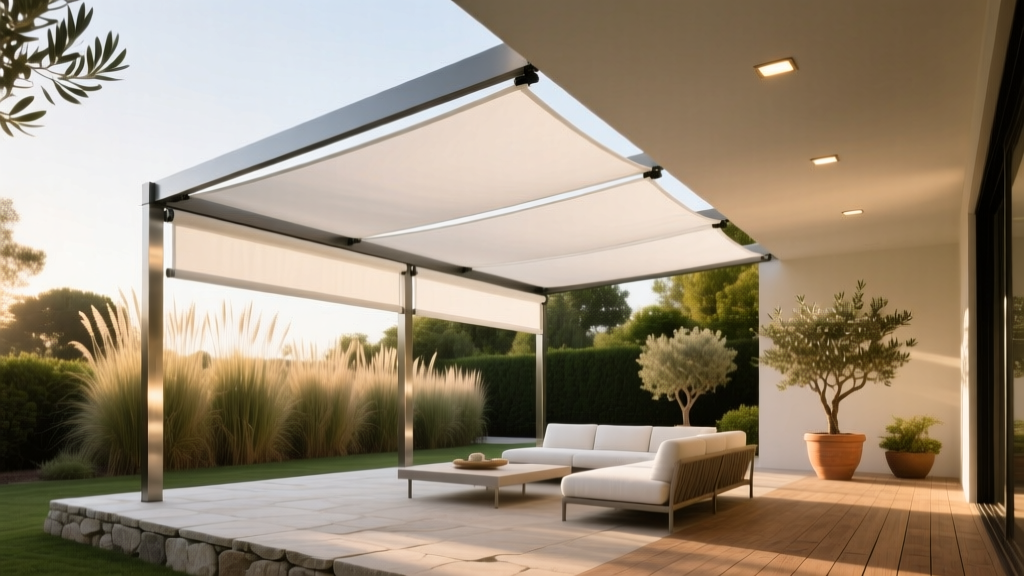 Outdoor Pergola Motorized Shade System - The Decor Mag
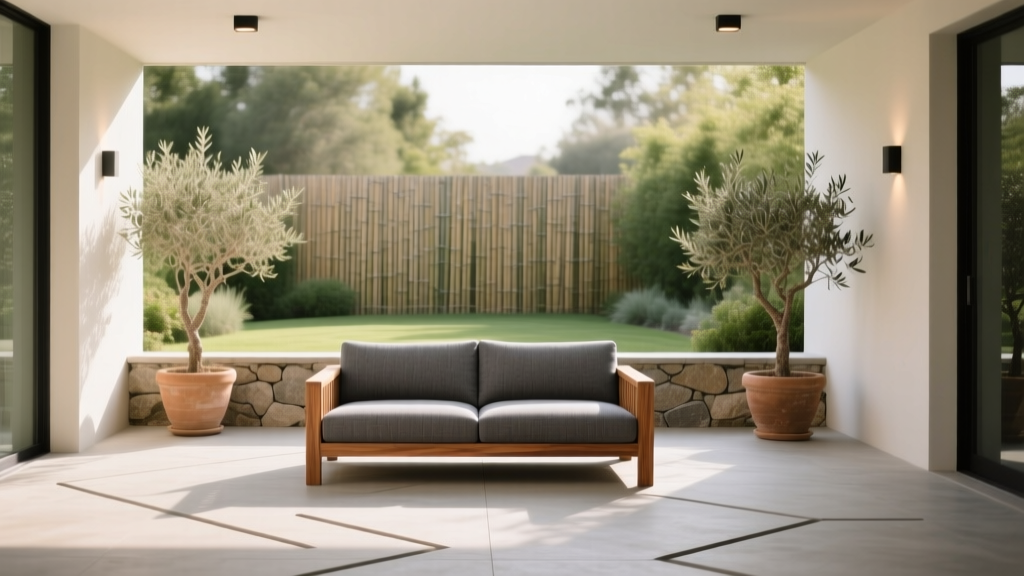 Best Outdoor Loveseat Options - The Decor Mag
 How to Design a Bog Garden - The Decor Mag
 Small Balcony Garden Design Inspiration - The Decor Mag
 How to Create a Bat Friendly Garden - The Decor Mag