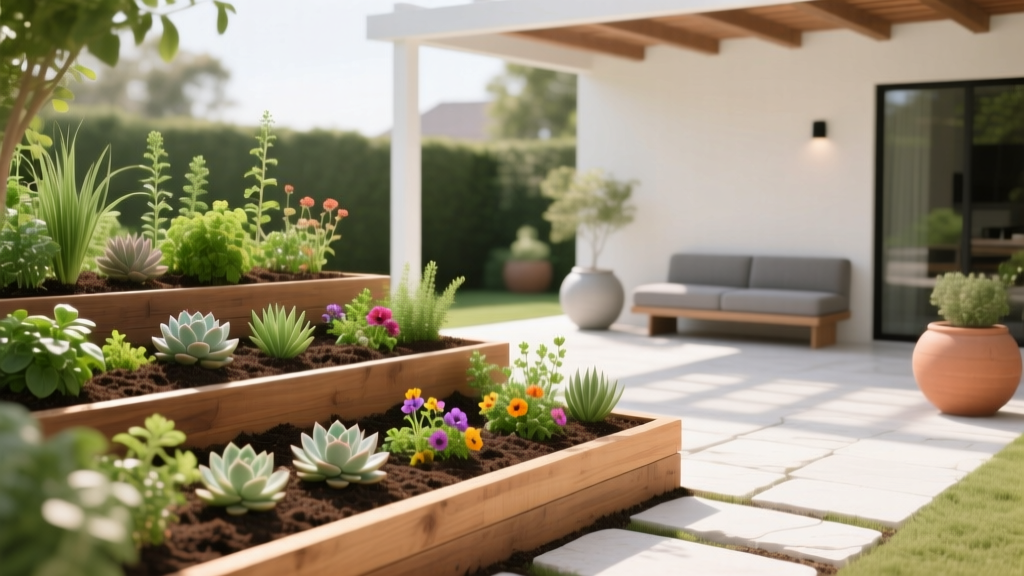
How to Design a No Dig Garden - The Decor Mag
A great outdoor living space feels inviting from the patio to the back fence line—lush, layered, and alive. The challenge? Many homeowners assume a beautiful garden requires hours of digging, hauling soil, battling weeds, and “starting over” with the yard every season. A no dig garden flips that script by building healthy soil from the top down, creating a low-maintenance landscape that looks polished and performs beautifully year-round.
No dig gardening is one of the most practical approaches for modern patio living because it minimizes disruption to your existing yard while maximizing long-term results. You can transform tired lawn edges, patchy beds, or a bland side yard into a structured, designer-looking planting area without a rototiller, without flipping compacted soil, and without turning your weekend into a demolition project.
Whether you’re planning a cozy courtyard garden, a clean-lined border for your deck, or a vegetable-and-flower mix near the outdoor dining area, this guide walks you through the design, materials, plant choices, and layout strategies that make a no dig garden look intentional—not improvised.
What Is a No Dig Garden (and Why It Works for Outdoor Design)
A no dig garden is built by layering organic materials—typically compost and mulch—on top of existing soil (or even lawn), rather than digging and turning the ground. Over time, soil organisms pull those materials down, improving structure, drainage, and fertility naturally.
Outdoor-living benefits homeowners notice quickly
- Cleaner, more finished beds that frame patios, pergolas, walkways, and seating areas.
- Fewer weeds thanks to sheet mulching (a barrier layer) and thick top mulch.
- Better moisture retention, which reduces summer watering and helps during heat waves.
- Less erosion and runoff on slopes and near hardscaping like pavers and retaining walls.
- Healthier plants because soil biology stays intact rather than being disrupted by digging.
Plan Your Layout Like an Outdoor Designer
No dig gardens look best when they’re planned with the same mindset as an outdoor room: clear edges, purposeful paths, and plant layers that complement your patio furniture and hardscape materials.
Step 1: Choose the garden’s “job”
Decide what the new bed is meant to do in your landscape design:
- Frame a patio: Soften hard edges with shrubs and grasses for a resort feel.
- Create privacy: Build a living screen around a hot tub, deck, or dining zone.
- Guide movement: Define paths from the back door to the fire pit or grill area.
- Boost curb appeal: Upgrade the front yard with layered, low-maintenance planting.
- Add function: Combine herbs, cut flowers, and pollinator plants near the kitchen door.
Step 2: Pick a shape that matches your home and hardscape
- Modern homes: Clean rectangles, long linear beds, and repeated plant blocks.
- Traditional landscapes: Gentle curves, symmetrical borders, and classic shrubs.
- Cottage style: Softer lines with varied textures and seasonal bloom succession.
Step 3: Allow space for outdoor living circulation
Keep walkways and patio edges comfortable:
- Main paths: 36–48 inches wide
- Secondary garden paths: 24–30 inches wide
- Planting clearance near seating: Leave 18–24 inches between chair backs and tall plants
Materials You’ll Need (and What to Buy)
Designing a no dig garden is really about building a high-performance “soil system” under a clean, intentional surface. These materials also help the garden look tidy next to patios, decks, and outdoor kitchens.
Core no dig layers
- Cardboard (sheet mulch barrier): Plain, non-waxy cardboard without glossy ink. Overlap seams 6–8 inches.
- Compost: The planting layer. Use quality compost that smells earthy, not sour.
- Mulch: The finishing layer for weed control, moisture, and a designer look.
Best mulch options for landscape design
- Shredded hardwood: Stays put on slopes; natural look; great around shrubs.
- Pine fines or pine bark: Clean, refined texture; excellent for ornamental beds.
- Arborist wood chips: Budget-friendly and soil-building; best for larger areas.
- Gravel mulch (select zones): Works with drought-tolerant plants and modern layouts; pair with landscape edging for crisp lines.
Edging that makes no dig gardens look “finished”
- Steel edging: Sleek, modern, long-lasting; ideal alongside pavers and concrete.
- Natural stone: Beautiful for cottage and traditional designs; doubles as informal seating edges.
- Brick: Classic near patios; great for repeating the material from walkways.
- Composite edging: Budget-friendly; clean lines for DIY installs.
Budget ranges (typical DIY)
- Small bed (50–100 sq ft): $80–$250 (cardboard often free; compost + mulch costs vary)
- Medium bed (150–300 sq ft): $250–$700
- Large area conversion (500–1,000 sq ft): $700–$2,000+
Tip: Bulk deliveries of compost and mulch usually cost far less than bagged material. For larger yard upgrades, bulk is the best value.
How to Build a No Dig Garden Bed (Step-by-Step)
1) Mark the shape
Use a garden hose or marking paint to outline the bed. Step back and view it from your patio seating and main windows—this is your outdoor living backdrop.
2) Prep the surface (minimal work, big payoff)
- Mow existing grass as low as possible.
- Remove woody weeds or invasive roots if present (they can push through layers).
- Water the area lightly so the soil is moist before layering.
3) Lay cardboard like shingles
- Overlap seams 6–8 inches to block light.
- Wet the cardboard as you go so it molds to the ground and won’t shift in wind.
- Avoid gaps around edges—this is where weeds love to sneak in.
4) Add compost (your planting layer)
- For ornamental beds: 2–4 inches of compost
- For vegetables and cut flowers: 4–6 inches of compost
5) Finish with mulch
- Apply 2–4 inches of mulch over compost.
- Keep mulch a few inches away from plant crowns and shrub trunks.
6) Plant immediately (yes, you can)
Pull mulch aside, dig a small hole into the compost layer (and through cardboard if needed), plant, then tuck mulch back around—leaving breathing room at the stem.
Planting Design: Create a Layered, Patio-Ready Look
The most successful no dig gardens feel composed: a few structural plants repeated for rhythm, seasonal color that changes through the year, and groundcovers to knit everything together.
Use the “3-layer” planting formula
- Structure (backbone): Shrubs, small trees, or bold grasses for year-round form.
- Seasonal performers: Perennials and flowering shrubs for long bloom windows.
- Ground layer: Groundcovers and low plants to reduce weeds and soften edges.
Plant suggestions by style and function
For a modern, low-maintenance border near patios
- Structural: Boxwood (or inkberry holly as an alternative), dwarf conifers, feather reed grass (Calamagrostis)
- Perennials: Salvia, allium, catmint (Nepeta), coneflower (Echinacea)
- Ground layer: Creeping thyme, sedum, mondo grass (warm climates)
For a pollinator-friendly outdoor living garden
- Perennials: Bee balm (Monarda), blazing star (Liatris), black-eyed Susan (Rudbeckia), yarrow (Achillea)
- Shrubs: Hydrangea (choose varieties for your sun exposure), summersweet (Clethra)
- Annual boosts: Zinnias, cosmos, sunflowers in sunny beds
For drought-tolerant, sun-heavy yards
- Perennials: Lavender, Russian sage (Salvia yangii), coreopsis, gaura
- Grasses: Blue fescue, little bluestem (Schizachyrium)
- Mulch approach: Consider gravel mulch in select sections with steel edging for a crisp, contemporary look.
For part shade near decks and under trees
- Perennials: Hostas, heuchera (coral bells), ferns, astilbe
- Groundcovers: Sweet woodruff, pachysandra (where non-invasive locally), ajuga
- Design tip: Use lighter mulch (pine fines) to brighten shaded corners and make seating areas feel airy.
Furniture and layout recommendations that pair beautifully with no dig beds
- Frame a lounge zone: Place two deep lounge chairs 3–4 feet from a layered bed of grasses + flowering perennials for a “garden room” feel.
- Highlight an outdoor dining area: Use a linear border (3–5 feet deep) along one side with repeating shrubs and seasonal color for a clean backdrop.
- Soften fencing: Add a no dig bed at the base of a fence, then train a trellis vine (clematis, climbing roses in suitable climates) for vertical interest.
- Upgrade patio edges: Replace a narrow strip of struggling turf with a no dig border—mulch reads cleaner than patchy grass next to pavers.
Climate and Seasonal Considerations for Year-Round Outdoor Living
Best times to install
- Fall: Ideal for building soil over winter; fewer weeds; comfortable working temps.
- Spring: Great for quick transformation before outdoor entertaining season—just plan for extra watering as plants establish.
- Summer (possible with care): Install in the cooler part of the day; use thicker mulch and consistent watering.
Regional adjustments
- Hot/dry climates: Increase mulch depth to 4 inches; choose drought-tolerant plants; add drip irrigation for efficiency.
- Humid/rainy climates: Avoid piling mulch against stems; prioritize airflow; choose disease-resistant varieties.
- Cold winters: Fall-installed beds settle beautifully by spring; protect new perennials with winter mulch (but don’t smother crowns).
Maintenance rhythm by season
- Spring: Top-dress 1–2 inches of compost in ornamental beds; refresh mulch where it has thinned.
- Summer: Water deeply, less often; deadhead for longer blooms; keep bed edges crisp for a designed look.
- Fall: Add shredded leaves as a free mulch layer; plant bulbs for spring color; cut back only what’s necessary.
- Winter: Leave seed heads and grasses for structure; plan next season’s plant additions from the comfort of your indoor view.
Common No Dig Garden Mistakes to Avoid
- Using thin cardboard or leaving gaps: Weeds will find the light. Overlap generously.
- Skimping on compost: A light dusting won’t support healthy roots. Aim for at least 2–4 inches (more for veggies).
- Mulching too lightly: Less than 2 inches invites weed seeds and dries out fast.
- Piling mulch against trunks and stems: Leads to rot and pests. Leave a small “donut” gap around plants.
- Ignoring edging: Crisp edges are the difference between “landscaped” and “messy.” Install edging early.
- Planting without a plan: Random plant placement can look cluttered. Repeat a few anchor plants for cohesion.
FAQ: No Dig Garden Design
Do no dig gardens really work over grass?
Yes. Mow low, cover with overlapped cardboard, then add compost and mulch. The grass decomposes, feeding the soil. For aggressive grasses, use extra overlap and thicker mulch.
How deep should the layers be?
A solid baseline is 2–4 inches compost plus 2–4 inches mulch. For vegetable beds, lean toward 4–6 inches compost for better root growth and productivity.
Can I use landscape fabric instead of cardboard?
Cardboard is preferred for no dig because it breaks down and feeds soil life. Landscape fabric often clogs, prevents top-down soil building, and can become a long-term maintenance headache—especially in ornamental landscape beds.
Will a no dig bed attract pests?
Any garden can attract pests, but no dig beds aren’t inherently worse. Avoid thick mulch piled against stems, keep the area tidy, and choose healthy plants suited to your climate to reduce issues.
How do I keep the bed looking neat next to a patio?
Install edging (steel, brick, or stone), maintain a consistent mulch depth, and use repeated plant groupings. Add a simple path of stepping stones or gravel if the bed borders high-traffic patio living areas.
What’s the fastest way to get a “designer” look on a budget?
Buy fewer plant varieties and repeat them in groups of 3–7. Use bulk mulch and compost deliveries, then invest in one standout feature—like steel edging, a sculptural grass grouping, or a statement container near the seating area.
Next Steps: Turn That Patch of Yard Into a Finished Outdoor Space
Start with one zone you see every day—along the patio, the walkway to your front door, or the view from your kitchen window. Sketch a simple shape, commit to clean edging, and build your no dig layers with quality compost and a mulch that matches your home’s style. Once the first bed is thriving, expanding becomes easy: you’re not “redoing” the yard—you’re growing better soil and better design over time.
If you’re ready for more landscaping ideas, patio layouts, and outdoor living inspiration, explore the latest guides and design trends on thedecormag.com.
More Articles
 How to Create a Rock Garden - The Decor Mag
 How to Design a Mediterranean Courtyard - The Decor Mag
 Best Outdoor Loveseat Options - The Decor Mag
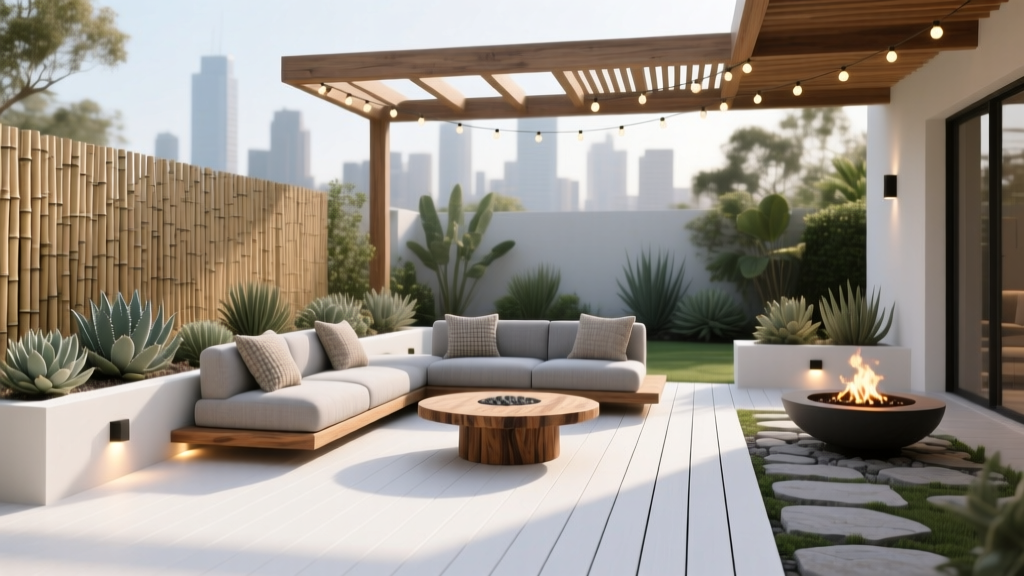 How to Create an Outdoor Entertainment Area - The Decor Mag
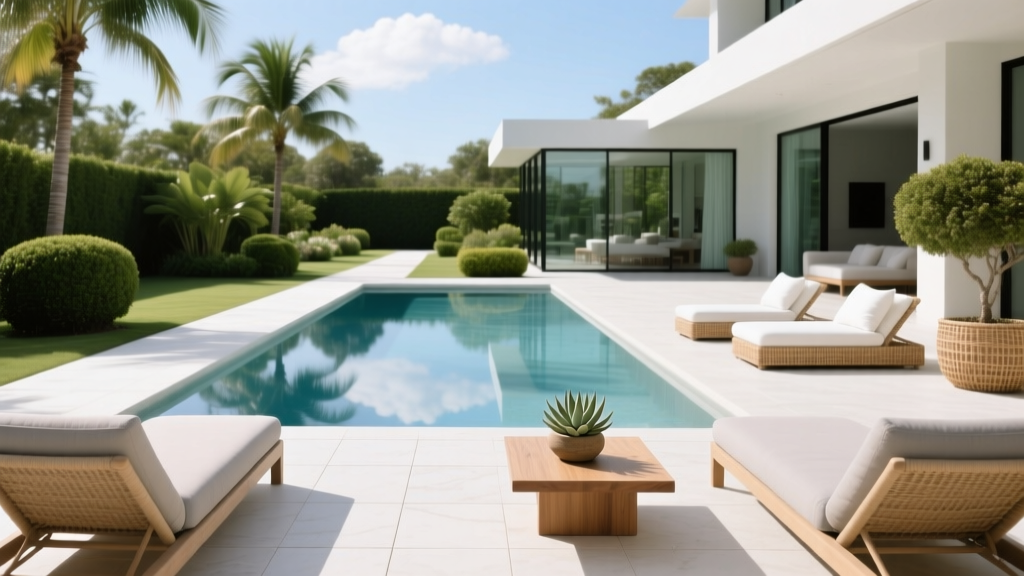 Poolside Design and Decor Ideas - The Decor Mag
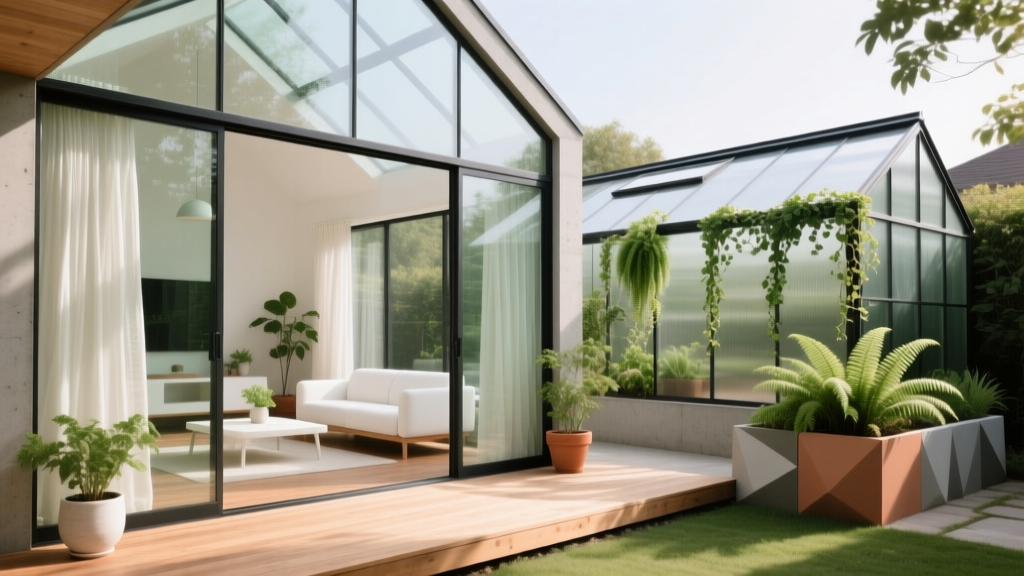 Garden Room and Greenhouse Design - The Decor Mag
 Science vs Summer: How Thermal Physics, Material Science, and Bioclimatic Design Shape Outdoor Living
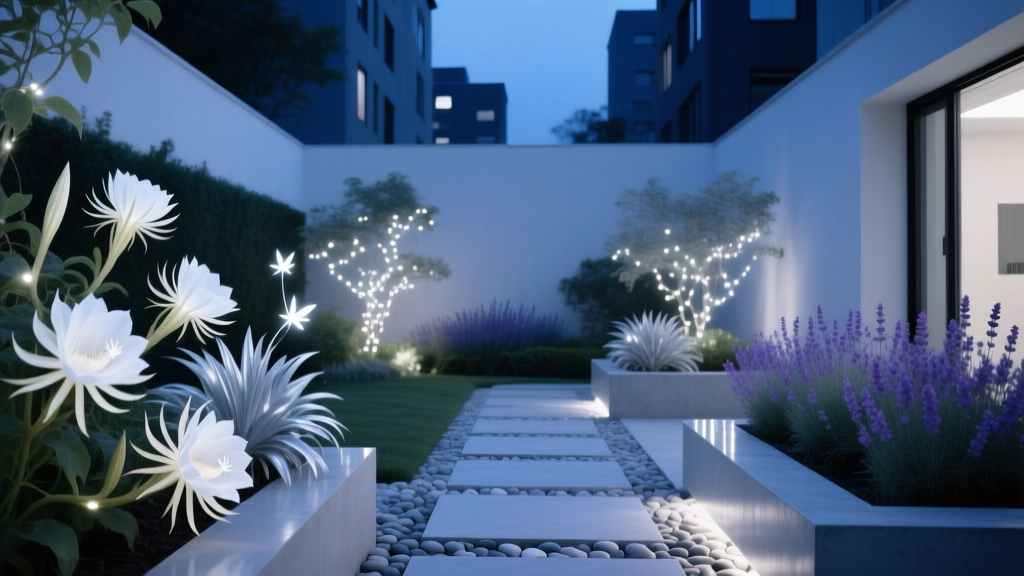 How to Create a Night Blooming Garden - The Decor Mag
 Outdoor Kitchen Ventilation Guide - The Decor Mag
 How to Create a Firefly Garden - The Decor Mag