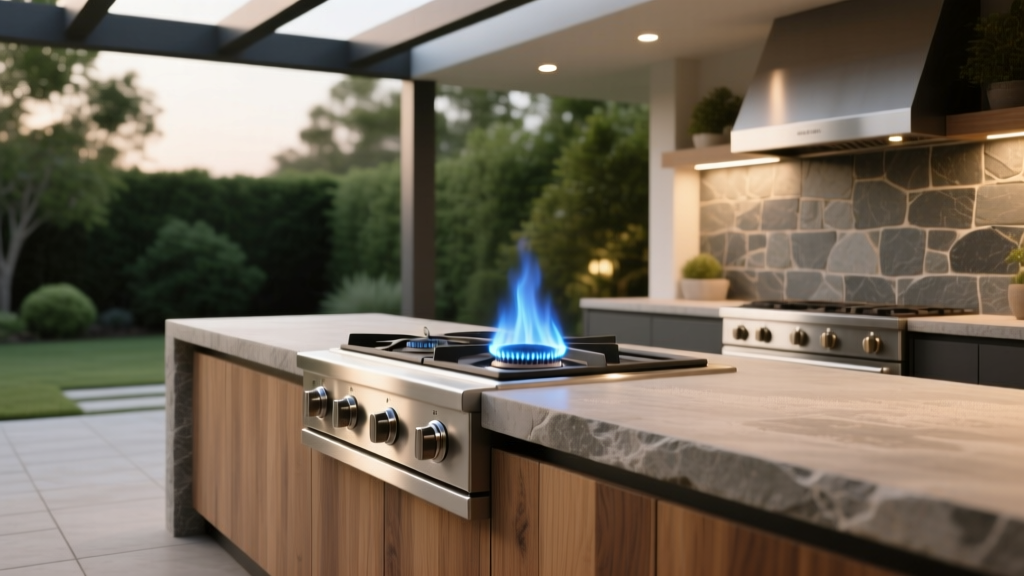
Outdoor Kitchen Side Burner Setup - The Decor Mag
An outdoor kitchen can turn a backyard into a true gathering place, but the feature that quietly upgrades the entire experience is often the side burner. When you can simmer sauce while searing steaks on the grill, blanch corn for tacos without running inside, or boil pasta steps away from the patio table, your outdoor cooking stops feeling like a “grill night” and starts feeling like real, effortless entertaining.
A well-planned side burner setup also improves your outdoor living flow. It reduces foot traffic through the house, keeps heat and cooking odors outside during summer, and makes year-round patio living more comfortable with fewer trips back and forth. Whether your outdoor kitchen is a full built-in island or a compact grill station on a small patio, adding (or upgrading) a side burner is one of the most practical ways to increase function without expanding the footprint.
Below is a designer-minded, homeowner-friendly guide to choosing the right side burner, placing it correctly, selecting durable materials, and styling the space with furniture and plants that make the whole outdoor kitchen feel intentional.
Why a Side Burner Belongs in a Smart Outdoor Kitchen Design
Most grills handle high-heat cooking beautifully, but they’re less ideal for tasks that require steady, controlled heat. A side burner fills that gap and makes your outdoor kitchen feel like a complete cooking zone.
Best uses for an outdoor side burner
- Sauces and glazes: BBQ sauce reductions, chimichurri warm-up, pan gravies
- Boiling and blanching: pasta, potatoes, corn, seafood boils
- Sautéing and stir-fry: onions, peppers, fajita veg, quick wok-style meals
- Breakfast outside: eggs, pancakes, breakfast potatoes (great for weekend patio living)
- Keeping sides warm: beans, queso, soup, mulled cider in cool seasons
Side burner vs. griddle vs. power burner
- Standard side burner: versatile, budget-friendly, great for most homes.
- Power burner: higher BTU for rapid boiling, wok cooking, large stockpots.
- Built-in griddle: ideal for breakfast and smash burgers; less useful for pots and pans.
Planning the Ideal Layout: Placement, Clearances, and Workflow
Great outdoor kitchen design comes down to workflow. You want prep space, cooking space, and landing space arranged so two people can cook comfortably without bumping elbows.
Where to place the side burner
For most patios and outdoor kitchens, the best spot is adjacent to the grill, with enough counter space on at least one side to set down hot pans.
- Right next to the grill: best for coordinated cooking (steak on grill, sauce on burner).
- On the “prep” side: convenient for sautéing aromatics while prepping.
- Near the serving zone: useful if you often keep sides warm during dinner parties.
Practical spacing guidelines
- Landing space: aim for 12–18 inches of counter space on at least one side of the burner.
- Walkway clearance: 36 inches minimum; 42–48 inches is ideal for entertaining flow.
- Avoid tight corners: steam and heat need room; corners also reduce usable counter area.
- Distance from dining: keep the burner a few feet away from seated guests to reduce smoke/steam discomfort.
Layout ideas for real backyards
- Small patio (space-saving L-shape): grill on the short leg, side burner on the long leg with a 24–36 inch prep run between.
- Linear run (modern, clean lines): fridge + prep counter + grill + side burner + serving counter, all in one line.
- U-shape (best for serious cooks): side burner on one arm, grill on the center run, sink on the other arm for a true outdoor “work triangle.”
Choosing the Right Side Burner: Fuel, BTUs, and Features
Side burners aren’t one-size-fits-all. Your best choice depends on your climate, how often you cook, and whether your outdoor kitchen is built-in or modular.
Fuel options: natural gas vs. propane
- Natural gas: best for frequent cooking, consistent fuel supply, cleaner long-term setup. Requires a gas line (professional install recommended).
- Propane: flexible and often easier for retrofits. Plan a dedicated tank storage area with ventilation and easy access.
BTU guidance (what you actually need)
- 10,000–15,000 BTU: everyday sautéing, simmering, warming.
- 15,000–25,000 BTU: faster boiling, bigger pots, more outdoor hosting.
- 25,000–60,000+ BTU (power burner): wok cooking, seafood boils, rapid heat for large gatherings.
Features worth paying for
- Stainless steel construction: look for 304 stainless for better corrosion resistance in humid/coastal areas.
- Recessed burner design: helps block wind and stabilize the flame.
- Solid grates: cast stainless or heavy-duty stainless offers better pan stability.
- Ignition reliability: quality electronic ignition or robust manual backup.
- Lid or cover: keeps debris out and improves durability between seasons.
Materials and Surfaces That Handle Heat, Weather, and Daily Use
Outdoor kitchens live outside—sun, rain, freeze-thaw cycles, pollen, and sauce splatters included. The best materials look great while staying low-maintenance.
Countertop materials that pair well with side burners
- Granite: strong heat resistance, timeless look; seal annually for stain protection.
- Concrete (sealed): modern and customizable; needs proper sealing and occasional reseal, especially in freeze zones.
- Porcelain slabs: highly stain- and UV-resistant; excellent for sunny patios and year-round outdoor living.
- Soapstone: naturally heat-tolerant; develops a patina, great for rustic-modern outdoor design.
Island base and surround materials
- Stone veneer: classic outdoor kitchen look; choose quality mortar and flashing details in wet climates.
- Stucco over masonry: clean and cost-effective; watch for cracking in freeze-thaw regions.
- Powder-coated metal framing: great for modern builds; ensure it’s exterior rated.
Wind and heat management design tricks
- Add a wind break: a low stone wall, tempered glass panel, or strategic planting reduces flame blowouts.
- Use a heat-resistant backsplash zone: porcelain tile, natural stone, or stainless behind the burner if it’s near a wall.
- Plan for ventilation: especially for enclosed islands and propane storage.
Furniture and Styling Around the Side Burner: Create a True Outdoor Room
A side burner setup works best when the surrounding patio living area supports cooking, serving, and relaxing. Think of it as an outdoor room: durable seating, shaded comfort, and surfaces where guests can set a drink without hovering over the cook.
Furniture recommendations that complement an outdoor kitchen
- Counter-height stools (weather-rated): ideal for socializing without crowding the cooking zone. Look for powder-coated aluminum frames and quick-dry cushions.
- Dining set near the serving side: choose a table with a heat- and stain-tolerant top (teak, aluminum, or porcelain-tile top).
- Mobile serving cart: a stainless or powder-coated cart adds flexible landing space for platters and condiments.
Shade and lighting for year-round patio living
- Pergola or pavilion: creates structure and keeps sun/rain off the cooking area. Use a vented hood if fully covered and local code requires it.
- Task lighting: under-counter LEDs or directional sconces aimed at the grill and side burner.
- Ambient lighting: warm string lights, low-voltage path lights, and step lights for safe nighttime hosting.
Planting Ideas Near an Outdoor Kitchen (That Won’t Become a Mess)
Landscaping around an outdoor kitchen should frame the space, soften hard edges, and provide privacy—without dropping leaves into your burners or attracting too many pests.
Best plant types for outdoor kitchen zones
- Evergreen structure plants: provide year-round screening for patios and outdoor living spaces.
- Heat-tolerant, low-litter plants: minimize cleanup and keep counters cleaner.
- Culinary herbs in containers: beautiful, practical, and easy to maintain close to the cook.
Specific plant suggestions (by role)
- Privacy screens: clumping bamboo (non-invasive varieties), arborvitae (‘Emerald Green’), podocarpus (warm climates), wax myrtle (coastal tolerant).
- Low-mess edging: boxwood (dwarf varieties), lomandra, dwarf mondo grass, liriope (great for borders).
- Container herbs: rosemary (upright varieties), thyme, oregano, sage, chives, basil (seasonal). Use large pots for stability and consistent moisture.
- Color without litter: lantana (warm climates), salvia, lavender (dry climates), society garlic.
Plant placement tips
- Keep plants at least 2–3 feet away from active heat sources and grill exhaust.
- Avoid high-shedding trees directly overhead (mess + fire risk).
- Use gravel or pavers near the cooking area instead of mulch to reduce stray debris.
Climate-Smart and Maintenance-Friendly Setup
The best outdoor kitchen side burner setup is the one that stays reliable through your weather—whether that’s salty coastal air, desert sun, or snowy winters.
Hot, sunny climates
- Choose UV-stable materials like porcelain slab countertops and powder-coated aluminum furniture.
- Add shade (pergola, cantilever umbrella) to reduce surface heat on metal controls.
- Use light-colored pavers to reduce heat buildup around the cooking zone.
Coastal or humid climates
- Prioritize 304 stainless steel or higher; rinse surfaces periodically to remove salt film.
- Avoid cheap hardware; upgrade to corrosion-resistant fasteners.
- Keep a fitted cover on the side burner when not in use.
Freeze-thaw and snowy climates
- Choose properly sealed stone or porcelain for countertops; avoid poorly sealed concrete.
- Shut off and winterize water lines if you have a sink nearby.
- Store removable parts (grates, covers) in a dry place if heavy snow and ice are common.
Simple maintenance routine
- After cooking: wipe down the burner area and grates once cool.
- Weekly in peak season: clean spills, check ignition performance, empty grease/crumb debris nearby.
- Seasonally: deep clean burners, check gas connections, reseal stone if needed.
Budget Ranges: What to Expect for a Side Burner Setup
Your final cost depends on whether you’re adding a drop-in burner to an existing island, building a new outdoor kitchen, or upgrading utilities.
- Budget-friendly ($200–$600): basic propane side burner units, cart-style add-ons, simpler materials.
- Mid-range ($600–$1,500): built-in side burner with better stainless steel, improved grates, stronger ignition.
- Premium ($1,500–$3,500+): high-end built-in burners, power burners, integrated lids, matching outdoor kitchen suites.
- Installation add-ons ($300–$2,500+): gas line runs, electrical for ignition/lighting, island modifications, permits (varies by region).
Common Mistakes to Avoid
- Skipping landing space: a burner without nearby counter area becomes frustrating fast.
- Ignoring wind exposure: an unprotected burner on a breezy patio leads to constant flame issues.
- Placing it too close to seating: steam, splatter, and heat make guests uncomfortable and can damage cushions.
- Choosing the wrong stainless steel grade: cheaper stainless may pit or rust in coastal/humid conditions.
- Poor ventilation in enclosed islands: a safety risk, especially with propane storage.
- Overplanting near the cook zone: leaf litter and pests increase maintenance and mess.
FAQ: Outdoor Kitchen Side Burner Setup
Do I need a side burner if I already have a grill?
If you cook more than just burgers and steaks, a side burner is a big quality-of-life upgrade. It handles simmering, boiling, sautéing, and warming sides while your grill stays focused on high-heat cooking.
Is propane or natural gas better for an outdoor side burner?
Natural gas is excellent for frequent outdoor cooking because you don’t refill tanks, while propane is more flexible for retrofits and smaller patios. Your best choice depends on access to a gas line and how permanent your outdoor kitchen design will be.
How much counter space should I plan next to the side burner?
Aim for 12–18 inches of landing space on at least one side, and more if you often cook with multiple pots. If space allows, 24 inches of adjacent counter space makes outdoor prep and plating noticeably easier.
What’s the best countertop material near a side burner?
Porcelain slabs and granite are top performers for heat and weather resistance. Concrete can look amazing in modern outdoor living spaces, but it needs excellent sealing—especially in freeze-thaw climates.
Can I place a side burner under a covered patio or pergola?
Often yes, but it depends on clearances, ventilation, and local building codes. If the area is fully covered or enclosed, you may need a vent hood or additional safety measures—check manufacturer requirements and consult a licensed installer.
What plants work best near an outdoor kitchen?
Choose low-litter, heat-tolerant plants and use container herbs for function and style. Rosemary, thyme, lavender (dry climates), lomandra, and dwarf boxwood are popular landscape choices that look polished without constant cleanup.
Next Steps: Build a Side Burner Setup That Feels Effortless
Start by mapping your outdoor kitchen workflow: where you prep, where you cook, and where you serve. Then choose a side burner that matches how you actually entertain—standard for everyday cooking, power burner for big boils and wok meals—and pair it with durable outdoor materials that suit your climate. Finish the space with practical patio furniture, layered lighting, and a few well-placed plants that bring the outdoor design to life without creating extra maintenance.
For more outdoor kitchen ideas, patio living inspiration, and landscaping design tips to elevate your backyard year-round, explore the latest guides at thedecormag.com.
More Articles
 How to Create a Raised Bed Garden - The Decor Mag
 How to Create a Lasagna Garden Bed - The Decor Mag
 How to Create a Starlight Garden - The Decor Mag
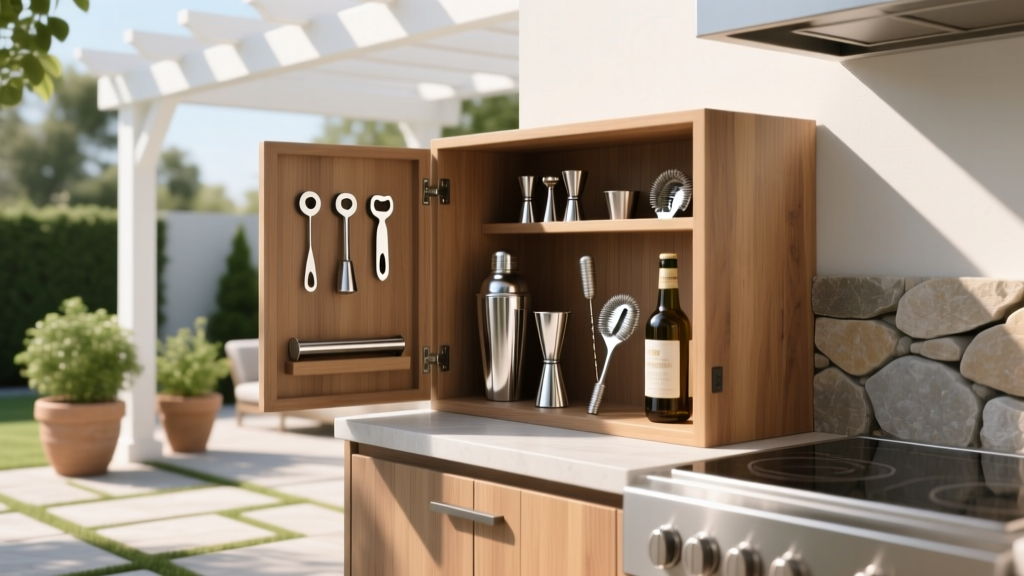 Best Outdoor Bar Tool Storage Ideas - The Decor Mag
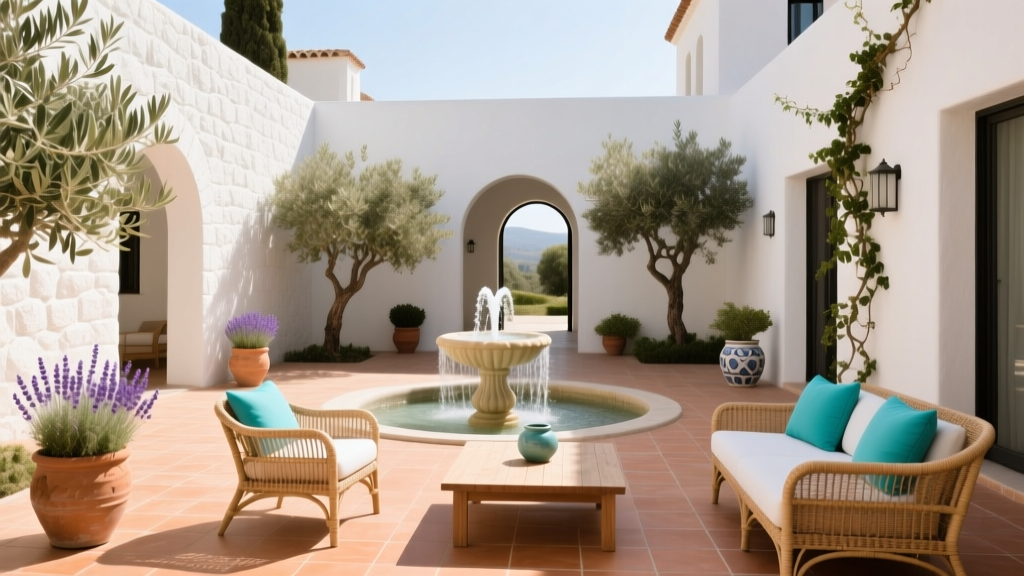 How to Design a Mediterranean Courtyard - The Decor Mag
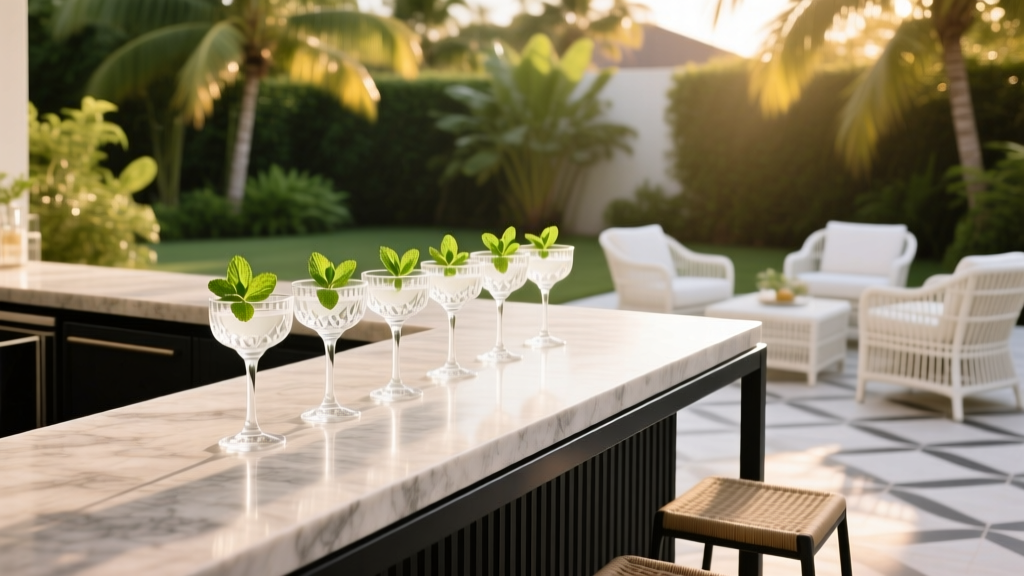 Best Outdoor Bar Mint Sprig Glass Ideas - The Decor Mag
 Science vs Summer: How Thermal Physics, Material Science, and Bioclimatic Design Shape Outdoor Living
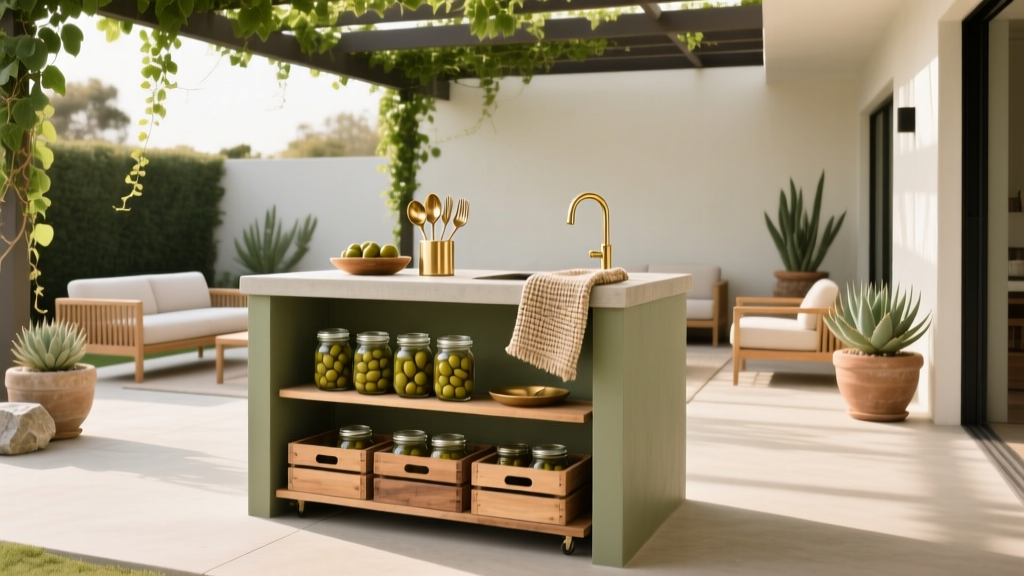 Best Outdoor Bar Olive and Pickle Station - The Decor Mag
 How to Design a Garden Pathway - The Decor Mag
 Best Outdoor Bar Napkin Holder Ideas - The Decor Mag