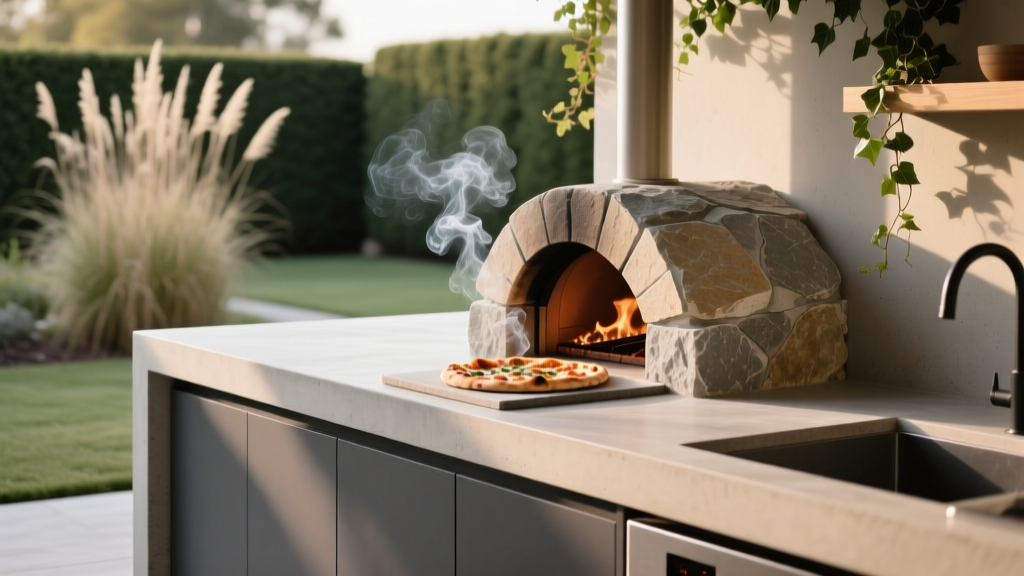
Outdoor Kitchen Pizza Stone Installation - The Decor Mag
A great outdoor kitchen isn’t just about having a grill—it’s about creating a place where people gather, linger, and eat well. Installing a pizza stone (or building a pizza-stone-ready station) turns an ordinary patio cook zone into a true outdoor living destination, with the aroma of blistered crust and bubbling cheese pulling everyone outside.
For homeowners upgrading patios, gardens, and yards, pizza is the ultimate crowd-pleaser because it’s interactive: guests can assemble toppings, kids can “design” their own slices, and the cook stays part of the party. The right pizza stone setup also supports year-round outdoor living—think cozy winter bakes under a pergola with heaters, or summer pizza nights paired with a shaded dining area and drought-tolerant landscaping.
This guide walks through practical, expert-level outdoor kitchen pizza stone installation options—from sliding a stone onto a grill to designing a dedicated, built-in pizza station—plus material recommendations, layouts, climate considerations, and the mistakes that most often lead to cracked stones or undercooked crust.
Why a Pizza Stone Belongs in Your Outdoor Kitchen Design
A pizza stone isn’t just a cooking accessory—it’s a design decision. When you plan for it, your outdoor kitchen becomes more functional, safer to use, and easier to maintain.
- Better cooking performance: A quality stone or baking steel stores heat and delivers the crisp, airy crust most grills struggle to produce.
- Entertaining-friendly flow: A designated prep-and-launch zone reduces bottlenecks and keeps guests out of the “hot zone.”
- More menu options: Beyond pizza, stones handle flatbreads, roasted vegetables, naan, cookies, and even sheet-pan meals in an outdoor oven setup.
- Higher perceived value: A pizza-capable outdoor kitchen is a premium feature buyers recognize, especially in markets where outdoor living is a lifestyle.
Choose Your Installation Path: Grill, Dedicated Pizza Oven, or Built-In Station
Option 1: Pizza Stone on a Gas or Charcoal Grill (Fastest Upgrade)
If you already have a grill island or freestanding grill on the patio, this is the simplest way to get pizza nights going.
Best for: Homeowners who want minimal construction and maximum flexibility.
- Recommended stone materials: Cordierite (high heat tolerance, good durability) or a thick ceramic stone rated for high temperatures.
- Stone size: 14–16 inches works for most grills; leave at least 1–2 inches around edges for airflow.
- Budget range: $40–$120 for a quality cordierite stone; $25–$60 for a pizza peel if you don’t already have one.
Option 2: Dedicated Outdoor Pizza Oven (Performance + Theater)
If your outdoor kitchen is a focal point for entertaining, a dedicated pizza oven delivers the highest temps and the most consistent results. Many models fit on a countertop, while others integrate into a masonry island.
Best for: Frequent entertainers, culinary enthusiasts, and homeowners building a full outdoor kitchen layout.
- Fuel types: Wood-fired (smoky flavor, traditional experience), gas (ease + consistency), or hybrid.
- Budget range: $300–$900 for countertop ovens; $1,500–$6,000+ for built-in or masonry ovens.
Option 3: Built-In Pizza Stone “Baking Deck” in a Masonry Station
This approach blends the look of a custom outdoor kitchen island with a dedicated baking surface—perfect if you’re already building counters, storage, and a prep zone.
Best for: New builds or major remodels where layout and finish materials are being selected.
- Common builds: An insert-style pizza oven with stone deck, or a dedicated alcove integrated into a stone/brick veneer island.
- Budget range: $2,500–$10,000+ depending on utilities (gas line, electrical), countertop material, veneer, and ventilation needs.
Materials That Work Outdoors (and Why They Matter)
Pizza Stone Material Recommendations
- Cordierite: The go-to for outdoor kitchens. Handles high heat and thermal cycling better than many ceramics.
- High-fired ceramic: Can perform beautifully, but is more prone to cracking if heated too quickly or exposed to moisture.
- Baking steel (alternative): Not a stone, but excellent for fast heat transfer and browning; great in humid climates because it’s less likely to crack (it can rust, so it needs care).
Countertops and Surround Materials (Heat + Weather Ready)
Your stone installation is only as good as the surfaces around it. Prioritize outdoor-rated materials that handle heat, grease, and UV.
- Countertops:
- Granite: Classic, durable, heat resistant; seal periodically.
- Concrete: Custom look; requires sealing and occasional maintenance.
- Porcelain slabs: Highly stain resistant, UV stable, sleek for modern patios.
- Island cladding: Stone veneer, brick, stucco, or fiber cement panels rated for exterior use.
- Heat shielding: Stainless steel heat shields and non-combustible cement board behind and around high-heat zones.
How to Install a Pizza Stone in an Outdoor Kitchen Setup
Step-by-Step: Installing on a Grill
- Confirm your grill’s clearance and heat output. Most gas grills work well with a stone; charcoal grills often excel but require more active temperature control.
- Place the stone for airflow. Set it on the grill grates. If your grill runs hot and scorches bottoms, elevate the stone slightly using stainless steel nuts/bolts or a purpose-made rack to reduce direct heat intensity.
- Preheat gradually. Close the lid and preheat 20–30 minutes. Sudden heat changes are the #1 cause of cracking.
- Target temperature:
- 450–550°F: Great for most backyard pizzas.
- 650°F+: Approaches Neapolitan-style (usually requires a pizza oven, not a standard grill).
- Launch with a peel. Use semolina or cornmeal sparingly to prevent sticking. Too much burns and tastes bitter.
- Rotate for even cooking. Turn the pizza every 1–2 minutes if the grill has hot spots.
- Cool down naturally. Let the stone cool inside the closed grill or on the grates—never dunk in water or move it into cold air immediately.
Step-by-Step: Integrating a Stone into a Built-In Station
If you’re building a new outdoor kitchen island or upgrading an existing one, treat the pizza zone like a “mini oven project” with airflow, safety clearances, and weather protection.
- Choose the right appliance or insert. For most homeowners, a built-in gas pizza oven insert is the cleanest solution (consistent temps, minimal ash).
- Build a non-combustible base. Use metal framing or masonry with cement board in heat areas. Keep combustibles away from high heat and vent paths.
- Plan ventilation and heat escape. Pizza ovens and high-heat alcoves need proper venting. Follow manufacturer specs for flues, vents, and clearances.
- Create a landing zone. Design at least 18–24 inches of heat-safe counter space beside the oven for turning, checking, and plating.
- Install weather-smart storage. Include a dry drawer or cabinet for peels, cutters, and heat gloves. Add a sealed bin for flour/semolina.
- Protect the stone from moisture. Install under a pergola, roof extension, or at minimum use a fitted cover. Moisture absorbed into stone can lead to cracking when heated.
Outdoor Kitchen Layout Tips for Pizza Night Flow
Great outdoor kitchen design is about movement: prep, cook, serve, sit—without collisions. Pizza introduces a new step (launching and rotating), so layout matters.
Recommended Layout Zones
- Prep zone: 24–36 inches of counter space near the fridge/cooler drawer.
- Cooking zone: Grill + pizza stone or pizza oven, with heat-safe surfaces on both sides if possible.
- Landing/serving zone: A clear counter run for cutting and plating, ideally adjacent to dining.
- Social zone: Bar seating 42 inches high or a dining table 30 inches high, set outside the heat path.
Furniture Recommendations for a Pizza-Friendly Patio
- Dining table materials: Powder-coated aluminum (low maintenance), teak (premium look, weathers well), or concrete/composite tops for modern patios.
- Seating: Stackable outdoor dining chairs for flexible gatherings; add 1–2 cushioned lounge chairs nearby for a “hangout” corner.
- Shade: Pergola with adjustable canopy or a large cantilever umbrella placed to shade the prep zone (not directly over high heat).
- Lighting: Warm LED task lighting over counters + string lights over dining for ambiance. Add step/path lights for safe movement at night.
Landscaping and Plant Pairings That Elevate the Pizza Experience
The best outdoor living spaces feel like a garden room. Use plants to soften hardscape, provide fragrance, and even supply toppings.
Edible and Fragrant Plant Suggestions (Great Near Outdoor Kitchens)
- Herbs: Basil (in pots you can move), oregano, thyme, rosemary (also drought tolerant once established).
- Container citrus: Lemon or calamondin near seating for scent and cocktail garnishes (protect in frost climates).
- Pollinator-friendly accents: Lavender, salvia, and catmint—beautiful, hardy, and helpful for the garden ecosystem.
Design Tip: Keep Plants Out of the Grease and Heat Zone
- Maintain 3–5 feet clearance between cooking surfaces and planting beds.
- Use raised planters or large ceramic/concrete pots to control watering and prevent splatter damage.
- Choose evergreen structure (boxwood alternatives in warmer zones, dwarf conifers in cooler zones) to keep the patio looking polished year-round.
Climate and Year-Round Outdoor Living Considerations
Hot, Sunny Climates
- UV and heat: Select UV-stable cushions and outdoor-rated finishes. Porcelain countertops resist fading and stains.
- Wind: Add a windbreak wall, hedge, or glass panel near the cooking zone to stabilize oven/grill temperatures.
- Plants: Rosemary, lavender, agave (away from traffic), lantana, and ornamental grasses for low-water landscaping.
Cold or Freeze-Thaw Climates
- Stone care: Keep pizza stones dry and stored indoors when possible. Freeze-thaw cycles + moisture can crack porous materials.
- Hardscape: Use frost-rated pavers and proper base prep to prevent heaving around the outdoor kitchen.
- Year-round comfort: Add infrared patio heaters under a covered structure; consider a fire pit lounge zone adjacent to (but safely separated from) the cooking area.
Humid or Coastal Climates
- Corrosion resistance: Choose 304 stainless steel for doors, drawers, and appliance trim; rinse salt spray regularly.
- Mold/mildew: Use quick-dry cushion fabrics and ensure good airflow around furniture.
- Stone alternative: Baking steel may be a smart swap if you can keep it oiled and covered; cordierite remains a strong option if stored dry.
Maintenance: Keep Your Pizza Stone and Outdoor Kitchen Looking New
- Cleaning the stone: Skip soap (it can absorb). Scrape with a bench scraper and wipe with a damp cloth once cool. Stains are normal and don’t hurt performance.
- Seasonal storage: In wet/freezing seasons, store the stone indoors or in a sealed bin with a desiccant pack.
- Countertop care: Seal granite and concrete as recommended; wipe grease quickly to prevent staining.
- Covers: Use fitted covers for grills and ovens; covers extend appliance life and keep prep surfaces cleaner.
Common Mistakes to Avoid
- Heating a damp stone: Moisture trapped inside expands when heated and can crack the stone. Keep it dry, especially after rain or humid storage.
- Thermal shock: Don’t move a hot stone onto a cold surface, and never rinse it while hot.
- Wrong placement on the grill: A stone with no airflow around it can lead to uneven cooking. Leave space at the edges and preheat with the lid closed.
- Skipping the landing zone: Without nearby counter space, you’ll juggle hot tools and trays—unsafe and stressful during entertaining.
- Overcrowding the patio layout: Keep dining and lounge seating out of the high-heat traffic lane; prioritize clear walkways (at least 36 inches wide).
- Choosing indoor-only materials: Indoor cabinets, MDF panels, or non-UV finishes will warp and fade fast in outdoor kitchens.
Budget Ranges: What to Expect
- Starter upgrade (existing grill): $75–$250 (stone, peel, infrared thermometer, basic accessories).
- Mid-range outdoor pizza setup: $400–$1,200 (countertop pizza oven + small prep cart + lighting upgrades).
- Built-in outdoor kitchen pizza station: $2,500–$10,000+ (insert oven, island construction, countertops, utilities, ventilation, finishes).
FAQ: Outdoor Kitchen Pizza Stone Installation
Do I need a special pizza stone for an outdoor kitchen?
A stone rated for high heat is the safest choice. Cordierite is a top pick for outdoor cooking because it handles higher temperatures and repeated heating cycles better than many standard ceramic stones.
Can I leave my pizza stone outside year-round?
It’s not recommended. Moisture and freeze-thaw cycles can damage porous stones. For year-round outdoor living, keep the stone covered, dry, and ideally stored indoors during rainy or freezing periods.
What’s the best countertop material near a pizza oven?
Porcelain slabs, granite, and well-sealed concrete all perform well in outdoor kitchens. Pair them with non-combustible backing and heat shields where required by your appliance manufacturer.
Why does my pizza burn on the bottom before the top cooks?
Your stone may be too close to direct heat, or the grill/oven needs more top heat. Try elevating the stone slightly for airflow, preheating longer with the lid closed, and cooking at a slightly lower temperature until your timing is dialed in.
Should I use cornmeal or flour on the peel?
Use a light dusting of semolina or a 50/50 semolina-flour mix. Too much burns on hot stones and can leave a bitter taste.
Is a pizza oven worth it compared to a stone on the grill?
If pizza nights happen often or you love the high-heat, fast bake of restaurant-style pies, a dedicated outdoor pizza oven is a worthwhile upgrade. For occasional use, a stone on a well-preheated grill delivers excellent results with a smaller investment.
Next Steps: Build a Pizza-Ready Outdoor Living Space
Start by choosing the installation path that matches your patio lifestyle: a simple grill-and-stone setup, a countertop pizza oven for easy weeknight cooking, or a built-in station that becomes the heart of your outdoor kitchen design. Then refine the space with a smart layout (prep, cook, serve, sit), durable outdoor materials, and landscaping that adds fragrance, privacy, and year-round structure.
If you’re ready to plan your ideal patio cooking zone, sketch your current layout, measure available counter runs, and identify where shade, lighting, and storage will make pizza night effortless. For more outdoor kitchen ideas, landscape design inspiration, and patio living upgrades, explore the latest guides on thedecormag.com.
More Articles
 Best Bedroom Inspiration for Cozy: Science-Backed Design Strategies That Warm Your Space and Improve Sleep
 Outdoor Pavilion Lighting Design - The Decor Mag
 How to Create a Medicinal Herb Garden - The Decor Mag
 Best Outdoor Bar Nut Bowl Collection - The Decor Mag
 Premium Alternatives to Paint: Durable, Sustainable, and Aesthetic Solutions for Outdoor Living Surfaces
 How to Create a Starlight Garden - The Decor Mag
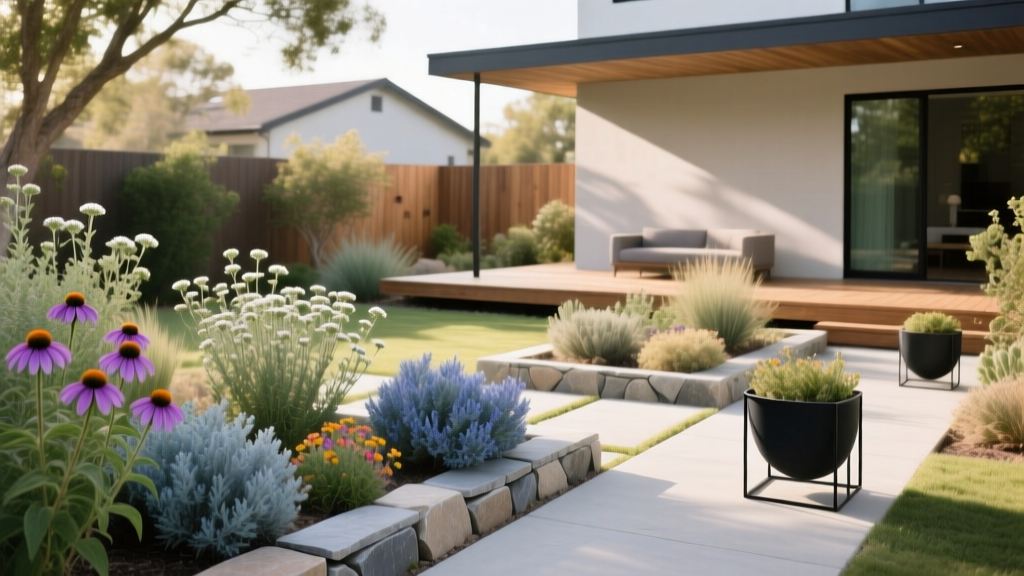 How to Design a Native Plant Garden - The Decor Mag
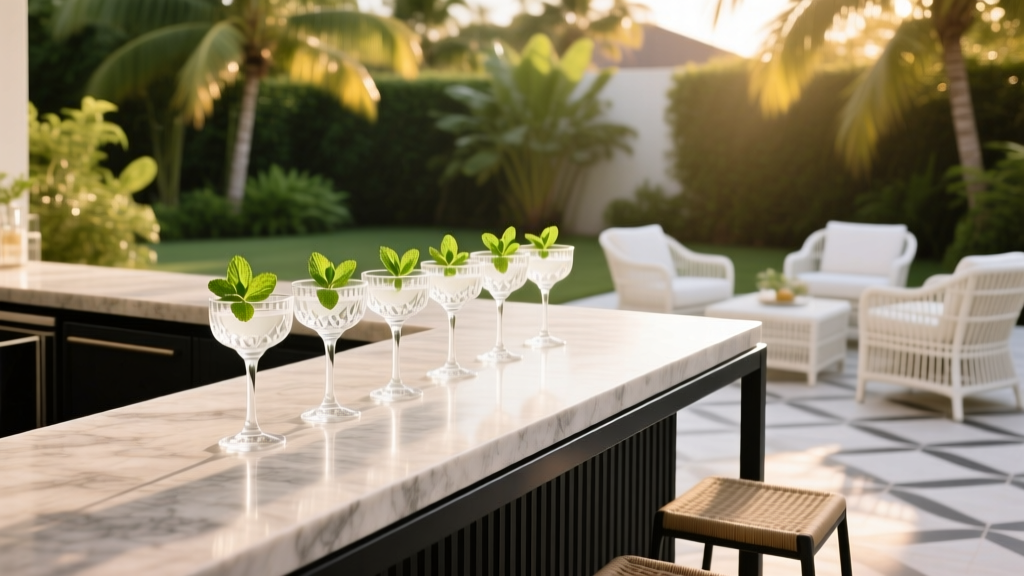 Best Outdoor Bar Mint Sprig Glass Ideas - The Decor Mag
 Warm Lighting vs. Lighting Checklists: Why Relying Solely on Lists Compromises Outdoor Ambiance and Safety
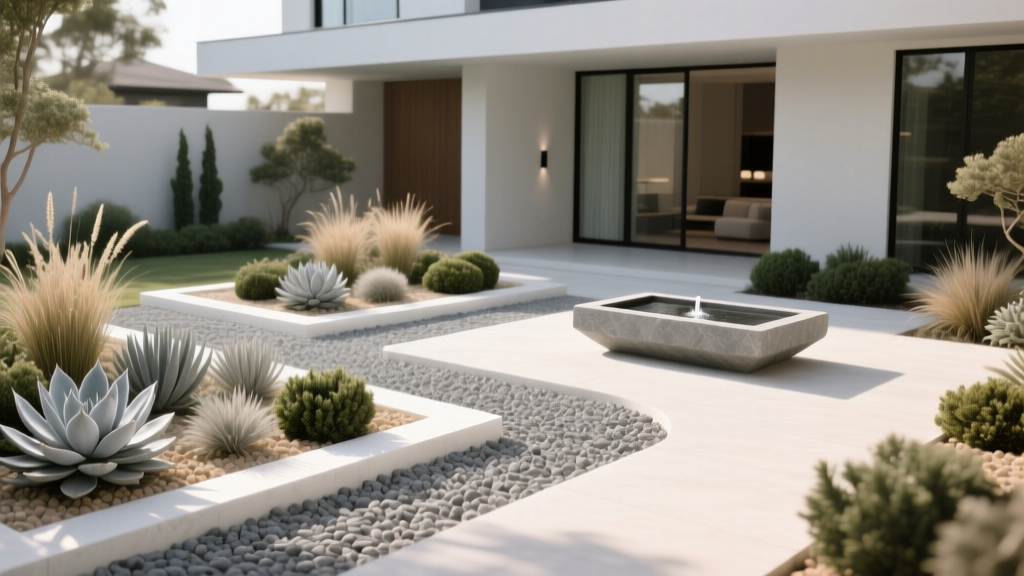 How to Design a Gravel Garden - The Decor Mag