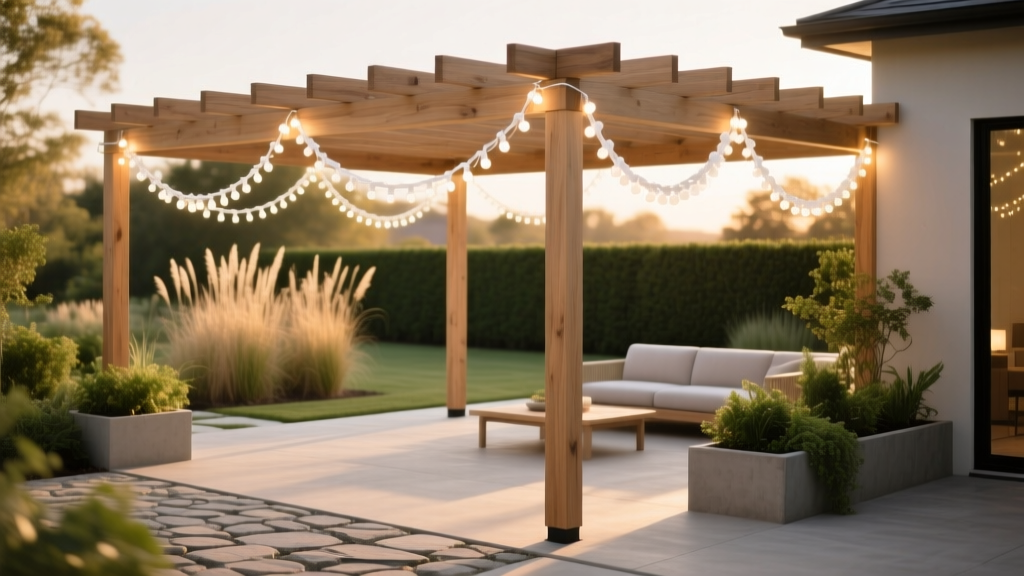
Outdoor Pergola Fairy Light Draping Guide - The Decor Mag
A pergola has a special talent: it makes an outdoor space feel like a “room” without closing it in. Add fairy lights, and that room suddenly has mood, warmth, and a sense of occasion—whether you’re hosting a summer dinner, enjoying a quiet fall evening with a blanket, or stretching patio season well into winter with a heater and hot drinks.
Fairy light draping isn’t just decoration. Done well, it improves how your patio or garden is used: it defines seating zones, makes pathways safer, softens harsh overhead lighting, and creates that inviting glow that pulls everyone outside. Done poorly, it can look cluttered, saggy, or (worst case) become a maintenance headache after the first windstorm.
This guide breaks down the most flattering ways to drape pergola lights, how to choose weather-safe materials, and how to pair lighting with outdoor furniture, plants, and layouts so your pergola becomes a year-round destination.
Start With a Plan: What Do You Want the Lights to Do?
Before you buy a single strand, decide what the lighting needs to accomplish in your outdoor living space. Fairy lights can be functional, atmospheric, or both.
- Ambient glow (most common): Soft twinkle to make a patio feel cozy.
- Task lighting: Brighter, more concentrated light for dining, grilling zones, or outdoor kitchens.
- Visual ceiling: A “canopy” effect that lowers the perceived height of a pergola and makes seating feel intimate.
- Wayfinding: Guiding guests from the house to a seating area or garden path.
- Highlighting landscaping: Accenting climbing vines, potted trees, or sculptural plants.
Measure and Map Your Pergola
Take five minutes to sketch your pergola footprint and note the following:
- Overall dimensions (length x width)
- Beam direction and spacing
- Power source location (outdoor outlet, transformer, solar panel placement)
- Wind exposure (open yard vs. sheltered courtyard)
- Obstacles (ceiling fan, heater, shade sail, retractable canopy)
Quick estimate: For draped patterns, plan on 2–3x the pergola length in total string-light footage, depending on the style you choose.
Choose the Right Fairy Lights for Outdoor Pergola Use
Weather Ratings and Durability (Non-Negotiable)
Look for lights rated for outdoor use with a clear weather-protection standard:
- IP65: Great for rain, sprinkler spray, humidity—ideal for exposed pergolas.
- IP44: Suitable for damp locations but best for covered pergolas or mild climates.
For most patio living setups, commercial-grade LED strings are worth the upgrade. They’re brighter, more consistent, and usually have thicker wiring and better seals.
Bulb Type and Color Temperature
- Micro LED fairy lights (wire/string): Best for delicate draping, wrapping beams, and “starry canopy” looks.
- Globe or bistro-style strings: Better for dining and brighter ambient light; mix with fairy lights for layered lighting.
For that outdoor-living “golden hour” feel, choose:
- Warm white (2200K–2700K): Cozy, flattering, best for entertaining.
- Soft white (3000K): Slightly cleaner; works well with modern patios and pale stone.
Power Options: Plug-In, Solar, or Battery
- Plug-in: Best brightness and reliability; ideal for year-round outdoor living.
- Solar: Great for gardens and pergolas away from the house; performance varies by season and shade.
- Battery: Good for small accents; frequent maintenance if used nightly.
Pro tip: If you want dimming, confirm the lights are dimmable and use a weather-rated outdoor dimmer (not every LED string plays nicely with dimmers).
5 Draping Styles That Make a Pergola Feel Designed
1) The Classic Canopy (Parallel Runs)
This is the cleanest, most architectural look: strands run in straight lines across the top slats or beams.
- Best for: Modern patios, rectangular pergolas, dining zones.
- Design effect: Neat “ceiling” that visually defines the outdoor room.
How to do it:
- Attach guide points along two opposing beams.
- Run strands back-and-forth in parallel lines, keeping tension consistent.
- Hide the lead cord along the beam closest to the power source.
2) The Soft Swag (Draped U-Shapes)
Swag draping adds romance and movement, especially when paired with outdoor curtains.
- Best for: Traditional gardens, boho patios, pergolas used for lounging.
- Design effect: Softer lines; more “evening garden party” vibe.
Tip: Keep swag consistent. A droop of 8–14 inches looks intentional on most pergolas; deeper swags can feel messy in windy areas.
3) The Starry Grid (Crisscross Lattice)
Crisscrossing fairy lights creates an even, twinkly canopy—perfect for patio living that needs a big mood boost.
- Best for: Square pergolas, open-beam designs, entertaining.
- Design effect: Dense sparkle with fewer dark spots.
Pro move: Add a second layer: micro LEDs for sparkle + one perimeter strand of bistro lights for functional brightness.
4) The Perimeter Frame (Outline Lighting)
For a subtle, high-end look, outline the pergola’s perimeter. This is the easiest to maintain and least likely to tangle.
- Best for: Minimalist landscapes, smaller patios, year-round setups.
- Design effect: Clean frame that highlights the structure.
5) The Curtain Drop (Vertical Waterfall)
String lights dropping in vertical lines on one or two sides creates privacy, a magical backdrop, and a great photo moment.
- Best for: Urban patios, hot tub pergolas, corner seating areas.
- Design effect: A glowing “wall” that makes the space feel tucked in.
Pair it with: Tall planters of bamboo (clumping varieties), ornamental grasses, or trellised vines to reinforce that layered, landscaped look.
Hardware and Materials That Keep Lights Up (and Looking Good)
Outdoor pergola lighting looks best when it’s taut, aligned, and secured for wind and weather.
Recommended Hanging Supplies
- UV-rated zip ties (black or clear): Fast, affordable, and tidy.
- Outdoor-rated cable clips: Great for clean lines and easy removal.
- Stainless steel screw hooks: Ideal for wood pergolas; use pre-drilled pilot holes.
- Guide wire (stainless steel) + turnbuckles: Best for long spans to prevent sagging.
- Heat-shrink waterproof connectors: For joining segments cleanly (when needed).
Material match tip: On cedar or redwood, dark hardware visually disappears at night and looks intentional by day. On white pergolas, use white clips/ties for a cleaner finish.
Protect Your Pergola Finish
- For stained wood, avoid rough metal edges rubbing against beams—use clips or padded hooks.
- For painted pergolas, pre-drill for screw hooks to prevent cracking and peeling.
- For metal pergolas, use manufacturer-approved attachment points or clamp-style clips to avoid damaging coatings.
Design Pairings: Furniture, Layouts, and Plants That Elevate the Glow
Furniture Recommendations for a Pergola “Outdoor Room”
Lighting looks best when it’s reflecting off comfortable, layered textures. Consider these pairings for patio living:
- Dining-focused pergola: 6–8 seat outdoor dining table (teak, powder-coated aluminum, or sealed eucalyptus) + dimmable canopy lights overhead.
- Lounge-focused pergola: Deep seating set with outdoor performance fabric (solution-dyed acrylic) + soft swag or grid fairy lights.
- Small pergola or corner nook: Two lounge chairs + a round fire pit table + perimeter outline lighting to keep it uncluttered.
Layout tip: Center the brightest light over the “activity zone” (dining or coffee table), then soften the edges with lower-level lanterns or solar path lights.
Plants That Love Pergolas (and Make Lights Look Better)
Combine fairy lights with living elements for a layered landscape design effect.
- Climbers for pergola posts: Star jasmine (warm climates), clematis (many zones), climbing roses (sunny sites), honeysuckle (check invasiveness locally).
- Container anchors: Dwarf olive (warm, dry climates), boxwood (classic structure), hydrangea (cooler, moister climates), citrus in pots (sunny patios; overwinter as needed).
- Soft edges: Lavender, rosemary, salvia, catmint—fragrant and great for pollinators.
- Night-enhancing foliage: Silver artemisia, dusty miller, variegated pittosporum—these catch and reflect warm light beautifully.
Design note: If you’re growing vines on the pergola roof, keep fairy lights slightly below the foliage layer so the glow filters through leaves rather than disappearing into them.
Seasonal and Climate Considerations for Year-Round Outdoor Living
Windy Areas
- Use guide wire for long spans and secure every 12–18 inches.
- Avoid deep swags that swing and tangle.
- Choose thicker cable insulation and commercial-grade strings.
Rainy or Humid Climates
- Prioritize IP65 rated strings and sealed connections.
- Mount the plug connection in a weatherproof in-use cover.
- Keep transformers and adapters off the ground and away from standing water.
Hot, Sunny Regions
- Look for UV-resistant wiring and hardware.
- Consider pairing lights with a shade canopy or outdoor curtains to reduce glare and extend daytime comfort.
Cold Winters and Snow
- If your pergola is exposed to heavy snow/ice, remove delicate fairy lights for the season or use commercial-grade strands designed for winter conditions.
- Keep strands tight so snow doesn’t weigh them down and stretch wiring.
- Pair lighting with a patio heater or fire pit to make winter evenings actually usable.
Budget Ranges: What to Spend for the Look You Want
- Budget-friendly ($30–$120): One to two plug-in LED fairy light strands + zip ties + outdoor timer. Best for small pergolas or perimeter outlining.
- Mid-range ($120–$350): Multiple strands for canopy or crisscross grid + outdoor dimmer + better clips/hardware. Ideal for most patios and entertaining spaces.
- Premium ($350–$900+): Commercial-grade lighting, guide wire system with turnbuckles, layered lighting (bistro + fairy + uplights), and professional-grade connectors for a polished, long-term setup.
Value tip: Spend more on weather rating and wire quality, then save by doing the installation yourself.
Maintenance: Keep Your Pergola Lights Beautiful All Season
- Monthly quick check: Tighten sagging points, replace broken clips, and remove leaves caught in wiring.
- After storms: Inspect for pulled connections and frayed insulation.
- Clean gently: Wipe with a damp microfiber cloth; avoid harsh sprays at connections.
- Use timers: An outdoor timer or smart plug reduces wear and makes nightly ambiance effortless.
Common Mistakes to Avoid
- Choosing indoor-rated lights: They fail quickly outdoors and can be unsafe in damp conditions.
- Too few strands: Sparse lighting reads “unfinished.” If you want a canopy effect, plan for density.
- Messy power cords: Exposed cords distract by day. Route them along beams and paint-match cable covers if needed.
- Inconsistent drape spacing: Uneven swags look accidental. Mark attachment points before hanging.
- Overlighting the pergola: If everything is equally bright, the patio loses depth. Use dimming and layered lighting to create zones.
- Ignoring plant growth: Vines and climbing roses will expand—leave room so lights don’t get swallowed or tangled.
FAQ: Pergola Fairy Light Draping
How many fairy lights do I need for a pergola canopy?
For a full canopy look, plan on 2–3 times the pergola’s length in total strand footage. A 12' x 12' pergola often looks best with 96'–144' of lights depending on spacing and brightness.
Are solar fairy lights bright enough for patio dining?
Usually not as the only light source. Solar lights are great for ambiance, but for dining or outdoor kitchens, pair solar fairy lights with plug-in bistro lights, wall sconces, or an overhead fixture rated for outdoor use.
What’s the best way to prevent sagging?
Use a stainless guide wire for long spans, secure strands every 12–18 inches, and avoid deep swags in windy locations. Turnbuckles let you re-tension the system seasonally.
Can I leave fairy lights up year-round?
Yes, if they’re truly outdoor-rated (ideally IP65) and the plug connection is protected. In harsh winters with ice and heavy snow, removing delicate strands can extend their lifespan.
Warm white or cool white—what looks best outdoors?
Warm white (2200K–2700K) is the most flattering for skin tones, wood pergolas, and garden landscaping. Cool white can feel harsh unless you’re aiming for a crisp modern look with concrete, steel, and minimal planting.
Your Next Steps: Make It Happen This Weekend
Pick one draping style that fits your pergola and patio layout, measure your spans, and choose outdoor-rated warm-white LEDs with the right power setup. Start with a clean perimeter outline if you want an easy win, then build toward a canopy or crisscross grid as your outdoor living space evolves. Finish the look with a comfortable seating zone, a few large planters, and layered lighting so your pergola feels welcoming in every season.
For more patio lighting ideas, pergola design inspiration, and landscaping tips that elevate everyday outdoor living, explore the latest guides on thedecormag.com.
More Articles
 How to Design a Kitchen Garden Layout - The Decor Mag
 How to Design a Japanese-Inspired Garden - The Decor Mag
 Outdoor Living Budget Checklist: A Practical, Step-by-Step Planning Tool for Homeowners
 How to Create a Moss Garden - The Decor Mag
 Deck vs Patio Design Comparison - The Decor Mag
 How to Design a Bee Garden - The Decor Mag
 Best Outdoor Bench Options for Entryways - The Decor Mag
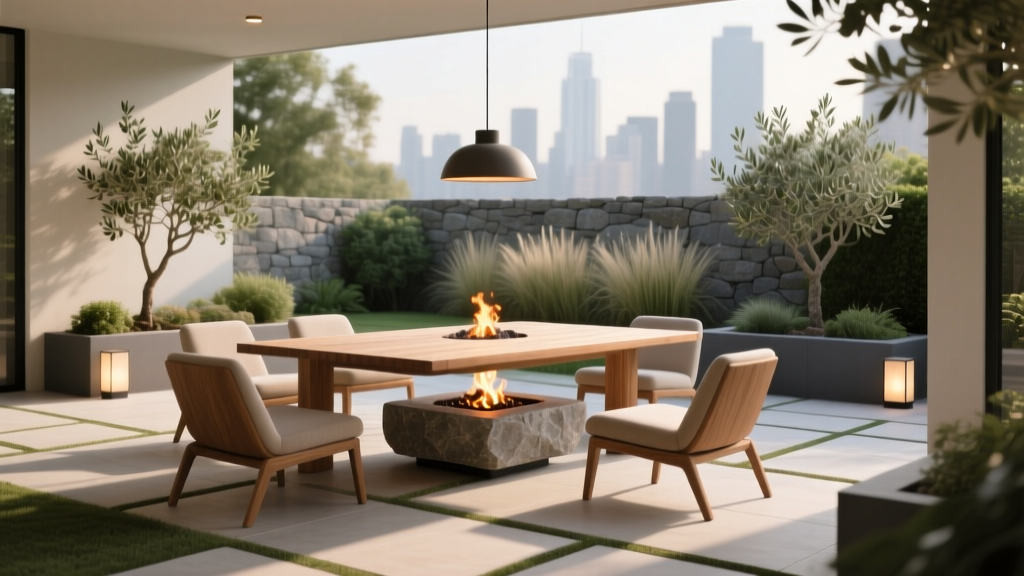 How to Create an Outdoor Dining Area - The Decor Mag
 Trends for Height: Elevating Outdoor Living with Smart Vertical Design
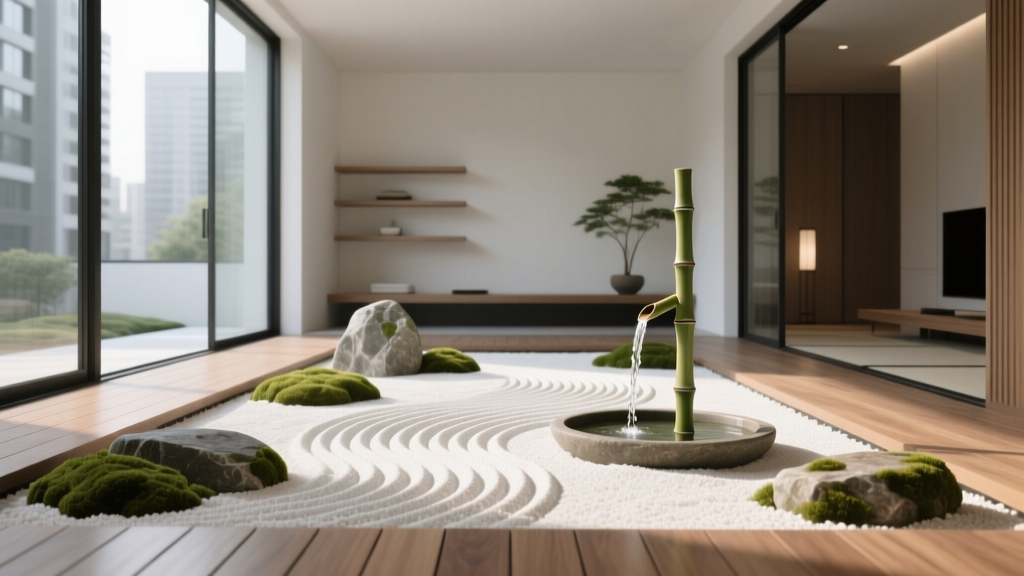 How to Create a Zen Garden - The Decor Mag