Best Kitchen Colander Storage Solutions - The Decor Mag
A colander is one of those kitchen tools you can’t really replace: it drains pasta, rinses produce, strains broth, and doubles as a prep bowl in a pinch. Yet it’s also one of the most awkward items to store. Wide rims, long handles, and bulky shapes don’t play nicely with standard shelves, and tossing it into a crowded cabinet often leads to clattering stacks, chipped enamel, and a daily game of “where did it go?”
For homeowners planning a kitchen renovation—or anyone simply trying to upgrade kitchen organization—finding the right colander storage solution is a surprisingly high-impact move. A thoughtful setup keeps your workflow smooth (rinse, drain, transfer), protects your cookware, and frees up premium cabinet real estate for items that truly need it. The best part: you don’t need a massive kitchen to get this right. You need a plan that matches your habits, your cabinet layout, and the type of colander you use most.
Below are practical, design-forward ways to store colanders—covering modern trends like hidden organization and customized inserts, along with timeless principles like zoning and easy reach. You’ll also find measurements, material comparisons, budget ranges, and common mistakes to avoid.
Start With the “Drain Zone”: Where Colander Storage Works Best
In smart kitchen design, storage follows tasks. Because colanders are most often used at the sink, their ideal home is usually within one to two steps of it. This is the same logic designers use for placing trash pull-outs near prep areas and storing dish soap close to the faucet.
Best placement options (ranked by convenience)
- Sink base cabinet (if plumbing allows space)
- Adjacent base cabinet (next to the sink, ideally on the dominant-hand side)
- Upper cabinet near sink (works for lighter colanders, but avoid daily overhead reaching)
- Pantry or deep drawer (fine if you use a colander occasionally)
Quick measurement guide
- Typical colander diameter: 9–12 in (23–30.5 cm)
- Typical height: 4–6 in (10–15 cm)
- Allow “grab clearance”: 2–3 in (5–7.5 cm) above the rim so you can lift it out without snagging
- Minimum shelf depth for most colanders: 11–12 in (28–30.5 cm)
If you’re renovating, consider specifying a slightly deeper base cabinet (24 in is standard, but interior depth varies by brand and door style). Even small increases in usable interior space can eliminate awkward storage compromises.
Best Colander Storage Solutions (From Renovation-Level to Easy Upgrades)
1) Deep Drawer Storage (Most Renovation-Friendly and Everyday Practical)
Deep drawers are a top kitchen renovation trend because they reduce bending and make it easier to see and reach items. They’re excellent for colanders—especially nesting sets.
Ideal drawer specs:
- Drawer height: 8–10 in (20–25 cm) internal clearance for most colanders
- Drawer width: 18–30 in works well; wider drawers allow zoning with inserts
- Location: Base drawer within 24–36 in of the sink
Recommended setup:
- Use a peg-style drawer organizer (wood or BPA-free plastic pegs) to keep the colander from sliding.
- Store mixing bowls and salad spinner in the same drawer zone if you prep near the sink.
Cost range: $0–$40 for simple non-slip liners; $40–$200 for adjustable peg systems; $300–$1,200+ if adding a new deep drawer during a remodel (varies by cabinet brand and labor).
2) Vertical File-Style Storage in a Base Cabinet (A Smart Use of Narrow Spaces)
Think of this like storing baking sheets—only adjusted for colanders, lids, and strainers. Vertical storage keeps items separated and easy to pull out without unstacking.
Best for:
- Collapsible colanders, mesh strainers, and handled colanders
- Kitchens with limited drawer space
Design approach:
- Install vertical dividers (wood, metal, or acrylic) in a base cabinet near the sink.
- Aim for slot spacing of 2–3.5 in (5–9 cm) depending on thickness and handle shape.
- Keep the colander in the widest slot so the rim doesn’t catch.
Cost range: $20–$80 for DIY dividers; $100–$250 for custom-fit cabinet divider systems.
3) Over-the-Cabinet Door Hooks or Racks (Best for Renters and Quick Fixes)
If you need an immediate organization win, an over-the-door rack can store a lightweight colander inside a cabinet or pantry door. This is especially helpful for secondary colanders you don’t use daily.
What to look for:
- Protective padding where hooks contact the door
- Low-profile depth so the door closes easily (look for 2–3 in / 5–7.5 cm depth)
- Rust-resistant finish (powder-coated steel or stainless)
Cost range: $10–$35.
Tip: Avoid hanging heavy metal colanders on thin cabinet doors—over time, hinges can sag and doors can rack out of alignment.
4) Pull-Out Cabinet Organizer Near the Sink (A Designer Favorite for Hidden Functionality)
Pull-out organizers are a hallmark of modern kitchen design: they keep clutter out of sight while making everything easier to access. For colanders, a pull-out works well when paired with other “wet zone” items like dish tubs, towels, and cleaning caddies—just keep chemicals separate from food tools if possible.
Best features:
- Full-extension slides so you can reach the back
- Soft-close hardware to reduce clanging and wear
- Removable tray liner for easy cleaning
Recommended dimensions:
- Allow at least 12 in (30.5 cm) width for a comfortable pull-out zone.
- Choose a system with side rails 3–5 in (7.5–12.5 cm) tall to keep items stable.
Cost range: $80–$250 for aftermarket pull-outs; $250–$600+ for higher-end systems or custom cabinetry solutions.
5) Under-Sink “Shelf + Bin” System (Budget-Friendly, High-Impact)
Under-sink cabinets often turn into a chaotic mix of cleaners, sponges, and random tools. With the right layout, you can reserve a clean bin just for food-safe items like a colander.
Suggested layout:
- Bottom level: A dedicated bin for the colander and salad spinner parts (keep it separate from chemicals).
- Upper level: A tension-rod or small shelf to lift sponges and cloths off the cabinet floor.
- Side wall: Adhesive hooks for dish brushes (not for heavy colanders).
Materials to choose:
- Plastic bins: affordable, easy to wash; can warp if exposed to heat from nearby appliances
- Stainless bins: durable and odor-resistant; higher cost
- Bamboo/wood: looks warm and on-trend, but avoid in wet zones unless sealed well
Cost range: $15–$60 for bins and liners; $60–$150 with a two-tier under-sink shelf kit.
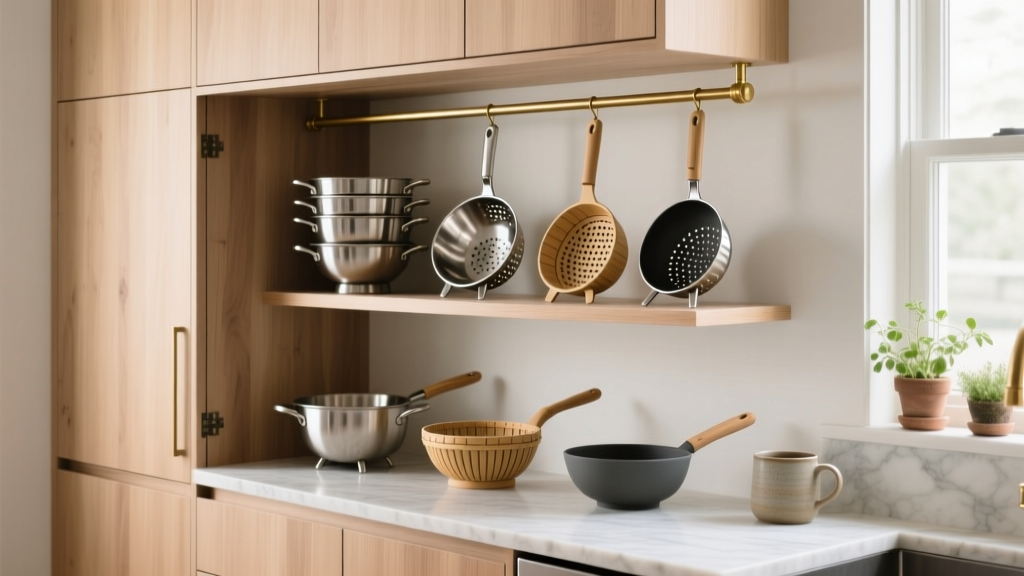
6) Wall-Mounted Rail or Peg System (For Statement Kitchens and Small Spaces)
Open storage is a continuing kitchen trend—especially in cottage, industrial, and Scandinavian-inspired designs. A wall rail near the sink can hold a colander and strainers, making them easy to grab and visually appealing when styled intentionally.
Best for:
- Beautiful stainless, copper, or enamel colanders you don’t mind displaying
- Small kitchens where cabinet space is limited
Installation tips:
- Mount into studs where possible or use heavy-duty anchors.
- Place the rail at 18–24 in (46–61 cm) above the countertop for easy reach.
- Keep at least 12 in (30.5 cm) away from direct burner heat and splatter zones.
Cost range: $25–$150 depending on brand and finish.
7) Nesting and Collapsible Colanders (A Product Choice That Simplifies Storage)
Sometimes the best storage solution is choosing the right product. Collapsible silicone colanders and nesting colander sets can cut your storage footprint dramatically—ideal for condo kitchens, galley layouts, and busy households that want clutter-free cabinets.
Material comparison:
- Stainless steel: durable, dishwasher-safe, timeless; can be loud and may dent with drops
- Silicone (collapsible): compact storage, lightweight; check heat rating and avoid sharp utensils that can tear
- Plastic: budget-friendly and quiet; can stain and retain odors over time
- Enamel-coated metal: stylish and classic; can chip if banged against sinks or stacked tightly
Cost range: $10–$25 for basic plastic; $20–$60 for collapsible silicone; $25–$90 for quality stainless; $40–$120 for premium enamel or designer styles.
Layout Recommendations for Renovations: Make Colander Storage Feel Built-In
If you’re remodeling, colander storage is a small detail that can be designed as part of a bigger kitchen organization plan.
Design strategies that work in most kitchens
- Add a deep drawer within the sink run: Ideal for colanders, mixing bowls, and prep tools.
- Use a “wet prep” cabinet: A base cabinet beside the sink with vertical dividers for strainers and lids.
- Plan for a landing zone: Keep a clear 18–24 in (46–61 cm) countertop section near the sink for draining and transferring.
- Choose easy-clean interiors: Melamine interiors wipe down faster than raw wood in high-use zones.
Timeless functionality principles to follow
- Store by frequency: Daily-use colander at arm’s reach; occasional items higher or farther away.
- Store by task: Keep rinse/drain tools near the sink, not with bakeware across the kitchen.
- Reduce stacking: Stacks save footprint but cost time and cause noise—separate with dividers when possible.
Maintenance Advice: Keep Storage Clean and Colanders in Better Shape
- Dry before storing: Even stainless can develop water spots; enamel can stain at chipped areas; wood shelves can swell over time.
- Add a washable shelf liner: Especially under the sink or in pull-outs. Choose non-adhesive liners for easy replacement.
- Run a quarterly “rim check”: Look for sharp burrs (metal), cracks (plastic), or chips (enamel) that could snag towels or harbor residue.
- Prevent rust: If your colander has steel parts, avoid leaving it in a damp bin; consider a vented basket.
Budget Considerations: Where to Spend vs. Save
A colander storage upgrade can be nearly free or a built-in feature of your renovation. Decide based on how often you cook and how frustrating your current setup is.
- Under $25: Shelf liner, a single bin, over-the-door hook, basic organizer tweaks
- $25–$100: Divider systems, better bins, wall rail, mid-range cabinet organizers
- $100–$300: Quality pull-out organizers, custom-fit inserts for one cabinet
- $300–$1,200+: Renovation changes (new drawer base, upgraded hardware, custom cabinetry inserts)
Best value move for most kitchens: A deep drawer with a simple peg or divider setup—high usability without needing fully custom cabinetry.
Common Mistakes to Avoid
- Storing the colander too far from the sink: It breaks the workflow and increases drips across the floor.
- Stacking heavy items on top: Warps plastic, chips enamel, and creates a noisy cabinet that’s unpleasant to use.
- Hanging a heavy colander on a flimsy door rack: Can stress hinges and cause door alignment problems.
- Ignoring clearance: If the rim catches every time you pull it out, the system won’t last. Plan 2–3 in (5–7.5 cm) of grab space.
- Mixing food tools with harsh cleaners under the sink: If you must use the sink base, separate with a dedicated, washable bin and keep chemicals sealed on the opposite side.
- Buying trendy organizers without measuring: Always measure cabinet interior width, depth, and door hinge intrusion before purchasing.
FAQ: Kitchen Colander Storage
Where is the best place to store a colander in the kitchen?
Ideally within 1–2 steps of the sink, either in a deep drawer or a base cabinet with dividers. This keeps your rinse-and-drain routine efficient and reduces dripping across the kitchen.
Should I store a colander under the sink?
You can, but keep it in a dedicated, clean bin and separate from cleaning chemicals. Use a washable liner and make sure the colander is fully dry to prevent odors and moisture issues.
What type of organizer works best for multiple strainers and colanders?
Vertical dividers in a base cabinet work well for separating handled strainers, mesh sieves, and collapsible colanders. For nesting sets, a deep drawer with pegs or a non-slip liner is usually the easiest.
Are collapsible silicone colanders worth it for small kitchens?
Yes—if you’re short on cabinet space. Look for sturdy sidewalls, a stable base, and a heat rating that matches your cooking habits. They’re especially useful in condo kitchens and compact renovation layouts.
How do I keep my colander from smelling or staining in storage?
Rinse immediately after use, wash thoroughly (including creases and rims), and dry completely before storing. Plastic and silicone can hold odors; occasional baking soda soaks help, and vented bins reduce trapped moisture.
What cabinet size do I need for colander storage?
Most colanders fit comfortably in an 11–12 in (28–30.5 cm) deep shelf area with 2–3 in (5–7.5 cm) of clearance above the rim for easy lifting. For drawers, aim for 8–10 in (20–25 cm) internal height.
Next Steps: Choose One Upgrade That Matches Your Kitchen
Start by measuring your colander (diameter, height, handle length) and identifying your most natural “drain zone” near the sink. Then pick one solution that fits your space and budget—deep drawer zoning for daily ease, vertical dividers for tidy cabinets, or a pull-out organizer for that hidden, high-function kitchen design look. Even a simple bin-and-liner system can make your kitchen feel more organized and renovation-ready.
For more kitchen renovation planning, cabinet layout ideas, and practical organization guides, explore the latest on thedecormag.com.
More Articles
 The Practical Kitchens Kitchen Design & Buying Guide: Space, Function, and Real-World Value
 How to Choose the Perfect Kitchen Countertop - The Decor Mag
 How to Design a Kitchen That Feels Collected - The Decor Mag
 Kitchen Curved Architectural Details - The Decor Mag
 Kitchen Patina Brass Faucet Beauty - The Decor Mag
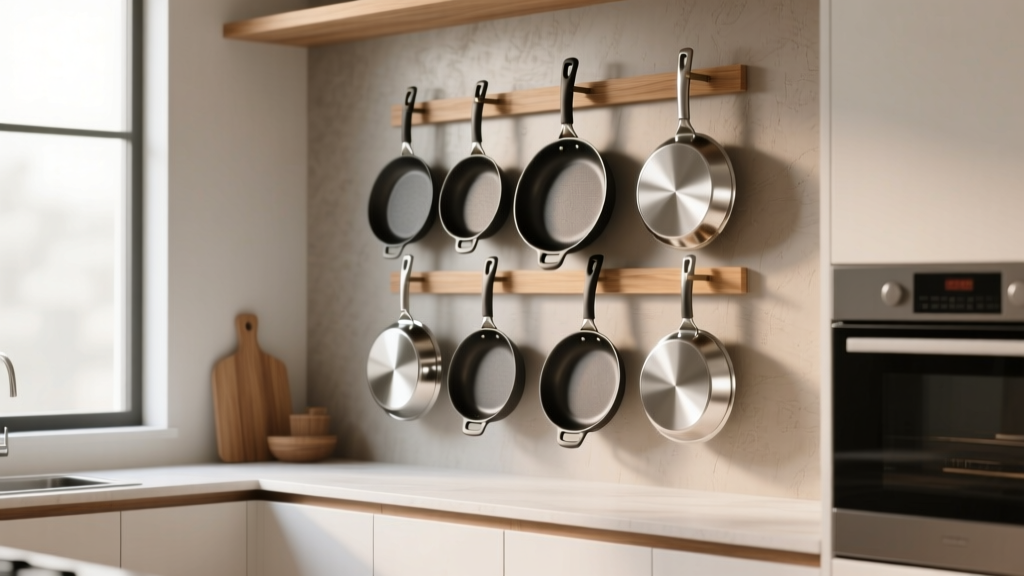 Best Kitchen Specialty Pan Storage - The Decor Mag
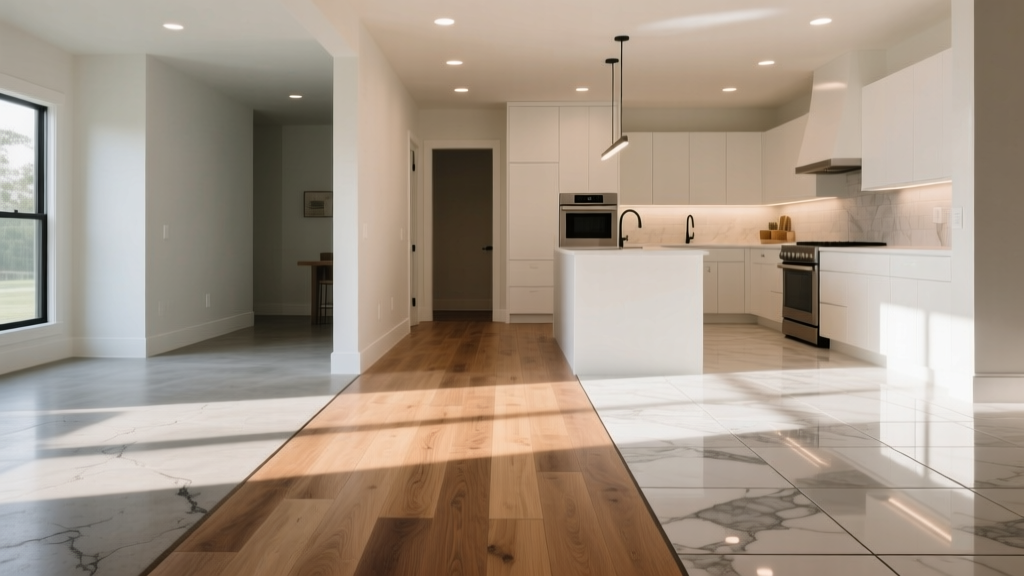 Best Kitchen Flooring Options for Durability - The Decor Mag
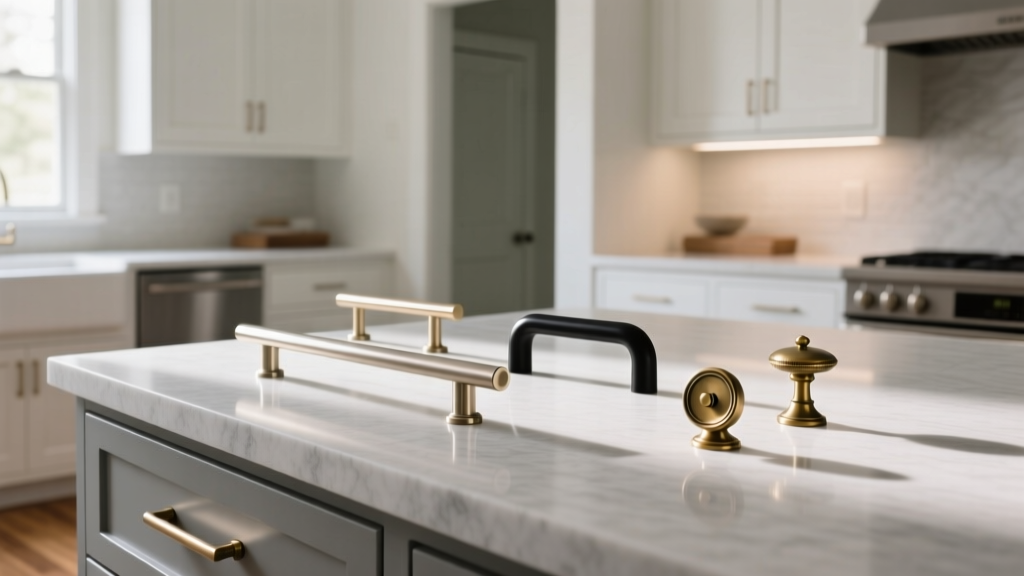 Kitchen Hardware and Pull Trends - The Decor Mag
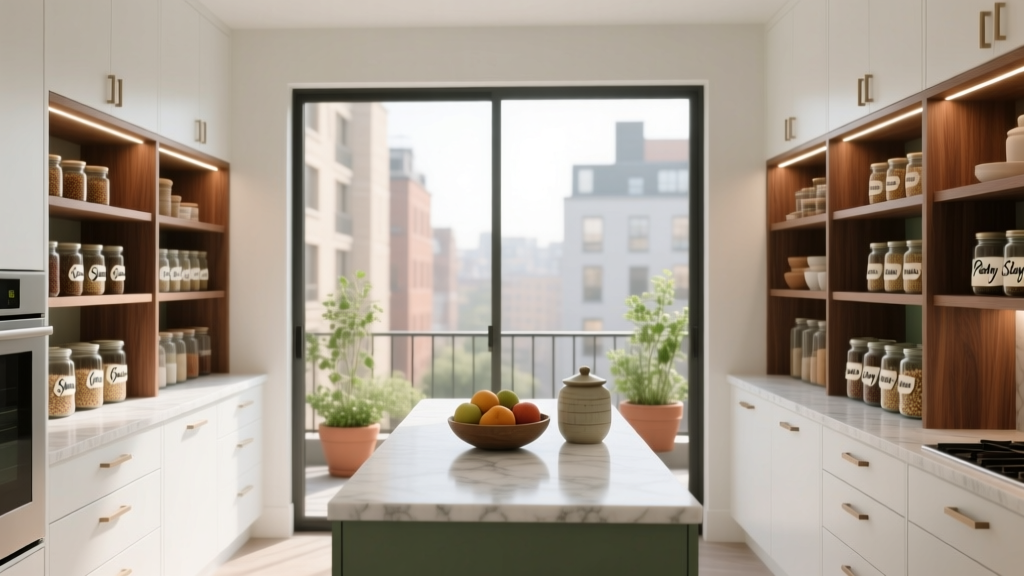 Kitchen Butlers Pantry Design Guide - The Decor Mag
 Sustainable vs. Kitchen: Rethinking Design, Appliances, and Daily Habits for Real Environmental Impact