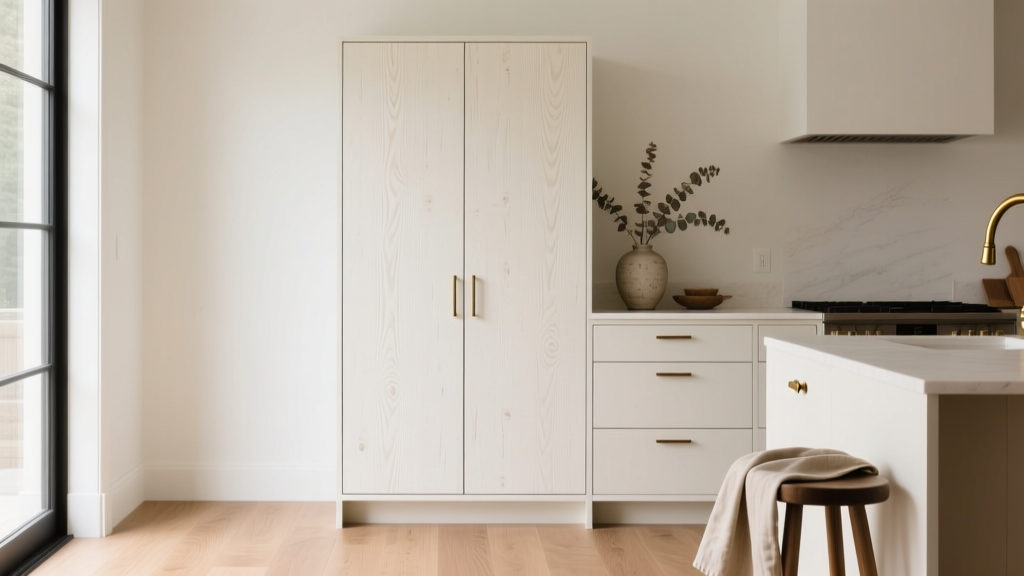
Kitchen Limewash Paint Cabinet Finish - The Decor Mag
Cabinetry sets the tone for your entire kitchen. Even if your layout is efficient and your appliances are upgraded, worn or flat-looking cabinet finishes can make the space feel dated. That’s why homeowners are increasingly searching for finishes that feel custom, layered, and livable—without committing to a full cabinet replacement.
A kitchen limewash paint cabinet finish (or a limewash-inspired look) brings that softness and depth. The appeal is simple: you get a gentle, mineral-style variation that plays beautifully with natural light, stone countertops, and today’s warmer neutrals. It fits right in with current kitchen design trends—organic modern, European farmhouse, and “quiet luxury”—while still respecting timeless functionality principles: durable surfaces, cleanable finishes, and a cohesive palette.
Whether you’re planning a full kitchen renovation or refreshing your existing kitchen cabinets, this guide breaks down what limewash means for cabinetry, how to achieve the look, what it costs, which products and tools help, and how to avoid the mistakes that lead to peeling paint or blotchy results.
What Is a Limewash Cabinet Finish (and What It Isn’t)?
Traditional limewash is a mineral-based coating (made from slaked lime and water) designed to soak into porous surfaces like brick, plaster, and stone. It creates a matte, chalky patina that gently shifts in tone. Wood cabinets, however, are not naturally suited to true limewash because:
- Most cabinets are sealed (factory lacquer, polyurethane, or paint).
- Many doors are MDF or thermofoil, which don’t absorb mineral washes like plaster does.
- Kitchens need scrub-friendly finishes that tolerate grease and moisture.
So when homeowners talk about “limewash cabinets,” they’re usually after one of these:
- Limewash-inspired paint effect: A layered, brushed technique using cabinet-grade paint to mimic movement and mineral depth.
- Mineral paint / chalk-mineral hybrid: Specialty paints with a velvety, mineral look (then protected with a durable topcoat).
- True limewash on appropriate surfaces: Used on a kitchen hood surround, fireplace, brick backsplash, or plastered wall—paired with cabinets painted to match the look.
Why Homeowners Love the Limewash Look in Kitchens
- Softens hard finishes: Balances quartz, tile, and stainless steel with a more organic, hand-finished feel.
- Hides minor wear: Subtle variation can camouflage small scuffs better than a flat, solid color.
- Pairs well with warm neutrals: Greige, mushroom, putty, taupe, and creamy whites look richer with movement.
- Feels bespoke: Even stock cabinets can look custom with the right finish and hardware.
Design Planning: Where Limewash-Style Cabinets Work Best
Before picking paint, decide how much visual texture your kitchen can carry. Limewash-inspired finishes read as “quiet” from a distance but are detailed up close—perfect for kitchens that need warmth without clutter.
Best Kitchen Styles for Limewash-Inspired Cabinet Finishes
- Organic modern kitchens: Rift-sawn white oak accents, natural stone, linen shades, and muted paint tones.
- European farmhouse: Plaster hoods, aged brass, unlacquered finishes, and handmade tile.
- Transitional kitchens: Shaker doors, mixed metals, and timeless layouts with a softer palette.
Color Direction: On-Trend Yet Timeless
For kitchen renovations in 2025 and beyond, warmer neutrals are still leading—especially tones that complement natural stone and wood flooring:
- Warm white: Creamy, not stark (works with brass and oak).
- Putty / mushroom: A designer favorite for a lived-in “stone” look.
- Soft greige: Balances warm and cool elements; versatile with stainless appliances.
- Muted sage: Earthy, calming, and great for lower cabinets or islands.
- Dusty clay / taupe: Elegant with warm metals and terrazzo-inspired counters.
Materials and Product Options: Achieving the Limewash Look on Cabinets
The key is choosing a system that looks mineral but performs like a kitchen-grade finish. Here are the most practical approaches.
Option A: Cabinet-Grade Paint + Limewash-Inspired Brush Technique
This is the most durable and DIY-friendly route when you use quality primers and topcoats.
Recommended materials:
- Bonding primer: For slick factory finishes and laminate-style surfaces.
- Cabinet enamel or trim paint: Choose a durable acrylic-alkyd or urethane-enriched formula.
- Matte or low-sheen topcoat (optional but helpful): Adds washability while keeping the soft look.
Technique overview:
- Apply a solid base coat in your chosen cabinet color.
- Create tonal variation using a slightly lighter or darker version of the same color (or a complementary neutral).
- Use a wide, soft brush (4–6 inches) to feather and crosshatch in sections.
- Step back often—variation should be subtle and consistent across the kitchen.
Best for: Shaker cabinets, flat-panel doors, and islands where the texture can be appreciated.
Option B: Mineral-Style Paint (Then Protect It)
Some mineral or chalk-mineral paints create a beautiful velvety texture but may not be scrub-resistant enough for busy kitchens without protection.
Recommended approach:
- Use mineral-style paint for the look.
- Seal with a durable, non-yellowing waterborne topcoat in matte or satin (avoid high gloss—too shiny for limewash vibes).
Best for: Lower-traffic kitchens, pantry runs, coffee bars, or a statement island.
Option C: True Limewash—Use It Strategically
If you love authentic limewash, reserve it for surfaces that suit it:
- Plaster range hood surround
- Brick wall or fireplace adjacent to the kitchen
- Mineral backsplash feature (sealed properly)
Then paint cabinets in a limewash-inspired color and sheen for a cohesive, renovation-ready result.
Layout and Design Pairings That Make Limewash Cabinets Look Intentional
Limewash-style cabinets shine when the rest of the kitchen is edited and functional. Consider these design pairings used by pros.
Countertops and Backsplashes
- Quartz: Choose warmer veining and avoid icy whites if your cabinets are creamy or putty-toned.
- Natural stone (marble, quartzite, soapstone): Stunning with limewash texture—especially honed finishes.
- Backsplash: Handmade-look ceramic tile, zellige-inspired rectangles, or simple 2x8 / 3x12 subway in a warm white.
Practical measurement tip: For a clean, modern look, run backsplash tile to the underside of upper cabinets and plan a 1/8-inch to 3/16-inch caulk joint where tile meets cabinetry for movement and easy cleaning.
Hardware and Metals
- Unlacquered brass: Patinas naturally and complements mineral finishes.
- Soft black: Adds contrast for light limewash-style cabinets.
- Polished nickel: A timeless transitional choice that won’t feel trendy too fast.
Placement tip: Standard pull length for drawers is often 1/3 the drawer width. For a 30-inch drawer, consider a 10–12 inch pull for balanced proportions.
Lighting That Enhances the Finish
- Under-cabinet lighting: Use warm LEDs (2700K–3000K) to avoid highlighting brush marks harshly.
- Ceiling lights: Layer recessed lighting with decorative pendants to keep the space from feeling flat.
Step-by-Step: How to Prep Cabinets for a Limewash-Style Finish
Prep is the difference between a finish that looks artisan and one that chips around knobs in a month.
Tools and Materials Checklist
- Degreaser (kitchen-safe, paint-prep friendly)
- Sandpaper: 120-grit and 220-grit
- Tack cloth or microfiber cloths
- Bonding primer
- Cabinet-grade paint (base + tonal layer)
- Quality brushes: 2-inch angled sash + 4–6 inch block/wall brush
- Microfiber roller (for base coats on flat areas)
- Optional topcoat (waterborne, non-yellowing)
- Labeling tape + bags for hinges and screws
Prep and Paint Sequence
- Remove doors and drawers: Label each piece (example: “Upper Left 1”).
- Clean thoroughly: Focus on areas around pulls and near the cooktop where oils build up.
- Scuff sand: Use 120-grit to dull sheen; follow with 220-grit for a smoother base. You’re not stripping—just creating tooth.
- Dust removal: Vacuum + microfiber wipe. Any dust will show in a matte finish.
- Prime: One solid coat of bonding primer. Two coats if you’re covering dark stain or dealing with tannin bleed.
- Base coat: Apply evenly; let cure per manufacturer directions.
- Create the limewash effect: Work in small sections (about 18–24 inches) to blend edges while wet.
- Seal (if needed): If your paint is ultra-matte or chalky, apply a matte/satin topcoat for washability.
Cure-time tip: Paint can feel dry in hours but takes longer to harden. Treat cabinets gently for 7–14 days and avoid harsh cleaners for 30 days for best durability.
Cost Ranges and Budget Considerations
Costs vary based on whether you DIY, hire a painter, or replace doors. Here are realistic ranges for a standard kitchen with 25–35 cabinet doors and 10–15 drawer fronts.
DIY Budget
- Primer + paint + supplies: $150–$450
- Optional topcoat: $40–$120
- New hardware: $100–$400 (more for premium brass)
Total DIY range: $250–$950
Professional Painting
- Pro cabinet painting: $2,500–$7,500 (varies by region, prep needs, and whether spraying is involved)
- Limewash-style layered technique: Add $500–$2,000 depending on complexity
Hybrid Renovation Upgrades
- Refacing (new doors, same boxes): $6,000–$15,000
- Full cabinet replacement (midrange): $12,000–$30,000+
Where to spend for best results: High-quality primer, durable cabinet paint, and good brushes/rollers. These determine adhesion, smoothness, and longevity more than the brand name color.
Maintenance: Keeping Limewash-Style Cabinets Looking Beautiful
The matte, mineral look is meant to feel soft—not dirty. Maintenance is straightforward with the right habits.
- Use gentle cleaners: Warm water + mild dish soap on a microfiber cloth.
- Avoid abrasives: No scouring pads; they burnish matte finishes into shiny spots.
- Wipe spills quickly: Especially coffee, wine, tomato sauce, and oils.
- Add door bumpers: Soft-close hinges help, but bumpers prevent edge chipping.
- Touch-up kit: Save a small jar of the base and tonal color for quick fixes.
High-use zone tip: If you cook daily, consider using a slightly higher sheen (soft matte/satin) on lower cabinets and island cabinets for easier cleaning while keeping uppers more matte for that limewash feel.
Common Mistakes to Avoid
- Skipping degreasing: Paint won’t bond to cooking oils—especially around pulls and the range.
- Using true limewash directly on sealed wood: It won’t absorb properly and can rub off.
- Overdoing the variation: Heavy contrast can look streaky or accidental. Aim for subtle shifts, not stripes.
- Not testing in your lighting: Matte finishes change dramatically between daylight and warm LEDs. Test a sample board in the kitchen for 24 hours.
- Rushing reassembly: Reinstalling doors before the finish hardens leads to sticking, imprinting, and chipped edges.
- Choosing the wrong sheen: Dead-flat can stain; high gloss kills the mineral vibe. Soft matte or satin is the sweet spot for most kitchens.
FAQ: Kitchen Limewash Paint Cabinet Finish
Can I use real limewash on kitchen cabinets?
Typically, no. Traditional limewash is made for porous masonry or plaster and won’t properly bond to sealed cabinet surfaces. For cabinets, use cabinet-grade paint with a limewash-inspired technique or mineral-style paint sealed with a durable topcoat.
What cabinet door styles look best with a limewash-style finish?
Shaker, slab (flat-panel), and simple recessed-panel doors work best because the subtle texture reads intentional and modern. Ornate profiles can make the finish look busy.
Do limewash-style cabinets show dirt or fingerprints?
Matte finishes can show oils if you choose a very flat product without protection. A cabinet enamel in soft matte/satin, or a matte topcoat over a mineral paint, reduces fingerprinting and improves washability.
Is this a good choice for small kitchens?
Yes—especially in warm whites, putty, or light greige. Keep contrast low, use good lighting (2700K–3000K), and pair with reflective elements like a light backsplash to prevent the space from feeling heavy.
What’s the most durable approach for a busy family kitchen?
A bonding primer + cabinet-grade enamel (acrylic-alkyd or urethane-reinforced) is the most durable baseline. Add a compatible waterborne topcoat if you want extra stain resistance while maintaining a soft sheen.
How do I keep the finish from looking streaky?
Work in small sections (18–24 inches), keep a wet edge, and feather transitions with a wide soft brush. Use two close tones rather than high-contrast colors, and practice on a sample board before painting doors.
Actionable Next Steps for Your Kitchen Renovation
- Collect inspiration: Choose 5–10 images of kitchens with soft, mineral finishes and note what you like (tone, hardware, counters, lighting).
- Test your palette: Sample your base color and one tonal layer on a 12x12-inch board; view it in morning, afternoon, and evening light.
- Pick a durable system: Bonding primer + cabinet-grade paint first; add a matte/satin topcoat if you want extra scrub resistance.
- Plan the details: Confirm hardware sizes, under-cabinet lighting temperature (2700K–3000K), and backsplash transitions before you paint.
- Set realistic timing: Build in cure time so your new finish stays beautiful for years.
If you’re ready for a kitchen that feels warmer, more personal, and more elevated than a standard paint job, a limewash-inspired cabinet finish is a practical way to get there—especially when paired with smart kitchen organization, durable materials, and a layout that supports how you cook and gather.
Explore more kitchen design ideas, renovation guides, and cabinet finish inspiration on thedecormag.com.
More Articles
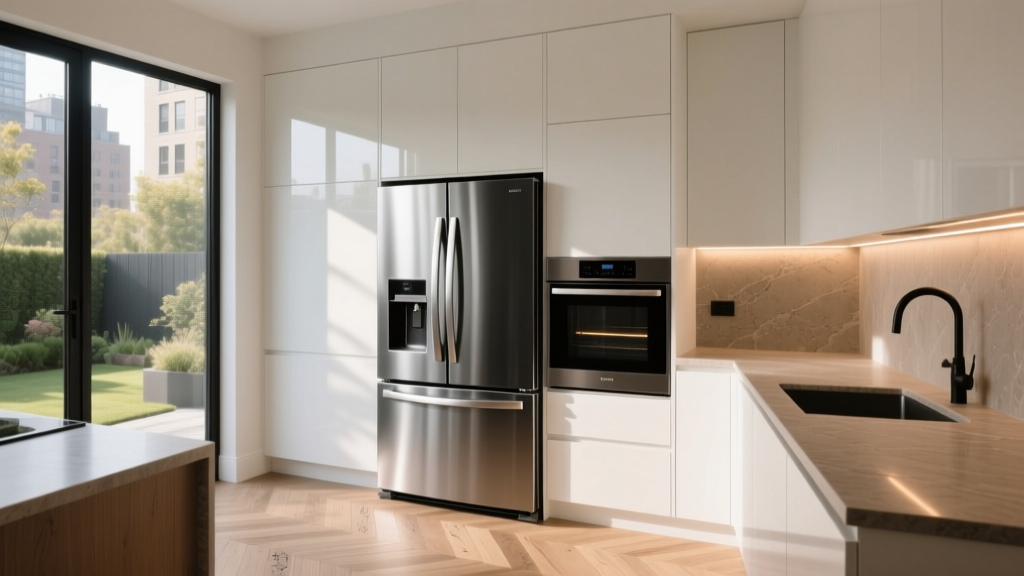 Kitchen Stainless Steel Appliance Guide - The Decor Mag
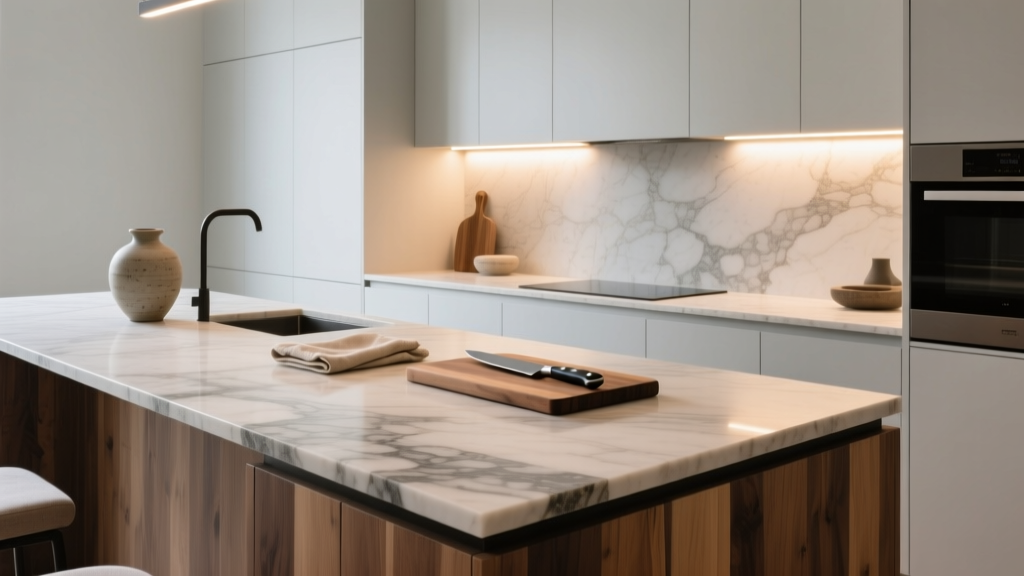 Kitchen Mixed Material Countertop Design - The Decor Mag
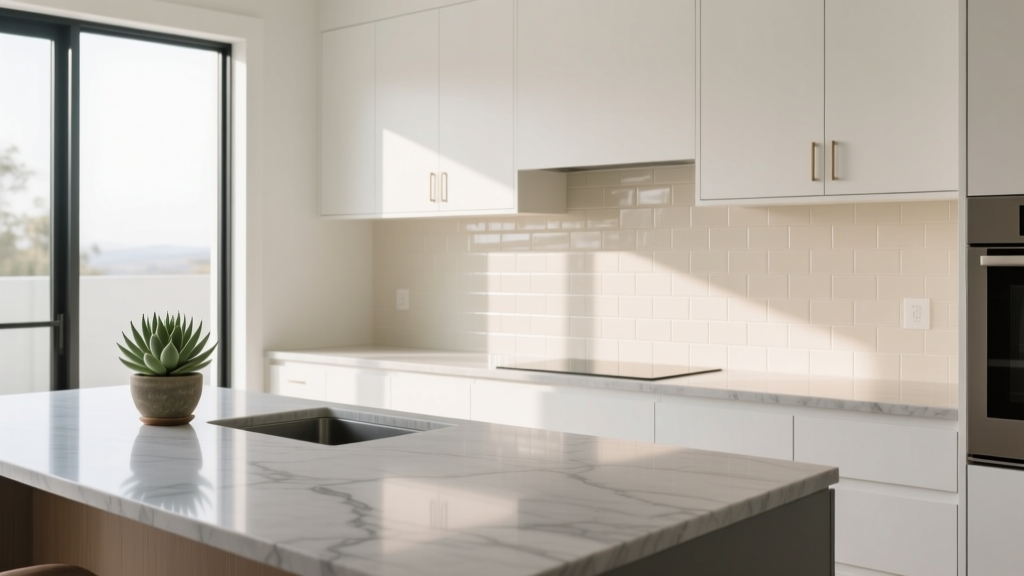 Kitchen Countertop & Backsplash Combos (2026)
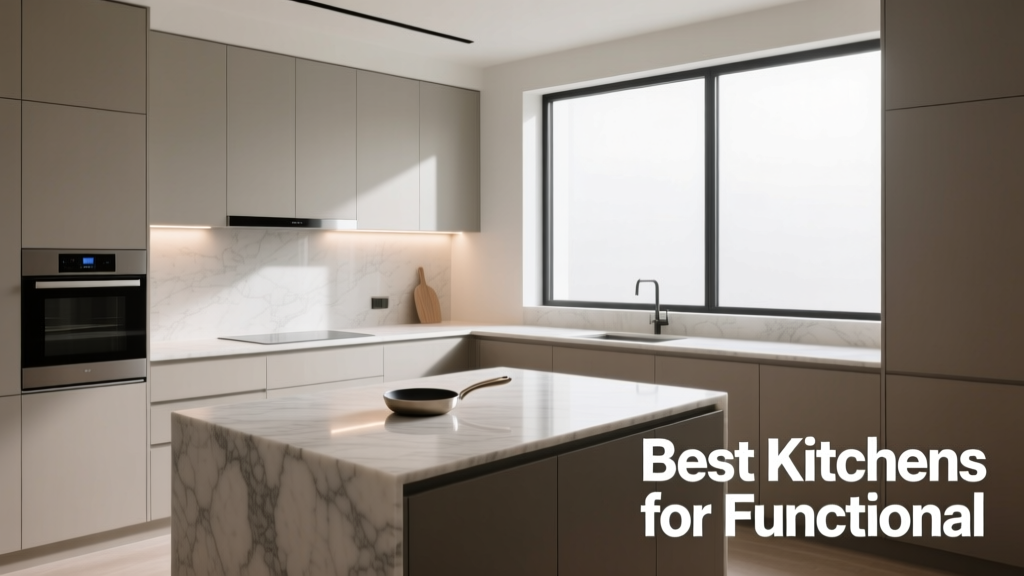 Best Kitchens for Functional Design: Layouts, Brands, and Ergonomic Principles That Work Every Day
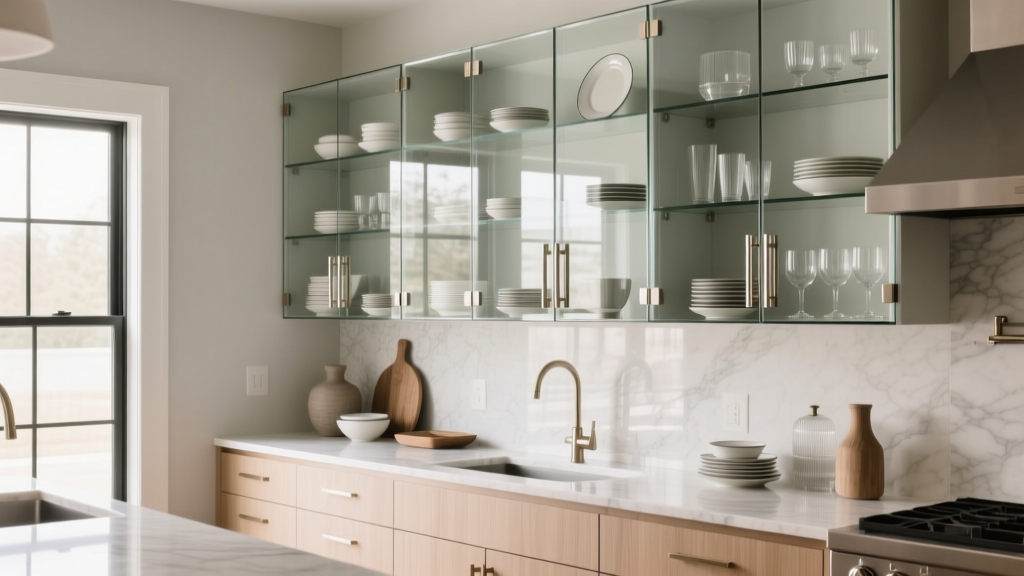 Kitchen Glass Front Cabinet Styling - The Decor Mag
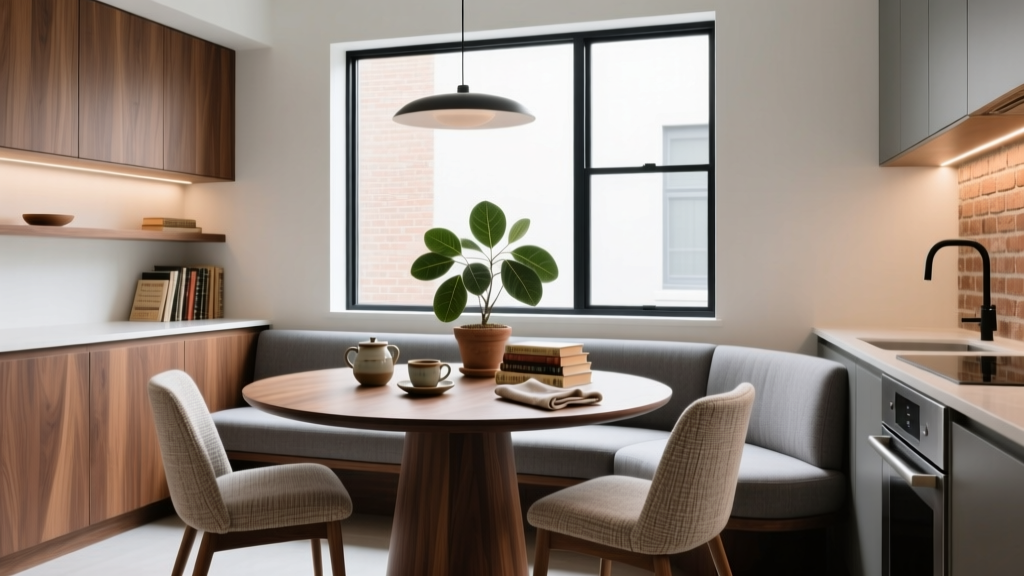 Kitchen Breakfast Nook Design Inspiration - The Decor Mag
 How to Repair Sustainably: Practical Strategies for Extending the Life of Kitchen Appliances, Cookware, and Fixtures
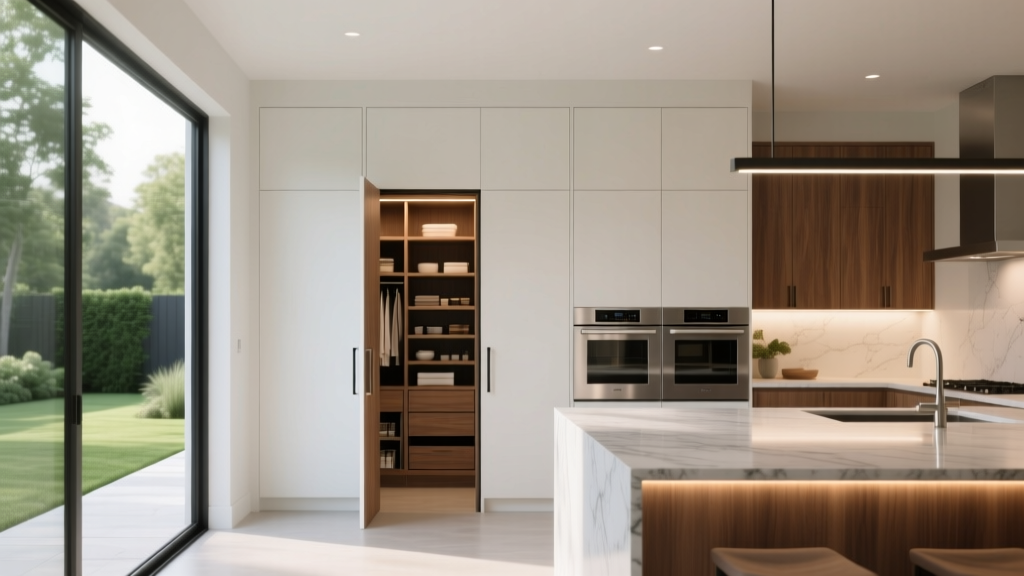 Walk-In Pantry Kitchen Design Ideas (2026)
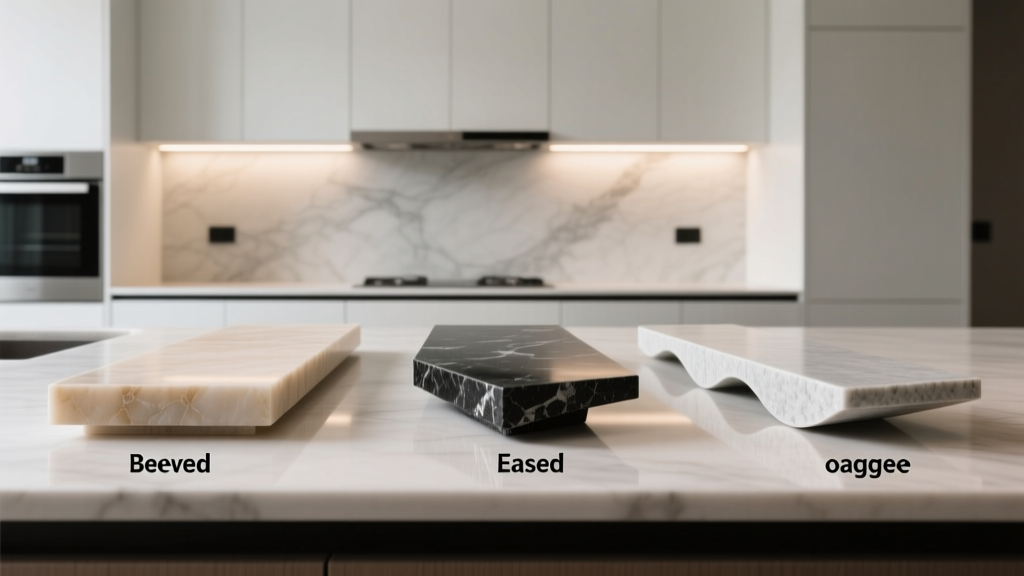 Kitchen Countertop Edge Profiles: Best Choices (2026)
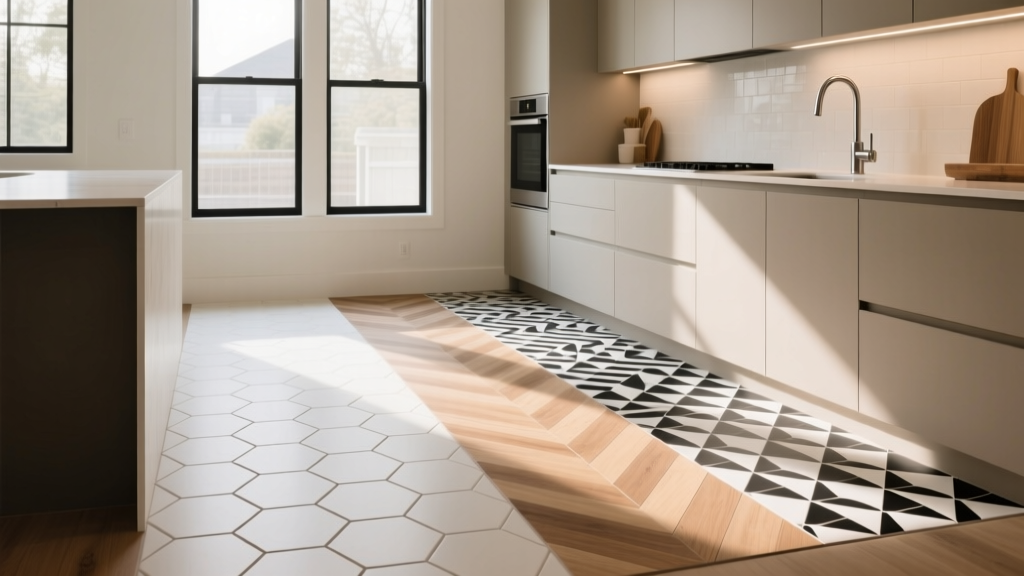 How to Choose Kitchen Floor Tile Pattern - The Decor Mag