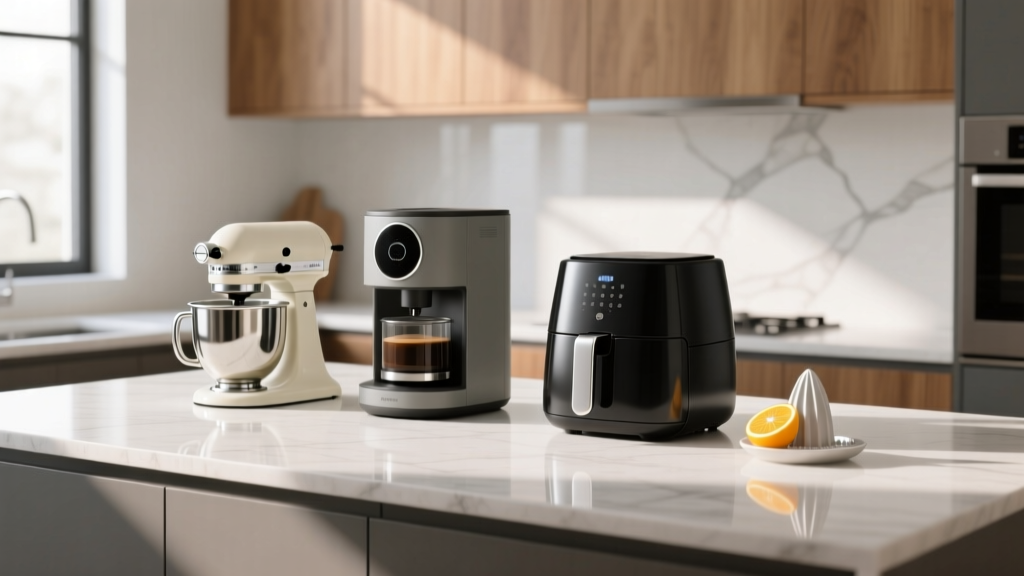
Best Kitchen Counter Appliance Rotation - The Decor Mag
A beautiful kitchen renovation can fall flat if your countertops are crowded, cords are tangled, and the appliances you actually use are buried in a cabinet. Counter space is real estate: it affects how you prep, cook, clean, and even how calm the room feels. The best kitchens balance style and function by keeping the right appliances accessible while maintaining clear, usable work zones.
That’s where a smart kitchen counter appliance rotation comes in. Instead of permanently parking every gadget on display, you create a system: a few daily essentials stay out, occasional tools live in easy storage, and seasonal or specialty appliances rotate in when needed. This approach supports current kitchen design trends—clean lines, minimal visual clutter, and organized zones—while honoring timeless functionality principles like workflow, safety, and durability.
Below is a practical, design-forward guide to planning your rotation, choosing the best countertop appliance setup for your layout, and keeping your kitchen looking intentional—whether you’re planning a full kitchen renovation or simply reclaiming your counters.
What “Appliance Rotation” Means (and Why It Works)
Appliance rotation is a planned method for deciding:
- Which appliances live on the counter (daily or near-daily use)
- Which appliances store nearby (weekly use, stored in an appliance garage, pull-out, or cabinet)
- Which appliances store remotely (seasonal or occasional use, stored in pantry, basement, or high shelves)
Benefits homeowners notice immediately:
- More prep space where it matters (near the sink and cooktop)
- Cleaner sightlines—a key element in modern, transitional, and Scandinavian kitchen design
- Less daily cleaning because fewer items collect grease and dust
- Safer workflows by reducing cord clutter and crowded corners
- Better appliance lifespan when stored correctly and kept clean
Start With Kitchen Zones: The Foundation of a Good Rotation
Before choosing what stays out, map your kitchen into work zones. This is central to both kitchen remodeling best practices and day-to-day organization.
The core zones (with practical counter measurements)
- Prep zone (ideal: 24–36 inches of clear counter): near sink and fridge; where chopping and mixing happen
- Cooking zone: around cooktop/range; keep heat-sensitive appliances away
- Cleaning zone: near sink/dishwasher; avoid crowding with gadgets
- Breakfast/coffee zone: a dedicated landing spot for the morning rush
- Baking zone (optional): near stand mixer storage, sheet pans, and ingredients
Rule of thumb for countertop clarity
Try to keep at least 50–60% of visible countertop space clear. In smaller kitchens, aim for one uninterrupted prep span of minimum 24 inches. In larger kitchens, shoot for 36 inches or more.
The Three-Tier Appliance System (Keep, Store Nearby, Store Away)
Tier 1: Keep on the counter (daily use)
These are the appliances worth “renting” counter space because you use them constantly:
- Coffee maker or espresso machine
- Electric kettle
- Toaster/toaster oven (if used most days)
- Stand mixer (for frequent bakers)
- Air fryer (only if used at least 3–5 times per week)
Design tip: Limit Tier 1 to 2–4 appliances depending on counter size. If you have a large kitchen island and generous perimeter counters, you can push to 5—but prioritize a clean prep zone.
Tier 2: Store nearby (weekly use)
Keep these in an appliance garage, a pull-out shelf, or an easy-access base cabinet:
- Blender
- Food processor
- Rice cooker
- Slow cooker
- Hand mixer
- Immersion blender
Best storage distance: within one step of the counter where you’ll use it (usually 24–48 inches). If you have to walk to another room, it won’t get used.
Tier 3: Store away (monthly/seasonal use)
- Ice cream maker
- Deep fryer
- Waffle maker
- Large dehydrator
- Holiday-only appliances (roasters, specialty mixers)
Storage strategy: Put Tier 3 in a labeled bin in a pantry, top cabinet, or basement shelf. Store attachments together and include a quick note of where key parts are.
Best Counter Appliance Rotation by Kitchen Layout
Galley kitchens
In a galley, every inch counts. You’ll get the best results by keeping counters as open as possible.
- Best approach: One defined coffee/toast station, everything else stored
- Ideal daily lineup: kettle + compact coffee maker
- Space-saving product choices: slim toaster (2-slice), compact espresso machine, nesting canisters
Measurement tip: Leave 15–18 inches of clearance next to the sink for a functional landing zone for dishes and prep.
L-shaped kitchens
L-shaped kitchens often develop a “dead corner” where appliances pile up.
- Best approach: Assign the corner to either (a) a styled appliance vignette or (b) keep it clear for oversized prep
- Upgrade idea: add a corner appliance garage with a lift-up door
U-shaped kitchens
U-shaped layouts are excellent for zones, but can feel cluttered if every run becomes appliance parking.
- Best approach: dedicate one leg to a beverage/breakfast zone, keep the main prep run clear
- Placement tip: keep heat-producing appliances (air fryer, toaster oven) away from upper cabinets by at least 6–8 inches and allow airflow
Kitchen with island
Islands are prime prep space and social hubs. They look best when mostly clear.
- Best approach: keep appliances on the perimeter; reserve island for prep and serving
- Exception: a single “statement” appliance (high-end espresso machine) can work if cords are hidden and the island is oversized
Design Approaches That Make Appliance Rotation Look Intentional
Create an appliance garage (a renovation favorite)
An appliance garage hides clutter while keeping appliances accessible—perfect for clean, modern kitchens and timeless transitional spaces.
- Common sizes: 18", 24", or 30" wide sections
- Recommended depth: 12–15 inches (standard upper depth is 12"; 15" helps with larger appliances)
- Best doors: tambour, pocket doors, or lift-up doors to avoid swing clearance issues
Cost range: $300–$1,500 for cabinet/door upgrades; $1,000–$3,500+ if adding custom cabinetry and electrical.
Add pull-out shelves or appliance lifts
For stand mixers, air fryers, and food processors, pull-outs make “store nearby” actually usable.
- Pull-out shelf for base cabinets: great for blender/processor
- Appliance lift: ideal for stand mixers (reduces heavy lifting)
Cost range: $80–$250 for pull-out shelves (DIY to midrange); $250–$600+ for mixer lift hardware, plus installation.
Build a dedicated coffee station (trend-forward and practical)
A coffee bar is one of the most popular kitchen organization upgrades right now, especially in open-concept homes.
- Include: outlet access, drawer for pods/filters, and vertical storage for mugs
- Counter material tip: choose a stain-resistant surface near coffee (quartz performs well)
Cost range: $200–$800 for shelving and organizers; $1,500–$6,000+ if adding cabinets, a beverage fridge, or a plumbed water line.
Materials and Surfaces: Choosing What Handles Heat, Mess, and Daily Use
Countertop material comparison (for appliance-heavy areas)
- Quartz: Low maintenance, consistent look, great for coffee stations. Avoid placing extremely hot appliances directly after use—use a trivet for safety. Cost: $60–$120/sq ft installed.
- Granite: Heat resistant and durable; needs sealing depending on stone. Cost: $50–$120/sq ft installed.
- Porcelain slab: Highly heat- and stain-resistant, sleek and modern. Cost: $70–$150+/sq ft installed.
- Butcher block: Warm and timeless, but requires regular oiling; can scorch under hot appliances and scratch easily. Best for low-heat zones. Cost: $40–$100/sq ft installed.
- Laminate: Budget-friendly, many styles; lower heat resistance—use mats under air fryers/toaster ovens. Cost: $20–$50/sq ft installed.
Backsplash and wall protection
If appliances stay out, the backsplash gets more splatter and heat exposure. Current kitchen design trends favor full-height slab or large-format tile for fewer grout lines.
- Best low-maintenance: porcelain tile, ceramic tile, or quartz slab
- Grout tip: use stain-resistant grout; seal if needed
Product and Organizer Recommendations That Improve Rotation
You don’t need all-new appliances to get a better countertop setup. A few smart organization tools can transform your kitchen workflow.
Countertop cord and outlet solutions
- Under-cabinet power strip to reduce cord clutter on the wall
- Pop-up outlet for islands (check local electrical code requirements)
- Cord shorteners or adhesive cord clips for a cleaner look
Cost range: $20–$80 for clips/cord solutions; $60–$200 for quality power strips; $200–$600+ installed for pop-up outlets.
Appliance sliding mats (for tight spaces)
For mixers, air fryers, and blenders, a low-profile sliding mat helps you pull forward safely without scratching counters.
- Look for heat-resistant materials for toaster ovens and air fryers
Cost range: $15–$40 each.
Cabinet-friendly bins for Tier 2 and Tier 3
- Clear, lidded bins for attachments and cords
- Label by function (e.g., “Baking,” “Smoothies,” “Holiday”) rather than appliance brand
Cost range: $30–$150 total for a small set of bins and labels.
Budget Planning: What to Spend for the Biggest Impact
Low budget ($50–$300)
- Declutter and set tiers
- Add cord clips, sliding mats, labeled bins
- Use a tray to corral coffee essentials (instantly looks curated)
Mid budget ($300–$2,000)
- Add pull-out shelves in one or two base cabinets
- Upgrade to an under-cabinet power strip
- Create a small coffee station with shelving and storage
Renovation-level budget ($2,000–$10,000+)
- Build an appliance garage with dedicated outlets
- Rework cabinetry for better zones (baking center, beverage area)
- Consider countertop and backsplash upgrades in high-use appliance areas
Maintenance Advice: Keep Appliances (and Counters) Looking New
- Weekly: unplug and wipe under Tier 1 appliances; crumbs and oils build up fast around toasters and air fryers
- Monthly: degrease appliance exteriors (especially near the cooktop) using a gentle kitchen-safe cleaner
- Quarterly: check cords for wear; clean appliance vents and filters if applicable
- Counter care: use heat mats under high-heat appliances; avoid dragging appliances across stone or laminate
Common Mistakes to Avoid
- Keeping “fantasy self” appliances on the counter (rarely used gadgets that steal prep space)
- Blocking the prep zone—the area near the sink should stay as clear as possible
- Ignoring ventilation needs for air fryers and toaster ovens (crowding them under cabinets can trap heat and grease)
- Overloading outlets with multi-plug adapters; use proper power solutions and consult an electrician during renovations
- Storing heavy appliances too high—stand mixers and large blenders should live between waist and counter height
- Letting cords dominate the look; visible cords make even a luxury kitchen feel messy
FAQ: Kitchen Counter Appliance Rotation
How many appliances should be on the kitchen counter?
For most kitchens, aim for 2–4 daily-use appliances on the counter. If you have expansive counters, you can keep more, but protect your main prep span (ideally 24–36 inches of uninterrupted space).
Where should I put an air fryer in a kitchen?
Place it on a heat-safe section of counter with breathing room around it (6–8 inches), away from curtains and under-cabinet clutter. If you use it weekly rather than daily, store it nearby on a pull-out shelf and pull it forward when operating.
Are appliance garages worth it during a kitchen renovation?
Yes if you value clean counters and use several small appliances regularly. They’re especially useful in open-concept kitchens where clutter is always visible. Budget for cabinetry modifications plus dedicated outlets.
What’s the best countertop material for a coffee station?
Quartz is a favorite for low maintenance and stain resistance. Porcelain is also excellent for durability and heat resistance. If you love the warmth of butcher block, plan on regular sealing/oiling and wipe spills quickly.
How do I store appliance accessories and attachments without losing parts?
Use a labeled bin per appliance or per task (like “Baking Attachments”). Keep the bin in the same cabinet as the appliance when possible, and include cords, manuals, and small parts together.
What’s the fastest way to make my kitchen counters look better?
Pick one zone (usually a coffee station), contain it on a tray, then clear the prep area completely. Store the rest in Tier 2 and Tier 3 locations with simple labels. This creates immediate visual calm without a full kitchen remodel.
Next Steps: Build Your Rotation Plan in One Afternoon
- List every appliance you own and mark how often you use it.
- Assign tiers (counter, nearby storage, away storage).
- Choose one “feature zone” (coffee/breakfast is the easiest win).
- Measure your counters and protect a 24–36 inch clear prep run.
- Upgrade one storage solution (pull-out shelf, sliding mat, or appliance garage if renovating).
A well-planned kitchen counter appliance rotation makes your kitchen feel larger, calmer, and more intentional—without sacrificing the tools that make cooking enjoyable. For more renovation guidance, kitchen organization ideas, and design trends that last, explore more inspiration at thedecormag.com.
More Articles
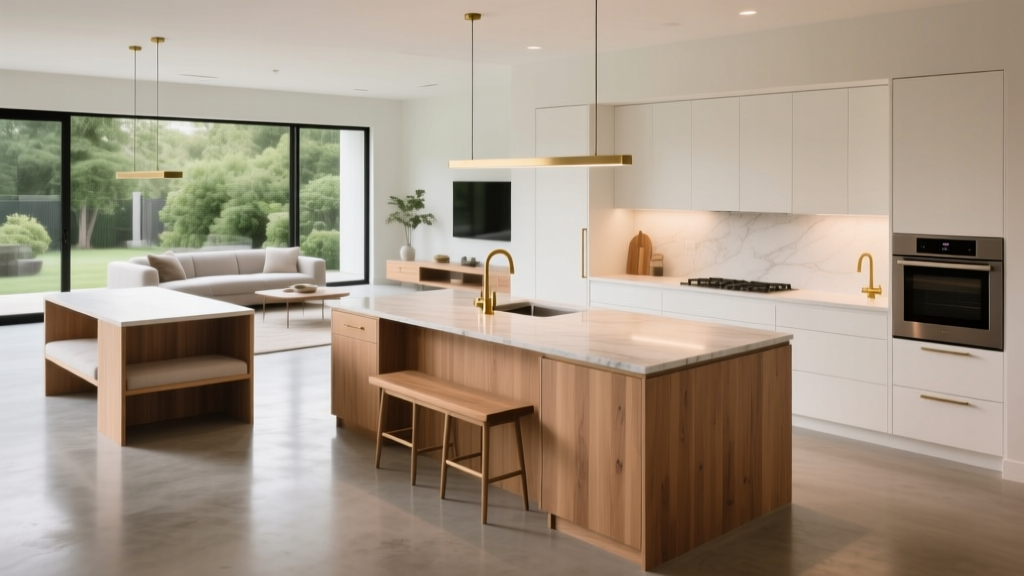 Best Kitchen Island Ideas for Every Size - The Decor Mag
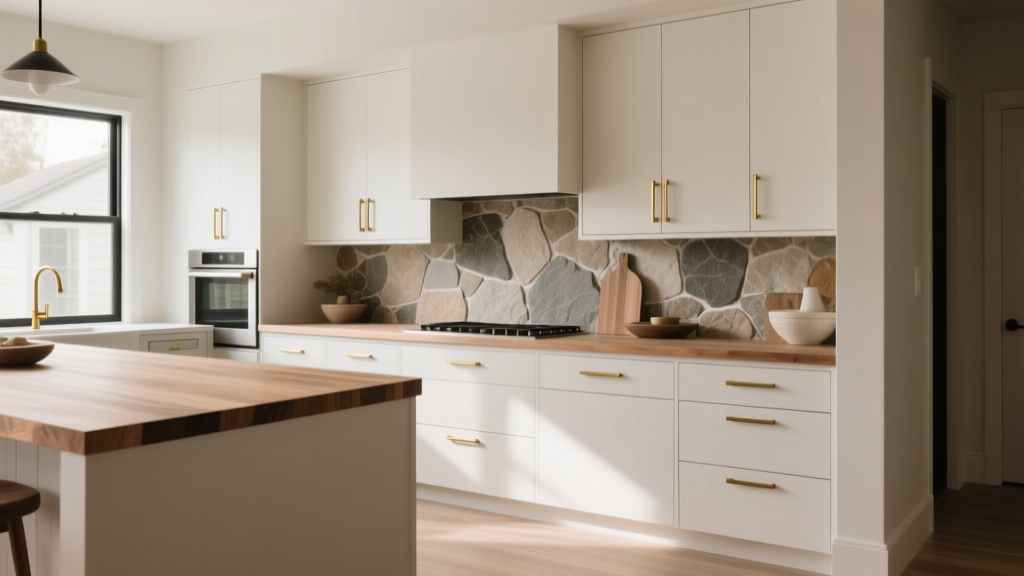 Kitchen Layered Materials Design Guide - The Decor Mag
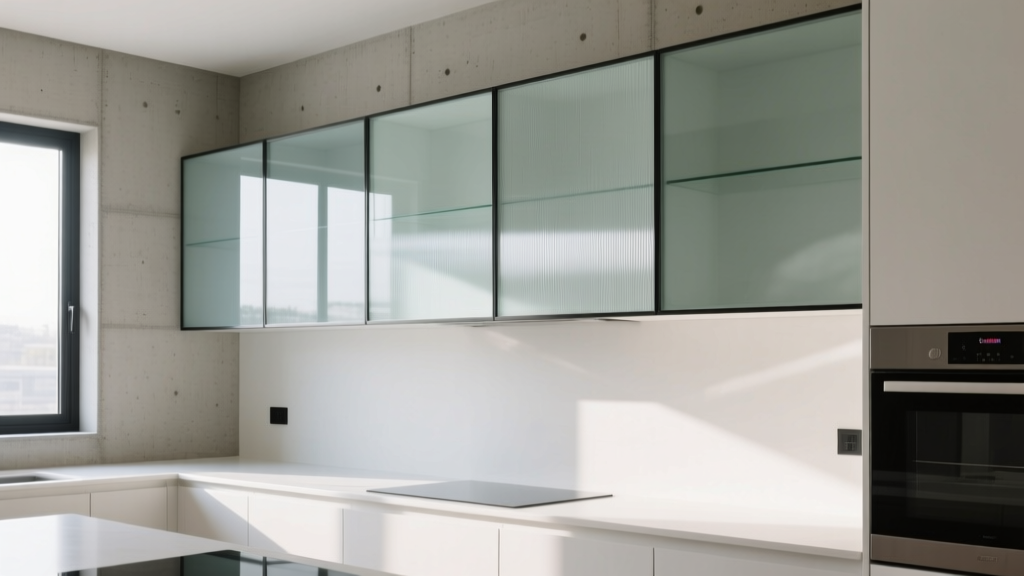 How to Choose Kitchen Cabinet Glass Type - The Decor Mag
 Kitchen Fluted Detail Cabinet Trend - The Decor Mag
 Chef Kitchen Design: Transform Your Space (2026)
 Kitchen Patina Brass Faucet Beauty - The Decor Mag
 Kitchen Book-Matched Stone Backsplash - The Decor Mag
 Best Kitchen Specialty Tool Organization - The Decor Mag
 Best Kitchen Specialty Ingredient Storage - The Decor Mag
 Best Kitchen Charging Drawer Solutions - The Decor Mag