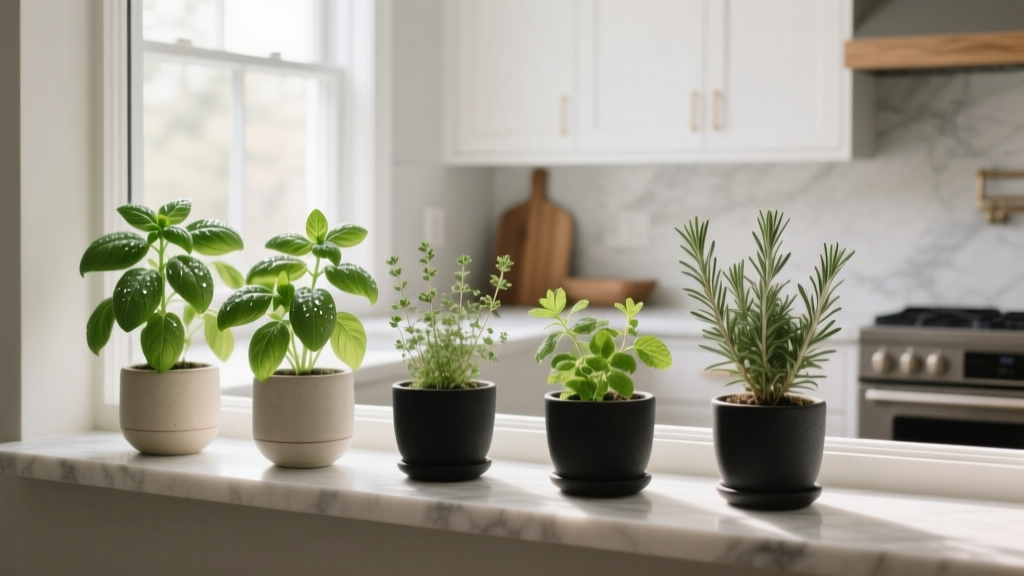
Best Kitchen Herb Garden Window Ideas - The Decor Mag
A kitchen herb garden window is one of those upgrades that feels both indulgent and practical. Fresh basil within arm’s reach of the cutting board, mint for tea without a trip outside, rosemary to finish roasted vegetables—these small conveniences add up, especially for homeowners investing in a kitchen renovation or refresh.
Beyond the cooking benefits, a well-designed herb window elevates the entire kitchen. It softens hard finishes like quartz and tile, brings a sense of life to minimalist cabinetry, and complements today’s popular “warm modern” and “quiet luxury” trends—think natural textures, organic shapes, and a touch of greenery that never goes out of style.
The best herb garden window setups balance light, moisture control, and daily workflow. The goal is a clean, organized look that works year-round and doesn’t create extra mess. The ideas below cover layouts for every type of kitchen design—from compact apartments to full remodels.
What Makes a Great Kitchen Herb Garden Window?
Before choosing shelves or planters, assess your window and surrounding surfaces. A good herb garden window design supports healthy plants and fits your kitchen organization habits.
Light Requirements (and a Quick Test)
- Ideal exposure: South-facing windows generally provide the most consistent light; east-facing is excellent for gentle morning sun; west-facing can work but may overheat in summer.
- Target light: Most culinary herbs prefer 6+ hours of bright light.
- Simple test: If you can comfortably read a recipe card near the window without turning on lights for most of the day, you likely have enough brightness for herbs. If not, plan for a grow light (details below).
Moisture + Mess Control
Windowsill gardening can damage finishes if water pools. Build in protection from the start:
- Use watertight trays under pots (with a lip at least 1/2 inch).
- Choose sealed materials for shelves and sills (sealed wood, stone, stainless steel, or powder-coated metal).
- Keep pots 2–3 inches away from the glass in winter to prevent cold shock and condensation issues.
Reach + Workflow
A herb window should feel effortless. The most functional placement is close to the sink for watering and near prep zones for snipping.
- Best adjacency: Within 3–6 feet of the sink.
- Comfortable sill depth: 4–8 inches works for small pots; 8–12 inches is ideal for larger planters or grouped trays.
Top Kitchen Herb Garden Window Ideas (Layouts That Look Built-In)
1) The Classic Windowsill Herb Lineup
This timeless setup works in almost any kitchen renovation plan: a neat row of matching pots on the sill. It’s visually calm and easy to maintain.
Best for: Most standard windows with at least 4 inches of sill depth.
Design tips:
- Stick to 3–5 herbs to avoid crowding and uneven light distribution.
- Use uniform pots for a clean, designer look (matte ceramic, brushed metal, or minimal concrete-style composite).
- Place taller herbs (rosemary, thyme) on the ends so they don’t shade shorter plants.
Budget range: $25–$120 depending on pot materials and whether you buy starts or seeds.
2) A Dedicated Garden Window (Projection “Box” Window)
If you’re renovating, a garden window is the gold standard: it extends outward from the wall, creating a mini greenhouse effect with glass on three sides. It’s one of the most effective kitchen design upgrades for year-round herbs.
Best for: Full remodels, especially over the sink.
Key measurements:
- Common projection depths: 12–18 inches
- Plan shelf height so pots have room to grow: 10–14 inches of vertical clearance per shelf is a good starting point.
Material recommendations:
- Frame: Vinyl (budget-friendly, low maintenance), fiberglass (stable and durable), or aluminum-clad wood (premium look with good weather resistance).
- Shelves: Tempered glass or sealed composite for easy cleaning.
Cost range: Typically $1,500–$4,500 installed depending on size, glazing, and structural work. Add more if you’re relocating plumbing or expanding the opening.
3) Floating Shelves Framing the Window
Floating shelves on either side of the window (or one shelf spanning the width above the sill) create a built-in feel and free up countertop space—perfect for kitchens leaning into modern organization.
Best for: Kitchens with limited sill depth or where you want more plant capacity.
Practical specs:
- Shelf depth: 6–8 inches for small pots; 8–10 inches for planters.
- Distance above sill: keep the first shelf 12–16 inches above the sill to allow plant growth and easy watering.
- Use a moisture-resistant finish: sealed oak, marine-grade polyurethane, or a high-quality paint plus clear topcoat.
Cost range: $80–$350 DIY; $300–$1,000+ professionally installed depending on materials and wall conditions.
4) Tension Rod or Café Rail Planters (No-Drill Solution)
For renters or anyone avoiding wall penetrations, a tension rod with hanging planters or a café-style rail can hold small herb pots without a remodel.
Best for: Apartments, temporary kitchens, or experimenting before committing to a renovation layout.
What to look for:
- Rust-resistant metal (stainless steel or powder-coated steel).
- Lightweight pots (plastic, thin ceramic, or composite).
- Secure hooks rated for the total load.
Cost range: $25–$120.
5) Integrated Planter Box at the Sink Run
For higher-end kitchen renovation projects, consider a custom planter box integrated into the countertop at the window. It’s a striking, contemporary approach that pairs well with waterfall edges and slab backsplashes.
Best for: Custom kitchens with a contractor and stone fabricator involved.
Design approach:
- Create a recessed trough with a removable liner for cleaning.
- Include a discreet drainage strategy (even if it’s as simple as a removable tray you can empty).
- Use non-porous surfaces around the planter to prevent staining.
Cost range: $500–$2,500+ depending on fabrication complexity and materials.
6) Under-Cabinet Grow Light Shelf for Low-Light Kitchens
Not every kitchen has a sunny window, and modern homes sometimes prioritize view over direct sunlight. A slim shelf with an under-shelf LED grow light keeps herbs thriving and looks sleek—especially in contemporary kitchen design.
Best for: North-facing windows, shaded homes, or winter growing.
Product specs to prioritize:
- Full-spectrum LED grow light bar, 12–24 inches long for most windows.
- Timer function (aim for 12–14 hours/day if natural light is limited).
- Low-profile design to avoid visual clutter.
Cost range: $40–$200 for a good grow light setup; $200–$600 if you’re adding custom millwork.
Materials and Style: What Looks Good and Holds Up
Pot and Planter Materials (Pros and Cons)
- Terracotta: Breathable and classic; dries out faster and can leave mineral rings. Best with a saucer and a tray.
- Ceramic (glazed): Stylish, easy to wipe clean; can be heavy and chip. Great for a polished kitchen decor look.
- Plastic: Budget-friendly and lightweight; can look cheap unless you choose modern matte finishes.
- Stainless steel: Durable, modern, easy to sanitize; can show water spots and may heat up in strong sun.
- Composite/concrete-look: Trend-forward, neutral; check for sealed surfaces to prevent staining.
Shelf and Sill Surface Comparisons
- Quartz: Low maintenance, resists staining; can be pricier and may look too “hard” without warm accents.
- Natural stone (marble, granite): Beautiful and timeless; marble can etch with acidic spills and may require sealing.
- Sealed wood: Warm, on-trend; needs proper sealing and quick wipe-ups.
- Powder-coated metal: Durable and slim; choose a finish that resists chipping.
Best Herbs for a Kitchen Window (and Pot Sizing)
Choose herbs that match your cooking habits and window conditions. Start with easy, high-reward plants.
- Basil: Loves warmth and sun. Pot size: 6–8 inches. Pinch tops weekly to keep it bushy.
- Parsley: Tolerates lower light than basil. Pot: 6–8 inches.
- Chives: Compact and reliable. Pot: 4–6 inches.
- Thyme: Drought tolerant; prefers not to stay wet. Pot: 4–6 inches.
- Rosemary: Can grow large; use a 8–10 inch pot and don’t overwater.
- Mint: Very vigorous—keep it in its own pot. Pot: 6–8 inches minimum.
Maintenance That Keeps the Setup Looking Designer-Clean
Watering Without the Drips
- Water at the sink, let pots drain for 2–3 minutes, then return them to the window tray.
- Use a narrow-spout watering can for precision, especially on shelves.
- If you tend to overwater, add a thin layer of clay pebbles at the bottom of decorative cachepots (still keep the plant in a nursery pot with drainage).
Soil and Drainage Basics
- Choose a quality potting mix labeled for herbs or indoor plants; avoid heavy garden soil.
- Always use pots with drainage holes unless you’re using a self-watering system.
- Refresh soil every 6–12 months for best growth and fewer pests.
Pruning = Better Growth
Frequent harvesting keeps herbs productive. A simple rule: never remove more than 1/3 of the plant at once.
Budget Planning: What to Spend (and Where to Save)
Whether you’re doing a full kitchen renovation or a weekend upgrade, set a realistic budget based on permanence.
- Under $75: Matching pots, drip tray, basic herb starts, simple labels.
- $75–$250: Upgraded planters, a sleek tray system, small shelf or rail, better soil and tools.
- $250–$1,000: Built-in style shelving, under-shelf lighting, premium pots, and organization upgrades.
- $1,500–$4,500+: Garden window installation or custom integrated planter solutions.
Where to save: Buy basic nursery pots and place them inside decorative cachepots. You’ll get the look without paying premium pricing for every plant.
Where to invest: Trays, shelving finishes, and lighting. These determine how clean, durable, and “intentional” the setup feels.
Common Mistakes to Avoid
- Overcrowding the sill: Too many pots reduce airflow and invite pests. Keep some negative space for a cleaner kitchen aesthetic.
- Skipping a waterproof barrier: Moisture damage on wood sills and painted trim is one of the most common herb window issues.
- Using pots with no drainage: This leads to root rot and unpleasant odors.
- Ignoring heat/cold swings: Winter glass can be cold; summer sun can scorch. Keep plants a few inches back from the pane and watch midday temperatures.
- Choosing the wrong herbs for the light: Basil struggles in low light; parsley and chives handle it better.
- Placing the garden far from the sink: If watering feels inconvenient, plants get neglected and the setup becomes clutter.
FAQ: Kitchen Herb Garden Window Ideas
How deep should a windowsill be for an herb garden?
A minimum of 4 inches works for small pots, but 8–12 inches is more comfortable for grouping herbs on a tray and keeping things stable.
Do I need a grow light for kitchen herbs?
If you don’t get at least 4–6 hours of bright natural light, a full-spectrum LED grow light will significantly improve results. A timer set to 12–14 hours/day is a simple, low-maintenance solution.
What are the easiest herbs to grow on a kitchen windowsill?
Chives, thyme, parsley, and mint are very forgiving. Basil can be easy too if the window is warm and sunny.
How do I keep my herb garden from looking cluttered?
Use matching containers, limit the number of plants, and group them on a single tray. Leaving 20–30% of the sill empty helps the arrangement look designed rather than accidental.
What’s the best way to protect countertops and window trim from water?
Use a lipped waterproof tray, wipe up drips immediately, and avoid setting wet pots directly on wood or porous stone. For a renovation, consider quartz or sealed stone at the sill for easier maintenance.
Can I add a herb garden window during a kitchen remodel?
Yes. A garden window is typically added during a remodel when you’re already updating the sink area, trim, or window opening. Plan for structural requirements, energy-efficient glazing, and a finish that resists moisture.
Next Steps: Turn Your Window into a Functional Green Zone
Start by measuring your window area (sill depth, width, and height to any cabinets), then pick a layout that matches your kitchen workflow: a simple sill lineup, a shelf system, or a renovation-ready garden window. Choose 3–5 herbs you actually cook with, invest in a waterproof tray, and add a grow light if your kitchen doesn’t get reliable sun.
If you’re planning a broader kitchen renovation, bring herb window ideas into your early design conversations—especially around the sink run, window selection, and lighting plan. A little coordination upfront creates a result that looks built-in and stays easy to maintain.
Looking for more smart, stylish kitchen design inspiration? Explore more renovation and organization ideas on thedecormag.com.
More Articles
 Best Kitchen Specialty Ingredient Storage - The Decor Mag
 Pantry Organization: Fresh Produce & BBQ Storage (2026)
 How To Clean Fluted: A Practical, Step-by-Step Guide for Stainless Steel, Copper, and Cast Iron Cookware
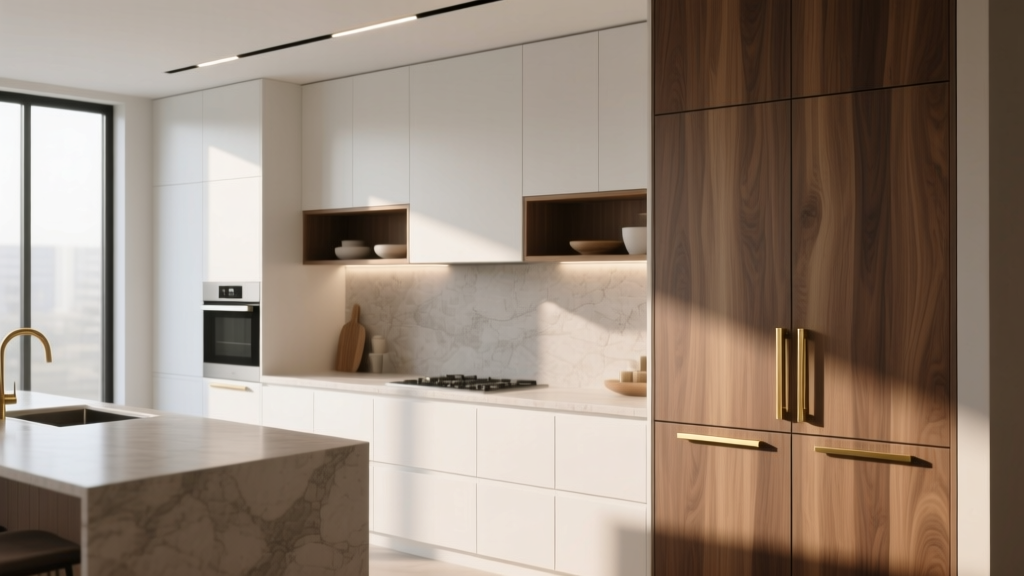 How to Mix Cabinet Finishes in a Kitchen - The Decor Mag
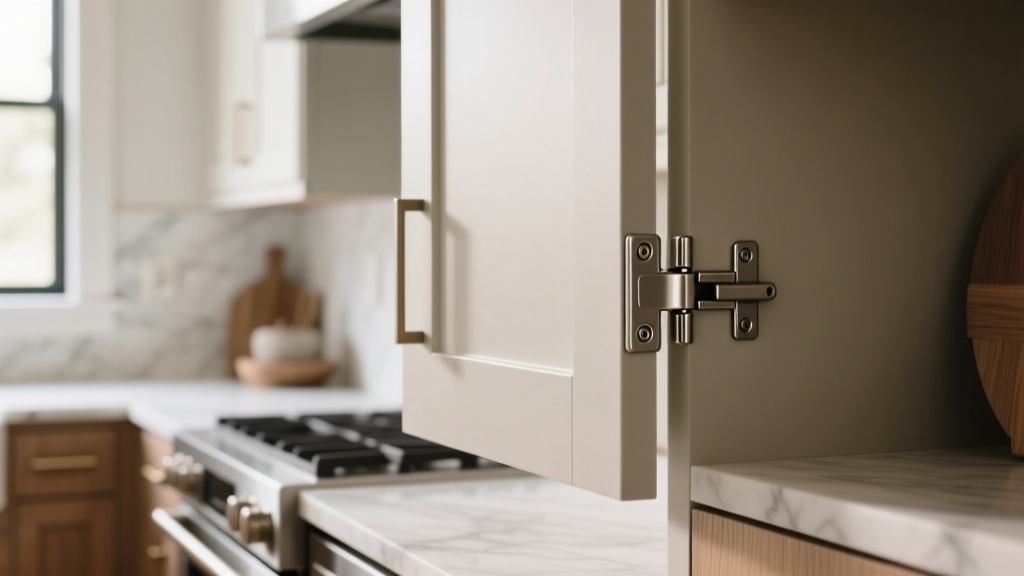 How to Choose Kitchen Cabinet Hinge Quality - The Decor Mag
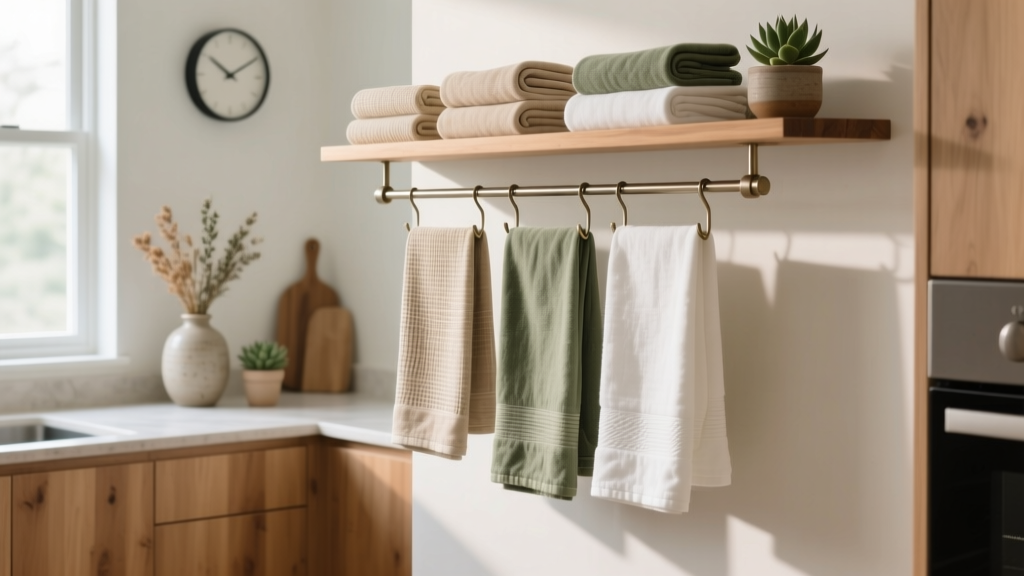 Best Kitchen Towel Storage Ideas - The Decor Mag
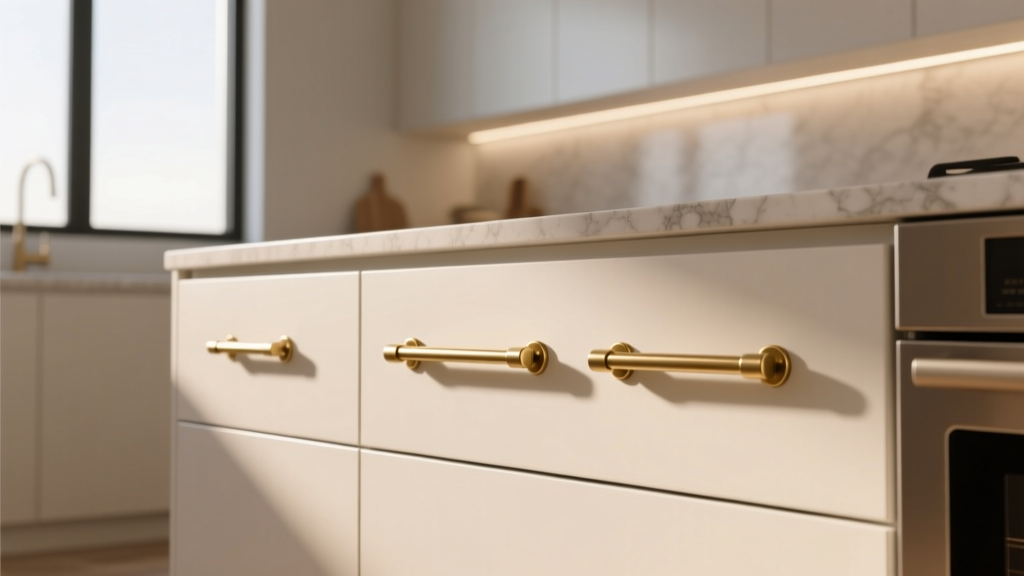 How to Choose Kitchen Cabinet Pull Length - The Decor Mag
 Best Kitchen Paper Towel Holder Options - The Decor Mag
 Best Kitchen Baking Supply Organization - The Decor Mag
 How to Design a Kitchen Work Triangle - The Decor Mag