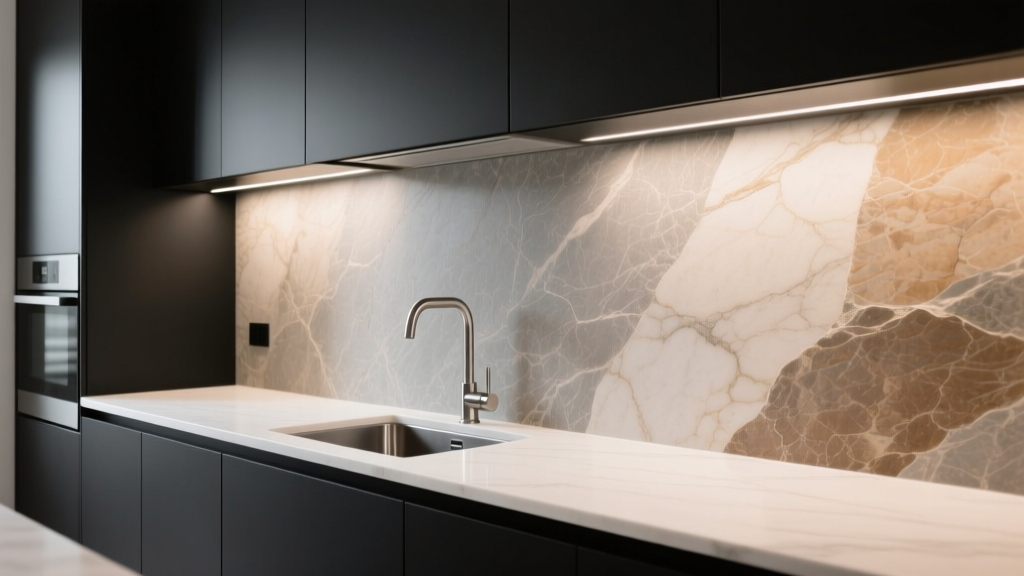
Kitchen Natural Stone Backsplash Guide - The Decor Mag
A kitchen backsplash does more than protect your walls from splatters—it anchors your whole design. Natural stone backsplashes, in particular, bring depth, movement, and a sense of permanence that paint, ceramic, and even many porcelain tiles can’t replicate. Whether your kitchen renovation is a full gut remodel or a targeted upgrade, choosing the right stone backsplash can instantly elevate the space and boost long-term resale appeal.
Homeowners love natural stone for its one-of-a-kind veining and organic character, but it also comes with real-world considerations: porosity, sealing schedules, grout choices, and how different finishes handle grease, water, and daily cooking. This guide breaks down the most popular natural stone options, where they work best, what they cost, and how to avoid the common mistakes that lead to staining, cracking, or a backsplash that feels “busy” next to your countertops.
Why Choose a Natural Stone Backsplash?
Beauty that can’t be duplicated
No two stone tiles are identical. Variations in veining, fossils, and mineral deposits create visual interest that reads “custom” even in a modest kitchen. This is especially impactful in today’s popular kitchen design styles:
- Warm minimalism: creamy limestone, honed marble, or soft travertine in large formats
- Modern organic: honed slate, split-face ledger stone (used selectively), or limestone mosaics
- Transitional kitchens: classic marble subway or herringbone with warm brass hardware
- Contemporary kitchens: full-height stone slab backsplash with minimal grout lines
Timeless function (with the right finish and sealant)
Stone backsplashes excel when you match the material to the use zone. Around a cooktop, heat and grease are constant; around a sink, water and soap are the daily challenge. The right stone, finish, grout, and sealing plan makes natural stone a practical part of your kitchen renovation—not just a pretty surface.
Natural Stone Options: What Works Best in Kitchens
When comparing natural stone backsplash materials, focus on four factors: porosity, stain resistance, heat performance, and maintenance.
Marble
Best for: classic, bright kitchens; statement backsplashes; lower-splatter zones
Look: soft veining; luxurious; pairs well with white oak, brass, and creamy paint colors
- Pros: timeless; reflects light; works beautifully in subway, herringbone, and slab layouts
- Cons: etches from acids (lemon, vinegar); can stain if not sealed; high variation
- Finish tip: Honed hides etching better than polished and feels more current
Travertine
Best for: warm, Mediterranean, or modern organic kitchens
Look: earthy, textured, naturally pitted (often filled for backsplash use)
- Pros: warm color range (cream to walnut); forgiving in lived-in kitchens
- Cons: porous; pits can trap grease if unfilled; needs consistent sealing
- Finish tip: choose filled and honed for easier wipe-down
Limestone
Best for: soft, cohesive kitchens; calming “stone-on-stone” designs
Look: subtle movement; low-contrast patterning
- Pros: understated; pairs well with soapstone or butcher block counters
- Cons: can scratch and stain; requires sealing and gentle cleaners
- Design note: limestone shines in larger formats (12x24) for fewer grout lines
Slate
Best for: moody kitchens; rustic-modern designs; high-contrast palettes
Look: layered texture; charcoal, green, rust tones
- Pros: generally durable; hides mess well; strong visual depth
- Cons: cleft textures can be harder to clean; some slate can flake if poor quality
- Finish tip: choose honed slate near cooktops for easier cleaning
Granite (tile or slab)
Best for: durability-focused renovations; busy family kitchens
Look: speckled, varied; can feel traditional unless chosen carefully
- Pros: strong stain resistance (especially darker granites); handles heat well
- Cons: patterns can compete with countertops; some granites need sealing
- Trend tip: look for leathered or honed finishes for a more modern effect
Quartzite (natural stone)
Best for: homeowners who love marble looks but want more durability
Look: dramatic veining; bright whites to smoky grays
- Pros: typically more resistant to etching than marble; excellent for full-height backsplashes
- Cons: higher cost; still needs sealing; slab install requires skilled fabrication
- Shopping tip: view slabs in person—quartzite varies widely by quarry and labeling can be inconsistent
Backsplash Layouts and Design Approaches
Standard height vs. full-height backsplash
- Standard backsplash height: typically 18 inches from countertop to upper cabinets.
- Full-height backsplash: runs from countertop to the underside of uppers or all the way to the ceiling (common behind a range hood).
Recommendation: If you’re investing in premium stone, consider a full-height focal wall behind the range and a simpler stone tile elsewhere to balance budget and impact.
Tile size: fewer grout lines, easier maintenance
Smaller mosaics look detailed, but grout is the real maintenance commitment. For a natural stone backsplash that’s easy to live with:
- Choose 4x12 or 3x12 subway for classic style with manageable grout
- Choose 12x24 for a modern, minimal look and faster cleaning
- Use mosaic stone only as an accent band or behind a bar area, not your entire cooktop wall
Pattern options that age well
- Stacked (straight set): clean and contemporary; best with subtle stone
- Running bond (classic brick/subway): timeless; works in almost any kitchen design
- Herringbone: elevated and traditional; best in honed marble or limestone
- Vertical stack: trendy but can still feel classic with neutral stone and tight grout joints
Slab stone backsplash (low grout, high impact)
Slab backsplashes are a top current kitchen design trend—especially when the backsplash matches the countertop for a seamless “stone wrap” effect. This approach also reduces grout lines dramatically.
Best uses: behind a range, behind a statement hood, or across an entire wall in open-concept kitchens.
Product and Material Recommendations (Practical, Renovation-Ready)
Best stone choices by kitchen zone
- Behind the cooktop: quartzite slab, honed granite tile, honed marble (if you’re comfortable with patina)
- Behind the sink: granite, quartzite, or sealed limestone with a tighter grout joint
- Coffee bar or dry bar: marble, travertine, or decorative mosaics—less exposure to grease
Grout recommendations
- Joint width: aim for 1/16 inch for rectified stone or tight installations; 1/8 inch is common for handmade-look edges.
- Type: use unsanded grout for tight joints and polished stone; use sanded grout for wider joints (confirm it won’t scratch your stone).
- Color tip: choose a grout color that matches the background tone of the stone, not the veining, for a calmer look.
Sealers and edge details
- Penetrating impregnating sealer is typically best for kitchen backsplashes—less shine, more natural look.
- Plan a clean perimeter edge at the countertop line: a silicone bead at the counter-to-backsplash joint helps prevent cracking.
- For exposed ends (where tile stops), choose a stone pencil trim, a mitered edge, or a slim metal profile in brushed nickel, brass, or matte black.
Costs and Budget Planning
Natural stone backsplash pricing depends on material, format (tile vs. slab), and installation complexity. Use these ranges to plan your kitchen renovation budget:
Typical installed cost ranges (USD)
- Stone tile backsplash (materials + labor): $35–$120 per sq. ft.
- Premium marble or quartzite tile installed: $70–$150+ per sq. ft.
- Slab backsplash installed: $90–$250+ per sq. ft. (higher if seams, cutouts, or bookmatching are involved)
Budget factors that change the final number
- Cutouts: outlets, pot fillers, and specialty switches increase labor
- Pattern complexity: herringbone, diagonals, and mixed mosaics cost more to set
- Stone thickness: slab thickness (2 cm vs. 3 cm) affects fabrication and weight
- Full-height coverage: more square footage and often more precise wall prep
Money-saving strategies that still look high-end
- Use a full-height slab only behind the range and tile elsewhere.
- Choose a larger-format tile to reduce installation time.
- Keep outlets aligned and consolidated where possible to reduce cuts (work with an electrician early).
- Select a stone with natural variation that disguises seams and minor imperfections.
Measurements and Installation Tips Homeowners Should Know
- Plan for countertop thickness: most countertops are 1 1/4 inch thick (3 cm) or 3/4 inch (2 cm). Confirm before templating.
- Outlet placement: if you’re moving outlets, align them horizontally so tile cuts look intentional.
- Range clearances: follow your appliance manual. For many setups, a backsplash surface behind the range should be continuous and easy to clean.
- Tile alignment: dry lay a row to avoid skinny cuts at the ends; aim for at least 2 inches at edges for a balanced look.
- Lighting check: under-cabinet lighting can highlight lippage (uneven tile edges). A flatter stone or larger format minimizes this.
Maintenance and Cleaning: Keep Stone Looking Its Best
Daily/weekly cleaning
- Wipe with a pH-neutral stone cleaner or mild soap and water.
- Use a microfiber cloth to reduce streaks on polished stone.
- Avoid abrasive pads, bleach, and acidic cleaners (especially on marble and limestone).
Sealing schedule
Sealing needs vary by stone and finish, but these are practical guidelines:
- Marble/limestone/travertine: every 6–18 months depending on use and sealer quality
- Granite/quartzite: every 12–24 months (some may need less; test to confirm)
Quick test: place a few drops of water on the stone. If it darkens within 5–10 minutes, it’s time to reseal.
Stain and etch management
- Oil/grease stains: use a stone-safe degreaser and consider a poultice for stubborn spots.
- Etching (marble): this is surface damage, not a stain—honed finishes conceal it better; polishing powders can help, but test first.
Common Natural Stone Backsplash Mistakes to Avoid
- Skipping sealing (or sealing once and forgetting): leads to dark spots near the sink and cooktop.
- Choosing a highly textured stone behind a range: grease settles into crevices and becomes difficult to remove.
- Too many competing patterns: busy stone backsplash + busy granite countertop + bold floor tile can overwhelm the room. Pick one “hero” surface.
- Ignoring undertones: warm stone can clash with cool gray cabinets, and vice versa. Compare samples in your kitchen lighting.
- Overusing mosaics: more grout lines means more cleaning and more discoloration over time.
- Relying on photos alone: stone variation is real. Always view multiple tiles or the actual slab.
FAQ: Natural Stone Backsplashes
Is natural stone a good backsplash for a busy family kitchen?
Yes—choose a more forgiving stone like granite or quartzite, opt for a honed or leathered finish, and minimize grout lines with larger tiles or slab sections. Commit to a simple sealing routine and you’ll get both durability and style.
What’s the easiest natural stone backsplash to maintain?
Granite (especially darker varieties) and many quartzites are typically easier than marble or limestone because they’re less prone to etching and often more stain-resistant when sealed.
Can I use marble behind a stove?
You can, but expect patina. Honed marble hides etching better than polished. If you cook frequently with oils and acidic ingredients, consider quartzite for a similar look with fewer worries.
Should my stone backsplash match my countertop?
Matching creates a seamless, high-end look and is a leading kitchen design trend, especially with slab backsplashes. If you prefer contrast, keep one surface quieter (for example, a calm limestone backsplash with a veined countertop).
What grout color should I choose with stone tile?
A close match to the stone’s base tone usually looks most timeless and hides discoloration. High-contrast grout emphasizes the pattern but can look busy and draws attention to any uneven cuts.
Do I need to seal stone tile and grout?
In most cases, yes. Seal the stone (and often the grout) with a penetrating sealer appropriate for your stone type. Your installer can recommend a product based on finish and porosity, but you should also plan for resealing over time.
Next Steps: Plan a Stone Backsplash That Works Long-Term
Start by picking your priority: easiest maintenance, a bold focal point, or a calm, timeless backdrop. Bring home two to three stone samples (or view slabs in person), test them under your kitchen lighting, and think through your daily routines—where grease splatters, where water drips, and how often you want to reseal.
Then, finalize the practical details that make the design feel polished: larger formats for fewer grout lines, smart outlet placement, a backsplash height plan (standard 18-inch or full-height), and a finish that fits your lifestyle. With the right choices, a natural stone backsplash becomes a hardworking design feature that looks better year after year.
Looking for more kitchen renovation ideas, organization upgrades, and timeless design inspiration? Explore the latest guides and trends on thedecormag.com.
More Articles
 Kitchen Reeded Glass Cabinet Ideas - The Decor Mag
 Kitchen Fluted Cabinet Door Trends - The Decor Mag
 Kitchen Plaster Range Hood Organic Look - The Decor Mag
 Scandinavian Kitchen Design Guide - The Decor Mag
 How to Choose Kitchen Appliances That Last - The Decor Mag
 Kitchen Counter Materials for Your Lifestyle (2026)
 Best Kitchen Wine Storage Solutions - The Decor Mag
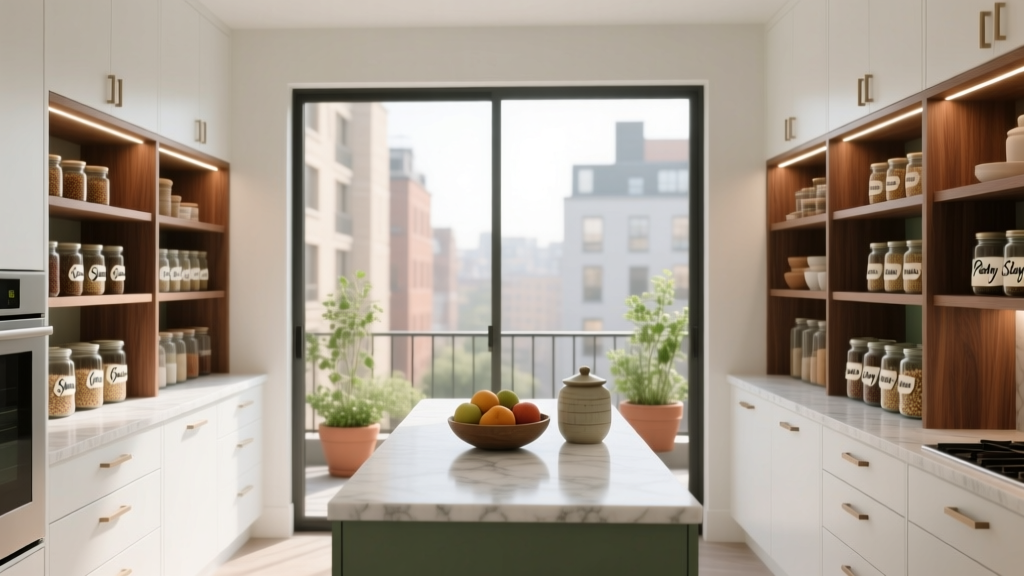 Kitchen Butlers Pantry Design Guide - The Decor Mag
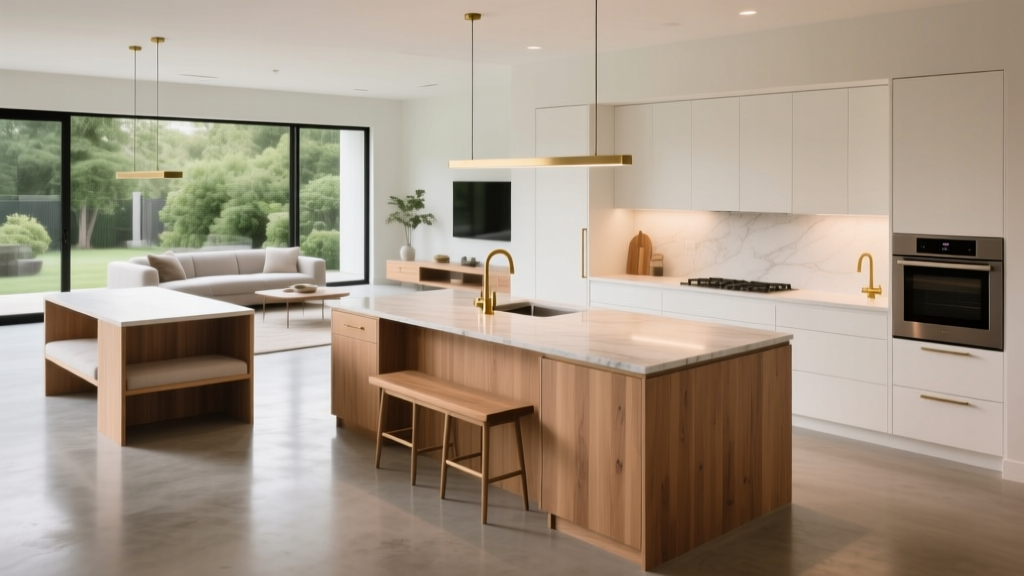 Best Kitchen Island Ideas for Every Size - The Decor Mag
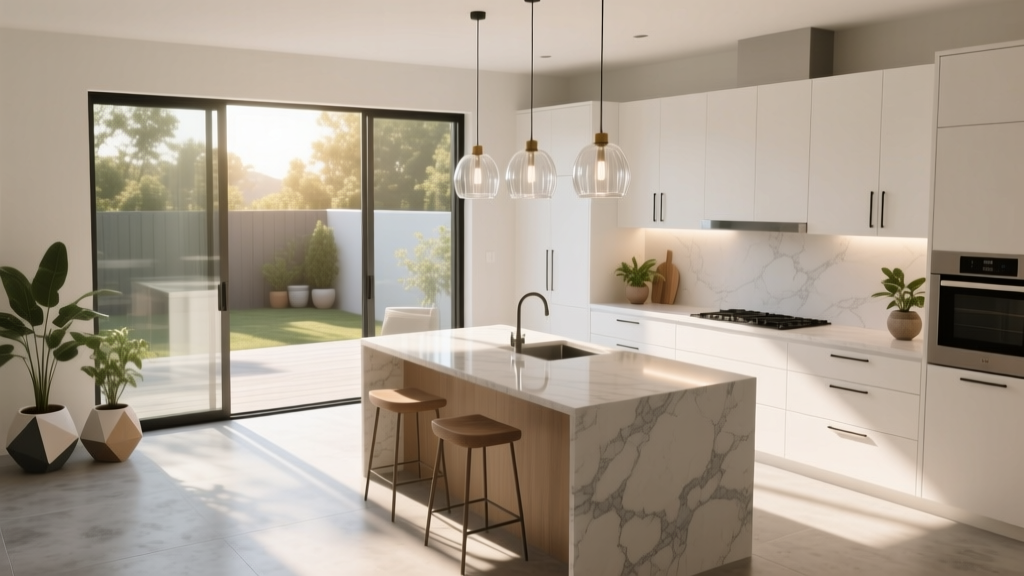 Kitchen Natural Light Design Tips (2026)