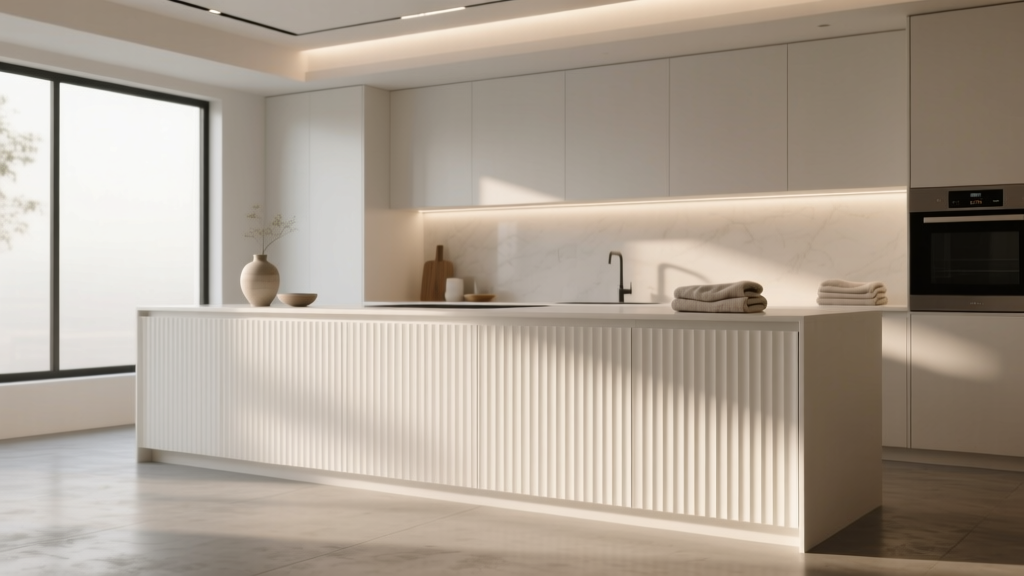
Kitchen Fluted Detail Cabinet Trend - The Decor Mag
Fluted cabinetry has moved from a niche, high-end detail to a mainstream kitchen design trend—and for good reason. Those subtle vertical grooves add depth, shadow, and movement that flat-panel doors can’t match, helping a kitchen feel more layered and intentionally designed without relying on busy patterns or overly bold colors.
For homeowners planning a kitchen renovation, fluted cabinet fronts offer a rare balance: they feel current and design-forward, yet they also nod to timeless architectural detailing. When planned well, fluting elevates everything around it—hardware, countertops, lighting, even the way a paint color reads in daylight—while keeping the kitchen functional for everyday cooking and storage.
This guide breaks down where fluted cabinetry works best, how to choose materials and groove profiles, what it costs, and how to avoid the most common (and expensive) planning mistakes.
What “Fluted” Means in Kitchen Cabinet Design
Fluted cabinet doors and panels feature repeated vertical grooves—either carved, routed, or applied—creating a ribbed texture. In kitchens, fluting shows up most often on:
- Island panels (a popular “feature moment”)
- Base cabinets (especially in modern or transitional kitchens)
- Tall pantry doors and appliance garages
- Glass-front uppers with fluted or reeded glass inserts
- Toe-kick details and end panels for a furniture-like finish
Fluted vs. Reeded: What’s the Difference?
- Fluted wood panels: Grooves or ridges are milled into wood/MDF. The texture is structural and tactile.
- Reeded glass: Vertical texture is in the glass itself. It obscures clutter slightly while still reflecting light—great for uppers.
Why Fluted Cabinets Are Trending (and Why They Last)
Kitchen trends come and go, but fluted detailing fits into broader shifts that have staying power: warmer modern interiors, more texture, and “quiet luxury” finishes that feel elevated without shouting. It’s also a smart response to the flat, uniform surfaces that dominated kitchens for years—fluting gives you dimension while staying neutral.
What fluting adds to a kitchen renovation
- Depth without visual clutter: Especially useful in all-white or monochrome kitchens.
- A custom look: Even a small application (like the island) can read bespoke.
- Better transitions between styles: It bridges modern slab doors and traditional Shaker cabinets nicely.
- More forgiving surfaces: Minor smudges and micro-dings can be less noticeable than on high-gloss flat panels.
Where Fluted Detail Works Best: Layout-Based Recommendations
Fluting is strongest when used intentionally. Too much texture can make a kitchen feel busy, and too little can feel accidental. Use your layout and sightlines to decide placement.
1) The island: the easiest place to add fluting
Because the island reads like furniture, fluted panels feel natural here and photograph beautifully. If you’re doing one fluted moment, do it on the island.
- Best for: Open-concept kitchens, U-shaped layouts with a central island, and kitchens where the island is the focal point.
- Proportion tip: For a standard 36-inch-high island, keep fluting consistent from toe-kick to countertop overhang for a clean, tailored look.
- Overhang guidance: Plan 12 inches overhang for seating (up to 15 inches if you want more knee room, depending on countertop material and support requirements).
2) Tall pantry or refrigerator wall: a modern “appliance wall” upgrade
Fluted tall doors can make a pantry wall feel like built-in millwork rather than a run of cabinets. This is a great move in kitchens focused on organization and clutter-free counters.
- Design approach: Use fluting on the large doors and keep surrounding cabinet doors simple (slab or Shaker) to avoid texture overload.
- Spacing tip: If you’re integrating a fridge, confirm ventilation clearances and door swing before committing to fluted panels that may be harder to modify later.
3) Upper cabinets: use restraint (or switch to reeded glass)
Fluted uppers can look heavy if you already have patterned backsplash tile, dramatic stone, or open shelving. Many homeowners get the same texture benefit by using reeded glass for a lighter look.
- Good option: Two or three reeded-glass doors near a coffee station or bar zone.
- Practical win: Reeded glass helps hide mismatched dishware and everyday items while still looking curated.
Fluted Profile and Measurements: Getting the Proportions Right
The groove size and spacing determine whether fluting reads subtle and refined or bold and statement-making. When planning, ask your cabinet maker (or door manufacturer) for a sample in your finish—texture changes dramatically under different lighting.
Common fluted sizes (practical guidelines)
- Subtle, modern fluting: 1/8"–3/16" groove depth with tighter spacing for a softer shadow line.
- Classic reeded look: 1/4" groove depth with moderate spacing—works well in transitional kitchens.
- Bold statement fluting: 3/8" (or more) groove depth—best reserved for islands or a single feature wall.
Door and panel planning tips
- Match fluting direction: Vertical fluting elongates and is most common. Horizontal fluting can look modern but may feel busy across long runs.
- Watch the seams: On wide spans (like an island), align panels so the groove rhythm feels continuous rather than “reset” at each joint.
- Plan for handles: If you’re using pulls, ensure the mounting area won’t land awkwardly on a ridge edge. A slightly wider stile or a pull with a broader base can solve this.
Material Choices: What Holds Up Best in a Busy Kitchen
Because kitchens face heat, grease, and constant cleaning, the best fluted cabinet material is the one that maintains crisp grooves and a stable finish over time.
Solid wood
- Pros: Authentic grain; durable; can be refinished; ideal for stained fluted cabinets.
- Cons: More expensive; can move with humidity; requires a skilled finish for even stain in grooves.
- Best for: White oak, walnut, or maple fluted doors in high-end renovations.
MDF (medium-density fiberboard) for painted fluting
- Pros: Smooth, stable surface; excellent for painted cabinet finishes; grooves stay crisp.
- Cons: Not ideal for stain; edges can swell if water penetrates.
- Best for: Painted fluted island panels, pantry doors, or toe-kick details.
Plywood box construction (recommended regardless of door style)
- Pros: Stronger and more moisture-resistant than particleboard; better long-term value.
- Cons: Higher cost than particleboard.
- Best for: Most kitchen cabinet boxes—especially near sinks and dishwashers.
Reeded glass inserts (for uppers)
- Pros: Adds texture without bulk; diffuses visual clutter; reflects light beautifully.
- Cons: Needs regular cleaning; interior cabinet lighting is highly recommended to avoid a dark, murky look.
Finish and Color Ideas That Work with Fluting
Texture changes how color reads. A painted fluted door can look deeper and more dimensional than the same color on a flat slab because shadows intensify the tone.
Design-forward, homeowner-friendly pairings
- Natural white oak + warm white paint: A timeless mix for modern organic kitchens.
- Deep green or navy fluted island + light perimeter cabinets: Creates a focal point without making the kitchen feel small.
- Greige or taupe fluted pantry wall: Soft, elevated, and less stark than pure white.
- Black fluted base cabinets (matte) + light stone: Striking, but requires good lighting and careful dust management.
Hardware recommendations
- Longer pulls (6"–10") can help calm the busyness of grooves by adding clean horizontal lines.
- Backplates can make hardware placement more forgiving on textured doors.
- Finishes trending now: Unlacquered brass, brushed nickel, and soft bronze—these age well and pair nicely with textured wood.
Budget and Cost Ranges: What Fluted Cabinets Typically Add
Costs vary by region, cabinet line, and how much fluting you use. Fluting is generally a premium detail because of added labor, tooling, and finishing time.
Typical upgrade ranges (USD)
- Fluted island panels only: +$500–$2,500 depending on size, material, and finish.
- Fluted doors on a pantry/appliance wall: +$1,500–$6,000 depending on door count and customization.
- Whole-kitchen fluted doors: +$3,000–$15,000+ compared to standard Shaker/slab fronts, especially in custom cabinetry.
- Reeded glass inserts for uppers: +$150–$600 per door depending on glass type, framing, and whether you add lighting.
Smart ways to control renovation costs
- Use fluting as an accent: island + one tall unit often looks more high-end than fluting everywhere.
- Choose painted MDF for fluted sections: Keeps costs reasonable while maintaining crisp detail.
- Keep cabinet boxes standard: Spend on visible door fronts and panels, not extra-deep custom boxes unless you truly need them.
- Plan lighting early: Under-cabinet and in-cabinet lighting makes fluting look intentional; retrofitting later adds labor.
Maintenance and Cleaning: Keeping Grooves Looking Crisp
Fluted cabinets aren’t “high-maintenance,” but they do require the right cleaning approach so dust and grease don’t build up in the grooves.
Routine care (weekly or as needed)
- Dust first: Use a microfiber cloth or a soft brush attachment on a vacuum to pull dust from grooves.
- Use a gentle cleaner: Warm water with a small amount of dish soap is usually enough for painted or sealed wood.
- Dry thoroughly: Especially around sinks and dishwashers—moisture sitting in grooves can dull finishes.
Dealing with grease near the cooktop
- Choose the right location: Avoid fluted detail directly adjacent to a high-output range if you cook often.
- Use a strong range hood: A properly sized hood reduces grease film on textured surfaces.
- Skip abrasives: No scrub pads or harsh powders—these can flatten sheen on paint and wear high points on wood.
Common Mistakes to Avoid with Fluted Cabinetry
- Overusing the detail: Fluting everywhere can feel visually noisy, especially with veined stone or busy backsplashes.
- Ignoring lighting: Fluting needs shadows to look good. If the kitchen is dim, it can read muddy rather than refined.
- Poor seam alignment on islands: Misaligned grooves across panels can look like a fabrication error.
- Choosing the wrong groove scale: Oversized fluting in a small kitchen can overwhelm. Very fine fluting can disappear from a distance.
- Not planning hardware placement: Pulls can sit awkwardly on ridges or look crooked if installers don’t account for the texture.
- Forgetting cleanability near prep zones: Textured doors right by the trash pull-out or cooktop may need more frequent wipe-downs.
FAQ: Fluted Detail Cabinets in Kitchen Design
Are fluted cabinets a passing trend?
Fluting is trending now, but it’s rooted in classic millwork and architectural detailing. If you use it as an accent (island, pantry wall, or select uppers), it tends to age well and won’t lock your kitchen into a single era.
Do fluted cabinet doors cost much more than Shaker doors?
Usually, yes. Expect a premium for milling and finishing. A common budget-friendly strategy is using fluted panels only on the island or one feature run and keeping the rest of the kitchen in standard door styles.
What’s the best material for painted fluted cabinets?
MDF is often the best choice for painted fluting because it’s stable and smooth, and the grooves stay crisp. Pair it with quality cabinet box construction (plywood is a strong choice) for durability.
Will fluted cabinets be harder to clean?
They take slightly more effort than flat doors because dust can settle into grooves. A microfiber cloth, a soft brush vacuum attachment, and gentle soap-and-water cleaning keep them looking fresh without damaging the finish.
Should I use fluting on upper cabinets?
It can work, but it’s easy for uppers to look heavy. Reeded glass inserts are often a better way to bring texture up high while keeping the kitchen feeling open and bright.
What countertop and backsplash styles pair best with fluted cabinets?
Fluted cabinetry pairs well with simpler surfaces: solid or softly veined quartz, quartzite, or honed granite, plus streamlined backsplashes (large-format tile, simple ceramic, or slab stone). If your stone is dramatic, keep the fluting limited to one zone.
Next Steps: How to Plan Fluted Details Like a Pro
Start by deciding where fluting will make the biggest impact: for most kitchens, that’s the island or a tall pantry/appliance wall. Request a physical sample of the groove profile in your chosen finish, then evaluate it under your kitchen’s actual lighting—daytime and evening. Confirm seam placement, hardware positions, and cleaning considerations before fabrication begins.
If you’re working with a kitchen designer or cabinet maker, bring inspiration images but also bring practical priorities: storage needs, workflow, and how you use the space day-to-day. The best kitchen renovations blend current kitchen design trends with timeless functionality, and fluted cabinetry can do exactly that when it’s thoughtfully placed.
For more kitchen renovation ideas, cabinet trends, and organization tips, explore the latest inspiration on thedecormag.com.
More Articles
 Kitchen Plaster Range Hood Organic Look - The Decor Mag
 Kitchen Fluted Wood Island Paneling - The Decor Mag
 Best Kitchen Specialty Appliance Placement - The Decor Mag
 Kitchen Soapstone Countertop Guide - The Decor Mag
 Best Kitchen Island Ideas for Every Size - The Decor Mag
 Kitchen Limewash Paint Cabinet Finish - The Decor Mag
 How to Design a Kitchen for Multiple Cooks - The Decor Mag
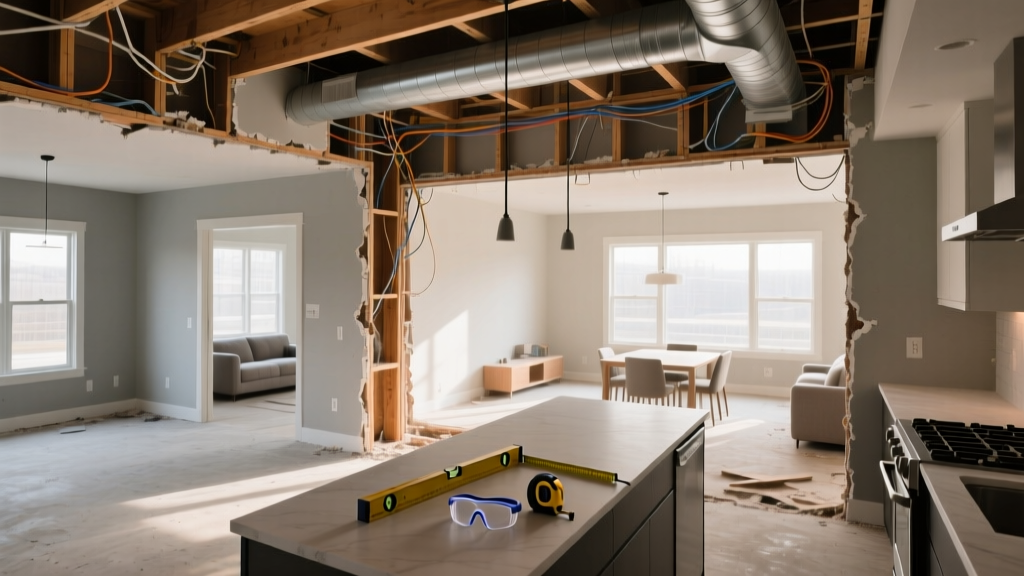 Open Concept Kitchen Renovation: Pre-Demolition Guide
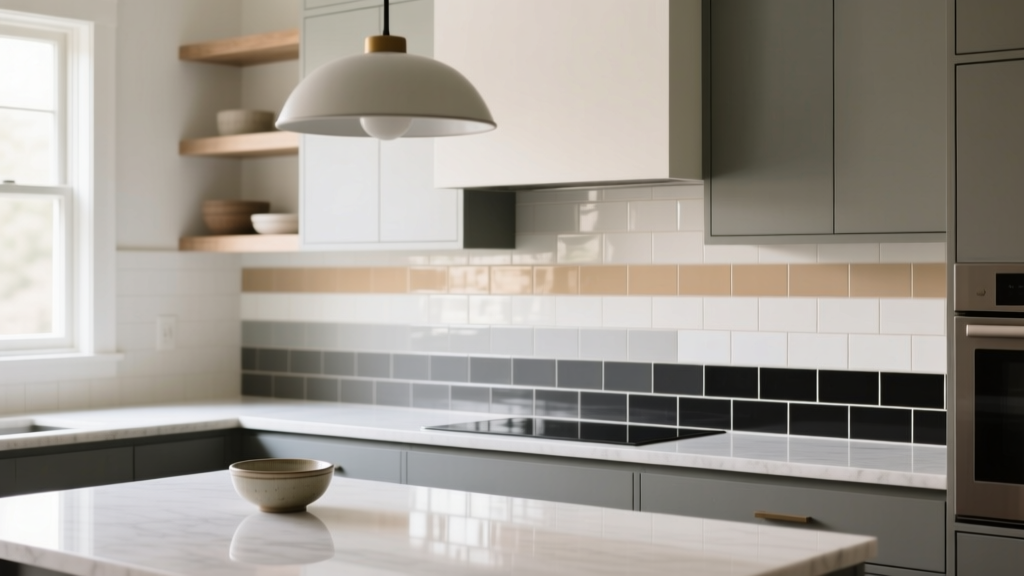 How to Choose Kitchen Backsplash Grout Color - The Decor Mag
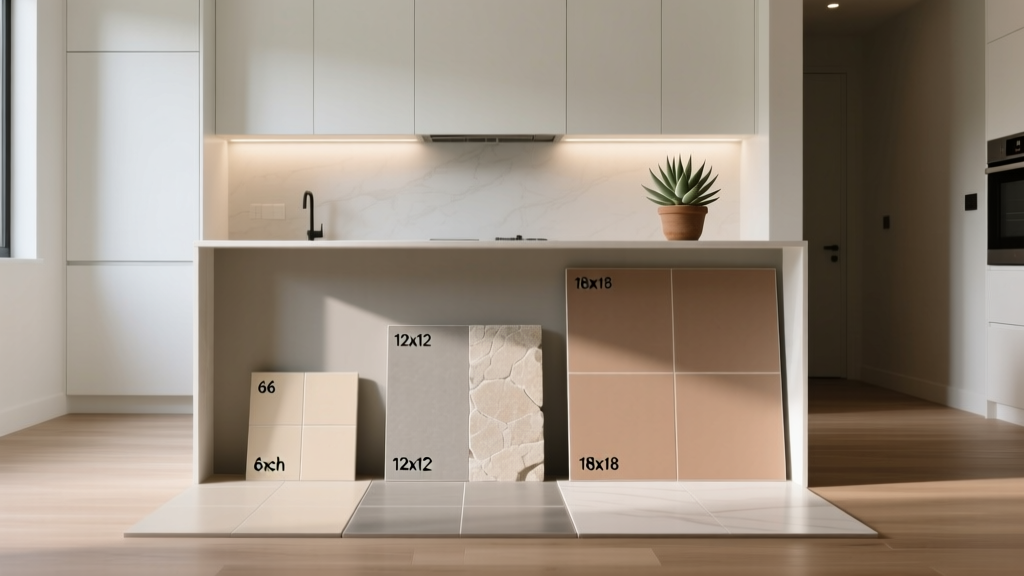 How to Choose Kitchen Floor Tile Size - The Decor Mag