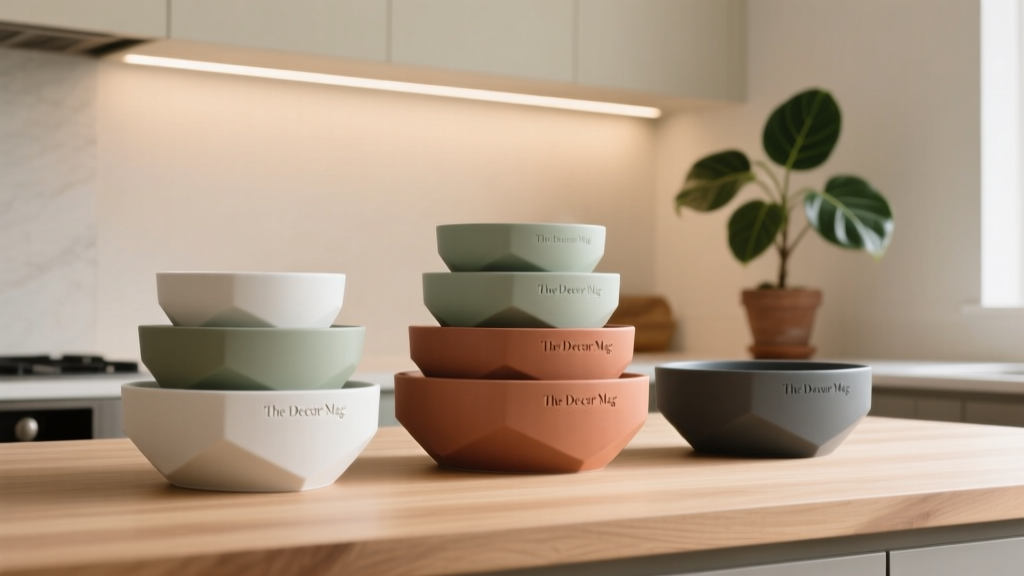
Best Kitchen Prep Bowl Collection Display - The Decor Mag
A great kitchen renovation isn’t only about countertops and cabinetry—it’s about how your space supports the way you cook every day. Prep bowls are one of the most-used tools in a functional kitchen: they hold chopped vegetables, measured spices, marinades, batters, garnishes, and leftovers. When they’re easy to see and reach, cooking becomes faster, cleaner, and more enjoyable.
Displaying a prep bowl collection can also be a design win. Today’s kitchen design trends favor “useful decor”: open shelves with curated essentials, mixed materials (wood, stone, metal), and warm, lived-in styling that still feels intentional. The best displays balance beauty with practical storage—so your bowls don’t just look good, they work hard.
This guide breaks down the best ways to organize and display prep bowls during a kitchen renovation or refresh, with real measurements, material comparisons, cost ranges, and common mistakes to avoid.
What Makes a Prep Bowl Display “Best”?
Before choosing a display style, define what “best” means for your kitchen organization goals. A strong setup checks four boxes:
- Accessibility: Bowls are reachable with one hand and minimal bending/stack shifting.
- Visibility: You can quickly find the size you need.
- Protection: Prevent chips, scratches, and cabinet shelf wear.
- Consistency: Looks cohesive with your kitchen style—modern, farmhouse, transitional, or minimalist.
Most useful prep bowl sizes (and why)
A collection that actually gets used typically includes:
- 3–5 oz pinch bowls for spices, minced garlic, herbs, and garnish stations
- 8–12 oz for mise en place (small chopped ingredients)
- 16–24 oz for sauces, whisking small batters, or holding cut fruit
- 1–2 qt for larger prep—salads, marinades, and batch cooking
If you’re renovating, plan storage around what you use most—then style the display with the pieces that earn their shelf space.
Choose Materials That Fit Your Cooking Style (and Your Display)
Material choice affects durability, care, and how your collection looks on open shelving. Here’s a practical comparison for homeowners updating kitchen storage and organization.
Ceramic and stoneware (classic + display-friendly)
- Best for: everyday prep, serving, open shelf styling
- Pros: great color options, sturdy feel, less “clanky” than metal
- Cons: can chip; heavier stacks need stable shelves
- Maintenance: avoid sudden temperature shocks; use shelf liners to prevent scuffs
Typical cost: $25–$80 for a 3–5 bowl set; handmade collections $80–$200+.
Porcelain (sleek, light, and timeless)
- Best for: minimalist and modern kitchens, clean visual lines
- Pros: nonporous, stain-resistant, bright white elevates display
- Cons: can feel slippery when wet; chips still possible
- Maintenance: wash with non-abrasive sponges; store with soft separators if nested
Typical cost: $30–$120 depending on brand and set size.
Stainless steel (professional prep, less decorative)
- Best for: heavy prep, frequent use, dishwasher cycles
- Pros: nearly indestructible, lightweight, nests well
- Cons: shows water spots; looks more utilitarian on open shelves
- Maintenance: wipe dry to reduce spotting; use a microfiber cloth for fingerprints
Typical cost: $20–$60 for a set of 3–6 bowls.
Glass (modern, airy, and transparent)
- Best for: seeing contents at a glance, clean styling, small kitchens
- Pros: stain-resistant, visually light, works with any palette
- Cons: breakable; stacked glass can clink and chip rims
- Maintenance: use felt or cork separators; avoid over-tight nesting
Typical cost: $15–$50 for basic sets; tempered glass is higher.
Wood and bamboo (warm accent pieces)
- Best for: dry ingredients, styling, occasional use
- Pros: adds warmth; great for open shelf decor
- Cons: absorbs odors/stains; not ideal for wet prep long-term
- Maintenance: hand-wash only; oil periodically with food-safe mineral oil
Typical cost: $20–$80 depending on craftsmanship and species.
Best Display Layouts for Prep Bowl Collections
The ideal display depends on your kitchen layout, the amount of wall space, and how often you cook. These are the most renovation-friendly options, from most decorative to most efficient.
1) Open shelves near the prep zone (the “working display”)
Current kitchen design trends continue to favor a mix of closed cabinets and a small run of open shelves. For prep bowls, location matters more than styling—place them where you chop and assemble.
Placement guidelines:
- Install shelves within 12–18 inches of the primary prep counter when possible.
- Keep the bottom shelf 16–20 inches above the countertop to avoid head bumps and allow room for small appliances.
- Use shelf depth of 10–12 inches for bowls; deeper shelves invite clutter.
Best display approach: Stack by size (largest on bottom) and keep the top stack height under 10–12 inches for easy grab-and-go.
Cost range: $50–$250 for DIY shelving; $300–$1,200+ for custom floating shelves with concealed brackets, depending on material (white oak and walnut cost more than painted MDF).
2) Glass-front uppers (a cleaner look with less dust)
If you love the look of a displayed collection but want less maintenance than open shelving, glass-front cabinet doors are a timeless compromise. They work especially well in transitional and modern kitchens.
Design tips:
- Use interior cabinet lighting (warm LED strips around 2700K–3000K) to highlight bowls.
- Choose reeded or fluted glass if you want a softer, less “always perfect” look.
- Limit to one cabinet run to keep the kitchen renovation feeling grounded, not “showroom.”
Cost range: $200–$600 per door for semi-custom upgrades; higher for fully custom cabinetry. Lighting adds $50–$250 depending on transformer and installation.
3) Drawer storage with peg systems (the most functional)
Deep drawers are one of the strongest kitchen renovation upgrades for organization. A peg system lets you store bowls without clattering stacks, and it keeps sizes visible.
Measurements that work:
- Choose drawers with 10–12 inch internal height for nested prep bowls.
- Line drawers with non-slip mat or a custom insert to prevent shifting.
- Keep frequently used bowls within the “golden zone” drawers between waist and shoulder height.
Cost range: $30–$120 for aftermarket peg organizers; $150–$500+ for custom drawer inserts.
4) Countertop bowl station (great for daily cooks, risky for clutter)
A small countertop station works well when you cook daily and want your mise en place tools within arm’s reach. The key is to keep it curated and contained.
How to keep it looking intentional:
- Use a tray that’s 12–16 inches wide to visually “frame” the collection.
- Limit to 3–6 bowls (pinch bowls plus one medium bowl).
- Place near the prep zone, not beside the stove where grease and splatter build up.
Cost range: $20–$80 for a tray; $40–$200+ for a curated bowl set.
Styling a Prep Bowl Collection Without Sacrificing Function
The best kitchen decor ideas support daily routines. These styling strategies keep your display practical and renovation-ready.
Create a cohesive look (even with mixed bowls)
- Stick to a palette: white + natural wood, all-neutral stoneware, or black + stainless accents.
- Repeat a shape: round bowls in multiple sizes look calmer than mixed silhouettes.
- Use “anchors”: one larger serving bowl or a lidded crock can visually ground a shelf.
Organize by frequency of use
- Everyday prep bowls: eye-level shelf or top drawer
- Occasional sizes: higher shelves or second drawer
- Specialty/fragile pieces: closed cabinet with soft liners
Add supportive accessories (small upgrades, big payoff)
- Shelf liners: clear, felt, or cork to prevent scratches and sliding
- Felt separators: especially for glass or delicate ceramic
- Drawer mats: reduce noise and protect finishes
- Labeling (optional): discreet labels inside cabinet doors for quick resets
Product and Design Recommendations That Work in Real Kitchens
Rather than chasing a single “best brand,” focus on proven design approaches that align with your renovation style and budget.
Best overall approach: a matched nesting set + a few standout pinch bowls
- Why it works: nesting sets reduce storage needs; pinch bowls add character on display.
- Look for: flat bases (stability), glazed interiors (easy cleaning), and a comfortable rim.
Budget: $60–$200 for a high-quality combo.
Best for modern kitchens: porcelain or glass with clean lines
- Pair with: slab-front cabinets, quartz countertops, minimal hardware
- Display style: glass-front cabinet with warm interior lighting
Budget: $40–$150 for bowls; $250–$1,000+ for cabinetry/lighting upgrades.
Best for farmhouse or warm transitional: stoneware + wood accents
- Pair with: white oak shelves, honed stone counters, unlacquered brass accents
- Display style: open shelf stack + one wooden bowl for texture
Budget: $50–$250 for bowls and styling pieces; $300–$1,200 for shelf installation.
Budget Planning: What to Spend Where
Prep bowl displays can be affordable, but costs rise quickly when you tie them to cabinetry and lighting changes. A practical way to prioritize:
- $50–$150: upgrade bowls and add shelf/drawer liners (best “quick win”)
- $150–$500: add drawer peg system or custom insert for organization
- $300–$1,200: add or upgrade open shelving (especially hardwood floating shelves)
- $500–$2,500+: glass-front cabinet upgrades and integrated lighting
If your kitchen renovation budget is tight, invest first in drawer function (dividers, peg systems, deep drawers). If your kitchen already functions well, put money into visual upgrades like shelves and lighting.
Maintenance Advice: Keep the Display Clean and Chip-Free
- Dust control: open shelves need weekly wipe-downs; glass-front cabinets cut maintenance dramatically.
- Grease prevention: keep displayed bowls at least 24–36 inches away from the cooktop edge when possible.
- Chip prevention: don’t over-stack; use felt separators for ceramics and glass.
- Stain management: for white ceramic, a baking soda paste can lift utensil marks; avoid harsh abrasives that dull glaze.
- Humidity check: if storing wood bowls, keep them out of damp zones and oil every few months.
Common Mistakes to Avoid
- Choosing display over access: a beautiful top shelf is useless if you can’t safely reach your daily bowls.
- Overcrowding open shelves: too many pieces read as clutter, not curated kitchen decor.
- Ignoring shelf strength: heavy stoneware stacks need secure anchoring into studs or proper wall supports.
- Placing bowls too close to heat and splatter: displays near a range get grimy fast.
- Mixing too many finishes: if bowls are colorful, keep shelves and backdrop simple; if shelves are bold, keep bowls neutral.
- Skipping liners: unprotected shelves and drawers show wear and increase chipping risk.
FAQ: Kitchen Prep Bowl Collection Display
How many prep bowls should I keep for a functional kitchen?
For most homeowners, 6–10 bowls covers daily cooking: 2–3 small pinch bowls, 2–3 medium prep bowls, and 2 larger bowls. If you batch cook or entertain often, expand to 12–16, but store extras in closed cabinets to avoid visual clutter.
Are open shelves practical for prep bowls in a busy kitchen?
Yes, if shelves are placed near the prep zone and kept minimal. Expect more cleaning than closed cabinets. If you want the look with less upkeep, choose glass-front cabinets or fluted glass fronts.
What’s the best shelf depth for displaying bowls without wasting space?
A depth of 10–12 inches is ideal for most prep bowls. Deeper shelves invite overcrowding and make it harder to reach items at the back.
How do I prevent bowls from chipping when nested?
Use felt or cork separators, avoid over-tight nesting, and keep stacks at a manageable height (generally no more than 10–12 inches). In drawers, add a non-slip mat or peg organizer.
Which material is best for everyday prep: ceramic, glass, or stainless steel?
Stainless steel is the toughest and most practical for heavy daily use. Ceramic/stoneware balances performance and display appeal. Glass looks light and modern but needs more care to avoid chips and breakage.
Do prep bowls belong near the stove or the sink?
Place them closest to your main prep surface (usually between sink and cooktop). Keep them far enough from the stove to reduce grease buildup—ideally 24–36 inches away from the cooktop edge.
Next Steps: Turn Your Prep Bowls into a Functional Display
Start by editing your collection down to the sizes you truly use, then choose one display strategy that matches your kitchen layout—open shelves for warmth and accessibility, glass-front cabinets for a cleaner look, or drawer peg systems for maximum efficiency. Add liners and separators, keep stacks low, and position bowls close to your prep zone for a kitchen organization upgrade you’ll feel every day.
For more kitchen renovation ideas, storage solutions, and design trend guidance, explore the latest inspiration on thedecormag.com.
More Articles
 Kitchen Appliances Compared on a Budget: Smart, Reliable Choices Under $300
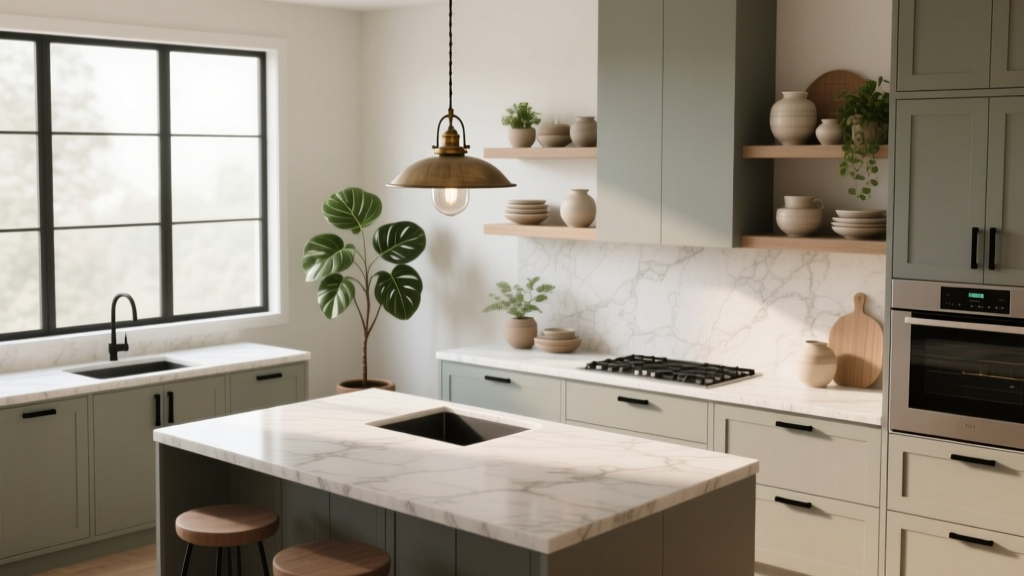 Kitchen Style & Function: Design Tips (2026)
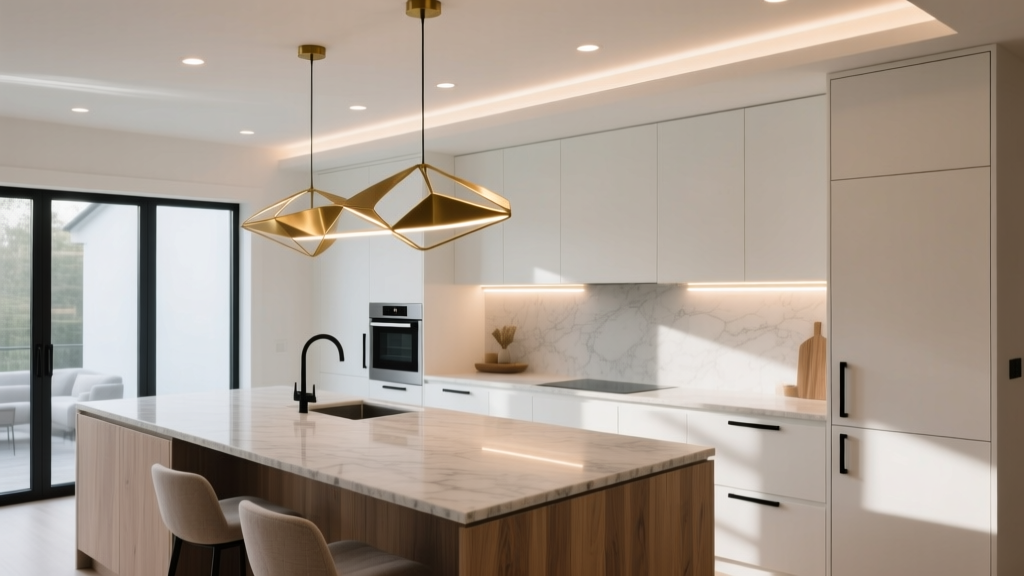 Best Kitchen Lighting for Function & Style (2026)
 How to Repair Sustainably: Practical Strategies for Extending the Life of Kitchen Appliances, Cookware, and Fixtures
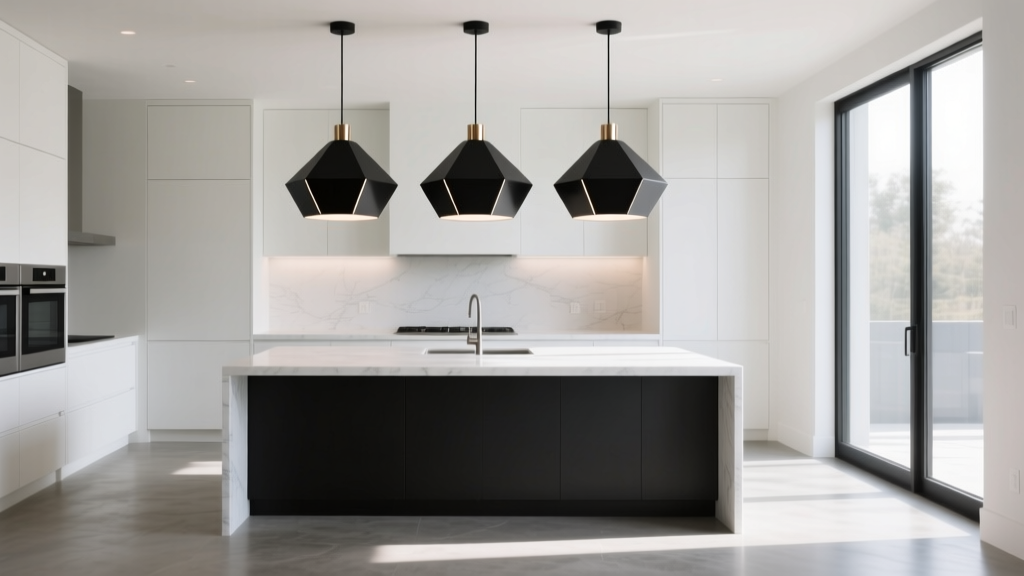 Best Pendant Lights for Kitchen Islands - The Decor Mag
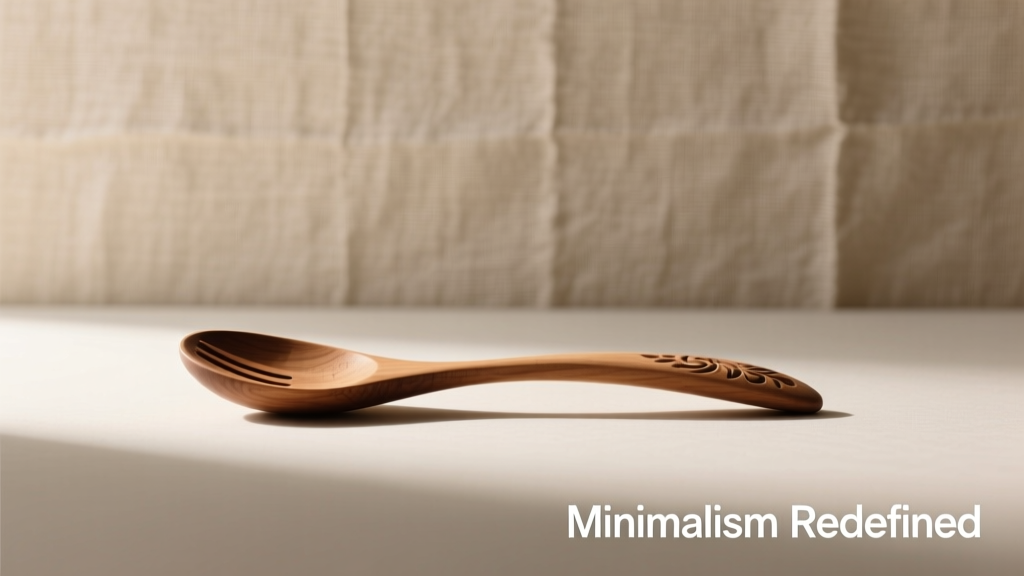 Minimalist Alternatives to Essential Kitchen Tools: Smart Substitutions That Reduce Clutter Without Compromising Performance
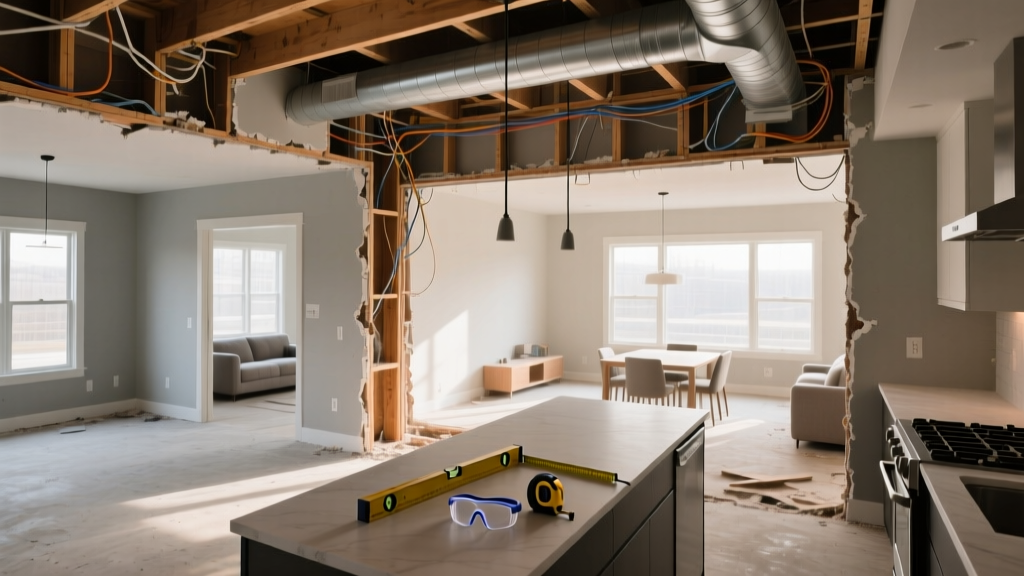 Open Concept Kitchen Renovation: Pre-Demolition Guide
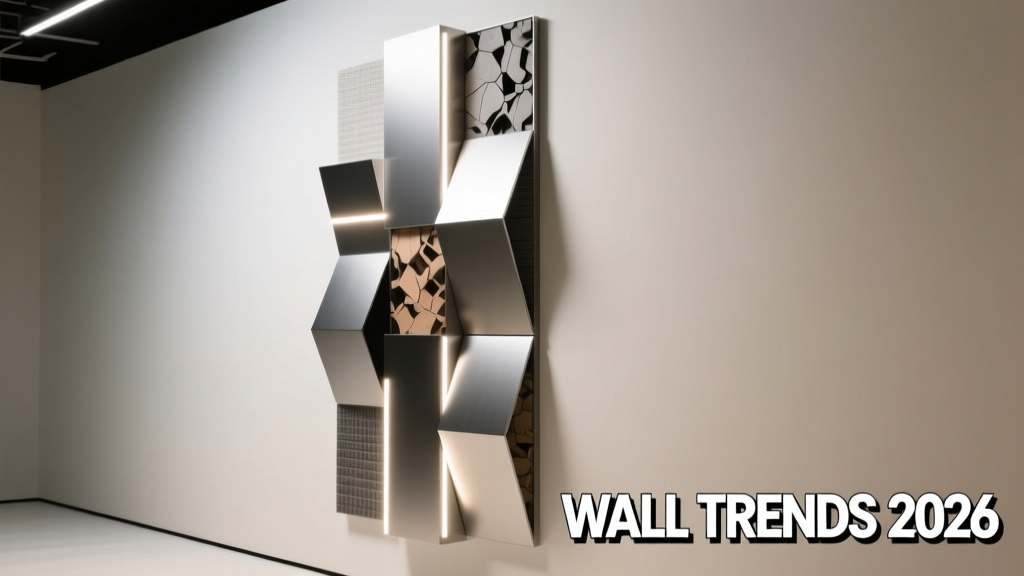 Wall Trends 2026: Material Innovation, Adaptive Surfaces, and Human-Centered Design in Residential Kitchens
 Kitchen Warm Wood Cabinet Comeback - The Decor Mag
 Kitchen Plaster Walls Organic Feel - The Decor Mag