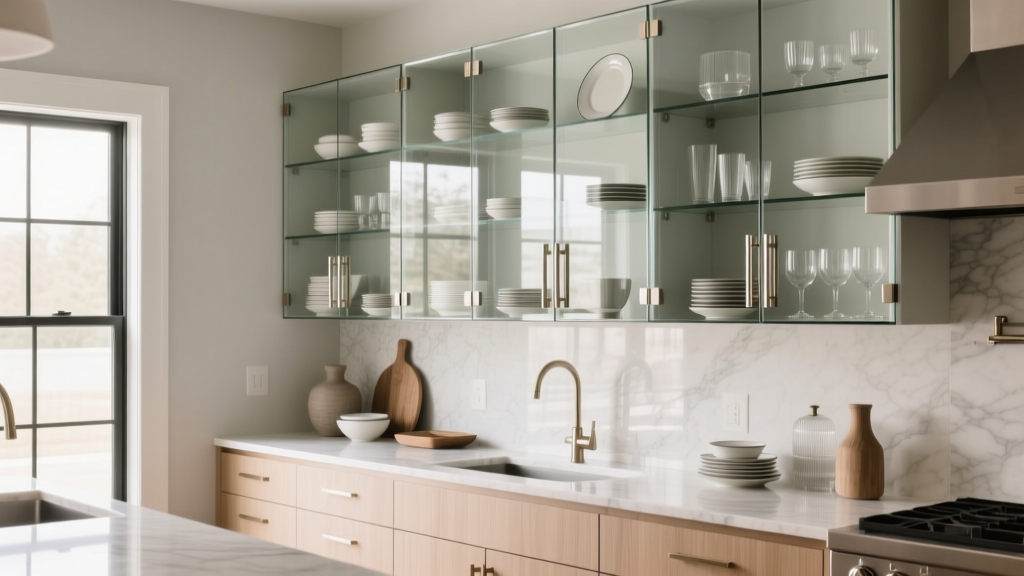
Kitchen Glass Front Cabinet Styling - The Decor Mag
Glass front cabinets sit at the sweet spot between open shelving and traditional closed storage. They bring visual breathing room to a kitchen, showcase your best pieces, and help a room feel larger—without committing you to the constant perfection required by fully open shelves. For homeowners planning a kitchen renovation (or simply refreshing what you have), glass door styling is one of the highest-impact upgrades you can make with a relatively modest footprint.
Beyond looks, glass front cabinet styling improves organization. When you can see what you own, you’re less likely to buy duplicates, and you’ll naturally keep everyday items in more logical zones. The key is treating glass cabinets like a “display with purpose”—a blend of decor and function that supports how you cook, entertain, and live.
This guide covers design choices, layouts, styling formulas, product recommendations, cost ranges, and common mistakes. You’ll also find practical measurements, material comparisons, and maintenance advice to keep glass cabinets looking polished long after the renovation dust settles.
Why Glass Front Cabinets Work: Style and Function in One Move
From a kitchen design perspective, glass fronts can solve several common renovation challenges:
- Lighten visual weight: Especially helpful in smaller kitchens or spaces with upper cabinets that feel bulky.
- Create a focal point: Glass cabinets flank a range hood beautifully or highlight a coffee station or bar area.
- Balance trends with timelessness: Glass has been used in classic kitchens for decades, yet it pairs well with modern slab cabinetry and contemporary hardware.
- Encourage better organization: Visibility nudges you toward neat stacks, cohesive colors, and fewer “junk shelves.”
Current kitchen design trends lean toward warm woods, mixed materials, and layered lighting. Glass fronts support these trends by adding depth and reflection, especially when paired with integrated cabinet lighting.
Choosing the Right Glass: Material Options and What They Cost
The type of glass you choose determines how much you’ll display, how much you’ll clean, and the overall vibe of your kitchen renovation.
Clear Glass
- Best for: Curated dishware, minimalist styling, color-coordinated items
- Look: Crisp, open, modern or classic depending on door style
- Maintenance: Shows fingerprints and dust most easily
- Cost range: Typically the most affordable option
Frosted/Acid-Etched Glass
- Best for: Concealing everyday clutter while keeping a light, airy feel
- Look: Soft, modern, understated
- Maintenance: Hides smudges better than clear glass
- Cost range: Moderate (often +10% to +25% over clear)
Ribbed/Reeded (Fluted) Glass
- Best for: Transitional kitchens, organic modern styles, hiding visual noise
- Look: Textured, high-end, on-trend
- Maintenance: Hides contents well; requires a bit more effort to clean grooves
- Cost range: Moderate to higher (often +20% to +40% over clear)
Seeded or Water Glass
- Best for: Classic, cottage, or vintage-inspired kitchens
- Look: Character-rich, slightly distorted view
- Maintenance: Hides dust and minor mess; texture can hold grime if neglected
- Cost range: Moderate
Tempered vs. Standard Glass
For safety and durability, tempered glass is the smarter upgrade, especially in busy family kitchens. It’s stronger and breaks into small pieces rather than sharp shards.
- Recommended: Tempered glass for most applications
- Cost range: Expect roughly +$25 to +$75 per door (varies by size and cabinet line)
Where Glass Front Cabinets Belong: Layout Ideas That Feel Intentional
Strategic placement matters more than how many you add. Too much glass can look busy and increase cleaning demands. Too little can feel random. Use glass where it enhances your kitchen design and supports everyday function.
Best Placement Options
- Flanking the range hood: A classic symmetrical layout. Great for displaying neutral dishware or everyday glasses.
- One “feature run” of uppers: For example, glass fronts on a 6–9 ft stretch, with solid doors elsewhere.
- Above a beverage center or coffee station: Keep mugs, glassware, and drink accessories visible and accessible.
- Corner uppers (selectively): Works well with textured glass to soften an awkward corner and hide less-perfect storage.
- Upper cabinets only: Lower glass cabinets often show more clutter and are more prone to smudges and bumps.
Proportions and Measurements That Work
- Upper cabinet height: 30", 36", or 42" are most common. Glass fronts look especially good on 36" and 42" uppers because they create a tall, elegant display zone.
- Shelf spacing: Plan shelves around what you store:
- Everyday plates: 10–12" vertical clearance
- Cereal bowls and salad bowls: 8–10"
- Stemware: 10–14" depending on glass height
- Pitchers or vases: 14–16" (or one taller shelf section)
- Keep the bottom shelf practical: Aim to keep frequently used items between shoulder and eye height for comfort.
Styling Formulas: What to Put Behind Glass (Without It Looking Cluttered)
Glass cabinet organization should feel cohesive and calm. The goal is to make your kitchen look styled even when you’re midweek busy.
The “3-Layer” Styling Method
- Base layer (structure): Stacks of plates, nested bowls, or serving platters placed in clean columns.
- Middle layer (function): Everyday glasses, mugs, or small serving pieces arranged by type.
- Top layer (accent): A few display items—like a ceramic pitcher, a small collection of cookbooks, or a decorative bowl.
Color and Material Pairing That Always Looks Good
- Timeless and bright: White dishes + clear glassware + light wood accents
- Warm and modern: Cream ceramics + amber glass + brass hardware
- Moody and elevated: Matte black or charcoal dishware + clear stemware + walnut tones
- Coastal and airy: White + soft blue/green ceramics + woven trays (use sparingly)
Display Pieces That Earn Their Spot
Choose pieces you actually use or love. A glass cabinet should never become a museum for items that don’t suit your daily life.
- Matching dinner plates and salad plates (two tidy stacks)
- Neutral bowls in nested sets
- Everyday tumblers and wine glasses (grouped by type)
- A single statement serving bowl or cake stand
- Small trays to corral loose items (like espresso cups)
What Not to Display
- Mixed plastic containers or unmatched lids
- Random giveaway mugs (unless your kitchen style is eclectic and cohesive)
- Busy packaging (tea boxes, snack bags, labeled bottles)
- Overly tall items that force awkward shelf spacing
Lighting and Backdrops: The Difference Between “Fine” and “Designer”
Interior Cabinet Lighting
Lighting turns glass cabinets into a feature. It also improves function, especially in kitchens with limited natural light.
- LED strip lighting: Best for even illumination. Install on the cabinet sides or top front lip to reduce glare.
- Puck lights: A good retrofit option, but can create “spotlight circles.”
- Color temperature: Aim for 2700K–3000K for warm, inviting light (popular in current kitchen design trends).
- Cost range:
- DIY battery puck lights: $20–$60 per cabinet
- Hardwired LED systems: $200–$800+ depending on number of cabinets and electrician labor
Back Panel Options (What You See Behind the Dishes)
- Painted interior (same as cabinet): Clean and classic; easiest to maintain.
- Painted interior (contrasting color): Adds depth. Soft greige, deep green, or muted blue are popular for 2025-style kitchens.
- Wallpaper: High impact, best for low-grease zones (not right next to the cooktop). Use wipeable vinyl for durability.
- Wood back panel: Adds warmth and a custom look, especially with white or painted cabinets.
Hardware and Door Styles: Matching Glass to Your Kitchen’s Architecture
Glass looks different depending on the door style and trim. Align the design with your overall kitchen renovation plan.
- Shaker with glass: Works in nearly any style—farmhouse, transitional, modern classic.
- Slab doors with glass: Sleek and contemporary; pair with reeded glass for texture.
- Mullion/grille details: Traditional look; can visually “busy up” the cabinet, so style the interior more minimally.
- Hardware finishes: Brushed brass and polished nickel remain strong choices. Matte black works best when repeated elsewhere (faucet, lighting, or shelving brackets).
Budget and Cost Ranges: What to Expect
Costs vary based on whether you’re refacing, replacing doors, or doing a full kitchen remodel.
- Replace solid doors with glass inserts (existing frames): $150–$500 per door (often includes labor; varies by glass type and location).
- New semi-custom glass door cabinets: Commonly adds $200–$600 per door compared to solid fronts.
- Full cabinet refacing with some glass doors: $4,000–$12,000 for many kitchens, depending on size and materials.
- Interior lighting add-on: $200–$800+ as noted above; more for complex wiring and dimmer integration.
Budget tip: If you want the look without the cost across the whole kitchen, style two to four glass doors near the focal point (range hood or beverage area). You’ll get the design impact without overcommitting to maintenance.
Maintenance and Cleaning: Keeping Glass Cabinets Looking Crisp
Glass cabinets stay beautiful when you build a small maintenance routine. The good news: you don’t need to clean them daily—you just need the right approach.
Cleaning Schedule
- Weekly: Quick wipe of exterior glass and hardware (especially near prep areas).
- Monthly: Dust shelves and wipe interior glass surfaces.
- Seasonally: Reassess styling, declutter, and adjust shelf heights if needed.
Cleaning Products and Methods
- For clear glass: A streak-free glass cleaner and a microfiber cloth. Avoid paper towels that shed lint.
- For textured glass: Use a soft brush (like a clean detailing brush) with mild dish soap solution, then dry thoroughly.
- For wood interiors: Use a gentle cleaner designed for finished wood—avoid soaking.
Smudge prevention: Consider knobs instead of pulls on glass doors if fingerprints are a constant issue, especially in family kitchens.
Common Mistakes to Avoid
- Overfilling shelves: Leave 10–20% negative space so the display feels intentional, not cramped.
- Using glass everywhere: Too many glass uppers can look busy and amplify clutter. Anchor with solid cabinets for balance.
- Ignoring shelf height planning: If your tallest items don’t fit, you’ll end up with awkward stacks and wasted space.
- Mixing too many colors and patterns: Glass cabinets magnify visual noise. Stick to a tight palette (2–3 main tones).
- Skipping lighting: Without lighting, glass cabinets can look flat at night, especially in darker kitchens.
- Placing glass next to heavy grease zones: If your ventilation isn’t strong, glass near the cooktop will require frequent degreasing.
Actionable Next Steps: A Simple Plan to Style Your Glass Front Cabinets
- Choose your cabinet locations: Start with 2–4 doors near your kitchen’s focal point.
- Pick your glass type: Clear for curated minimalism; reeded or frosted for a forgiving, elevated look.
- Edit your inventory: Pull everything out and keep only what fits your palette and lifestyle.
- Set shelf heights: Use the measurements above to prevent awkward stacking.
- Style with a formula: Stacks + groups + one accent per cabinet section.
- Add lighting if budget allows: Even one lit cabinet can transform the kitchen at night.
FAQ: Kitchen Glass Front Cabinet Styling
Do glass front cabinets make a kitchen look dated?
No—glass front cabinets are a timeless feature. The look depends on the door style, glass texture, and hardware. For a current feel, pair shaker or slab doors with reeded glass, warm metals, and simple, cohesive dishware.
How many glass cabinet doors should I include in a kitchen renovation?
For most kitchens, 2–6 doors is the sweet spot. Use glass strategically around the range hood, sink wall, or beverage center, and keep the rest solid to avoid a cluttered look.
What’s the easiest glass type to maintain?
Frosted/acid-etched and reeded glass hide fingerprints and visual clutter better than clear glass. Clear glass is easiest to wipe quickly, but it shows smudges more.
Should I use glass front cabinets for everyday dishes?
Yes, as long as you keep it edited. Everyday plates, bowls, and glasses work well because they naturally form neat stacks and groups. Avoid storing mismatched items or bulky packaging behind glass.
Do I need cabinet lighting for glass doors?
It’s not required, but it’s one of the most effective upgrades for both style and function. If you’re watching your renovation budget, start with one feature cabinet or a pair flanking the hood.
Can I add glass inserts to my existing cabinet doors?
Often, yes. If your doors are in good shape, a cabinet shop can cut out the center panel and install glass (preferably tempered). Costs commonly range from $150–$500 per door depending on size, glass type, and labor.
Glass front cabinet styling works best when it supports real life: a practical layout, a calm palette, and a few pieces you truly enjoy using. For more kitchen renovation tips, cabinet organization ideas, and trend-forward design inspiration, explore the latest on thedecormag.com.
More Articles
 Best Kitchen Utensil Holder Picks - The Decor Mag
 Best Essentials Inspiration: Building a Thoughtful, Functional, and Joyful Kitchen
 Best Kitchen Trash and Recycling Drawer - The Decor Mag
 Kitchen Natural Light Design Tips (2026)
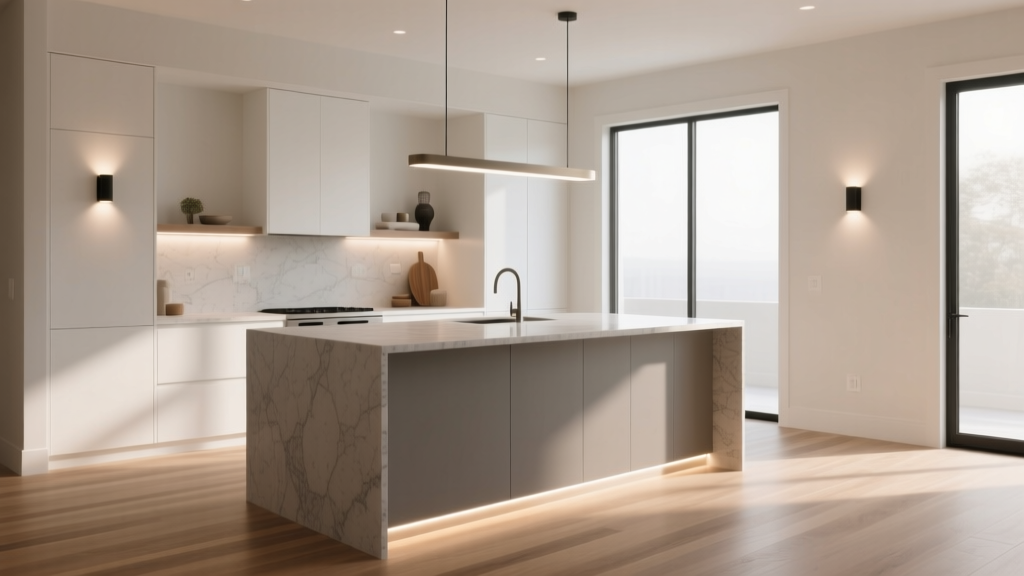 Kitchen Island Size: Choose Right for Your Space (2026)
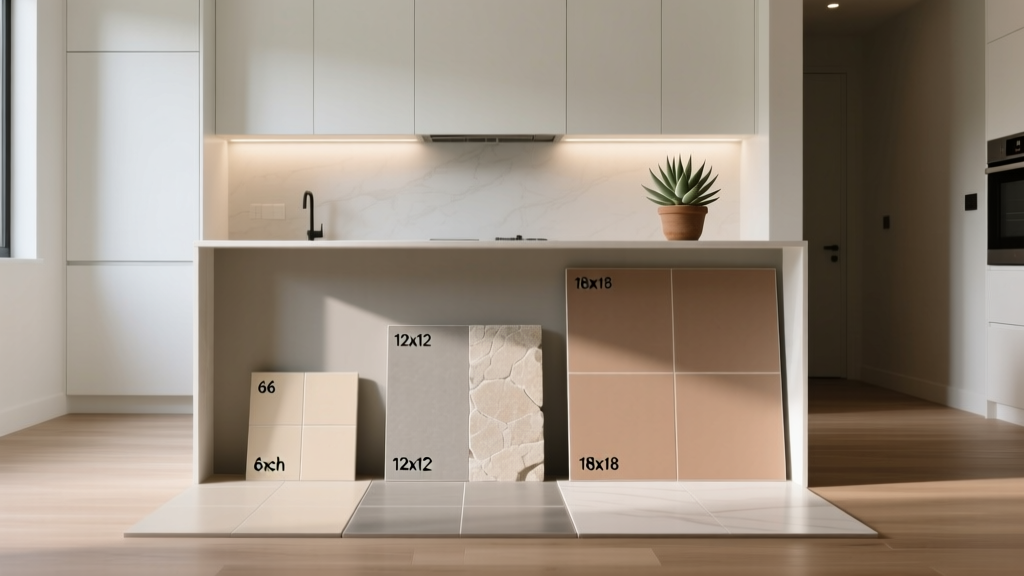 How to Choose Kitchen Floor Tile Size - The Decor Mag
 Best Kitchen Mixing Bowl Storage - The Decor Mag
 Create Care and Maintenance: A Practical, Brand-Specific Guide for Modern Kitchens
 Best Kitchen Wine Storage Solutions - The Decor Mag
 Best Kitchen Charging Drawer Solutions - The Decor Mag