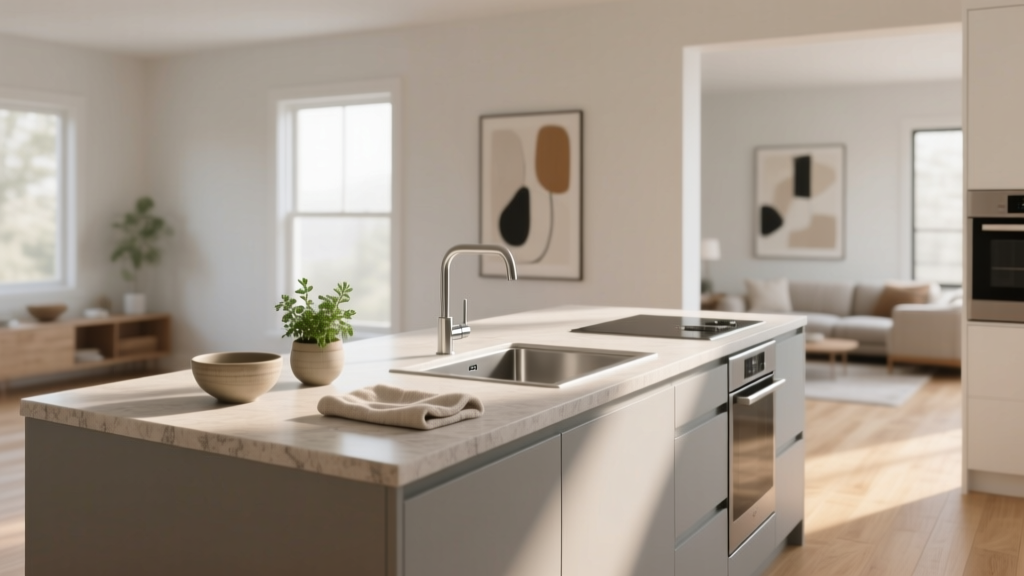
How to Choose Kitchen Counter Depth - The Decor Mag
Kitchen renovations have a way of turning small decisions into big outcomes, and counter depth is a perfect example. Get it right, and your kitchen feels spacious, easy to work in, and visually balanced. Get it wrong, and you may find yourself bumping into corners, struggling with awkward appliance placement, or wishing you had just a few more inches of prep space.
Counter depth impacts nearly everything: your cabinet choice, aisle clearance, seating comfort, sink size, appliance alignment, storage potential, and even how cluttered the countertop looks day to day. With current kitchen design trends leaning toward clean sightlines, integrated storage, and highly functional work zones, counter depth is one of the most practical upgrades you can plan—whether you’re doing a full remodel or refining an existing layout.
This guide breaks down standard kitchen counter depth, when to go deeper (or shallower), how to tailor depth to islands and peninsulas, and what it costs. You’ll also find material-specific recommendations, measurement tips, common mistakes to avoid, and a quick FAQ to help you finalize your renovation plan.
What Is Standard Kitchen Counter Depth?
Most kitchens follow a standard countertop depth that works with common cabinetry and appliances. This “default” is popular because it’s predictable, cost-effective, and easy to source.
Typical Depth Measurements
- Standard base cabinet depth: 24 inches (front of cabinet to wall)
- Standard countertop depth: 25 to 25.5 inches (includes a 1 to 1.5-inch overhang)
- Standard countertop height: 36 inches (including countertop thickness)
The extra inch or so of countertop overhang protects cabinet doors and reduces drips onto drawer fronts. It also makes the counter edge feel more comfortable against your hips while working.
Why Counter Depth Matters in Kitchen Design
Counter depth isn’t just a number—it shapes how the room functions. When homeowners search for “kitchen renovation ideas,” “kitchen layout planning,” or “how to organize a kitchen,” many of the underlying pain points trace back to insufficient (or poorly planned) counter depth.
Function: Prep Space, Landing Zones, and Workflow
Depth affects how much usable work surface you actually have. That matters for:
- Prep zones: chopping and mixing without crowding
- Landing areas: space beside the sink, cooktop, and refrigerator
- Small appliances: coffee stations, toasters, air fryers, mixers
Comfort: Reach, Posture, and Everyday Use
Too deep, and items get pushed to the back and forgotten. Too shallow, and you’re constantly rearranging. The sweet spot is a depth where:
- You can comfortably reach the back of the counter without leaning
- You can place a cutting board and still have room for a bowl or tray
- Appliances don’t force you to work on the edge of the counter
Aesthetics: Proportion and “Clutter Visibility”
Deeper counters can help hide visual clutter, especially in open-concept kitchens. They also support popular design trends like:
- Full-height backsplashes (slab stone or large-format tile)
- Appliance garages to conceal small appliances
- Layered lighting under cabinets without shadows from shallow counters
How to Choose the Right Counter Depth for Your Kitchen Layout
Start with your existing constraints (room width, appliance sizes, door swings), then choose depths that improve function without tightening circulation.
Step 1: Measure Your Room and Plan Aisle Clearances
Aisle space is where kitchens succeed or fail. If you increase counter depth, you reduce walkway space—so confirm clearances first.
- Minimum walkway (one cook): 36 inches
- Comfortable walkway (most kitchens): 42 inches
- Two cooks working opposite each other: 48 inches
Practical tip: Use painter’s tape on the floor to mock up cabinet lines and island edges. Walk through with dishwasher and oven doors “open” (use a piece of cardboard to simulate the swing).
Step 2: Decide Whether Standard Depth Works or You Need an Upgrade
Standard counters (25–25.5 inches) are usually best when:
- Your kitchen is narrow or has tight walkways
- You want off-the-shelf cabinets and lower installation costs
- You’re using standard-depth ranges and dishwashers
Deeper counters (27–30+ inches) can be worth it when:
- You have an open plan and want a more generous work surface
- You use lots of small appliances and want them pushed back
- You’re adding an appliance garage or integrated charging station
- You’re pairing with a larger sink or workstation sink
Shallower counters (24 inches) may help when:
- You’re maximizing aisle clearance in a galley kitchen
- You’re creating a pass-through or bar where depth feels bulky
- You want a tighter, more compact “efficient” kitchen footprint
Step 3: Match Counter Depth to Appliances (Avoid the Awkward Gap)
Appliance depth is one of the biggest drivers of countertop choices. The most common mismatch: a standard counter paired with appliances that either protrude too far or sit too deep with unusable gaps.
- Standard-depth refrigerators often stick out beyond base cabinets.
- Counter-depth refrigerators align closer to cabinets for a built-in look (usually 24–30 inches deep depending on brand and handle).
- Ranges and dishwashers are generally designed for 24-inch base cabinets.
Design approach: If you want a streamlined “furniture-like” kitchen, consider a counter-depth fridge and slightly deeper counters (around 27 inches) in key zones to reduce visual breaks—especially popular in contemporary and transitional kitchen design.
Island and Peninsula Counter Depth: Where Customization Pays Off
Islands are rarely one-size-fits-all. They’re also the area where homeowners most appreciate extra depth for seating, serving, and entertaining.
Recommended Island Depths
- Minimum functional island depth: 36 inches
- Comfortable prep + seating island depth: 42 to 48 inches
- Large entertainer island depth: 54+ inches (space permitting)
Seating Overhang Guidelines
- 15 inches overhang: tight but workable for stools
- 18 inches overhang: most comfortable standard
- 24 inches overhang: lounge-like seating (requires strong support)
Support note: Overhangs beyond 10–12 inches often require brackets or legs depending on countertop material (especially stone). Your fabricator or contractor can specify spacing and structural needs.
Trending Layout Idea: Two-Tier Function Without a Two-Tier Counter
Two-tier counters are fading as homeowners prefer clean sightlines. Instead, try:
- A single-level island with deeper depth to separate prep from seating
- A waterfall edge for a modern look (works best with quartz or porcelain)
- Storage on the seating side (shallow cabinets or open shelving) if legroom allows
Material Recommendations: How Depth Affects Performance and Maintenance
Countertop material influences how far you can safely overhang, how seams are handled, and how the surface holds up to everyday wear.
Quartz (Engineered Stone)
- Best for: busy households, low maintenance, consistent look
- Depth advantage: great for wide islands and waterfall edges
- Maintenance: mild soap and water; avoid hot pans directly (use trivets)
Granite (Natural Stone)
- Best for: natural variation, high heat tolerance
- Depth advantage: durable for large prep areas
- Maintenance: seal periodically depending on stone; wipe spills promptly
Porcelain Slab
- Best for: modern kitchens, high scratch/heat resistance, dramatic veining
- Depth advantage: can create sleek, thin-profile looks on deep counters
- Maintenance: easy cleaning; professional fabrication is key to prevent chipping
Butcher Block
- Best for: warmth, budget-friendly upgrades, timeless style
- Depth advantage: forgiving to customize; easy to trim or extend
- Maintenance: regular oiling; avoid standing water; use cutting boards if you want a pristine surface
Laminate
- Best for: tight budgets, quick refreshes, rental-friendly renovations
- Depth advantage: economical to go deeper if cabinetry allows
- Maintenance: avoid excess heat; use cutting boards to prevent scratches
Cost Ranges and Budget Considerations
Changing counter depth can affect more than the countertop slab—it may require deeper cabinets, filler panels, backsplash adjustments, and electrical changes for outlets.
Typical Cost Ranges (U.S.)
- Laminate: $15–$40 per sq. ft. installed
- Butcher block: $40–$100 per sq. ft. installed
- Quartz: $60–$120 per sq. ft. installed
- Granite: $50–$120 per sq. ft. installed
- Porcelain slab: $70–$150+ per sq. ft. installed
Budget Impact of Going Deeper
- More material: Deeper counters increase square footage, which increases cost.
- Cabinet upgrades: Moving from 24-inch to 27–30-inch base cabinets can raise cabinetry costs and limit off-the-shelf options.
- Backsplash changes: Deeper counters may require additional backsplash material and more labor.
- Electrical: Outlet placement may need adjustment to meet code and stay accessible behind appliances.
Money-smart strategy: Keep standard depth for most perimeter runs, and spend on depth where you feel it most—typically the island and the main prep zone between sink and cooktop.
Common Mistakes to Avoid
- Ignoring walkway clearance: A deeper counter in a narrow kitchen can make the space feel cramped and hard to navigate.
- Not planning for appliance doors: Dishwashers, ovens, and fridge doors need room to open without blocking traffic.
- Creating dead space behind appliances: Gaps behind slide-in ranges or at the back of counters can trap crumbs and waste usable depth.
- Overbuilding depth without storage strategy: A deeper counter doesn’t automatically improve organization—pair it with appliance garages, drawer storage, or wall systems.
- Forgetting upper cabinet proportion: Very deep bases with standard uppers can look unbalanced; consider slightly taller uppers, open shelving, or a full-height backsplash for harmony.
Practical Tips for Planning Counter Depth Like a Pro
- Map your daily “tools”: Coffee maker, knife block, air fryer, drying rack—measure them and plan a depth that keeps your prep edge clear.
- Prioritize landing space: Aim for at least 15–18 inches of counter on the latch side of the fridge and near the cooktop when possible.
- Upgrade the sink zone: A deeper counter supports workstation sinks (often 30–36 inches wide) and keeps soap bottles or scrubbers from crowding the edge.
- Plan lighting with depth: Under-cabinet LED strips reduce shadows, especially helpful if you expand counter depth and push work further from ceiling lights.
- Use drawers over doors: Deeper bases are more useful with wide drawers (pots, pantry pullouts) to prevent “lost” storage at the back.
FAQ: Kitchen Counter Depth
What is the standard kitchen counter depth?
Most standard kitchen counters are 25 to 25.5 inches deep, typically installed over 24-inch deep base cabinets with a small front overhang.
Is it worth making kitchen counters deeper?
Deeper counters can be worth it if you need more prep space, want to push small appliances back, or prefer a streamlined look—especially in open layouts. Just confirm you’ll still have comfortable aisle clearance (often 42 inches or more).
How deep should an island be for seating?
Aim for an island depth of 42 to 48 inches for a comfortable prep area plus seating. Plan for 18 inches of overhang for most bar stools, and add brackets or legs if the material requires support.
Will deeper counters make my kitchen feel smaller?
They can if your kitchen is narrow. In galley kitchens or tight U-shapes, keeping standard depth often preserves better flow. If you want more workspace, consider expanding depth only in a specific zone (like a baking area) rather than everywhere.
Do I need deeper cabinets to get deeper counters?
Not always. You can increase countertop depth slightly (for example, to 26–27 inches) with more overhang, but large increases are better paired with deeper cabinets or a thoughtfully supported design so the counter feels stable and proportional.
Which countertop material is best for a large, deep island?
Quartz and porcelain slab are popular for large islands due to durability and a clean, contemporary finish. Granite is also excellent for longevity and natural character. Your fabricator can advise on seam placement and overhang support.
Next Steps: Choose a Depth That Works for Your Life
Start with your kitchen’s measurements and walkway clearances, then decide where additional depth will deliver the biggest everyday payoff—often at the island, the main prep zone, or the coffee station. Bring a short list of priorities (more landing space, hidden appliances, seating comfort, easier organization) to your contractor, kitchen designer, or cabinet supplier, and ask for a taped floor plan or quick 3D layout before you commit.
For more practical kitchen renovation advice, layout inspiration, and organization upgrades that make a real difference, explore the latest kitchen ideas on thedecormag.com.
More Articles
 Coffee Station Ideas for Kitchens (2026)
 How to Choose Kitchen Appliances That Last - The Decor Mag
 Best Kitchen Trash and Recycling Drawer - The Decor Mag
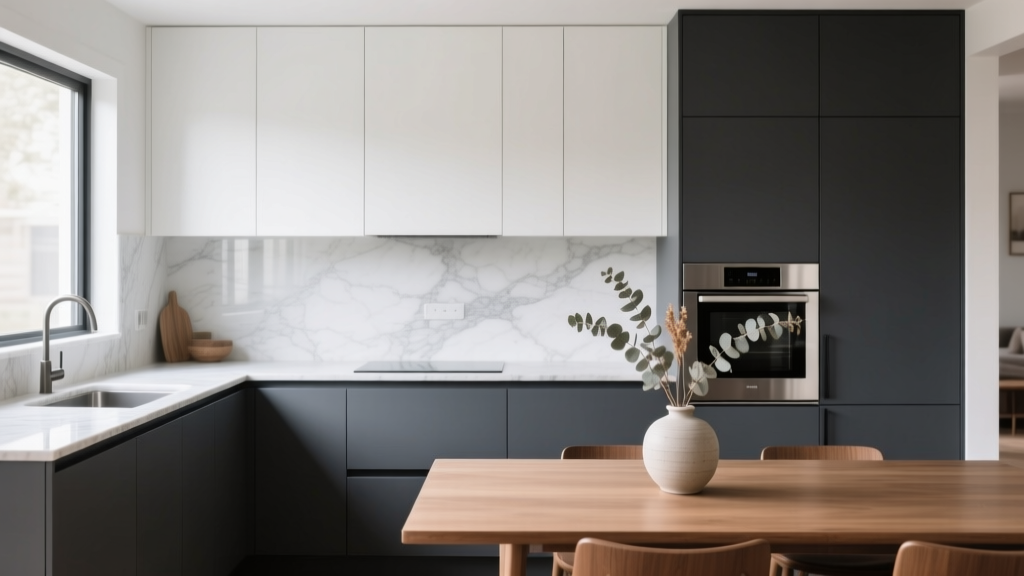 Kitchen Two-Tone Cabinet Ideas - The Decor Mag
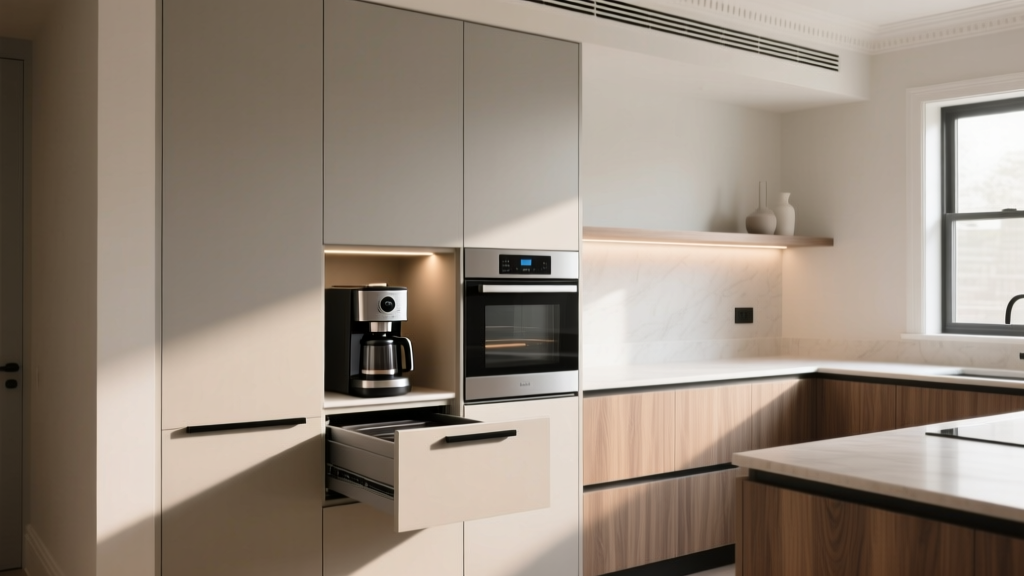 Kitchen Hidden Appliance Drawer Ideas - The Decor Mag
 The Actually For Checklist: A Precision-Driven Kitchen Readiness System for Home Cooks and Professionals
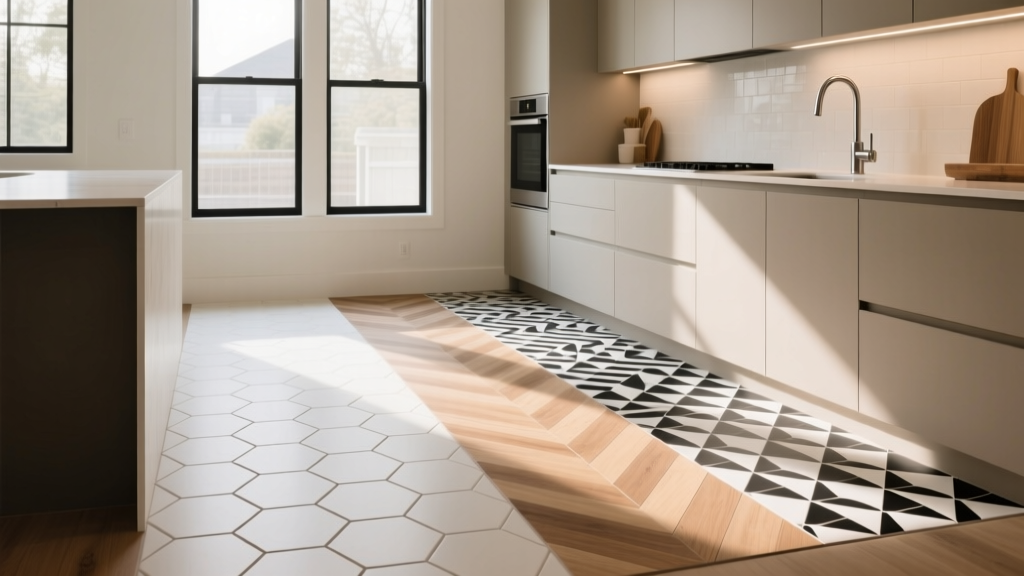 How to Choose Kitchen Floor Tile Pattern - The Decor Mag
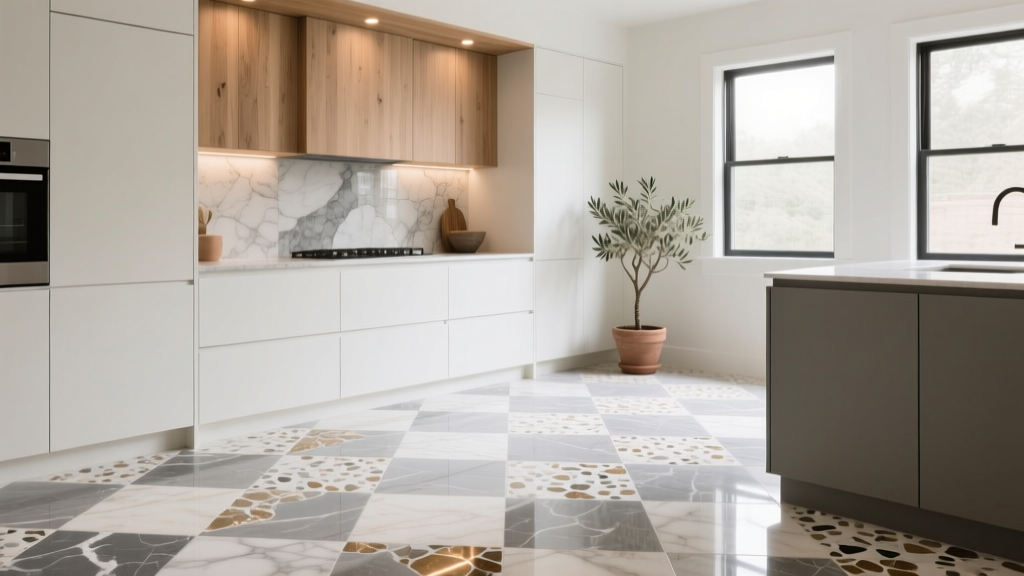 Kitchen Terrazzo Floor Tile Guide - The Decor Mag
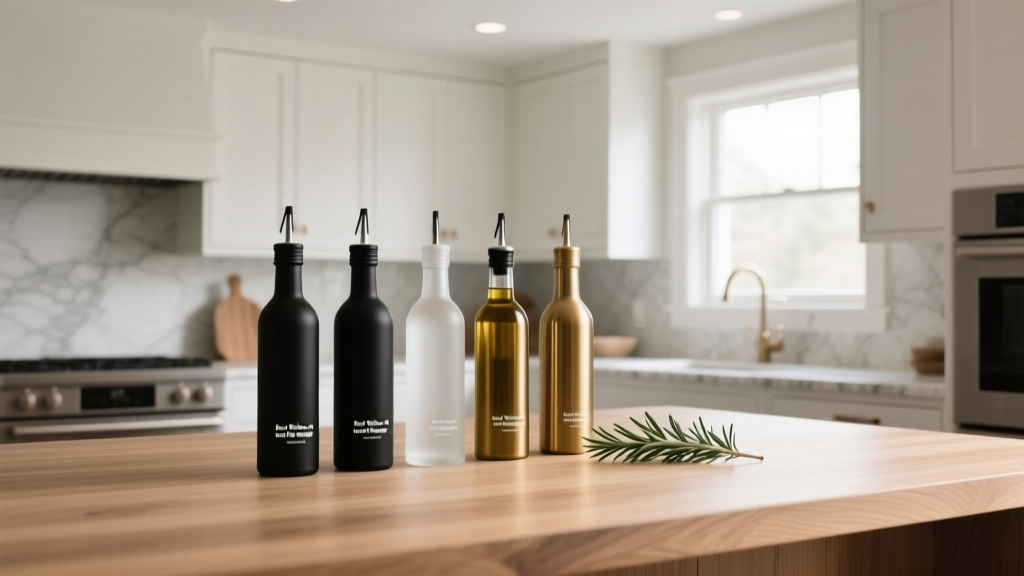 Best Kitchen Oil and Vinegar Storage - The Decor Mag
 Wood for Beginners: A Practical Guide to Choosing, Storing, and Using Hardwood for Smoking and Grilling