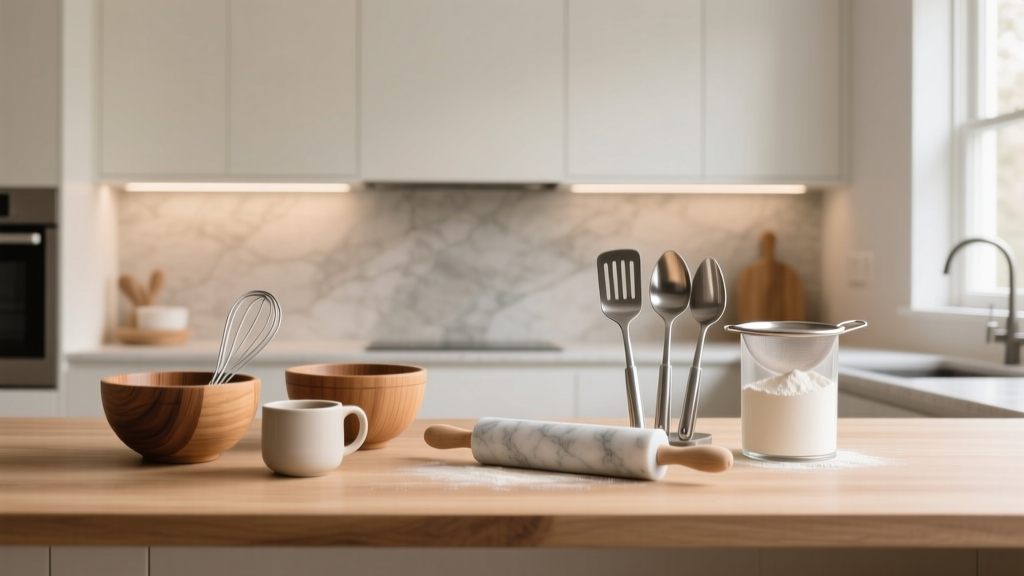
Baking Station Ideas for Kitchens (2026)
A well-designed baking station turns “I’ll bake someday” into “I’m baking tonight.” If you love cookies, sourdough, birthday cakes, or weekend muffins, the right setup removes the friction: hunting for measuring cups, clearing counter space, dragging out a heavy mixer, and wiping flour off every surface in the room.
For homeowners planning a kitchen renovation—or simply looking to improve kitchen organization—building a dedicated baking zone is one of the highest-impact upgrades you can make. It’s not just about aesthetics (though it can be beautiful). It’s about workflow, storage, and choosing durable materials that handle flour, sugar, heat, and constant cleaning while keeping your kitchen design cohesive.
The goal: a practical, inspiring corner of your kitchen where tools live close to where you use them, surfaces support dough work, and appliances are ready without cluttering the main prep area.
Start with How You Bake: A Quick Planning Checklist
Before choosing countertop materials or cabinet inserts, take five minutes to define what your baking station needs to do. A baking station for bread looks different than one for cupcakes.
- What do you bake most? (cookies, bread, pastry, cakes, pies)
- Do you bake weekly or seasonally? This affects how much counter space and dedicated storage you need.
- Which appliances do you use? Stand mixer, food processor, blender, immersion blender, proofing box.
- Do you need kid-friendly access? Consider a lower counter or a safe “helper drawer.”
- Will the station also serve as coffee/bar/breakfast? Multi-use zones can work well if planned carefully.
Design trend to know: today’s kitchens are leaning into purpose-driven zones (baking, beverage, prep) rather than one “do-everything” island. It’s a timeless functionality principle—create a place for the tasks you repeat.
Choosing the Best Location for a Baking Station
Your baking station should sit where mess and heat won’t disrupt cooking and traffic patterns. In most kitchen layouts, these are reliable options:
Option A: A Dedicated Counter Run (Best for Serious Bakers)
- Ideal near a pantry or tall cabinet with baking ingredients.
- Works well on a wall with upper cabinets for vertical storage.
- Easy to add outlets and under-cabinet lighting.
Option B: A Section of the Island (Best for Renovations)
- Great for wide kitchens with enough clearance.
- Consider a lowered baking counter for kneading comfort.
- Plan appliance storage on the island’s working side.
Option C: A Reclaimed Nook or Butler’s Pantry (Best for Clutter Control)
- Perfect if you want mixers and flour out of sight.
- Allows you to close doors on the mess—popular in current kitchen renovation planning.
- Often pairs well with open shelving or glass-front cabinets.
Clearance guideline: Maintain 42 inches minimum for walkways (and 48 inches in busy households). You want someone to pass behind you while you’re rolling dough without bumping elbows.
Right-Sizing the Counter: Measurements That Make Baking Easier
Counter space is the biggest make-or-break factor. You don’t need a huge kitchen; you need a thoughtfully sized work surface.
- Minimum usable baking counter: 36 inches wide (better than nothing).
- Comfortable everyday zone: 48–60 inches wide.
- Depth: Standard 25–26 inches works, but a 27–30 inch deep counter (if space allows) gives rolling room without tools falling behind.
Counter height:
- Standard height: 36 inches (fine for most tasks).
- Lowered baking height: 30–34 inches for kneading and rolling (especially helpful for shorter bakers or frequent dough work).
If you can’t change counter height, a thick pastry board (wood or marble) can mimic the feel of a dedicated baking surface and protect your primary countertop.
Best Countertop Materials for a Baking Station (Pros, Cons, and Care)
Flour, food coloring, acidic ingredients (lemon, vinegar), and hot pans can be hard on surfaces. Choose a countertop based on how you bake and how much maintenance you’re willing to do.
Quartz (Engineered Stone): Best All-Around for Low Maintenance
- Pros: Non-porous, stain resistant, consistent look, easy cleaning.
- Cons: Not ideal for direct high heat; use trivets for hot pans.
- Maintenance: Mild soap and water; avoid abrasive scrubbers.
- Cost range (installed): $60–$120+ per sq. ft., depending on brand and edge profile.
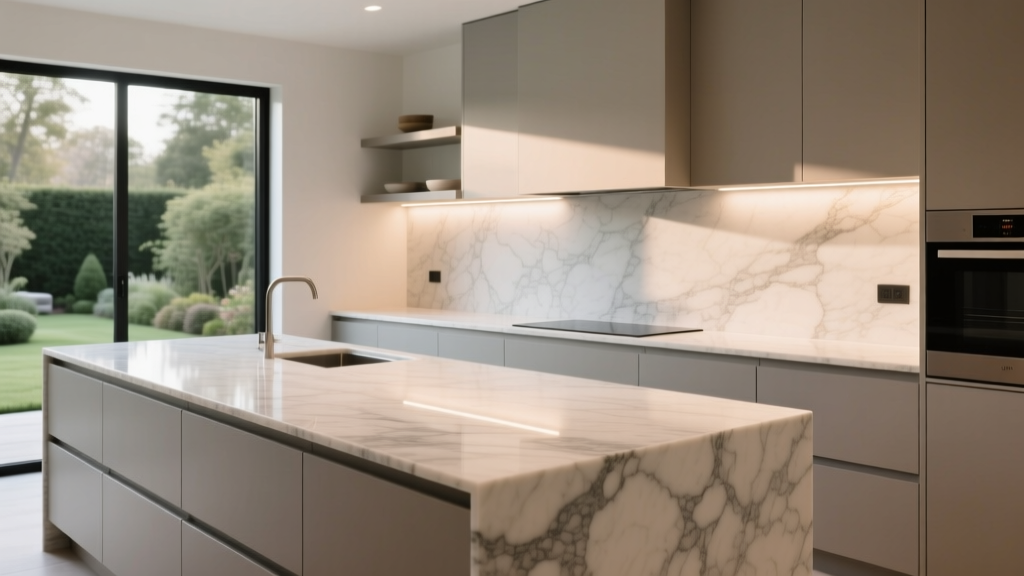
Marble: Classic Pastry Surface (Higher Maintenance)
- Pros: Naturally cool—excellent for pastry dough and chocolate work; timeless luxury look.
- Cons: Etches and stains; requires careful use and sealing.
- Maintenance: Seal regularly; wipe acidic spills immediately; use cutting boards.
- Cost range (installed): $80–$200+ per sq. ft.
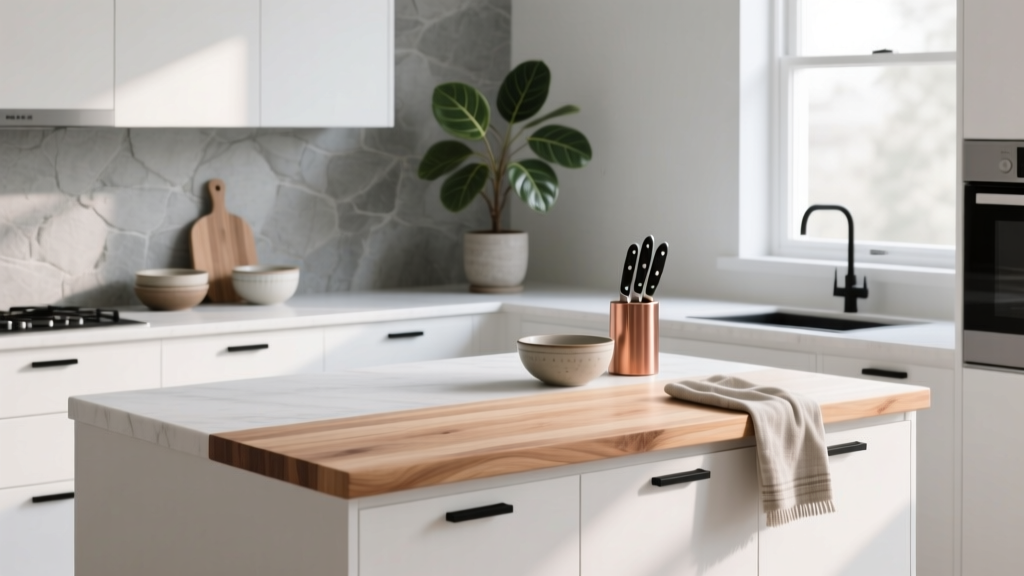
Butcher Block: Warm, Budget-Friendly, and Gentle on Hands
- Pros: Great for kneading; softer feel; adds warmth to modern kitchens.
- Cons: Can stain or warp if not sealed; not ideal next to a sink without protection.
- Maintenance: Oil regularly (or use a hardwax finish); wipe promptly; avoid standing water.
- Cost range (installed): $40–$100+ per sq. ft.
Stainless Steel: Professional, Hygienic, and Heat-Resistant
- Pros: Heat resistant, easy to sanitize, seamless options available.
- Cons: Scratches and shows fingerprints; can feel “commercial” in traditional homes.
- Maintenance: Microfiber cloth; polish with grain direction.
- Cost range (installed): $80–$150+ per sq. ft.
Trend meets timeless: Many renovated kitchens now mix materials—quartz for most counters and a small marble or wood baking insert for function and visual interest.
Smart Layout Features: Storage and Workflow That Actually Works
Think of your baking station as a mini “assembly line”: ingredients → measuring/mixing → shaping → baking → cooling/packaging.
Must-Have Storage Zones
- Ingredients storage: Flour, sugar, chocolate, extracts, sprinkles, yeast.
- Tools storage: Measuring cups/spoons, scale, whisks, spatulas, piping tips.
- Pan storage: Sheet pans, muffin tins, cake pans, cooling racks.
Cabinet and Drawer Recommendations
- Deep drawer for flour/sugar bins: Choose airtight containers; label clearly.
- Vertical tray dividers: For sheet pans and cooling racks (aim for 9–12 inch wide slots).
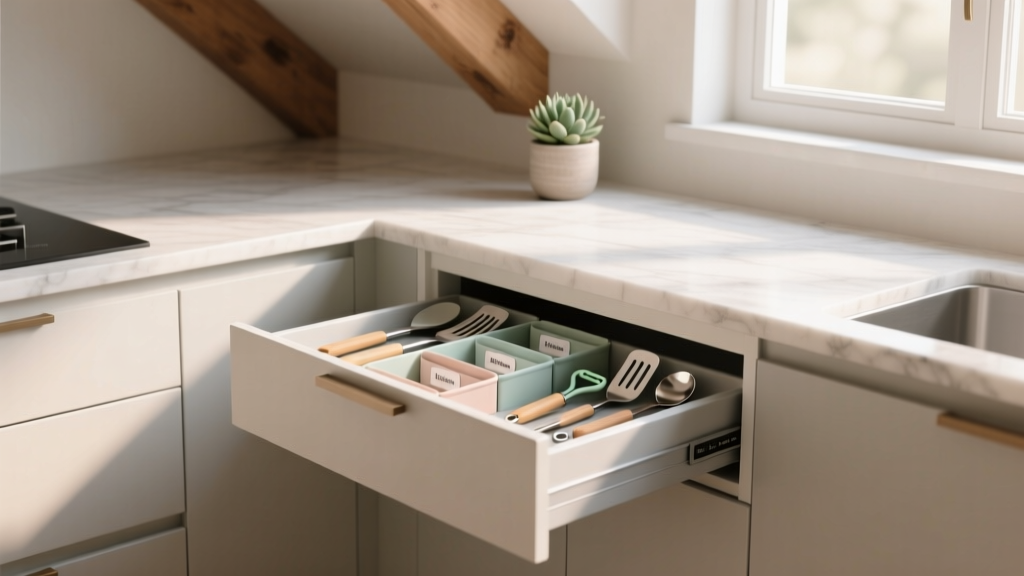
- Top drawer “precision drawer”: For measuring tools, thermometer, small sieve, bench scraper.
- Pull-out cabinet shelf: For stand mixer or food processor, ideally with soft-close slides rated 75–100 lbs.
Practical measurement: Plan at least 18 inches of landing space near the oven for hot trays, and place your baking station within a few steps of the oven when possible.
Appliances and Electrical: Make It Functional (and Safe)
A baking station becomes truly efficient when the power and appliance plan is intentional.
Stand Mixer Setup
- Counter placement: Leave at least 15–18 inches of clear height under cabinets for tilt-head mixers; more for bowl-lift models.
- Best storage: Appliance garage with a door, or a mixer lift inside a base cabinet.
- Outlet plan: Add an outlet at counter height or inside an appliance garage (local codes vary; use a qualified electrician).
Oven and Baking Tools
- Wall oven trend: A wall oven (or double oven) near the baking zone supports smoother workflow and reduces bending.
- Optional upgrades: Built-in steam oven (for artisan breads), warming drawer (for proofing or holding), or a speed oven for quick bakes.
Budget range for electrical upgrades: Adding outlets and minor wiring adjustments often runs $200–$800 depending on access, permits, and panel capacity. Appliance garages and specialty cabinet solutions can add $300–$2,000+ to cabinetry costs based on hardware.
Lighting for Baking: Accuracy Matters
Good lighting improves precision (no one wants to misread a measuring spoon) and makes the zone feel inviting.
- Under-cabinet LED strips: Bright, shadow-free task lighting.
- Color temperature: 2700K–3000K for warm but accurate light; avoid overly cool lighting that makes food look harsh.
- High CRI bulbs (90+): Better color accuracy for icing and doneness checks.
Cost range: Under-cabinet lighting typically costs $150–$600 for basic kits, and $500–$1,500+ for hardwired systems installed by an electrician.
Organizing Essentials: Products Worth Buying
Even a small baking station can feel custom with the right organizational tools.
- Airtight stackable containers for flour, sugar, powdered sugar, and grains (clear containers reduce double-buying).
- Drawer organizers sized for measuring spoons, tips, and food coloring.
- Lazy Susans for extracts, sprinkles, and small bottles.
- Label system (simple and consistent; include dates for yeast and baking powder).
- Cooling rack storage using vertical slots or dedicated drawer space to avoid warping.
Budget range: Expect $50–$200 for a solid starter set of bins, labels, and organizers. A fully optimized pantry-and-drawer setup may run $200–$600+ depending on brands and how many categories you store.
Budget Planning: What a Baking Station Typically Costs
The cost of a baking station depends on whether you’re reorganizing an existing kitchen or planning a full kitchen renovation.
Budget-Friendly Refresh: $150–$800
- Pastry board (wood or marble)
- Drawer dividers, bins, labels
- Under-shelf baskets or a slim rolling cart
- Upgrade lighting with plug-in LED strips
Mid-Range Upgrade (Cabinet Modifications): $1,000–$5,000
- New base cabinet with drawers or tray dividers
- Mixer lift hardware
- New countertop section (quartz or butcher block)
- Hardwired lighting and added outlets
Renovation-Level Baking Zone: $5,000–$15,000+
- Custom cabinetry, appliance garage, and built-ins
- Counter material upgrades (marble insert, specialty edges)
- Wall oven placement adjustments
- Planned pantry integration for baking ingredients
Money-saving approach: Keep the baking station’s “bones” standard (stock cabinets, quartz) and splurge strategically on one feature that changes daily use—often a mixer lift, tray divider cabinet, or a marble slab insert.
Common Mistakes to Avoid
- Not planning enough landing space. You need room for a mixing bowl, scale, and sheet pan at the same time. Aim for at least 48 inches of uninterrupted counter if possible.
- Storing flour far from the mixing area. If you have to cross the kitchen with a heavy bin, you’ll bake less.
- Choosing high-maintenance stone without realistic habits. Marble is beautiful, but if you won’t seal and wipe quickly, consider quartz plus a removable pastry slab.
- Forgetting vertical storage for pans. Stacking sheet pans is noisy and frustrating; add dividers or a wide drawer.
- Underpowered lighting. One overhead fixture can cast shadows right where you measure; task lighting is a small upgrade with big payoff.
- Ignoring outlet placement. Cords across counters create clutter and safety issues. Plan outlets where appliances actually live.
Maintenance Tips: Keep Your Baking Station Looking New
- Quartz: Clean with mild soap; avoid harsh chemicals and abrasive pads; use trivets for hot pans.
- Marble: Use coasters for citrus and vinegar-based ingredients; reseal as recommended by the fabricator; consider a cutting board for messy work.
- Butcher block: Wipe dry immediately; oil routinely (monthly in dry climates is common); sand out small stains and refinish as needed.
- Stainless steel: Clean with the grain; expect a patina of micro-scratches (part of the look); use microfiber to reduce streaks.
- Cabinet hardware: Choose soft-close slides; periodically tighten screws and clean handles to prevent sticky buildup from oils and sugar.
FAQ: Baking Station Design and Organization
How much counter space do I need for a baking station?
Aim for 48–60 inches wide of clear counter for comfortable baking. If you’re tight on space, 36 inches can work with excellent drawer storage and a pastry board.
Is marble really the best countertop for baking?
Marble is excellent for pastry because it stays cool, but it’s prone to etching and staining. Many homeowners choose quartz for durability and add a marble pastry slab for the best of both worlds.
Where should I store flour and sugar in a baking station?
Store them in airtight containers in a deep drawer or lower cabinet within arm’s reach of your mixing area. This keeps heavy items accessible and reduces spills.
Should I include a mixer lift or keep the mixer on the counter?
If you use a stand mixer weekly and want a clean counter look, a mixer lift is worth it. If you bake frequently and don’t mind the look, leaving it on the counter can be more convenient—just plan dedicated outlet access.
What’s the best way to store baking sheets and cooling racks?
Use vertical tray dividers in a base cabinet or a wide drawer with organizers. This prevents warping, reduces noise, and makes it easier to grab the right pan quickly.
Can I create a baking station without renovating?
Yes. Add a pastry board, reorganize drawers with dividers, use labeled airtight containers, and dedicate one cabinet to trays and pans. Small changes in kitchen organization can make an existing layout feel purpose-built.
Next Steps: Build Your Baking Station Plan
Start by choosing a location, then map your workflow: where ingredients live, where you mix, where you roll, and how trays reach the oven. Measure your available counter width, decide whether you want a dedicated baking surface (quartz, marble, butcher block, or stainless steel), and upgrade storage with tray dividers and deep drawers. If you’re already planning a kitchen renovation, ask your designer to integrate a baking zone with task lighting and properly placed outlets—details that make the space feel custom every day.
For more kitchen design ideas, renovation planning guides, and smart organization upgrades, explore the latest at thedecormag.com.
More Articles
 How to Design a Kitchen with Natural Light - The Decor Mag
 Kitchen Fluted Wood Island Paneling - The Decor Mag
 Cheap vs Premium Real: What the Label Doesn’t Tell You About Butter, Cheese, and Olive Oil
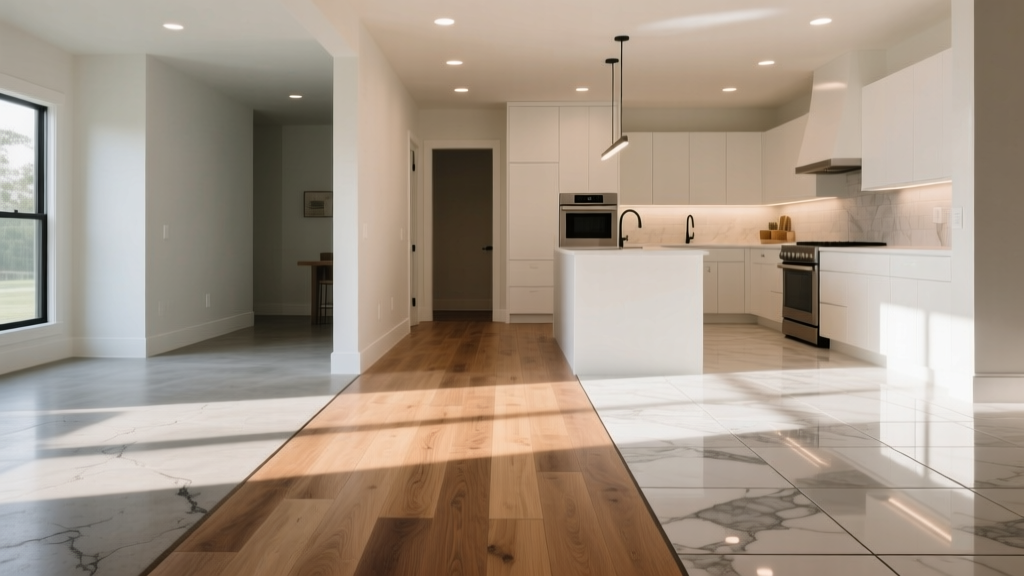 Best Kitchen Flooring Options for Durability - The Decor Mag
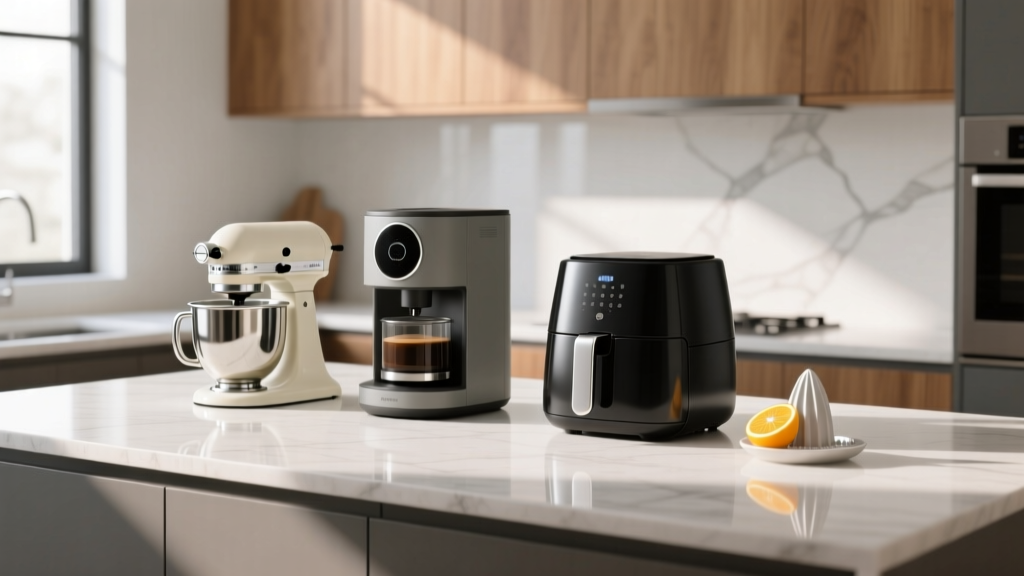 Best Kitchen Counter Appliance Rotation - The Decor Mag
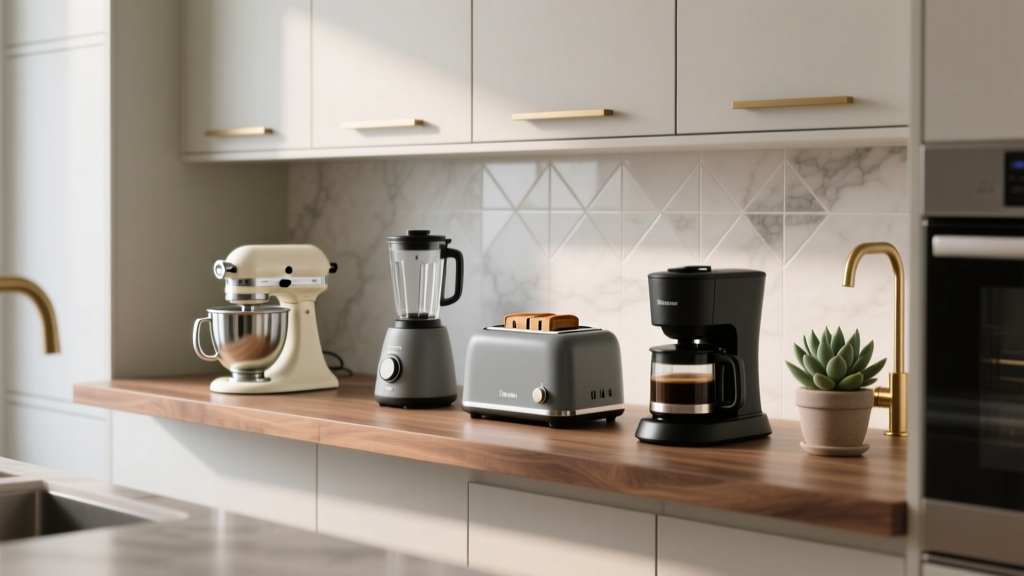 Best Kitchen Small Appliance Storage - The Decor Mag
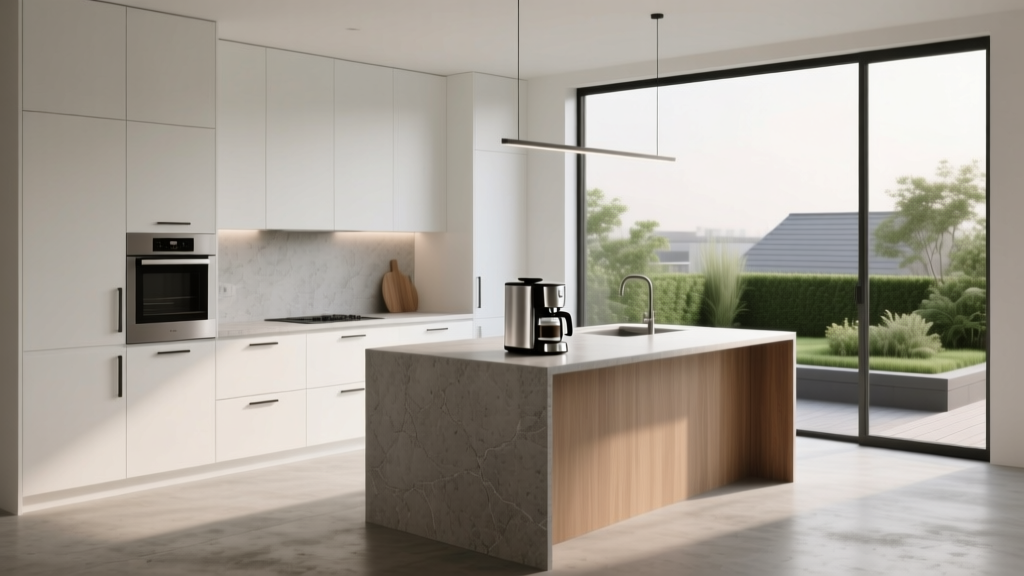 Minimalist Kitchen Design Essentials - The Decor Mag
 Kitchen Marble Countertop Pros and Cons - The Decor Mag
 Kitchen Butcher Block Countertop Care - The Decor Mag
 Best Kitchen Drawer Organization Systems - The Decor Mag