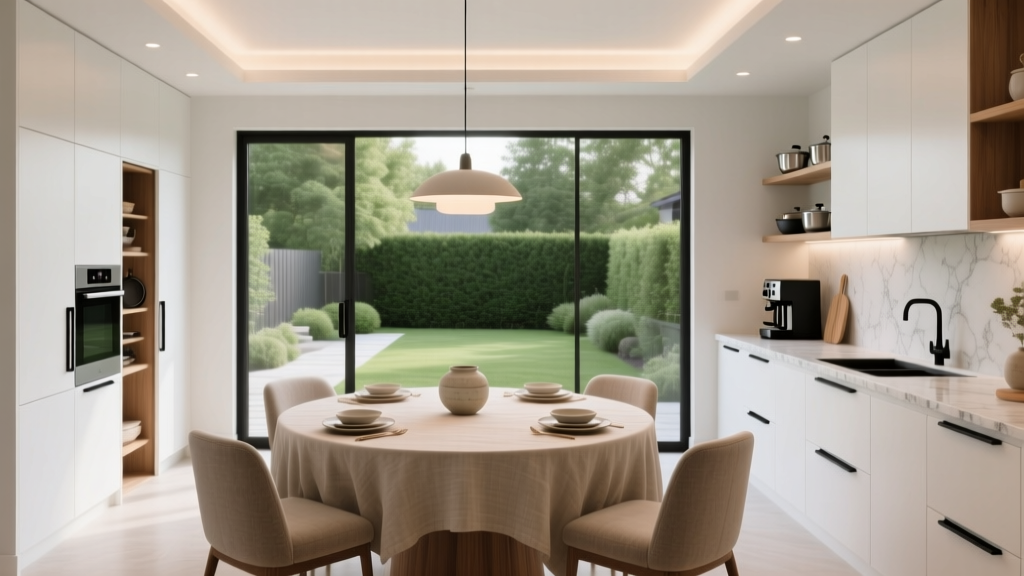
How to Design a Kitchen with an Eat-In Area - The Decor Mag
A kitchen with an eat-in area is one of the most valuable upgrades you can make—whether you’re renovating for better day-to-day living or planning a remodel that boosts resale appeal. It turns your kitchen into a true gathering space: a place for quick breakfasts, homework sessions, casual dinners, and conversations that happen while dinner simmers.
Designing an eat-in kitchen isn’t just about squeezing in a table or adding stools at an island. The best results come from balancing traffic flow, comfortable seating, durable materials, and lighting that works for both cooking and dining. This guide walks you through layouts, measurements, costs, and finish choices so your eat-in area looks cohesive, functions effortlessly, and holds up to real life.
Start with the Right Questions (and a Quick Space Check)
Before you choose an island size or fall for a built-in banquette on Pinterest, clarify how you’ll actually use the space. Your answers will drive layout and budget decisions.
Key planning questions
- How many people should you seat daily? (2–3 for quick meals, 4–6 for family dinners, 6+ for entertaining)
- What type of meals happen here? Coffee and cereal, full dinners, kids’ crafts, laptop work?
- Do you want flexible seating or built-in seating? A movable table adapts; a banquette saves space and adds storage.
- What’s the priority: prep space or dining space? Island seating can reduce prep area if not sized carefully.
- Who uses the space? Small kids, aging family members, tall adults—seat height and clearance matter.
Core measurements to know (designers use these daily)
- Walkways: 36" minimum clearance for light traffic; 42" is more comfortable; 48" works well for busy kitchens or two cooks.
- Behind seated diners: Plan 36" behind chairs/stools for pass-through; 44–48" if it’s a major walkway.
- Table clearance: Leave 30–36" from table edge to walls/cabinets for pulling out chairs.
- Per-person table space: 24" wide per person (30" if you want extra elbow room).
- Counter seating: Allow 24" width per stool and 12–15" overhang for knees (up to 18" for extra comfort with proper support).
- Counter vs. bar height: Counter height ~36" with 24–26" stools; bar height ~42" with 28–30" stools. Counter height tends to feel more timeless and family-friendly.
Choose an Eat-In Layout That Fits Your Kitchen
The “best” eat-in kitchen design is the one that supports your traffic patterns and cooking workflow. These are the most successful layouts for modern kitchen renovations—plus what to watch out for.
1) Island seating (classic for open-concept kitchens)
Island seating remains a top kitchen design trend because it keeps cooks connected to family and guests. It’s also ideal when you want dining without sacrificing a full breakfast table.
- Best for: Open layouts, homes that entertain, households that prefer casual meals.
- Design tips:
- Plan seating on the side with the least cooking splash (avoid placing stools directly adjacent to the cooktop if possible).
- Use a waterfall end panel (quartz or porcelain) for a clean, contemporary look and durable edge protection.
- Consider an island with a prep sink, but keep at least 18–24" of landing space on one side of the sink.
- Watch out for: Too-small islands that become clutter magnets. If the island is under about 6 feet long, seating + prep + storage can feel cramped depending on your kitchen.
2) Peninsula seating (the smart choice for smaller kitchens)
A peninsula can deliver the benefits of an island without requiring the same circulation space—ideal for galley kitchens or modest footprints.
- Best for: Smaller renovations, one-wall kitchens, U-shaped kitchens that need a “stop” point.
- Design tips:
- Keep the main walkway at 42" if possible, especially if your peninsula faces a high-traffic zone.
- Use the back of the peninsula for shallow storage (like 12" deep cabinets or open shelves) if space allows.
- Watch out for: Pinched corners where people bump into stools. Prioritize clearance over adding one extra seat.
3) Breakfast nook (table + chairs, cozy and timeless)
Breakfast nooks are a timeless functionality win. They offer true dining comfort and can feel more “homey” than a row of stools.
- Best for: Kitchens with a bay window, corner space, or adjacent area near a patio door.
- Design tips:
- Round tables are easier to navigate in tight spaces; rectangular tables seat more people.
- Anchor the nook with a rug (low pile and washable) to define the zone in an open plan.
- Use a statement pendant centered over the table to create a “room within a room.”
- Watch out for: Placing the table where it blocks pantry doors, appliance doors, or the refrigerator swing.
4) Built-in banquette (space-saving, custom, and trending)
Banquette seating is having a moment in kitchen renovation projects because it maximizes seating in a small footprint and can add hidden storage. It also delivers a high-end, tailored look.
- Best for: Families, small nooks, corner layouts, anyone who wants a custom feel.
- Design tips:
- Standard seat height is around 18"; aim for 16–18" deep seats plus back cushions.
- Add drawers or lift-up hinges for storage (linens, small appliances, kids’ supplies).
- Choose performance fabric or wipeable faux leather for cushions.
- Watch out for: Fixed seating can feel less flexible for entertaining; make sure your table size truly fits the number of people you host.
Materials and Finishes That Stand Up to Everyday Dining
Eat-in kitchens see double duty: heat, moisture, spills, crumbs, and constant traffic. Prioritize materials that are easy to clean, durable, and cohesive with the rest of your kitchen design.
Countertops for islands and peninsulas
- Quartz: Non-porous, low maintenance, highly stain resistant. Great for busy families. Maintenance: mild soap, avoid abrasive pads. Typical cost: $60–$120/sq ft installed.
- Porcelain slab: Heat resistant and very durable; excellent for a waterfall island. Maintenance: easy wipe-down, highly stain resistant. Typical cost: $70–$150/sq ft installed.
- Butcher block: Warm, inviting, and popular in farmhouse and Scandinavian-inspired kitchens. Maintenance: needs regular oiling; prone to scratches and water marks. Typical cost: $40–$100/sq ft installed.
- Granite: Natural variation and strong resale appeal; needs periodic sealing. Maintenance: reseal as recommended. Typical cost: $50–$120/sq ft installed.
Flooring choices for a kitchen with a dining zone
- Luxury vinyl plank (LVP): Renovation-friendly, water resistant, softer underfoot. Great budget-to-mid option. Cost: $3–$7/sq ft material; $6–$15/sq ft installed.
- Porcelain tile: Extremely durable and easy to clean; can feel hard/cold. Cost: $5–$20/sq ft material; $12–$30/sq ft installed.
- Engineered hardwood: Warmer feel and cohesive with adjacent rooms; more moisture sensitive than tile. Cost: $6–$15/sq ft material; $12–$25/sq ft installed.
Practical tip: For dining areas, choose a finish that hides crumbs and scuffs—mid-tone wood looks or lightly patterned tile are more forgiving than high-gloss black or pure white floors.
Seating and upholstery that stays looking new
- Stools: Look for wipeable seats, footrests, and a stable base. Swivel stools are popular (and convenient), but ensure they don’t swing into traffic paths.
- Performance fabric: Ideal for banquettes—stain-resistant and durable.
- Faux leather (high quality): Easy wipe-down and kid-friendly; can crack if low grade or exposed to intense sunlight.
- Wood chairs: Timeless, easy to maintain, and easy to re-finish if needed.
Lighting and Electrical: Make It Work for Cooking and Eating
Eat-in areas need layered lighting: bright task lighting for food prep and softer light for dining.
Lighting plan essentials
- Pendants over a table or island: Hang so the bottom is typically 30–36" above the tabletop/counter.
- Recessed lighting: Use for overall illumination; avoid placing cans where your head casts a shadow on the work surface.
- Under-cabinet lighting: One of the highest-impact upgrades for both function and ambiance.
- Dimmers: A must for switching from “prep mode” to “dinner mode.”
Don’t forget outlets
- Plan outlets near the eat-in zone for laptops, phone charging, and small appliances.
- If you’re adding an island, ask your contractor about code requirements for island outlets and placement that won’t disrupt seating.
Storage and Organization for Eat-In Kitchens
The more your kitchen becomes a living space, the more it needs smart organization to avoid looking messy.
High-impact storage ideas
- Banquette storage: Drawers or lift-up seats for table linens, placemats, and rarely used appliances.
- Island storage: Put everyday items near seating—napkins, kids’ cups, lunch containers—so the cook zone stays clear.
- Drop zone drawer: A designated spot for mail, chargers, and school papers reduces countertop clutter.
- Pantry zones: Create a “breakfast zone” (cereal, coffee, mugs) close to the eat-in area.
Budget and Cost Ranges: What to Expect
Costs vary based on whether you’re doing a full kitchen renovation or adding an eat-in feature to an existing kitchen layout. These ranges help set realistic expectations.
Typical project add-ons
- New island (cabinetry + top): $3,000–$10,000+ depending on size, storage features, and countertop material.
- Peninsula modification: $2,000–$8,000 depending on plumbing/electrical changes and finish level.
- Built-in banquette: $2,500–$12,000 (DIY-friendly basic builds at the low end; fully custom upholstery and storage at the high end).
- Dining table + chairs: $600–$4,000+ (more for solid wood, designer pieces, or extendable tables).
- Lighting upgrades: $300–$2,500+ (fixtures + installation, depending on wiring complexity).
- Flooring replacement: $2,000–$12,000+ depending on square footage and material.
Budget-smart strategies
- Keep plumbing where it is when possible—moving sinks or gas lines can quickly raise renovation costs.
- Spend on durability where dining happens (flooring, countertop edges, wipeable seating).
- Use semi-custom cabinetry and put savings into better lighting and hardware—two items that noticeably elevate the space.
- Choose a standard island size rather than fully custom dimensions to control labor and material waste.
Common Mistakes to Avoid
- Ignoring clearance: The #1 issue in eat-in kitchen design is insufficient space behind stools or chairs. If people have to squeeze past seated diners, the layout will feel frustrating every day.
- Overcrowding seating: Adding “one more stool” often makes the kitchen look cramped and disrupts traffic flow.
- Choosing hard-to-clean materials: Matte porous stone, high-gloss floors, or delicate fabrics can become constant maintenance.
- Poor lighting placement: One bright fixture isn’t enough. Combine recessed lighting, pendants, and under-cabinet lights with dimmers.
- Forgetting comfort: Backless stools look sleek but can be uncomfortable for longer meals. If your eat-in area replaces a dining room, prioritize supportive seating.
- Misaligning style: An ultra-modern table in a traditional kitchen (or vice versa) can feel disjointed. Tie finishes together through wood tone, metal finishes, or repeated colors.
Trends That Work (and What Stays Timeless)
Current trends worth considering
- Counter-height seating: More universal and comfortable than bar-height in many homes.
- Mixed materials: Wood + stone pairings (like a quartz perimeter and a butcher-block nook table) add warmth and character.
- Statement lighting: Sculptural pendants over the eat-in area help define the zone in open layouts.
- Banquettes with storage: A design-forward way to add seating and reduce clutter.
Timeless principles that always win
- Clear walkways and logical work zones (prep, cook, clean, serve).
- Durable surfaces where spills and heat are inevitable.
- Comfortable seating sized for real people, not just photos.
- Easy-to-clean choices that support daily habits.
FAQ: Designing a Kitchen with an Eat-In Area
How much space do I need for an eat-in kitchen?
Plan for at least 36" of clearance for walkways and 30–36" around a table for chairs. For island seating, allow about 24" width per stool plus space behind for traffic (ideally 36–48" depending on how busy the route is).
Is an island or a table better for an eat-in area?
An island is great for casual meals and open-concept living, while a table is typically more comfortable for longer meals and offers more flexible seating. Many families prefer a nook or banquette if the eat-in area functions as the main dining spot.
What’s the most durable countertop for an island with seating?
Quartz is a top choice for low-maintenance durability and stain resistance. Porcelain slab is also excellent—especially if you cook often and want higher heat resistance.
How do I keep an eat-in kitchen from looking cluttered?
Build in storage near the dining zone (banquette storage, island cabinets, a drop-zone drawer) and keep a simple routine: clear the table nightly, store small appliances, and use trays or baskets to corral everyday items.
Are banquettes practical for families?
Yes—especially with performance fabric and built-in storage. They’re space-efficient and can seat more people in a tight footprint than chairs. The tradeoff is less flexibility if you frequently rearrange for larger gatherings.
What’s a realistic budget for adding an eat-in area during a kitchen renovation?
If you’re modifying layout or adding an island/banquette, many homeowners spend $3,000–$12,000+ beyond standard kitchen components, depending on cabinetry, countertops, seating, and electrical/lighting upgrades.
Next Steps: Plan Your Eat-In Kitchen Like a Pro
To design a kitchen with an eat-in area that feels comfortable and looks intentional, start by measuring your clearances, choosing the layout that supports your daily routine, and investing in durable materials where spills and traffic are guaranteed. Then layer lighting, add smart storage, and select seating you’ll actually enjoy using.
- Measure your kitchen and sketch key walkways (36", 42", 48" targets).
- Decide on your seating type: island, peninsula, nook, or banquette.
- Choose easy-care surfaces (quartz/porcelain tops, LVP/tile floors, performance upholstery).
- Finalize lighting with dimmers and plan outlets for real life.
- Review your plan for the most common mistakes: tight clearances and awkward traffic flow.
For more kitchen design, renovation, and organization ideas that blend current trends with timeless function, explore the latest inspiration on thedecormag.com.
More Articles
 Best Kitchen Specialty Appliance Placement - The Decor Mag
 How to Mix Cabinet Finishes in a Kitchen - The Decor Mag
 Kitchen Book-Matched Stone Backsplash - The Decor Mag
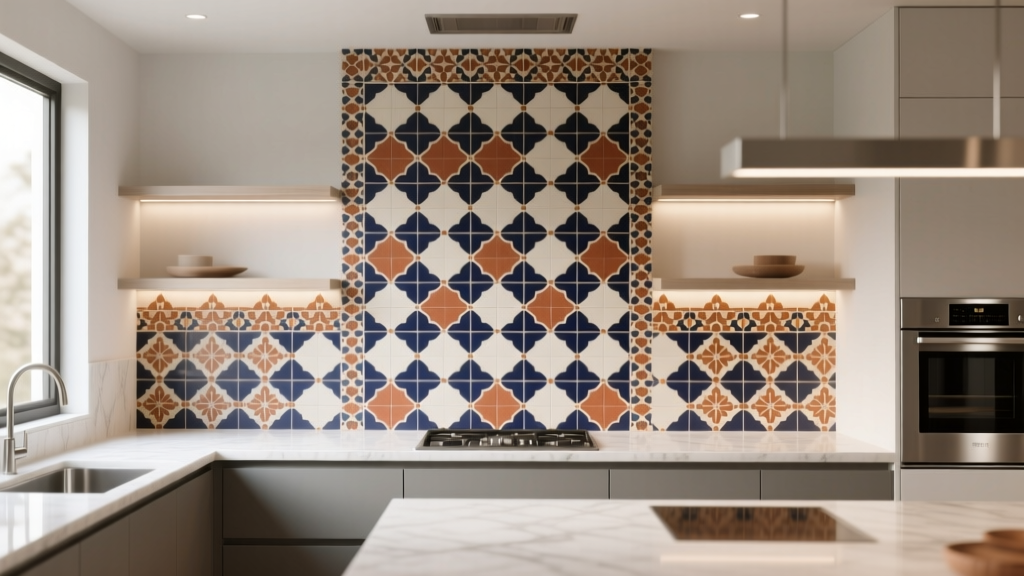 Kitchen Zellige Tile Backsplash Guide - The Decor Mag
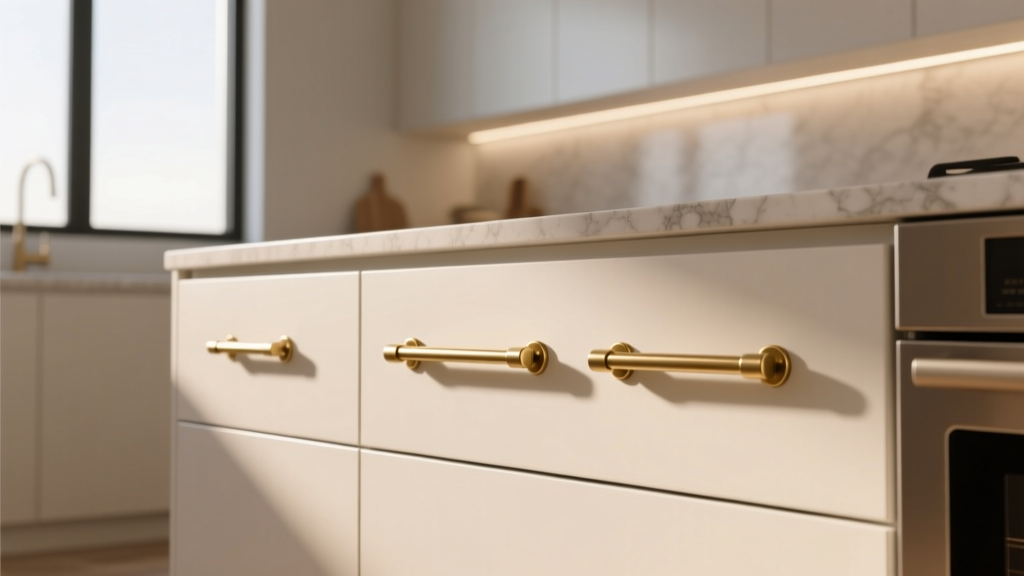 How to Choose Kitchen Cabinet Pull Length - The Decor Mag
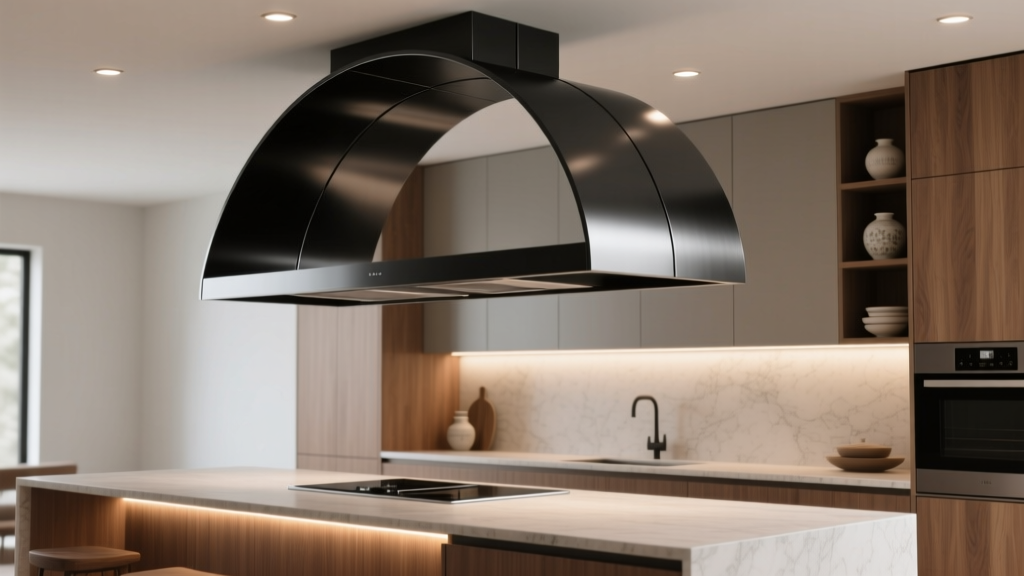 Kitchen Arched Range Hood Design Ideas - The Decor Mag
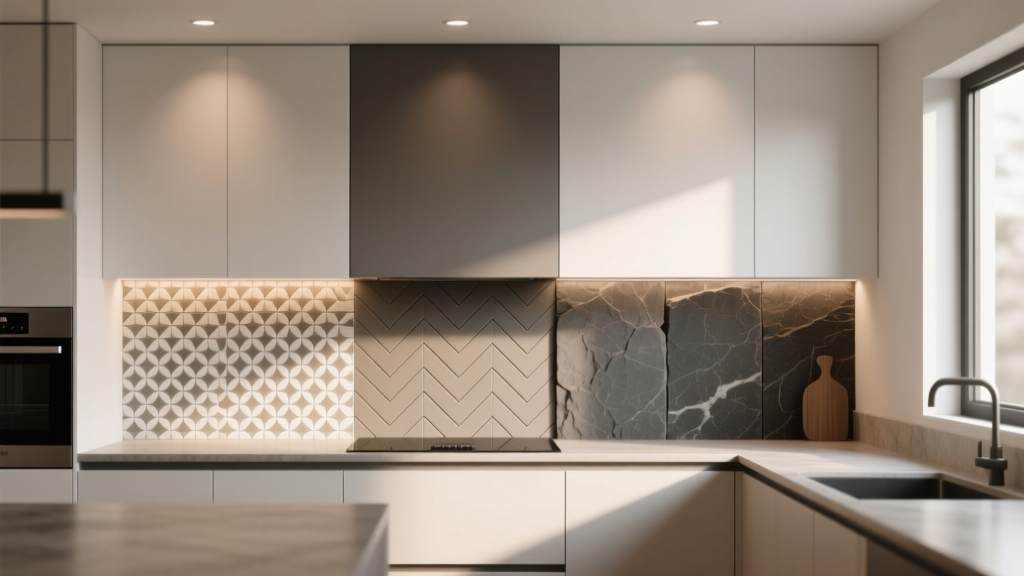 Kitchen Backsplash Pattern Scale: How to Choose (2026)
 Best Kitchen Baking Tool Organization (2026)
 Best Kitchen Cutting Board Care Products - The Decor Mag
 How to Choose Kitchen Countertop Thickness - The Decor Mag