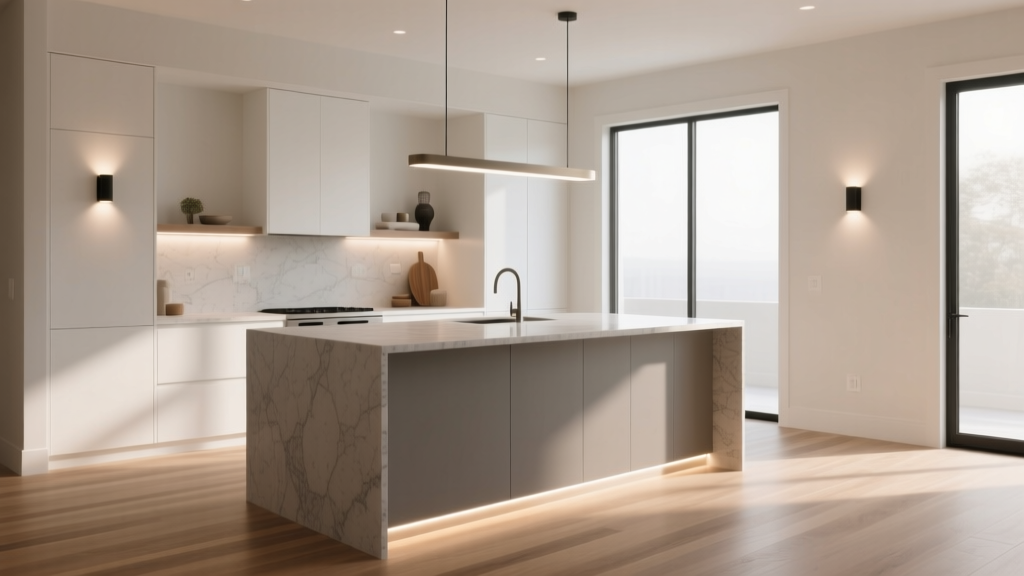
Kitchen Island Size: Choose Right for Your Space (2026)
A kitchen island can be the hardest-working feature in a modern kitchen: it adds prep space, boosts storage, improves organization, and creates a natural gathering spot. But an island that’s too big can choke walkways and make cooking feel cramped, while one that’s too small becomes an expensive piece of furniture that doesn’t earn its footprint.
Choosing the right kitchen island size is less about chasing a “standard” and more about matching your space, layout, and daily routines. The best islands balance clearances, seating comfort, appliance needs, and beautiful proportions—so your kitchen renovation looks polished and functions effortlessly for years.
This guide breaks down practical measurements, layout rules, material options, and budget ranges so you can confidently plan an island that fits your kitchen and lifestyle.
Start With the Non-Negotiables: Clearances and Traffic Flow
Before you fall in love with a giant waterfall countertop or a seating-heavy island, map your kitchen’s circulation. Clearance is the #1 factor that determines island size.
Recommended clearance around a kitchen island
- Minimum clearance on all working sides: 36 inches (91 cm)
- More comfortable clearance for busy kitchens: 42 inches (107 cm)
- Ideal clearance when multiple cooks or high traffic: 48 inches (122 cm)
- Clearance behind seated stools (to pass behind): 44–54 inches (112–137 cm) from island edge to obstruction, depending on stool depth and traffic
Appliance and door swing planning
Island size must also respect door swings and pull-outs. Check these common pinch points:
- Dishwasher door open: allow enough room to pass without stepping over it (42–48 inches is often more comfortable).
- Oven door open: ensure the island doesn’t block access to the range or wall oven.
- Refrigerator doors and drawers: confirm the island doesn’t prevent full opening.
- Base cabinet drawers: plan so drawers can fully extend without hitting stools or nearby handles.
Practical tip: Use painter’s tape on the floor to outline your proposed island size. Walk the routes you use most—fridge to sink, sink to cooktop, pantry to prep—and open nearby doors to test real-life flow.
Right-Sizing by Kitchen Layout: Galley, L-Shape, U-Shape, and Open Plan
Your kitchen layout determines not only how big an island can be, but also what it should do. A kitchen island that works in an open-concept plan may fail in a narrow galley.
Galley kitchens
Many galley kitchens can’t support a full island without compromising clearances. If the distance between counters is tight, consider an alternative:
- Best option: a slim rolling cart or a narrow “galley island” (often 18–24 inches deep) if you can maintain 36 inches on both sides.
- Rule of thumb: You typically need at least 10–12 feet total width (wall to wall) to include an island and keep comfortable aisles.
L-shaped kitchens
L-shaped layouts are island-friendly and often benefit most from a multi-purpose island.
- Common island sizes: 60–84 inches long x 30–42 inches deep
- Design approach: Use the island to complete the “work triangle” (sink, fridge, cooktop) without forcing long detours.
U-shaped kitchens
U-shaped kitchens can support an island if the room is large enough, but clearance is critical.
- Minimum workable width: often 12–13 feet across for an island plus comfortable aisles
- Better solution in tighter U-shapes: a peninsula can deliver seating and prep space with fewer clearance issues.
Open-plan kitchens
In open layouts, islands often become visual anchors. You can go larger, but scale to the room.
- Common “statement island” sizes: 84–108 inches long x 36–48 inches deep
- Trend watch: extra-thick countertops, waterfall edges, and furniture-style end panels are popular, but they can visually bulk up an island—so keep proportions in mind.
Find the Best Island Dimensions for Function (Not Just Fit)
Once you know your maximum footprint based on clearances, choose dimensions that support how you actually use your kitchen: prepping, entertaining, storage, or cooking.
Standard island depth and why it matters
- 24 inches (61 cm): matches standard base cabinet depth; great for a compact prep island.
- 30–36 inches (76–91 cm): more comfortable prep zone; allows for overhang seating on one side.
- 42–48 inches (107–122 cm): ideal for seating + prep or for larger kitchens; can fit two cabinet runs back-to-back (with panels) or deeper storage.
Standard island length guidelines
- Minimum practical length: 48 inches (122 cm) for a useful work surface
- Most versatile range: 60–84 inches (152–213 cm)
- Large islands: 96+ inches (244+ cm) work best with generous clearances and a clear function plan (seating, storage, secondary sink).
Counter height: prep vs. seating
- Standard counter height: 36 inches
- Bar height (less common now): 42 inches (can block sightlines in open-plan kitchens)
- Current trend: single-level islands at 36 inches for cleaner lines and better everyday usability
Seating: comfortable overhangs and spacing
Seating is often the reason homeowners want an island, but it must be sized correctly to avoid knee-bumping and crowding.
- Overhang for counter-height stools: 12–15 inches
- Overhang for comfortable knee space (especially adults): 15–18 inches (may require added support brackets)
- Space per seat: 24 inches minimum; 26–30 inches is more comfortable
- Stool seat height (counter height): typically 24–26 inches
Quick seating math: A 72-inch island seating side comfortably fits 2–3 stools (depending on spacing and whether you want elbows-room).
Choose Features First, Then Size: Sink, Cooktop, Storage, and Power
Adding a sink or cooktop changes the island’s size, cost, and mechanical planning. Decide early so your kitchen design and renovation budget stays realistic.
If you want a prep sink
- Best for: busy households, multiple cooks, entertaining
- Recommended minimum island depth: 36 inches (for workable landing space)
- Plan for: plumbing runs, venting (if needed), trash pull-out nearby, and a dedicated prep zone.
If you want an island cooktop or range
This is a high-impact choice and often the most expensive island upgrade.
- Needs extra landing space: aim for at least 12–15 inches on each side of the cooktop (more is better).
- Ventilation: ceiling hood or downdraft. Ceiling hoods add visual presence; downdrafts can limit performance and cabinet storage.
- Safety: keep seating away from active cooking zones and splatter areas.
Electrical and charging (a modern must-have)
For today’s kitchen organization needs—phones, tablets, small appliances—plan outlets intentionally.
- Include outlets on the island (code requirements vary; consult your contractor/electrician).
- Consider pop-up outlets or under-counter outlets for a cleaner look.
- Add a drawer charging station for clutter-free counters.
Storage: make the island earn its footprint
A well-designed island reduces countertop clutter and supports a more organized kitchen.
- Deep drawers for pots, pans, and small appliances
- Pull-out trash and recycling near the prep area
- Tray dividers for baking sheets and cutting boards
- Open shelving (trend-forward) for cookbooks or display pieces—best in low-grease zones
Materials and Countertop Choices That Match Your Lifestyle
The right materials influence not only style, but maintenance and long-term durability. Many homeowners mix finishes: a warmer wood tone on the island with perimeter cabinets in a classic painted finish is a timeless kitchen design move.
Countertop material comparisons
- Quartz: durable, low-maintenance, consistent patterning; great for family kitchens. Maintenance: wipe with mild soap; avoid harsh abrasives.
- Granite: natural stone with unique variation; heat-resistant. Maintenance: periodic sealing depending on stone type.
- Marble: classic, high-end look; prone to etching and staining. Maintenance: seal regularly; wipe acids quickly. Best for homeowners who embrace patina.
- Butcher block: warm and inviting; excellent for a furniture-style island. Maintenance: oil regularly; watch for water exposure near sinks.
- Porcelain slab: sleek, heat- and stain-resistant; can mimic marble. Maintenance: easy cleaning; professional installation recommended.
Cabinet and panel materials
- Plywood boxes: strong and moisture-resistant; a solid upgrade in a kitchen renovation.
- MDF painted finishes: smooth, stable, great for modern shaker or slab doors; avoid excessive water exposure.
- Solid wood: beautiful but can expand/contract; best used strategically (door frames, accents).
Design trend: statement islands with timeless restraint
Current kitchen design trends favor islands that feel intentional:
- Waterfall ends (especially in quartz or porcelain)
- Fluted wood or reeded detailing
- Mixed metals (brass lighting with matte black hardware)
- Curved or “softened” island corners for better flow and fewer bruised hips
Budget and Cost Ranges: What a Kitchen Island Typically Costs
Kitchen island cost varies widely depending on size, cabinetry quality, countertop material, and whether you add plumbing or appliances.
Typical cost ranges (installed)
- Simple prefab or furniture-style island: $800–$3,000
- Custom or semi-custom island with storage: $3,000–$10,000
- Island with premium countertop (quartz/porcelain) and upgraded storage: $6,000–$15,000+
- Island with sink (plumbing) and/or cooktop (electrical/venting): $10,000–$25,000+ depending on complexity
Budget-smart ways to get a bigger impact
- Spend on drawer storage (organization pays off daily) and keep decorative panels simpler.
- Use a standard-depth cabinet run with a slightly deeper countertop rather than fully custom cabinetry.
- Choose quartz for a high-end look with lower maintenance than marble.
- Skip the island cooktop if ventilation is complicated; invest in a standout hood at the perimeter instead.
Common Mistakes to Avoid When Sizing a Kitchen Island
- Ignoring clearances: An island that “fits” on paper can still block appliance doors and walking paths.
- Oversizing seating: Too many stools often creates daily clutter and awkward circulation.
- Not planning landing zones: You need usable counter space beside sinks, cooktops, and near the fridge.
- Forgetting about outlets: A beautiful island without power becomes a constant annoyance in a busy kitchen.
- Choosing high-maintenance materials without realizing it: Marble and unsealed wood can be frustrating in spill-heavy homes.
- Making the island the only prep zone: Balance prep areas so two people can cook without colliding.
Practical Planning Checklist (Use This Before You Order Cabinets)
- Measure your kitchen and mark the island footprint with tape.
- Confirm 36–48 inches clearance on working sides (more if you have multiple cooks).
- Decide the island’s primary job:
- Prep
- Seating
- Storage and organization
- Entertaining
- Sink/cooktop
- Plan seating with 24–30 inches per stool and 12–18 inches overhang.
- Choose countertop material based on your cleaning and durability expectations.
- Coordinate lighting (pendants centered over the island) and outlets early.
- Review your plan with a kitchen designer or contractor—especially if plumbing or venting is involved.
FAQ: Kitchen Island Size, Spacing, and Design
What is a good standard size for a kitchen island?
A common, versatile island size is 60–84 inches long and 30–42 inches deep, with 36–48 inches of clearance around it. The best size depends on your kitchen layout and whether you’re adding seating, a sink, or appliances.
How much space do you need between an island and counters?
Plan for 36 inches minimum for a working aisle. 42 inches feels more comfortable in most kitchens, and 48 inches is ideal for two cooks or high-traffic routes.
Can a small kitchen have an island?
Yes, if clearances work. In compact kitchens, consider a narrow island (24–30 inches deep), a rolling cart, or a peninsula. If you can’t maintain at least 36 inches of clearance, an island may make the kitchen less functional.
How many stools fit on a kitchen island?
Allow 24 inches per stool (minimum) and 26–30 inches for comfort. For example, a 72-inch seating run typically fits 2–3 stools depending on spacing and whether you want armchairs.
Is it worth putting a sink in the island?
A prep sink can be a great upgrade for kitchen workflow and entertaining, especially with two cooks. It does increase cost due to plumbing, and you’ll want to plan storage, trash pull-outs, and countertop landing space so the island doesn’t become a splash zone.
What countertop is best for a busy family kitchen island?
Quartz is a top choice for busy households because it’s durable, consistent, and low-maintenance. Porcelain slab is another strong option for heat and stain resistance, typically at a higher installed cost.
Next Steps: Choose the Island That Makes Your Kitchen Feel Effortless
To choose the right kitchen island size, start with clearances, then design around your real routines—prep, storage, seating, and traffic flow. Tape out your best-case island footprint, test appliance swings, and pick materials that match how you cook and clean. A well-sized island elevates both kitchen organization and everyday comfort, making your renovation feel like a true lifestyle upgrade.
For more kitchen design inspiration, renovation planning guides, and organization ideas, explore the latest at thedecormag.com.
More Articles
 How to Choose the Right Kitchen Hood Vent - The Decor Mag
 Kitchen Design for Cooking: Functional Ideas (2026)
 Kitchen Subway Tile Alternatives - The Decor Mag
 Kitchen Glass Front Cabinet Styling - The Decor Mag
 Open Shelf Kitchen Styling Tips - The Decor Mag
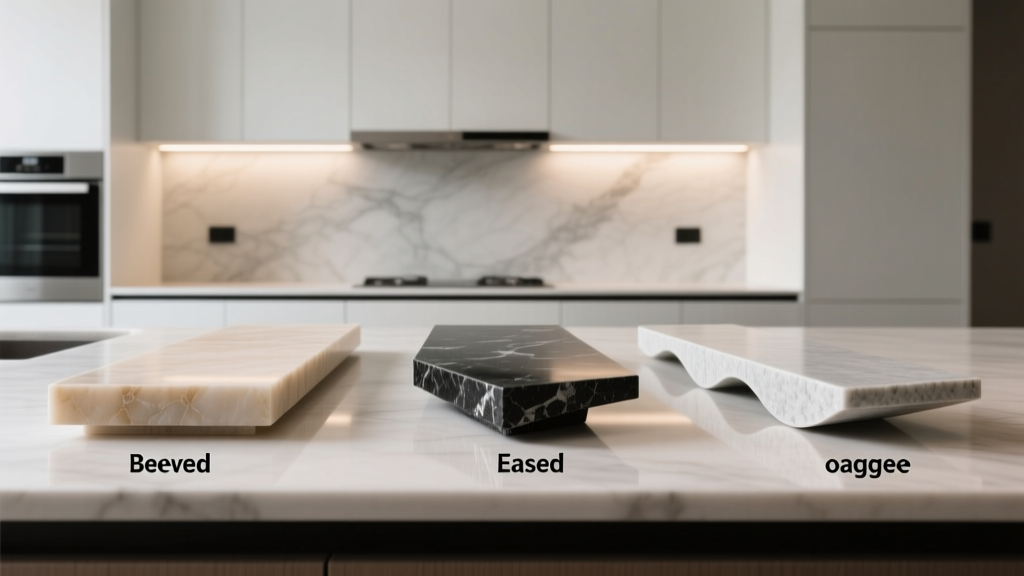 Kitchen Countertop Edge Profiles: Best Choices (2026)
 Best Kitchen Oil and Vinegar Storage - The Decor Mag
 Kitchen Island Prep Stations: Summer Party Command Center
 Best Kitchen Island Ideas for Every Size - The Decor Mag
 Best Kitchen Wine Storage Solutions - The Decor Mag