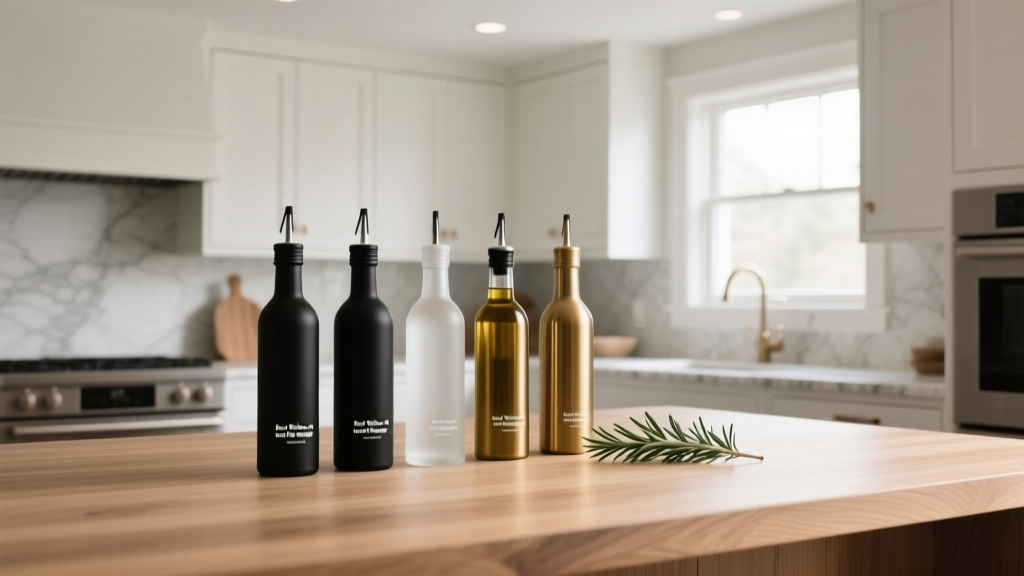
Best Kitchen Oil and Vinegar Storage - The Decor Mag
Oil and vinegar are everyday essentials, but they’re also some of the most mishandled items in a kitchen. Stored too close to heat, exposed to light, or kept in messy, drippy bottles, they can turn a beautiful countertop into a sticky zone—and compromise flavor over time. For homeowners renovating a kitchen or refining an existing space, upgrading oil and vinegar storage is one of those small moves that delivers outsized results: better workflow, cleaner surfaces, and a more intentional look.
Today’s kitchen design trends lean into clean lines, calm countertops, and highly functional storage—think hidden utility, integrated organizers, and “everything has a home” planning. Oil and vinegar storage sits right at the intersection of daily cooking habits and kitchen organization. Done well, it supports a smooth prep-to-cook rhythm while protecting quality ingredients and complementing your decor.
This guide covers practical layouts, storage locations, container materials, and design-forward solutions—from budget-friendly organizers to custom cabinet inserts—plus common mistakes to avoid and maintenance tips that keep your kitchen feeling polished.
What Oil and Vinegar Need for Best Flavor (and a Cleaner Kitchen)
Before choosing bottles or building an organizer, it helps to understand what degrades oils and vinegars and what causes countertop mess:
- Light: UV light accelerates oxidation in oils (especially olive oil). Clear glass by a sunny window is a common culprit.
- Heat: Storing next to a range or over a dishwasher can shorten shelf life and increase leaks from pressure changes.
- Air exposure: Frequent opening and poor seals lead to oxidation and off-flavors.
- Drips: Bottles without a controlled pour spout or with oil buildup around the neck create sticky residue that attracts dust.
Ideal Storage Conditions (Quick Specs)
- Temperature: Aim for a cool, steady spot—roughly 60–70°F when possible.
- Light protection: Use tinted/opaque bottles or keep bottles in a cabinet or drawer.
- Seal quality: Use tight-fitting caps or silicone-sealed pourers to reduce oxygen exposure.
- Access: Keep everyday oil within 1–2 steps of the prep zone, not necessarily on the counter.
Best Places to Store Oil and Vinegar (Layouts That Work)
The best kitchen oil and vinegar storage starts with placement. Think in “zones”: prep, cook, and clean. Oils and vinegars typically belong in the prep zone, with a secondary set near the cook zone if you use them constantly.
1) Drawer Storage Near the Prep Area (Most Renovation-Friendly)
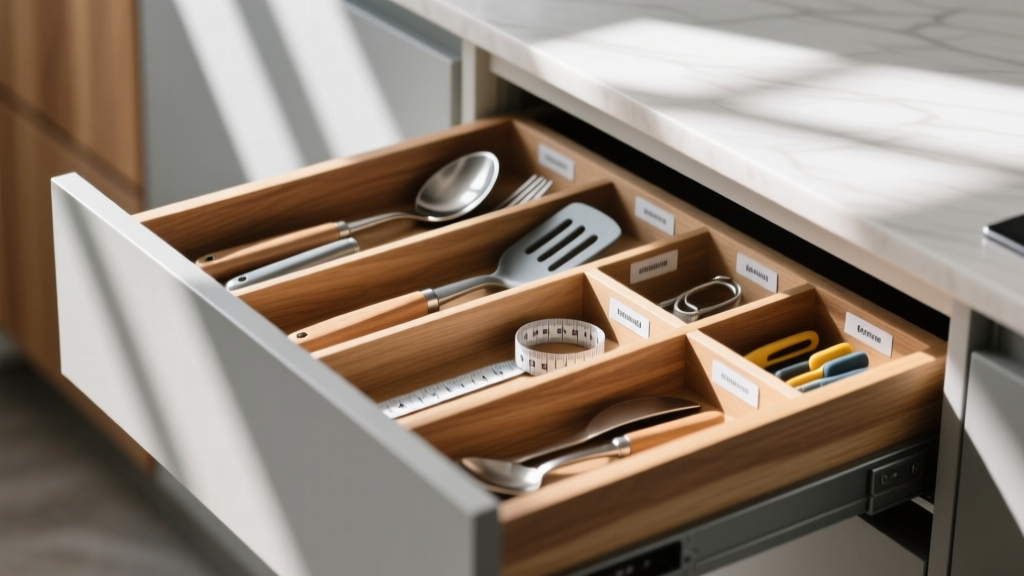
Deep drawers are a major kitchen renovation trend because they’re ergonomic and easy to organize. A dedicated drawer keeps bottles protected from light, prevents countertop clutter, and eliminates the greasy halo that can form around frequently used items.
- Recommended drawer depth: 8–10 inches interior height works for most 12–17 oz bottles.
- Best organizer style: A flat, wipeable tray insert or adjustable dividers.
- Pro tip: Place a liner (silicone or washable EVA) under the tray to prevent slipping.
Budget range: $15–$60 for trays/dividers; $150–$400 for premium drawer inserts in wood or aluminum; $600–$1,500+ for custom drawer organizers in a full remodel.
2) Pull-Out Cabinet Organizer (Great for Narrow Spaces)
A pull-out base cabinet organizer (often 6–12 inches wide) is a classic solution for oil, vinegar, and tall bottles. This approach is especially useful when you want quick access but prefer not to store oils by the range.
- Best location: Between prep sink and primary prep counter, or adjacent to the pantry cabinet.
- Look for: Full-extension slides, a solid bottom tray, and railings that prevent tipping.
- Practical measurement: Allow at least 3–4 inches above tallest bottle for easy grab-and-go.
Budget range: $80–$250 for retrofit pull-outs; $300–$700 for higher-end systems with soft-close slides; $800–$2,000+ integrated into custom cabinetry.
3) Countertop “Oil & Vinegar Station” (When You Cook Daily)
Minimalist, intentional countertop styling is a current decor trend—warm wood, stone, and curated accessories. If you truly use oil and vinegar every day, a small station can be both functional and attractive, as long as it’s designed to control drips and reduce light exposure.
- Best setup: 2–3 bottles max + a small tray.
- Ideal tray size: 8–12 inches wide, 4–8 inches deep (keeps the footprint tidy).
- Placement: At least 18 inches away from the stovetop edge if possible, and away from direct sunlight.
Budget range: $20–$60 for a quality tray; $25–$120 for matching dispenser bottles; $150–$300 for a coordinated, high-end countertop set.
4) Pantry Storage (Best for Backups and Specialty Vinegars)
Your pantry is ideal for unopened bottles, large formats, infused oils, and specialty vinegars you don’t reach for daily.
- Shelf spacing: Plan 10–12 inches between shelves for taller bottles and pourers.
- Organization tip: Store backups behind daily-use bottles, and use a turntable for vinegars and sauces.
Budget range: $10–$40 for turntables; $20–$80 for shelf risers and bins; $500–$3,000+ for a pantry redesign with pull-outs and lighting.
Best Container Materials: Glass vs Stainless vs Ceramic (and Why It Matters)
Choosing the right bottle is part kitchen organization, part ingredient care, and part design. Here’s how common materials compare.
Dark Glass (Best All-Around for Oil)
- Pros: Protects from light, easy to clean, widely available, looks elevated.
- Cons: Can chip if dropped; needs a good pour spout to prevent drips.
- Best for: Olive oil, avocado oil, toasted sesame oil (especially if used frequently).
Stainless Steel (Best for Maximum Light Protection)
- Pros: Excellent light block, durable, often has controlled pour spouts.
- Cons: You can’t see fill level; some designs are harder to deep-clean around spouts.
- Best for: Oils you want to protect and keep on the counter, or in a high-traffic family kitchen.
Ceramic (Best for Decor-Forward Kitchens)
- Pros: Light protection, beautiful texture, great for a warm “timeless” kitchen look.
- Cons: Heavier, can be harder to gauge quantity, may stain if not cleaned promptly.
- Best for: Countertop stations in traditional, farmhouse, Mediterranean, or Japandi-inspired kitchens.
Clear Glass (Best for Vinegar, Not Ideal for Oil)
- Pros: You can see contents, great for flavored vinegars and daily use.
- Cons: Encourages light exposure; oil degrades faster if left out.
- Best for: Vinegar, or oil only if stored inside a cabinet/drawer.
Recommended Storage Setups (By Cooking Style and Kitchen Size)
Setup A: The Everyday Cook (Most Homeowners)
- 1 dark glass bottle for olive oil (12–17 oz)
- 1 bottle for neutral oil (12–17 oz) stored in a drawer
- 1 vinegar bottle (12 oz) + backups in pantry
- 1 washable tray (countertop only if you use them daily)
Estimated cost: $60–$180 for bottles + tray + drawer liner.
Setup B: The Minimal Countertop Renovation Look
- Keep oils/vinegars in a drawer near prep
- Use a slim drawer insert with 3–6 compartments
- Label the top of each bottle discreetly (vinyl or waterproof label)
Estimated cost: $40–$200 for inserts and bottles; $200–$700 if upgrading to premium organizers.
Setup C: The Entertainer (More Variety, Still Organized)
- Pull-out organizer for tall bottles (oils, vinegars, cooking wine)
- Small countertop station limited to 2 bottles + salt cellar
- Pantry bin for “specialty vinegar” and infused oils
Estimated cost: $150–$500 for pull-out + bottles; $500–$1,500+ if integrated into a renovation plan.
Design Details That Make Oil and Vinegar Storage Feel High-End
These are the small choices designers use to make kitchen storage look intentional rather than improvised:
- Match finishes: Choose pour spouts and caps that coordinate with cabinet hardware (brushed brass, matte black, polished nickel).
- Use a defined “boundary”: A tray or fitted drawer insert visually contains items and makes wiping easy.
- Keep labels subtle: Small, waterproof labels on the back or base keep the look clean.
- Plan for refilling: Keep a small funnel in the same drawer to prevent oily drips on counters.
Measurements Designers Actually Use
- Counter clearance: Keep a countertop station at least 18 inches from the stovetop edge when possible.
- Tray sizing: For two standard bottles, an 8 x 6 inch tray works; for three bottles, 10–12 inches wide is more comfortable.
- Drawer width planning: A 15-inch-wide drawer can comfortably hold 4–6 bottles with a fitted insert.
Maintenance and Cleaning Advice (No More Sticky Rings)
Even the best kitchen organization fails if cleaning is annoying. Build maintenance into the system:
- Choose drip-control pourers: Look for stainless or silicone-sealed pour spouts designed to reduce “neck creep.”
- Wipe weekly: A quick wipe of bottle necks and tray surfaces prevents buildup.
- Deep-clean monthly: Wash bottles with warm water + mild dish soap. For oily residue, add a spoonful of baking soda and shake with warm water, then rinse thoroughly.
- Replace spouts if needed: If spouts smell rancid or leak, swap them—spouts are cheaper than wasting good olive oil.
Care tip: Avoid storing oil bottles directly above the dishwasher. Steam and heat fluctuations can accelerate oxidation and make labels peel.
Common Mistakes to Avoid
- Storing oils beside the range: It’s convenient, but heat and splatter shorten shelf life and create a greasy zone.
- Using clear bottles on the counter in bright light: Great for looks, not great for quality.
- Oversizing the countertop set: A row of five bottles becomes clutter fast. Keep only daily essentials out.
- Skipping a tray or liner: One drip becomes a permanent sticky ring on stone, wood, or laminate.
- Buying novelty dispensers that are hard to clean: Narrow necks and complicated spouts can trap oil and odors.
- Ignoring workflow: If the bottles live far from prep, they’ll migrate back to the counter.
Budget Planning: Where to Spend and Where to Save
Oil and vinegar storage can be a quick refresh or a renovation-level upgrade. Here’s a practical way to allocate budget:
- Save: Start with a simple, washable tray and two matching bottles ($40–$120 total). This alone can dramatically reduce mess.
- Mid-level upgrade: Add a drawer insert or retrofit pull-out ($120–$500) to remove items from the counter.
- Invest: If you’re already doing a kitchen renovation, plan a dedicated narrow pull-out or custom drawer organizer ($600–$2,000+)—it’s a high-satisfaction upgrade that makes the kitchen feel tailored.
FAQ: Kitchen Oil and Vinegar Storage
Should I store olive oil in a cabinet or on the counter?
A cabinet or drawer is best for olive oil because it limits light and heat exposure. If you keep it on the counter for daily cooking, use a dark or opaque bottle, keep it away from sunlight, and limit the amount in the dispenser to what you’ll use in 2–4 weeks.
What’s the best bottle size for everyday oil?
For most households, a 12–17 oz (350–500 ml) bottle is the sweet spot. It’s large enough for convenience but small enough that oil stays fresher and the bottle is easy to handle and clean.
Are oil and vinegar dispensers sanitary?
They can be, if they’re easy to wash and have a tight seal. Choose simple designs with removable spouts. Deep-clean monthly and avoid topping off indefinitely—wash and fully dry the bottle before refilling.
Can I store vinegar in the same station as oil?
Yes. Vinegar is less sensitive to light than oil, so it’s fine on the counter. Just keep both bottles on a tray to prevent drips from etching or dulling surfaces over time.
What’s the best way to prevent drips on stone countertops?
Use a tray with a raised edge and a bottle with a controlled pour spout. Wipe bottle necks regularly. If you have marble or other porous stone, clean spills quickly and consider sealing the stone on schedule recommended by your installer.
Do pull-out organizers hold heavy glass bottles safely?
Quality pull-outs do. Look for full-extension, soft-close slides rated for adequate weight (many are 75–100 lbs). A solid base and side rails keep bottles stable during opening and closing.
Next Steps: Build a Storage Plan That Fits Your Kitchen
Start by observing your routine for a week: where do you reach for oil and vinegar, and where do bottles end up when you’re done cooking? Then choose one primary storage location (drawer, pull-out, or a small station) and one backup location (pantry). Upgrade containers to reduce drips, add a tray or insert to protect surfaces, and keep the setup intentionally minimal—your kitchen will look calmer and function better immediately.
If you’re planning a kitchen renovation, talk to your designer or cabinet supplier about a dedicated pull-out or drawer insert near the prep zone. Those small, tailored decisions are what make a renovated kitchen feel truly finished.
For more kitchen design, renovation planning, and smart organization ideas, explore the latest guides and inspiration on thedecormag.com.
More Articles
 The Practical Kitchens Kitchen Design & Buying Guide: Space, Function, and Real-World Value
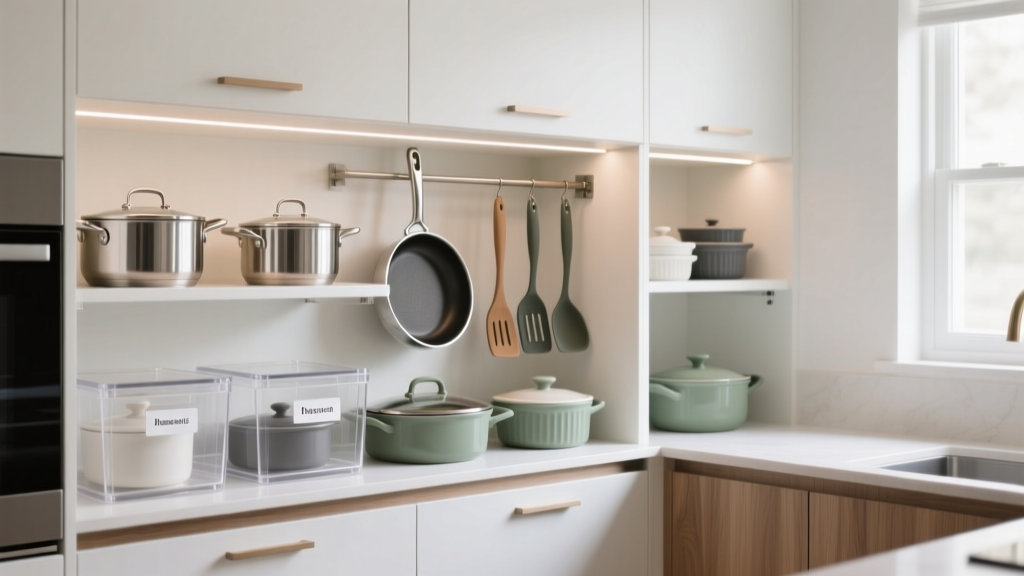 Best Kitchen Cookware Organization: Cabinet Solutions (2026)
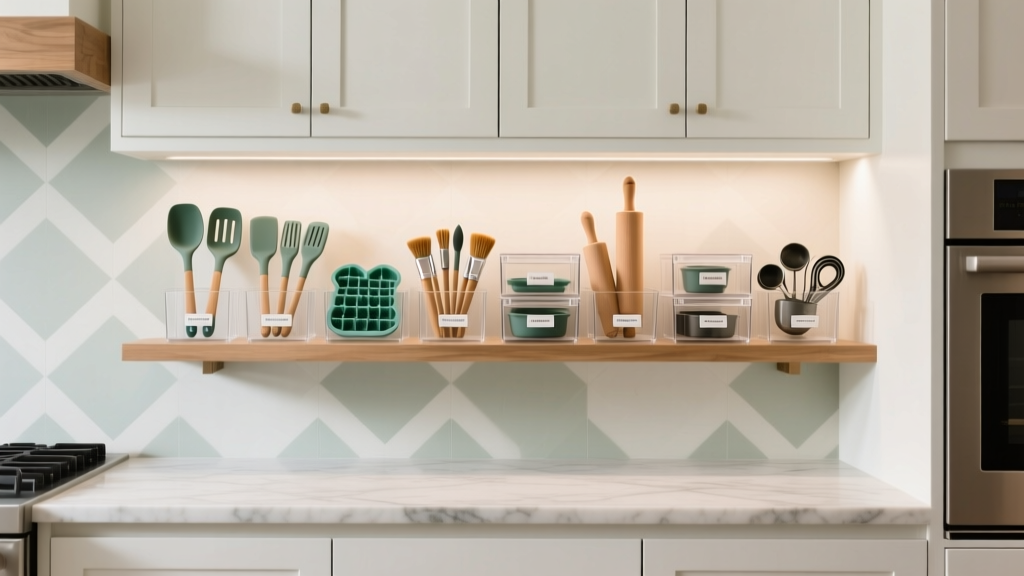 Best Kitchen Baking Tool Organization (2026)
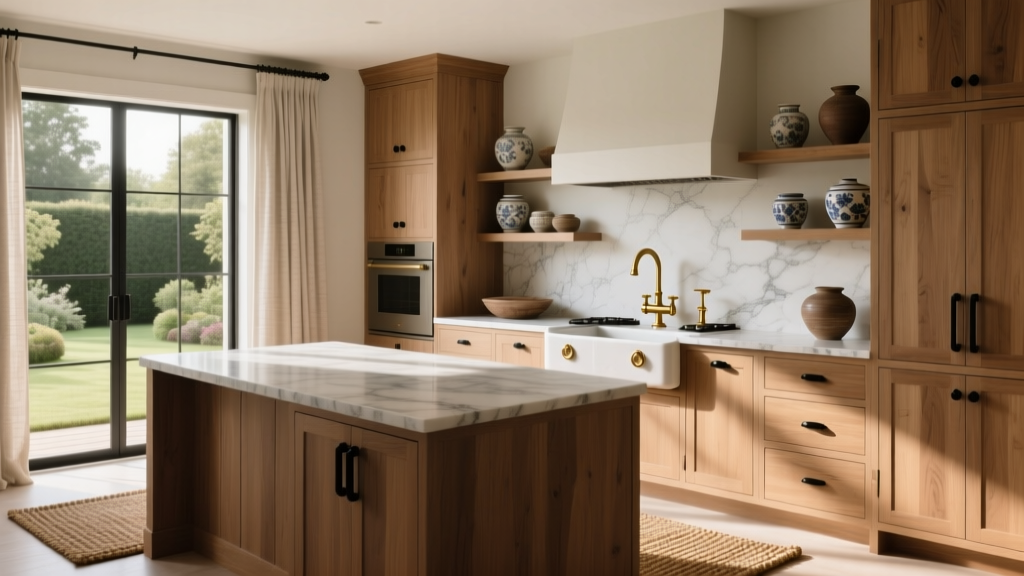 Heirloom Kitchen Design: Timeless Ideas for 2026
 Kitchen to Outdoor Flow Design (2026)
 How to Mix Cabinet Finishes in a Kitchen - The Decor Mag
 Kitchen Drawer Organization That Lasts (2026)
 Kitchen Vintage Inspired Hardware Guide - The Decor Mag
 Kitchen Zellige Tile Backsplash Guide - The Decor Mag
 Kitchen That Grows With Your Family (2026)