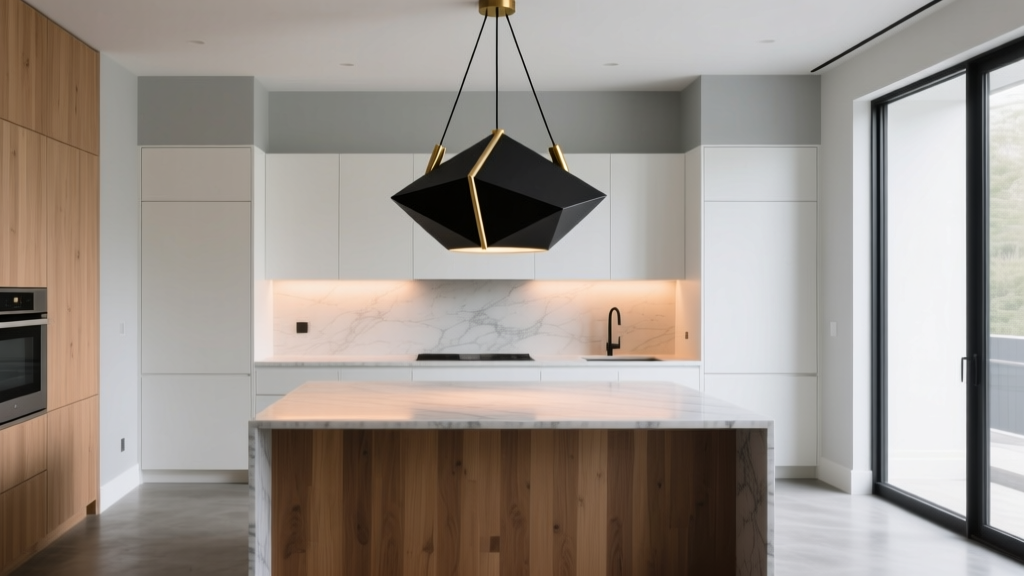
Statement Kitchen Lighting Design (2026)
Statement lighting is one of the fastest ways to make a kitchen feel designed—not just renovated. A bold pendant over an island, a sculptural chandelier in a breakfast nook, or a sleek row of linear lights can instantly elevate the space and create a focal point that ties cabinetry, countertops, and hardware together.
Beyond style, lighting is also the most practical upgrade you can make. Kitchens are task-heavy environments where glare, shadows, and poor color rendering can make cooking harder and the room feel smaller. The right lighting plan improves visibility, supports organization, and influences how materials look—marble veining, wood grain, paint color, and even food can appear different depending on your bulbs.
This guide walks you through how to choose statement fixtures that look great and work hard, how to layer light for real-life functionality, and how to plan sizes, heights, and costs so your kitchen design feels intentional from day one.
What Counts as “Statement Lighting” in a Kitchen?
In kitchen design, statement lighting is any fixture that deliberately draws the eye and becomes a defining element of the room. It doesn’t have to be oversized or ornate—it just needs presence.
Common statement lighting styles
- Oversized pendants above an island or peninsula
- Linear chandeliers over long islands or dining tables
- Sculptural chandeliers for open-concept kitchens with high ceilings
- Architectural track systems (current trend: minimal, low-profile tracks with adjustable heads)
- Mixed-material fixtures (glass + brass, plaster + bronze, rattan + matte black)
- Statement flush mounts for kitchens without islands or with lower ceilings
Trend-forward, but built for longevity
Current kitchen lighting trends lean warm and tailored: aged brass, bronze, matte black, reeded glass, opal globes, and natural textures. Timeless functionality still rules—high-quality finishes, dimmable bulbs, and easy-to-clean shapes will outlast any trend cycle.
Start with a Lighting Plan: Layering Is Non-Negotiable
A single “wow” fixture won’t carry the whole room. The best kitchen renovation outcomes come from layered lighting—so your statement piece can shine without leaving you chopping in shadows.
The 3 layers of kitchen lighting
- Ambient lighting: General illumination (recessed lights, flush mounts, indirect ceiling lighting).
- Task lighting: Focused work light (under-cabinet LED, pendants over prep zones, sink lighting).
- Accent lighting: Adds depth and highlights features (toe-kick LEDs, interior cabinet lighting, picture lights on open shelving).
Practical targets that guide your plan
- Color temperature: 2700K–3000K for a warm, inviting kitchen; 3000K is a popular “designer neutral.”
- CRI (Color Rendering Index): Choose 90+ CRI so wood tones, paint, and food look true-to-life.
- Dimmers: Add dimmers to all main circuits when possible. It’s one of the most cost-effective “luxury” upgrades.
Choose the Right Statement Fixture for Your Layout
Kitchen layouts determine not just where your statement lighting goes, but what form it should take. Use your work zones (prep, cooktop, sink, serve) as the foundation, then place statement lighting where it won’t compete with cabinetry lines or block sightlines.
Kitchen island lighting (most common statement zone)
Island pendants are the classic statement move because they sit at eye level and anchor the center of the kitchen design.
- Two pendants: Works well for islands around 5–7 ft long.
- Three pendants: Ideal for islands around 7–9 ft long.
- One linear fixture: Best for contemporary kitchens, long islands, or when you want a cleaner visual line.
No island? Make the sink or dining zone the focal point
- Sink statement: A single pendant or small chandelier centered over the sink can be striking—especially with a window backdrop.
- Breakfast nook: A chandelier over a round table creates instant charm and defines the zone in open-concept plans.
- Galley kitchens: Use a statement flush mount or a slim semi-flush to avoid head bumps while still making an impact.
Measurements That Make Lighting Look “Designer” (Not Random)
Proportions matter more than price. These guidelines help statement lighting look intentional and aligned with your kitchen renovation.
Pendant spacing over an island
- Hang height: Bottom of pendant 30–36 inches above the countertop (standard 36-inch counter height). Use 36 inches if ceilings are taller or pendants are wide.
- Distance from island edge: Keep pendants at least 6–12 inches in from the island edge to avoid glare and head bumps.
- Spacing between pendants: Aim for 24–30 inches between fixture centers, adjusting for shade diameter.
Picking pendant size
- For two pendants: shades often look balanced in the 10–16 inch diameter range (depending on island width).
- For three pendants: consider 8–12 inch diameters to prevent visual crowding.
Chandelier sizing for a breakfast nook
- A good rule: chandelier diameter should be about 1/2 to 2/3 the table width.
- Hang with the bottom roughly 30–34 inches above the tabletop.
Materials & Finish Recommendations (With Real-World Maintenance)
Statement lighting needs to survive grease, steam, and fingerprints. Choose finishes and shades that fit your lifestyle and how much maintenance you’re willing to do.
Metal finishes: what to choose and why
- Brass (lacquered): Warm, modern-traditional. Easy care; wipe with a soft damp cloth. Avoid abrasives.
- Unlacquered brass: Develops patina (very on-trend). Requires comfort with natural aging; can be polished occasionally if you want to brighten it.
- Matte black: Crisp, graphic, works with most cabinet colors. Shows dust less than glossy finishes, but can show grease—use mild soap and water.
- Bronze / oil-rubbed finishes: Great for transitional kitchens; hides fingerprints well.
- Polished nickel / chrome: Reflects light beautifully but shows smudges; best for homeowners who don’t mind frequent wiping.
Shade materials: beauty vs. cleanup
- Clear glass: Maximizes light output, looks airy. Shows dust and insects; plan on monthly cleaning.
- Opal/white glass: Softens glare and hides dust better than clear glass. Excellent for task areas.
- Reeded/fluted glass: A top trend for adding texture; diffuses light and minimizes visible smudges.
- Metal shades: Directs light downward, great for islands. Can create shadows on faces—pair with under-cabinet lighting and choose warm bulbs.
- Natural fiber (rattan, seagrass): Adds warmth and coastal/organic style. Not ideal near heavy grease; best for breakfast nooks or open-concept areas slightly away from the cooktop.
- Plaster/ceramic: High-end, sculptural look. Typically easy to dust; avoid harsh cleaners.
Product & Design Approaches That Deliver a High-End Look
Go “custom-feel” with a few smart upgrades
- Overscale with intention: A slightly larger fixture often looks more expensive than a small one. Use the sizing rules above to stay proportional.
- Match undertones: If your cabinet hardware is warm (brass), keep lighting warm too. Mixed metals can work, but limit to 2 finishes for a cohesive kitchen design.
- Repeat a shape: Globe pendants echo round stools; linear fixtures echo slab cabinet fronts. Repetition creates calm.
- Use dimmable LED bulbs: Choose high CRI and consistent color temperature across all fixtures.
Layout add-ons that make statement lighting function better
- Under-cabinet LED strips: Reduces shadows from pendants; makes counters more usable for prep.
- Toe-kick lighting: Adds a subtle glow for nighttime navigation and makes the kitchen feel larger.
- Interior cabinet lighting: Great for glass-front uppers or a coffee station; adds organized “showroom” polish.
Budget & Cost Ranges for Statement Kitchen Lighting
Lighting costs vary widely by brand, finish quality, and electrician labor. Use these ranges to plan your kitchen renovation budget realistically.
Typical fixture pricing (per piece)
- Budget: $80–$250 (basic finishes, simpler glass, limited size options)
- Mid-range: $250–$900 (better materials, larger scale, more distinctive designs)
- Premium: $900–$3,500+ (designer brands, artisan finishes, plaster/ceramic, larger chandeliers)
Installation & electrical costs (typical ranges)
- Swap an existing fixture: $150–$350 per location
- Add a new junction box: $250–$600+ (depends on access and ceiling work)
- Install dimmers: $75–$200 per switch (plus the dimmer hardware)
- Under-cabinet lighting: $200–$800+ for plug-in kits; $600–$2,500+ for hardwired systems across multiple runs
Where to spend vs. save
- Spend on the main statement fixture (island or dining zone) and on dimming + high CRI bulbs.
- Save on secondary fixtures (pantry, hallway, laundry-adjacent areas) and invest the difference in under-cabinet lighting.
Common Mistakes to Avoid
- Picking a fixture first and planning lighting later: A beautiful pendant doesn’t fix dark counters. Layer lighting from the start.
- Hanging pendants too high: They look disconnected and provide less useful task light. Stick to 30–36 inches above the counter.
- Choosing bulbs with mismatched color temperatures: Mixing 2700K and 4000K in one kitchen makes finishes look off. Standardize.
- Ignoring glare: Clear glass can create harsh brightness, especially with exposed bulbs. Use opal glass or add shades and dimmers.
- Overcrowding the island: Too many pendants or oversized fixtures can block sightlines. Balance scale with breathing room.
- Installing a high-maintenance finish in a high-grease zone: Polished chrome near the cooktop can become a daily frustration.
Maintenance Tips to Keep Statement Lighting Looking New
- Monthly quick clean: Dust shades and bulbs with a microfiber cloth to maintain brightness.
- Degrease gently: Use a damp cloth with mild dish soap for kitchen grime; dry immediately to prevent spotting.
- Avoid abrasives: Harsh cleaners can strip finishes, especially on brass and matte coatings.
- Check bulb consistency: Replace bulbs in pairs (or sets) so light color stays uniform.
- Tighten hardware annually: Vibration and cleaning can loosen screws over time.
FAQ: Statement Lighting for Kitchen Design
How many pendants should I hang over my kitchen island?
Most islands look best with 2 or 3 pendants, depending on length. Rough guide: 2 pendants for 5–7 ft islands, 3 pendants for 7–9 ft islands, or a single linear fixture for a cleaner, modern look.
What bulb color is best for kitchens?
For most homes, 2700K–3000K creates a warm, welcoming kitchen while still feeling crisp. Aim for 90+ CRI so countertops, paint colors, and food look accurate.
Can statement lighting work in a small kitchen?
Yes—choose a statement semi-flush or flush mount, or use one sculptural pendant in a key spot (like over a small table). Keep the scale appropriate and rely on under-cabinet lighting to handle task needs.
Should kitchen lighting match cabinet hardware?
Matching isn’t required, but undertones should coordinate. Limiting the space to one dominant metal plus one supporting finish tends to look cohesive and intentional.
Is clear glass a good idea in a kitchen?
Clear glass looks airy and bright, but it shows dust and can create glare with exposed bulbs. If you love the look, choose frosted/opal bulbs, add a dimmer, and plan for regular cleaning.
What’s the most cost-effective lighting upgrade during a kitchen renovation?
Dimmers and under-cabinet LED lighting typically provide the biggest daily impact for the money. They improve function immediately and make statement fixtures feel more polished at night.
Next Steps: Build a Kitchen Lighting Plan You’ll Love Living With
Start by identifying your kitchen’s focal zone (island, sink, or dining nook), then select statement lighting that fits the layout and ceiling height. Confirm sizes and hang heights before ordering, standardize bulb temperature across the kitchen, and layer in under-cabinet lighting so your countertops are as functional as they are beautiful.
If you’re choosing between two fixtures, prioritize the one that offers better light control (dimming, shade diffusion, high CRI) and an easier-to-maintain finish—those details keep your kitchen looking “newly designed” long after the renovation dust settles.
For more kitchen design, renovation, and organization ideas, explore the latest inspiration and expert guides on thedecormag.com.
More Articles
 Kitchen Herringbone Backsplash Installation - The Decor Mag
 Best Kitchen Baking Ingredient Organization - The Decor Mag
 Best Kitchen Baking Sheet Organization - The Decor Mag
 Kitchen Appliances Compared on a Budget: Smart, Reliable Choices Under $300
 Best Kitchen Drawer Organization Systems - The Decor Mag
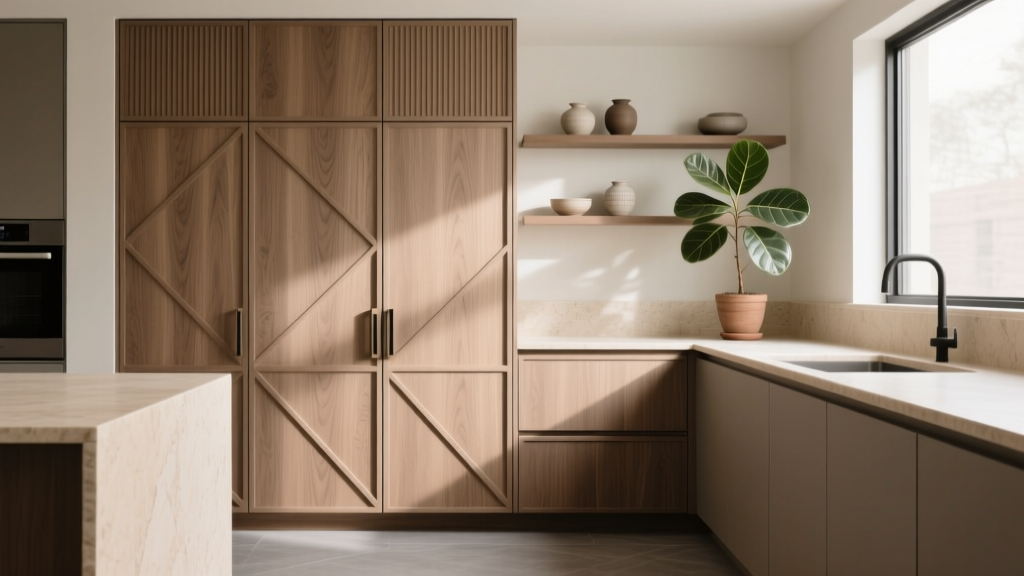 Kitchen Textured Cabinet Door Trends - The Decor Mag
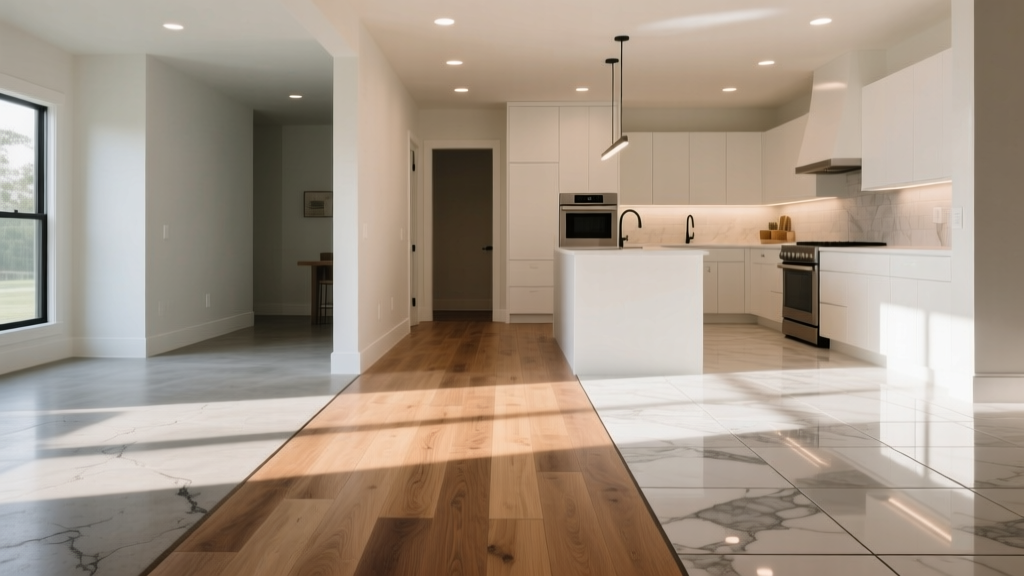 Best Kitchen Flooring Options for Durability - The Decor Mag
 Create Care and Maintenance: A Practical, Brand-Specific Guide for Modern Kitchens
 Best Essentials Inspiration: Building a Thoughtful, Functional, and Joyful Kitchen
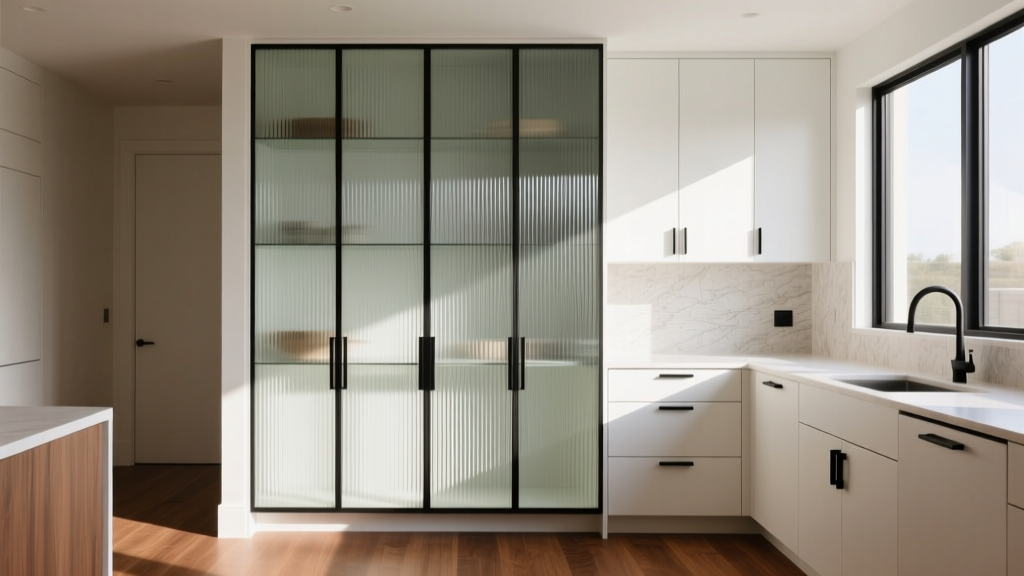 Kitchen Reeded Glass Cabinet Ideas - The Decor Mag