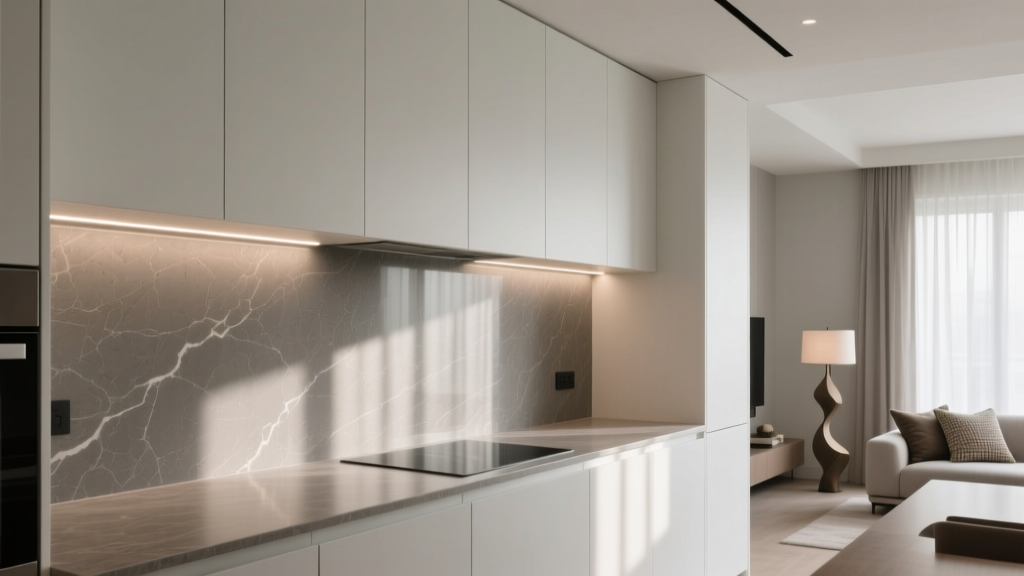
Kitchen Slab Backsplash Seamless Look - The Decor Mag
A slab backsplash is one of the fastest ways to make a kitchen feel custom, calm, and high-end. Unlike tile, which introduces grout lines and visual breaks, a single continuous surface creates a seamless look that reads as “designed” from the moment you walk in. It’s also a practical upgrade: fewer joints mean fewer places for grease, splatters, and water to settle.
Homeowners renovating today are balancing two priorities that can feel at odds—statement style and easy maintenance. The good news: slab backsplashes deliver both when they’re planned correctly. From matching your countertop for a waterfall-like flow to selecting a bold, bookmatched stone panel as a focal point, this is a backsplash approach that can lean timeless or trend-forward depending on your choices.
This guide breaks down the best materials, layout options, costs, common mistakes, and step-by-step planning tips so you can get that seamless slab backsplash look without surprises.
What Is a Slab Backsplash (and Why It’s Trending)
A slab backsplash uses large-format material—often the same surface as the countertop—installed as one or several big panels behind the counters. The goal is to minimize seams and eliminate grout lines, creating a continuous “sheet” of stone, quartz, porcelain, or stainless steel.
Why homeowners are choosing slab backsplashes
- Cleaner visual lines: Ideal for modern, transitional, and minimalist kitchens.
- Easier cleaning: Wipe down with fewer crevices than tile mosaics.
- Design continuity: Matching the countertop creates a cohesive kitchen design.
- Current trends, timeless payoff: Slab surfaces pair well with trending flat-panel cabinetry, integrated lighting, and concealed outlets while still feeling classic.
Seamless Look Basics: Layout Options That Work
“Seamless” doesn’t always mean one single piece—most kitchens require at least one seam. The key is seam placement, pattern selection, and detailing so the backsplash reads as one continuous design.
Popular slab backsplash layouts
- Counter-to-cabinet (standard height): Typically 18 inches from countertop to upper cabinets. Great for budget control and a clean, tailored look.
- Full-height slab backsplash: Runs from countertop to ceiling or to the underside of a hood. Strong for statement kitchens and open shelving zones.
- Feature wall behind the range: Full height only at the cooktop, with standard-height slabs elsewhere—an excellent compromise for cost and impact.
- Window-wrapping slab: Extends across and around a window wall for a sleek, architectural feel.
Seam planning: where to hide or minimize them
In most renovations, seams are unavoidable due to slab size, access, and appliance cutouts. Place seams where the eye naturally breaks:
- At inside corners (where two walls meet)
- Behind a tall faucet or centered under a cabinet divider
- At the edge of the range rather than through the middle of it
- Aligned with countertop seams for intentional continuity
Best Materials for a Seamless Slab Backsplash
The right material depends on your cooking habits, budget, and the look you want. Below are top choices homeowners use for kitchen renovation projects today, along with practical pros, cons, and maintenance notes.
Quartz (engineered stone)
- Best for: Low-maintenance kitchens, busy families, consistent patterning
- Pros: Non-porous, stain resistant, easy to clean, available in marble-look designs
- Cons: Can discolor with high heat; keep it a safe distance from burners and use a proper range hood
- Maintenance: Mild soap and water; avoid abrasive pads
Design tip: For the most seamless look, use the same quartz for countertops and backsplash and carry the veining upward without interruption (ask your fabricator about “vein matching”).
Natural stone (marble, quartzite, granite)
- Best for: Statement kitchens, organic movement, one-of-a-kind veining
- Pros: Premium character, depth, and natural variation; elevates resale appeal
- Cons: Many stones need sealing and can etch or stain (especially marble)
- Maintenance: Seal as recommended; wipe spills quickly; use pH-neutral stone cleaner
Material comparison:
- Marble: Iconic and luminous, but most prone to etching from acids (lemon, vinegar).
- Quartzite: Often more durable than marble and highly heat-resistant; still benefits from sealing.
- Granite: Durable and forgiving; pattern can be busier, which may hide seams well.
Porcelain slab (large-format sintered/porcelain panels)
- Best for: Modern kitchens, thin-profile backsplash panels, high-heat zones
- Pros: Highly heat resistant, stain resistant, UV stable, available in marble/concrete looks
- Cons: Fabrication and installation require specialized tools and experience; edges can be more prone to chipping if mishandled
- Maintenance: Easy wipe-down; minimal sealing concerns (often none)
Trend watch: Porcelain slab backsplashes are gaining popularity for full-height installations because they deliver a sleek look with strong performance behind ranges.
Stainless steel slab (or large sheet backsplash)
- Best for: Serious cooks, industrial or modern kitchens, easy sanitation
- Pros: Heat proof, wipeable, excellent behind cooktops
- Cons: Can show fingerprints and scratches; the aesthetic is more utilitarian
- Maintenance: Microfiber cloth and stainless cleaner; wipe with the grain
Design Approaches for a Truly Seamless Look
1) Match the countertop material for continuity
Using the same material on the counter and backsplash is the simplest way to get a cohesive kitchen design. If you’re choosing a veined surface, ask for:
- Vein-matched layout: Fabricator aligns the veining from counter to backsplash for a “wrap” effect.
- Bookmatching (optional): Mirrored slabs for a dramatic symmetrical feature behind the range.
2) Choose a backsplash thickness that fits your style
- 2 cm (about 3/4 inch): Feels substantial and luxe; may require more outlet planning due to thickness.
- 3 cm (about 1 1/4 inch): Heaviest and most expensive; usually overkill for backsplash unless you’re aiming for a monolithic look.
- Porcelain panels (often 6–12 mm): Sleek and modern; great for full-height walls.
3) Simplify the edges and transitions
Edge detailing can make or break that seamless effect. For most slab backsplashes, a clean edge is best:
- Straight polished edge for modern kitchens
- Eased edge (slightly softened) for a timeless look and fewer chips
- Mitred returns at ends for a finished, furniture-like detail on open walls
4) Plan outlets early for a cleaner wall
Outlets interrupt slab backsplashes more than tile because there’s no grout grid to disguise them. Work with your electrician and designer to consider:
- Under-cabinet plug mold (a discreet outlet strip mounted beneath uppers)
- Pop-up outlets in the countertop (ideal for islands; check code requirements)
- Fewer, better-placed outlets where allowed by local electrical codes
Measurements, Installation Notes, and What to Ask Your Fabricator
Key measurements to confirm
- Counter-to-upper height: Most commonly 18 inches, but verify if your uppers are higher for a more open look (sometimes 20–24 inches).
- Slab coverage behind range: Many homeowners choose 30–36 inches wide minimum (range width), or extend to the cabinet run for a more expansive feel.
- Full-height sections: Measure to ceiling and note any soffits, crown molding, or floating shelves.
- Outlet and switch locations: Confirm exact center points and heights before fabrication.
Questions to ask before ordering
- How many seams will the backsplash require, and where will they land?
- Can you vein-match or bookmatch the panels?
- What is the recommended adhesive for this material and wall condition?
- Will you scribe to uneven walls, and how will gaps be finished?
- What is the plan for outlet cutouts and cover plate fit?
Pro tip: address wall flatness
Large panels reveal wall imperfections. If your walls are wavy, discuss skim coating, straightening, or adding a backer board so the slab sits flush. This is one of the most overlooked steps in kitchen renovations involving slab backsplashes.
Cost Ranges and Budget Considerations
Slab backsplashes cost more than standard tile installations upfront, but can pay off in durability, ease of cleaning, and a premium look.
Typical installed cost ranges (US)
- Quartz slab backsplash: $50–$120 per sq. ft. installed (higher for premium colors and complex seam matching)
- Granite/quartzite: $60–$150+ per sq. ft. installed depending on slab pricing and fabrication
- Marble: $70–$180+ per sq. ft. installed (varies widely by stone type and availability)
- Porcelain panels: $70–$160+ per sq. ft. installed (often higher labor due to specialized handling)
- Stainless steel sheet: $40–$100+ per sq. ft. installed depending on gauge, backing, and detailing
Budget tips that still look custom
- Do standard height around the perimeter and go full height only behind the range.
- Choose a less expensive surface for the perimeter and splurge on one dramatic stone panel as a focal point.
- Use remnants if your fabricator has leftover slabs that match your design goals.
- Keep cutouts simple: Each outlet cutout and special edge detail adds labor cost.
Maintenance and Cleaning for a Slab Backsplash
A seamless backsplash is only “effortless” if you treat the surface correctly. Use these material-specific guidelines to protect your investment.
Daily/weekly cleaning routine
- Wipe with a soft cloth and warm water plus a small amount of mild dish soap.
- Dry after cleaning to prevent water spots, especially on darker stone and stainless.
- For grease near the cooktop, use a gentle degreaser approved for your surface.
Stone-specific care
- Seal natural stone as recommended (often every 6–24 months depending on product and use).
- Avoid acidic cleaners and vinegar on marble and many quartzites.
- Use trivets and control splatter with a quality range hood to reduce buildup.
Common Mistakes to Avoid
- Skipping seam planning: Random seam placement can make an expensive backsplash look patchwork.
- Not addressing outlets early: Last-minute outlet locations create awkward cuts and visible cover plates.
- Choosing marble without accepting patina: Marble is beautiful, but it will etch. If that will bother you, choose quartz or porcelain.
- Underestimating wall unevenness: Panels can crack or gap if the wall isn’t prepared.
- Using the wrong caulk: At the countertop-to-backsplash joint, use a color-matched flexible sealant (often silicone). Grout here will crack.
- Weak ventilation: A slab backsplash near cooking needs a capable range hood to reduce grease films and long-term staining.
FAQ: Kitchen Slab Backsplash Seamless Look
Is a slab backsplash better than tile?
For a seamless look and easy cleaning, yes—slabs reduce grout lines and create a continuous surface. Tile can be more budget-friendly and offers more texture and pattern options, but it typically won’t achieve the same uninterrupted visual flow.
Can I use the same slab as my countertop?
Yes, and it’s one of the most popular kitchen design approaches for a cohesive renovation. Ask your fabricator to plan the cuts so the backsplash and counter patterns align, especially with veined quartz, marble, or quartzite.
How high should a slab backsplash go?
Standard height is usually 18 inches from countertop to upper cabinets. Full-height (to ceiling or hood) is a strong choice for range walls or when you want a more architectural, modern kitchen look.
Does a slab backsplash need grout?
No. Slab backsplashes use seams (if needed) filled with color-matched epoxy or sealant, and the bottom joint at the countertop is typically finished with flexible silicone caulk. There’s no grout grid like tile.
Will heat damage a slab backsplash behind the range?
It depends on the material. Porcelain and many natural stones handle heat well. Quartz is more sensitive to high heat and may discolor if exposed to extreme temperatures; proper clearances and a good hood help, and some homeowners choose porcelain or stone behind the range for extra reassurance.
What’s the most low-maintenance slab backsplash material?
Quartz and porcelain are top choices for low-maintenance kitchens: they’re easy to wipe down and generally resist staining. Porcelain also excels in heat resistance.
Next Steps: How to Plan Your Slab Backsplash Like a Pro
- Decide on the look: matched countertop/backsplash for continuity, or a contrasting slab for a focal point.
- Choose the height strategy: standard, full-height, or hybrid (full-height at the range only).
- Map outlets and lighting: consider under-cabinet plug mold and integrated LED lighting for a clean wall.
- Confirm seams and slab layout: request a digital rendering or physical layout approval before fabrication.
- Plan maintenance: know whether you’ll need sealing and what cleaners are safe for your surface.
A well-planned kitchen slab backsplash delivers that seamless, elevated finish homeowners want—without sacrificing everyday functionality. For more practical kitchen renovation ideas, surface guides, and layout inspiration, explore the latest at thedecormag.com.
More Articles
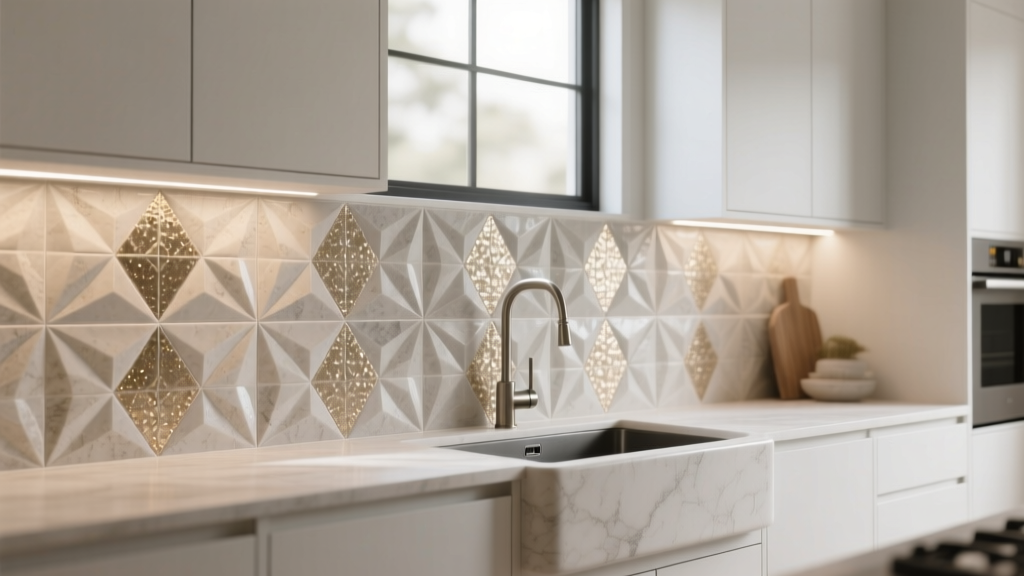 Kitchen Textured Backsplash Tile Trends - The Decor Mag
 Best Kitchen Specialty Ingredient Storage - The Decor Mag
 Open Kitchen Safety Tips: Practical, Evidence-Based Strategies for Modern Home Cooks
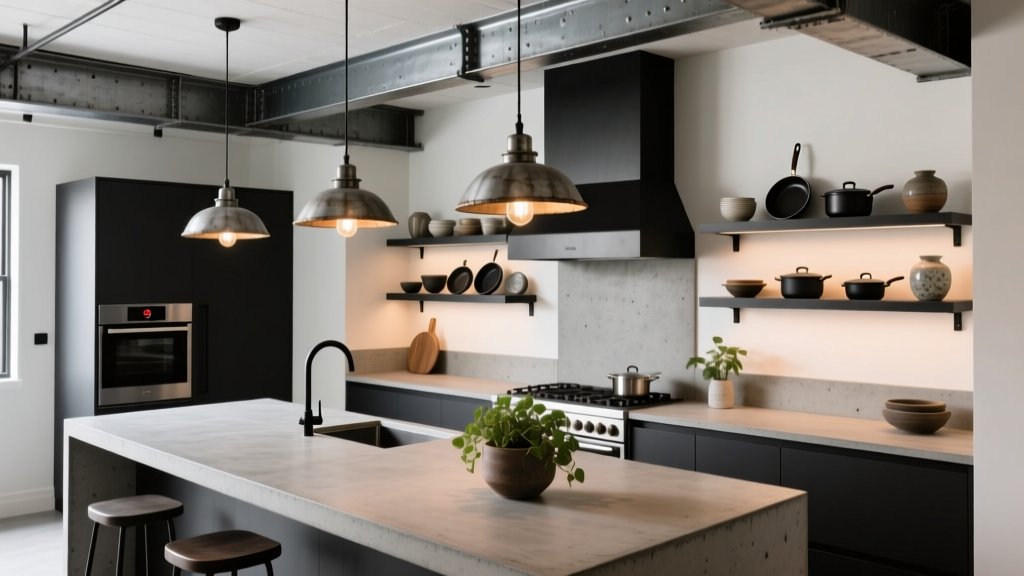 Industrial Kitchen Design Inspiration - The Decor Mag
 Kitchen Fluted Range Hood Cover Ideas - The Decor Mag
 Kitchen Curved Architectural Details - The Decor Mag
 Best Kitchen Trash Can Hideaway Solutions - The Decor Mag
 Warm & Inviting Kitchens: Design Tips (2026)
 Best Kitchen Coffee Equipment Storage (2026)
 Best Kitchen Appliance Cord Management - The Decor Mag