Kitchen Curved Island Design Trends - The Decor Mag
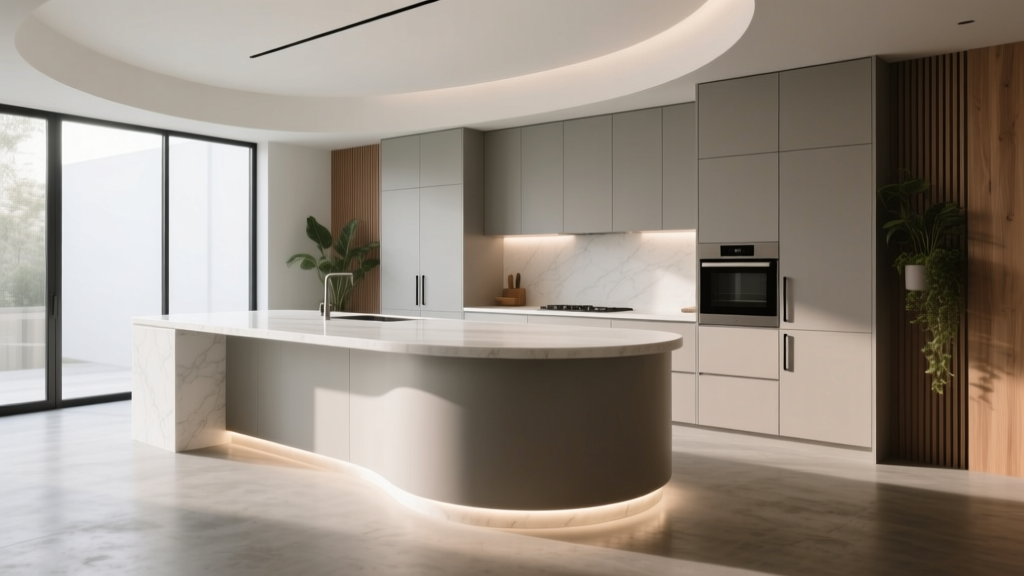
A kitchen island is often the most-used “piece of furniture” in the home—where meals are prepped, kids do homework, guests gather, and morning routines unfold. As homeowners lean into kitchens that feel more welcoming and less boxy, the curved island has emerged as one of the most practical (and beautiful) ways to soften the room while improving flow.
Curves aren’t just a style moment. A well-designed rounded or arched island can create better walkways, reduce sharp corner collisions, and make seating feel more conversational. When paired with the right materials and layout, a curved island becomes a timeless upgrade that supports everyday cooking, organization, and entertaining—especially in open-plan homes.
Below, you’ll find the latest curved island design trends, plus measurements, material recommendations, cost ranges, and the common mistakes that can turn a stunning island into an expensive frustration.
Why Curved Kitchen Islands Are Trending (and Why They Work)
Today’s kitchen renovation priorities center on comfort, flexibility, and a more “furnished” look. Curved islands naturally support these goals:
- Smoother traffic flow: Rounded edges make it easier to pass through high-traffic zones, especially between the sink, fridge, and range.
- More welcoming seating: Curved overhangs let guests face each other and the cook, turning seating into a gathering area instead of a row of stools.
- Softened visuals in open layouts: Curves break up hard lines when the kitchen opens to living/dining spaces.
- Safety and comfort: Fewer sharp corners is a real benefit for families with kids (and for adults navigating a busy kitchen).
From an aesthetics standpoint, curved islands pair well with current kitchen design trends—warm woods, textured stone, mixed metals, and statement lighting—while still delivering timeless functionality.
Popular Curved Island Design Trends for 2026
1) “Soft Rectangle” Islands: One Curved End for Better Flow
This is the most renovation-friendly approach: a standard rectangular island with one rounded end. It keeps cabinetry and countertop costs more manageable while improving circulation where people naturally pass.
Best for: Medium kitchens, narrow walkways, families who need seating on one side.
- Consider a radius of 8–18 inches on the rounded end for a subtle curve.
- Pair with waterfall legs (stone down the side) for a modern, sculptural look.
2) Full Curved “Arc” Islands for Conversation-First Seating
Arc-shaped islands are designed around seating and socializing. They typically curve along the seating side, creating a natural semicircle for stools. This layout is trending in open-concept remodels and entertainer kitchens.
Best for: Open-plan homes, frequent hosting, households that use the island as a dining spot.
- Plan for 24 inches of width per seat (30 inches is more comfortable, especially with arms or larger stools).
- Use a curved foot rail (brass or stainless) for comfort and durability.
3) Curved Waterfall Edges: Sculptural and Minimal
Waterfall edges remain popular, and curved waterfall legs are the next evolution—especially in quartz and porcelain slab applications. This trend looks high-end and works well with minimal cabinetry.
Best for: Contemporary kitchens, luxury renovations, homeowners prioritizing a standout centerpiece.
- Choose a low-movement stone look for a cleaner curve (heavy veining can look visually “broken” at the bend).
- Ask your fabricator about seam placement and miters; quality workmanship is everything with curved waterfalls.
4) Reeded, Fluted, or Slatted Curved Bases
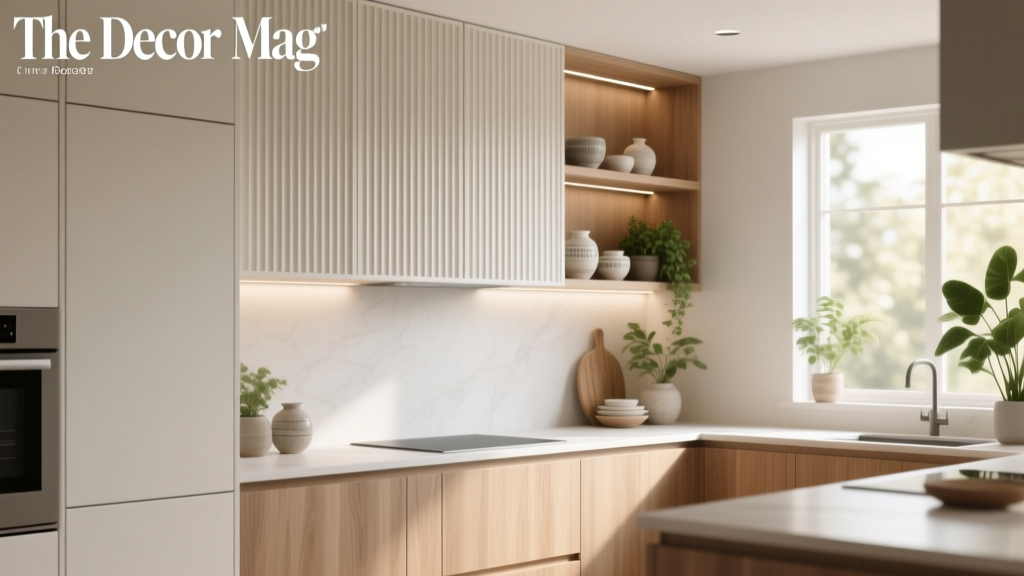
Texture is a major kitchen trend, and fluted cabinet fronts are showing up on curved island bases for a furniture-like feel. It adds warmth and hides scuffs better than flat paint.
Best for: Transitional kitchens, warm modern style, homeowners who want detail without ornate trim.
- Works beautifully with white oak, walnut, or painted MDF with applied fluting.
- Keep toe-kicks simple to avoid visual clutter.
5) Two-Tone Curved Islands: Dark Base, Light Top
Two-tone kitchens are still going strong, and curved islands are ideal for this contrast. A deeper base color (charcoal, deep green, navy, warm black) anchors the curve, while a light countertop keeps it airy.
Best for: Homeowners wanting visual interest without changing perimeter cabinetry.
- Matte or satin paint finishes help hide fingerprints on darker colors.
- Coordinate hardware and lighting finishes for a cohesive look.
Layout Planning: Measurements That Make a Curved Island Comfortable
A curved island should improve the kitchen’s work zones, not complicate them. Use these practical guidelines as a starting point (and confirm with your designer/contractor):
Clearances and Walkways
- Minimum clearance: 36 inches around the island (tight but workable in smaller kitchens).
- Recommended clearance: 42 inches for a one-cook kitchen.
- Busy/entertaining kitchens: 48 inches where multiple people pass behind seated guests or near appliances.
Seating Overhang and Spacing
- Counter overhang for stools: 12 inches minimum; 15 inches is more comfortable for adults.
- Knee clearance: Aim for 27–30 inches high clearance at seating (varies by stool height and counter thickness).
- Seat width allocation: 24 inches per stool (minimum), 30 inches per stool (ideal).
Island Size Recommendations
- Small kitchens: Consider a compact curved end island around 60–72 inches long and 30–36 inches deep (if clearances allow).
- Mid-size kitchens: 84–96 inches long and 36–42 inches deep often accommodates prep + seating.
- Large kitchens: 96+ inches long or a fully curved arc island can become a multi-zone hub (prep, seating, storage).
Practical tip: Tape out the island footprint on the floor (including the curve) and “walk” your daily routine—opening dishwasher, fridge, and oven doors—to confirm the layout before you commit.
Best Materials for Curved Islands (With Comparisons and Maintenance Advice)
Countertop Materials
-
Quartz (engineered stone): Highly popular for kitchen renovations because it’s low maintenance and consistent.
Pros: Stain-resistant, no sealing, many colors.
Cons: Can scorch with high heat; use trivets.
Maintenance: Mild soap + soft cloth; avoid harsh abrasives.
Curves: Excellent for gentle curves and eased edges; complex curved waterfalls require experienced fabrication. -
Porcelain slab: A rising favorite for contemporary kitchens due to durability and thin profiles.
Pros: Heat-resistant, UV-stable, stain-resistant.
Cons: Edge chipping can occur if impact is heavy; fabrication quality matters.
Maintenance: Easy daily wipe-down; avoid impact on edges.
Curves: Great for modern looks; discuss radius limits with the fabricator. -
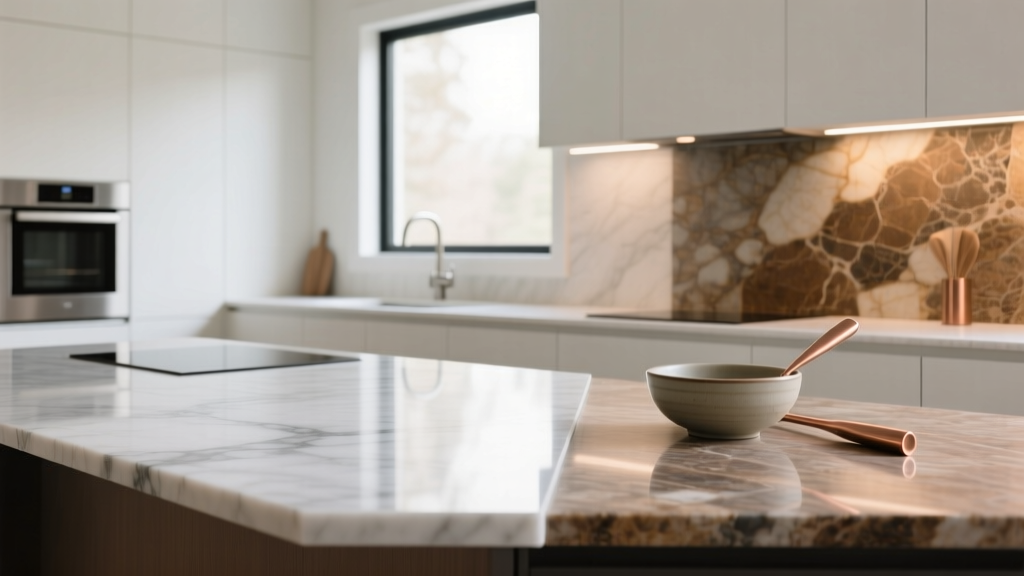
Natural stone (marble, quartzite, granite): Timeless and unique; best when you love natural variation.
Pros: One-of-a-kind beauty; strong resale appeal.
Cons: Marble can etch; some stones need sealing; variation affects seams.
Maintenance: Seal as recommended; wipe spills quickly; use cutting boards.
Curves: Feasible, but can increase cost due to templating and fabrication complexity. -
Butcher block (wood): Warm, inviting, and perfect for softer, organic kitchens.
Pros: Budget-friendly; adds warmth; can be refinished.
Cons: Requires regular oiling; susceptible to water damage near sinks.
Maintenance: Oil routinely; wipe water quickly; re-seal as needed.
Curves: Works well for rounded edges; choose a stable build (edge-grain/face-grain) and quality finish.
Base Materials and Cabinet Construction
- Plywood boxes: Strong, moisture-resistant, excellent for custom curved builds. Higher cost than particleboard.
- MDF (paint-grade): Smooth finish, great for painted curved panels or fluting. Keep it protected from standing water.
- Solid wood accents: Ideal for trim, slats, or furniture-style details. Expect natural movement; use skilled installers.
Recommendation: If your island includes a sink or dishwasher, prioritize moisture resistance (plywood boxes, quality edge banding, and a durable finish).
Design Approaches That Make Curved Islands Feel Intentional
Choose the Right Edge Profile
- Eased edge: Clean and modern; easiest to maintain.
- Rounded (bullnose or half-bullnose): Softer and family-friendly; helps prevent chips on corners.
- Ogee or detailed profiles: Better for traditional kitchens; can look busy on tight curves.
Lighting That Complements the Curve
- Use 2–3 pendants aligned with the arc, or a linear suspension fixture if the island is long.
- Keep pendants about 30–36 inches above the countertop (adjust for ceiling height and fixture scale).
- Warm LEDs (2700K–3000K) enhance wood tones and make stone veining look richer.
Storage and Organization Upgrades
A curved island can still be highly functional inside—especially when you plan storage zones intentionally.
- Deep drawers on the working side for pots, pans, and small appliances.
- Pull-out trash/recycling near prep zones (aim for 2 bins minimum).
- Tray dividers for baking sheets and cutting boards.
- Charging drawer with integrated power for phones/tablets (great for homework stations).
- Open shelving on the curved end for cookbooks or decorative bowls—best if your home leans styled and uncluttered.
Product-style recommendations: Look for full-extension, soft-close drawer slides; pull-out organizers with metal frames; and integrated outlets with USB-C where code allows. These upgrades often feel small during planning but pay off daily.
Cost Ranges and Budget Considerations
Curved islands can cost more than standard islands due to custom fabrication, curved panels, and more complex templating. Typical ranges vary by region and scope, but these guidelines help set expectations:
- Budget-friendly curved upgrade ($2,500–$6,000): Add a rounded end to an otherwise standard island, reuse existing layout, choose butcher block or entry-level quartz, limit plumbing/electrical changes.
- Mid-range custom curved island ($7,000–$18,000): Custom cabinetry with curved end panels, upgraded storage, quartz or quartzite counters, new lighting and electrical, possible appliance integration (microwave drawer, beverage fridge).
- High-end statement island ($20,000–$60,000+): Full arc shape, curved waterfall stone, premium slabs, integrated sink and faucet upgrades, specialty finishes (fluted wood), custom ventilation or cooktop, designer lighting.
Budget tip: If you love the look of a fully curved island but need to control costs, consider a “soft rectangle” with a curved seating end and a standard cabinet run behind it. You get the flow benefits without fully custom everything.
Common Mistakes to Avoid
- Ignoring clearances: A curve doesn’t fix tight walkways. Maintain 42–48 inches where people pass behind stools or near appliance doors.
- Overcomplicating the curve: Tight radii and complex S-curves can drive up fabrication costs and increase seam visibility.
- Not planning seating comfort: Inadequate overhang or cramped stool spacing makes the island look good but feel unusable.
- Choosing delicate finishes in high-traffic homes: High-gloss dark paint, soft marble, or high-maintenance grout may look stunning—until daily life hits.
- Forgetting outlet placement: Kitchen organization suffers if you can’t plug in mixers, charge devices, or run small appliances conveniently (and safely).
- Skimping on fabrication and installation: Curved counters and panels reveal flaws quickly. Vet fabricators, ask to see prior curved work, and confirm templating processes.
Maintenance Tips for a Curved Island That Stays Beautiful
- Protect edges: Curves are more touchable—people lean and bump more. Choose a durable edge profile and avoid placing heavy cast iron near the perimeter.
- Use heat protection: Even “tough” countertops can discolor; keep trivets within reach.
- Seal natural stone as needed: Follow your installer’s schedule; reseal more often in busy kitchens.
- Clean the base regularly: Curved toe-kicks and fluted details can collect dust; use a soft brush attachment weekly.
- Address chips quickly: Small edge chips in stone or porcelain can often be repaired; waiting can worsen damage.
FAQ: Curved Kitchen Island Design
Are curved kitchen islands timeless or just a trend?
Curves are trending now, but they’re rooted in timeless design principles: better flow, softer lines, and more comfortable gathering spaces. A simple curved end or subtle arc reads classic when paired with durable, neutral materials.
How much space do I need for a curved island?
Aim for at least 36 inches of clearance around the island, with 42 inches preferred. If you’re adding seating, 48 inches behind stools (or near major walkways) prevents bottlenecks.
What’s the most durable countertop for a curved island?
Quartz and porcelain are top choices for durability and ease of maintenance. If you love natural stone, quartzite is typically more resilient than marble for family kitchens, though sealing and care still matter.
Can I add a sink or cooktop to a curved island?
Yes, but it increases complexity and cost. Curved islands with sinks need careful planning for plumbing, dishwasher clearance, trash placement, and waterproofing. Curved islands with cooktops may require ventilation solutions and more safety clearance.
Is a curved waterfall edge worth the extra cost?
If your goal is a statement centerpiece, curved waterfalls deliver a sculptural, high-end look. If you’re value-focused, you can achieve a similar softness with a rounded end and a durable edge profile at a lower price.
What stool height works best for curved island seating?
For standard 36-inch counters, choose counter-height stools (typically 24–26 inches seat height). For 42-inch bar-height counters, use 28–30 inches seat height. Leave about 10–12 inches between the seat and the underside of the counter for comfort.
Next Steps: How to Plan Your Curved Island Renovation
- Measure your kitchen and mark clearances (including appliance door swings) before choosing an island shape.
- Decide the island’s primary job: prep, seating, storage, cooking, or all of the above.
- Select materials based on lifestyle: low-maintenance quartz/porcelain for busy homes; wood for warmth; natural stone for character.
- Get quotes early from cabinetmakers and countertop fabricators experienced with curves.
- Plan organization: drawer configurations, trash pull-outs, charging, and outlets should be designed from day one.
A curved kitchen island can be the upgrade that makes your renovation feel more comfortable, more functional, and more tailored to how you live. For more kitchen design, renovation planning, and organization ideas, explore the latest inspiration at thedecormag.com.
More Articles
 Kitchen Fluted Cabinet Door Trends - The Decor Mag
 Science for Beginners: Clear, Kitchen-Tested Principles You Can Use Today
 Kitchen Cabinet Depth Standards (2026)
 Best Kitchen Rug Options for Comfort - The Decor Mag
 Kitchen Quartz vs Granite Countertops - The Decor Mag
 Best Kitchen Cutting Board Storage - The Decor Mag
 Small Kitchen Storage Hacks That Work (2026)
 Open Shelf Kitchen Styling Tips - The Decor Mag
 How to Choose the Right Kitchen Hood Vent - The Decor Mag
 Kitchen Integrated Look Appliance Paneling - The Decor Mag