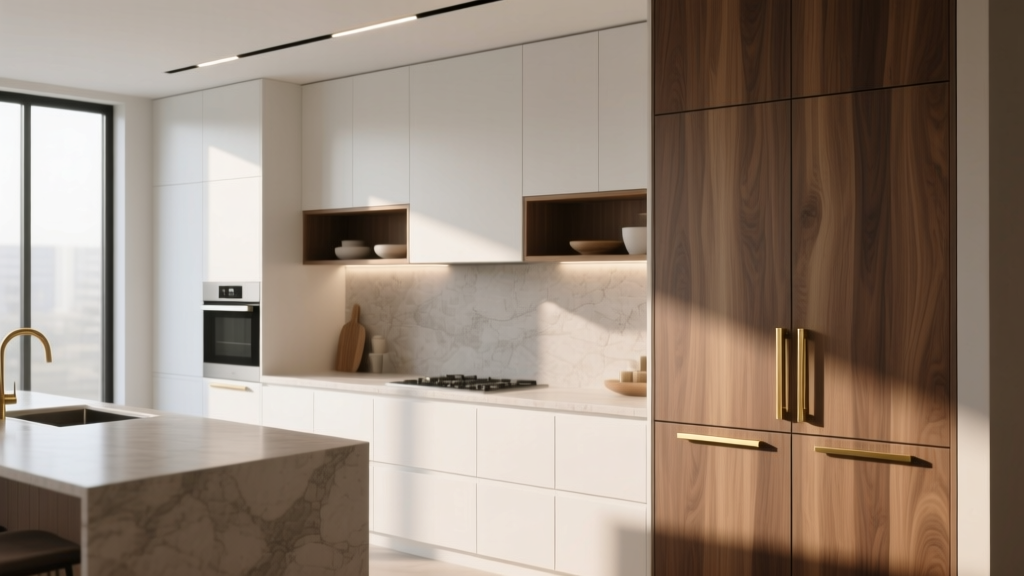
How to Mix Cabinet Finishes in a Kitchen - The Decor Mag
Mixing cabinet finishes is one of the most effective ways to give a kitchen personality without sacrificing function. Instead of a single wall of matching doors, a layered approach—painted and stained cabinetry, matte and glossy surfaces, warm wood and crisp color—adds depth, helps define zones, and can make a standard renovation feel custom.
It also solves real-world design challenges. Dark base cabinets can hide scuffs in high-traffic areas, while lighter uppers keep a room airy. A statement island in a contrasting finish can anchor the layout and create a focal point in open-concept homes where the kitchen is always on display.
Homeowners are also leaning into this look because it balances current kitchen design trends (warmer woods, softer paint colors, mixed metals) with timeless functionality. Done thoughtfully, mixed finishes look intentional—not chaotic—and can even stretch a renovation budget by using premium materials only where they’ll be seen and touched most.
What “Mixed Cabinet Finishes” Really Means
Mixing finishes doesn’t require a patchwork of random colors. In professional kitchen design, it’s a controlled strategy: two (sometimes three) coordinated finishes applied to specific cabinet groups to support the room’s architecture and workflow.
Common ways to mix cabinet finishes
- Two-tone perimeter cabinets: One finish for base cabinets, another for uppers.
- Contrasting island: Perimeter cabinets in one finish, the island in another.
- Feature run or beverage zone: A distinct finish on a coffee bar, pantry wall, or hutch-style cabinet.
- Material mix: Painted cabinetry paired with natural wood (oak, walnut) or a textured laminate.
- Sheen mix: Same color family, different sheen (matte vs satin) for subtle depth.
How many finishes should you use?
For most kitchens, two finishes is the sweet spot. Three can work in larger spaces, but only when one finish acts as a quiet “bridge” (often a warm wood tone or a neutral paint) so the room doesn’t feel busy.
Start With the Non-Negotiables: Layout, Light, and Flow
Before choosing finishes, consider what the kitchen needs to do. The best-looking mixed cabinetry still has to handle daily cooking, cleaning, and storage.
Use finishes to support the kitchen layout
- Galley kitchens: Keep uppers light to reduce visual weight; add contrast with darker bases for grounding.
- L-shaped kitchens: Use the second finish on the shorter run or on tall pantry cabinets to create balance.
- U-shaped kitchens: A contrasting island (if you have one) is often cleaner than mixing finishes on three sides.
- Open-concept kitchens: Choose island cabinetry that coordinates with adjacent living/dining furniture woods and tones.
Plan around natural light and ceiling height
Light changes how paint and wood reads. A north-facing kitchen can make whites look cool and gray; warm-toned woods and creamy neutrals help counteract that. In low-ceiling kitchens (8 ft or less), lighter uppers and a similar wall color visually lift the room.
Quick measurement tip: If your upper cabinets run to an 8-ft ceiling, a lighter upper finish minimizes the “block” effect. For ceilings 9 ft+, taller uppers or stacked cabinets can handle a deeper color without shrinking the room.
Choose a Cohesive Color Strategy (So Mixed Looks Intentional)
A reliable approach is to pick one “anchor” finish and one “accent” finish. The anchor is usually the larger surface area (perimeter cabinets). The accent is the island, beverage center, or a bank of tall cabinets.
Three color formulas designers rely on
- Light + dark: Warm white uppers with charcoal, navy, deep green, or espresso bases.
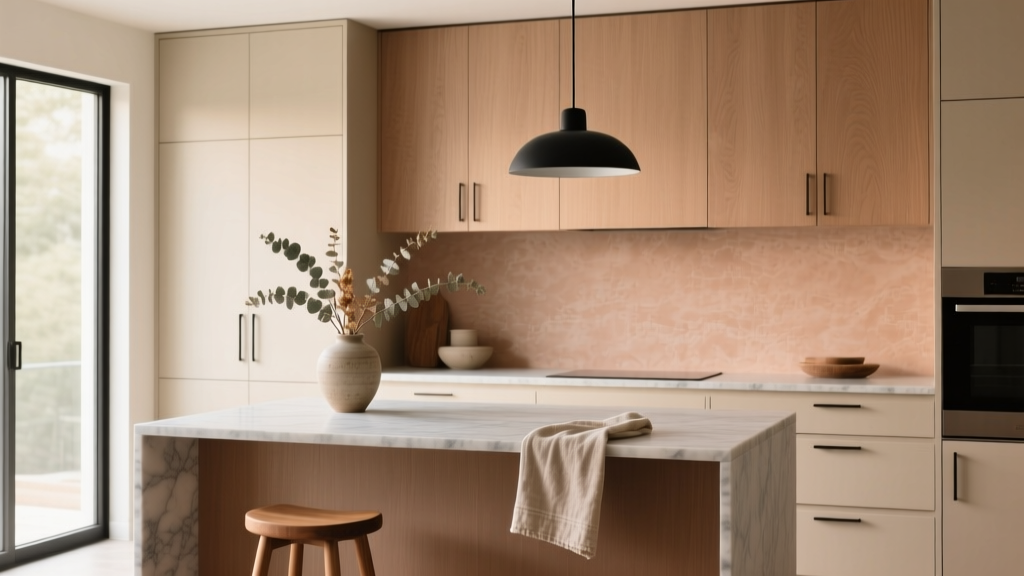
- Neutral + wood: Painted perimeter cabinets paired with oak or walnut on the island or pantry wall.
- Monochrome + texture: Similar tones (greige + taupe) with different materials (paint + rift-sawn oak) for a quiet, upscale look.
Trending combinations that still feel timeless
- Warm white + natural oak: A go-to in modern organic kitchens.
- Greige + walnut: Softer than stark gray/white, with long-term staying power.
- Deep green + brass + light wood: Popular now, especially with earthy stone countertops.
- Soft black (or charcoal) + warm white: High contrast that pairs well with many hardware finishes.
Undertone check (the detail that prevents regret)
Match undertones across the fixed elements you’re not changing easily—flooring, countertops, and backsplash.
- Warm undertones: cream, beige, greige, honey oak, walnut, brass.
- Cool undertones: crisp white, blue-gray, espresso with cool cast, chrome, some marbles.
If your countertop has warm veining, warm up your “white.” If your floors are cool gray, avoid yellow-heavy whites and orange-toned stains.
Material Recommendations: Paint, Stain, Thermofoil, and Laminate
Mixing finishes is also about mixing materials intelligently. Each has pros, cons, cost implications, and maintenance needs.
Painted cabinetry (classic and versatile)
- Best for: Perimeter cabinets, uppers, built-ins.
- Pros: Huge color range; easy to coordinate; timeless in Shaker styles.
- Cons: Can chip on edges in high-traffic zones (especially around trash pull-outs).
- Maintenance: Clean with mild dish soap and water; avoid abrasive scrubbers. Touch-up kit recommended.
Stained wood (adds warmth and hides wear)
- Best for: Islands, tall pantry runs, statement hood surrounds.
- Pros: Natural variation adds depth; disguises small dings better than paint.
- Cons: Harder to match later; stain samples can vary by wood species.
- Maintenance: Use a damp microfiber cloth; avoid soaking seams. Reapply protective finish if wear shows over years.
Thermofoil and laminates (budget-friendly, easy-clean)
- Best for: Rentals, secondary kitchens, modern slab-front designs.
- Pros: Consistent color; wipeable; lower cost.
- Cons: Heat sensitivity near ovens; edges can peel if low quality.
- Maintenance: Gentle cleaner; keep heat sources vented properly; use filler panels and heat shields where needed.
Material pairing ideas that work
- Painted perimeter + stained wood island: A balanced “designer” look.
- Painted bases + light wood uppers: Great for contemporary kitchens; keeps uppers from feeling heavy.
- Textured laminate island + painted cabinets: Adds tactile contrast in a budget-conscious renovation.
Where to Mix Finishes for Maximum Impact
Strategic placement keeps the kitchen organized visually and functionally. Think in zones: cooking, prep, storage, entertaining.
1) The island (the easiest win)
The island is a natural focal point. A wood or darker painted island grounds the room and hides everyday wear from stools, shoes, and traffic.
- Proportion tip: If your island is large (roughly 7 ft+ long or 25+ sq ft of footprint), a contrasting finish looks intentional. On a small island, high contrast can feel abrupt—choose a softer variation instead.
- Organization add-on: Pair an island finish change with functional upgrades like trash pull-outs, a microwave drawer, or deep drawer stacks for pots.
2) Base vs upper cabinets (lighten the visual load)
Two-tone perimeter cabinets are ideal for kitchens where uppers feel bulky. Light uppers make the space feel taller and brighter, while darker bases add stability.
- Recommended approach: Keep uppers within a “quiet” range (warm white, cream, pale greige). Let bases carry the bolder tone.
- Backsplash bonus: Light uppers also let you choose a more expressive backsplash without competition.
3) Tall cabinets and pantry walls (create a built-in look)
Using a distinct finish on tall cabinetry can make it read like furniture rather than a wall of storage. This works especially well with paneled refrigerator columns and a pantry run.
- Measurement tip: Tall pantry cabinets are often 84 in, 90 in, or 96 in high. If you’re mixing finishes, consider keeping all tall units in one finish so the vertical elements feel consistent.
4) A beverage or coffee station (small zone, big payoff)
A dedicated coffee bar is a current kitchen renovation favorite and a smart place to introduce wood shelving or a darker cabinet finish.
- Planning tip: Allow at least 18–24 inches of counter width for a coffee machine setup, plus nearby drawer storage for pods, filters, and mugs.
Hardware, Countertops, and Lighting: The “Bridge” Elements
Mixed cabinet finishes look cohesive when you repeat connecting materials across the room.
Hardware recommendations
- Use one hardware finish across all cabinets for simplicity (brushed nickel, satin brass, matte black).
- If you want mixed metals, keep it controlled:
- One finish for cabinet hardware
- One finish for lighting/plumbing
- Size guidance: For drawers, consider pulls that are roughly 1/3 the drawer width. For standard doors, 5–6 inch pulls are a comfortable default.
Countertop pairing ideas
- White quartz: Works with nearly any mix; excellent for a clean, bright kitchen.
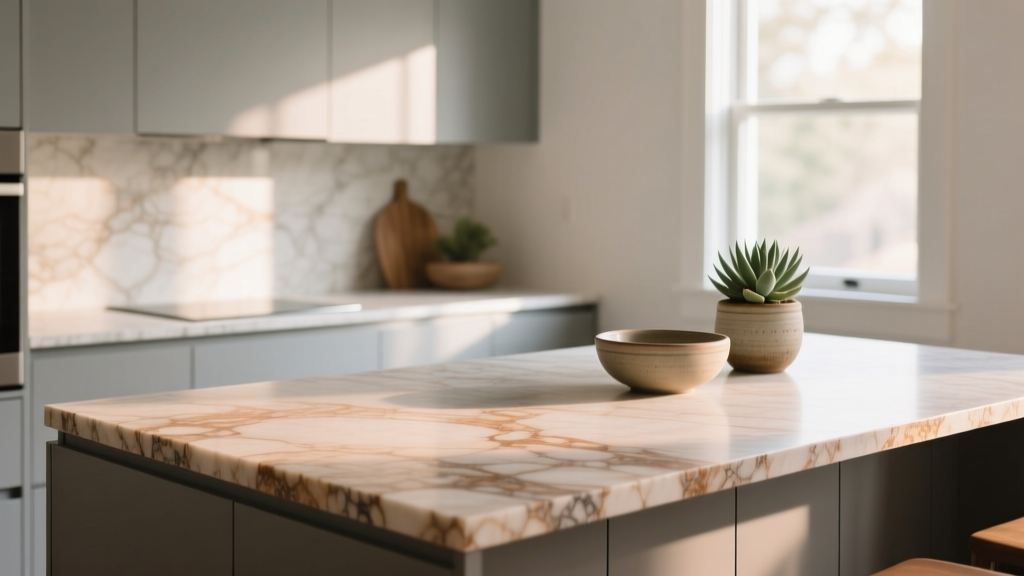
- Quartz with warm veining: Pairs beautifully with oak/walnut and creamy paint colors.
- Butcher block (selectively): Adds warmth when you’ve got lots of paint; best as a small run or island top for maintenance reasons.
Lighting that flatters mixed finishes
Choose warm, welcoming color temperature so paint and wood feel rich rather than flat. For most kitchens, aim for 2700K–3000K LED lighting. Add under-cabinet lighting to prevent darker base finishes from feeling too heavy.
Budget and Cost Ranges (What to Expect)
Costs vary widely by door style, construction quality, and region, but these ranges help with early planning.
Cabinet cost ranges (installed, typical)
- Stock/semi-custom painted cabinets: $200–$600 per linear foot
- Semi-custom with mixed finishes (paint + stain upgrade): $300–$800 per linear foot
- Custom cabinetry with premium wood species/finishes: $800–$1,500+ per linear foot
Where mixing finishes can save money
- Use stained wood only on the island and choose a more budget-friendly painted finish for the perimeter.
- Keep door styles consistent (same Shaker profile) even if finishes change—this prevents the need for fully custom detailing.
- Prioritize upgrades in touch zones: soft-close hinges, durable drawer glides, and better interior organization matter more than exotic finishes everywhere.
Budget line items to remember
- Finish upgrades for stain matching and specialty paints
- Additional panels for islands and appliance surrounds
- Under-cabinet lighting and electrical work for beverage stations
- Hardware (often $8–$30+ per piece; kitchens add up quickly)
Maintenance Advice (So Mixed Finishes Stay Beautiful)
- Painted cabinets: Wipe spills quickly, especially near sinks and trash pull-outs. Use felt pads on trash bins and pull-outs to reduce scuffs.
- Wood cabinets: Keep away from prolonged moisture; avoid oil-based cleaners that can leave residue.
- High-gloss or dark finishes: Expect fingerprints; microfiber cloths and a gentle cleaner are your best friend.
- Heat zones: Use venting properly and consider heat shields beside ranges to protect thermofoil/laminate edges.
Common Mistakes to Avoid
- Choosing finishes in isolation: Always sample next to countertops, flooring, and backsplash tile in your home’s lighting.
- Mixing undertones accidentally: Cool gray paint + orange-toned stain is a common clash.
- Too many statements: If cabinets are mixed, keep at least one major element calm (countertops or backsplash).
- Inconsistent door styles: Mixing slab uppers with ornate raised-panel lowers often reads disjointed unless the whole home is eclectic by design.
- Ignoring function: A dramatic island finish won’t matter if you’re short on drawer storage or task lighting.
- Forgetting the transition to adjacent rooms: In open layouts, make sure wood tones relate to nearby flooring or furniture.
FAQ: Mixing Cabinet Finishes in a Kitchen
Should upper and lower cabinets be different colors?
They don’t have to be, but it’s a reliable way to make a kitchen feel lighter and more custom. Light uppers with darker bases is the most universally flattering combination, especially in smaller kitchens.
Can I mix wood cabinets with painted cabinets without it looking dated?
Yes—choose a wood tone that feels intentional (often white oak or walnut) and pair it with warm, modern paint colors (creamy white, greige, muted green). Keeping the door style consistent also helps the look feel current.
What’s the easiest mixed-finish upgrade without replacing all cabinets?
Paint the island or replace just the island doors, then add new hardware throughout for a cohesive refresh. This approach is popular in kitchen remodels where perimeter cabinets are still in good condition.
How do I choose the right stain color for an island?
Start with your floor undertone and countertop veining. If floors are warm, lean toward oak or walnut stains with warmth; if floors are cool, choose a more neutral stain. Always test a sample on the actual wood species you’ll use.
Will mixed finishes hurt resale value?
Not when the palette is cohesive and the layout is functional. Two-finish kitchens are common in today’s market and often read as a thoughtful, higher-end renovation—especially when tied together with consistent hardware and quality lighting.
What cabinet finish is most forgiving for kids and pets?
Mid-tone stains, textured wood grains, and satin paints hide fingerprints and minor scuffs better than high-gloss or very dark finishes. Durable door construction and quality topcoats matter as much as color.
Next Steps: Plan Your Mix Like a Designer
To mix cabinet finishes successfully, commit to a simple plan: choose an anchor finish, an accent finish, and one or two “bridge” elements (hardware, lighting, countertop tone) that repeat throughout the kitchen. Order large samples, view them in morning and evening light, and decide where contrast will support how you cook and move through the space.
If you’re mapping out a kitchen renovation, sketch your cabinet layout and label the zones—perimeter, island, tall storage, beverage area—then assign finishes based on visibility and wear. You’ll end up with a kitchen that looks layered, organized, and built for everyday life.
For more cabinet ideas, kitchen organization tips, and renovation-ready design inspiration, explore the latest guides on thedecormag.com.
More Articles
 How to Design a Kitchen Work Triangle - The Decor Mag
 Best Kitchen Baking Sheet Organization - The Decor Mag
 Science for Beginners: Clear, Kitchen-Tested Principles You Can Use Today
 How to Choose Kitchen Sink Configuration - The Decor Mag
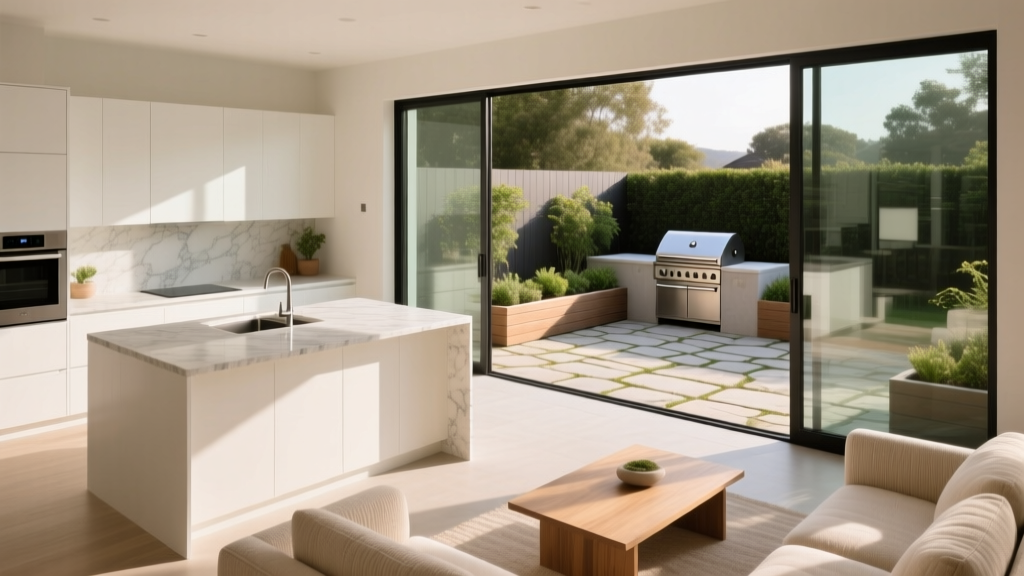 Kitchen to Outdoor Flow Design (2026)
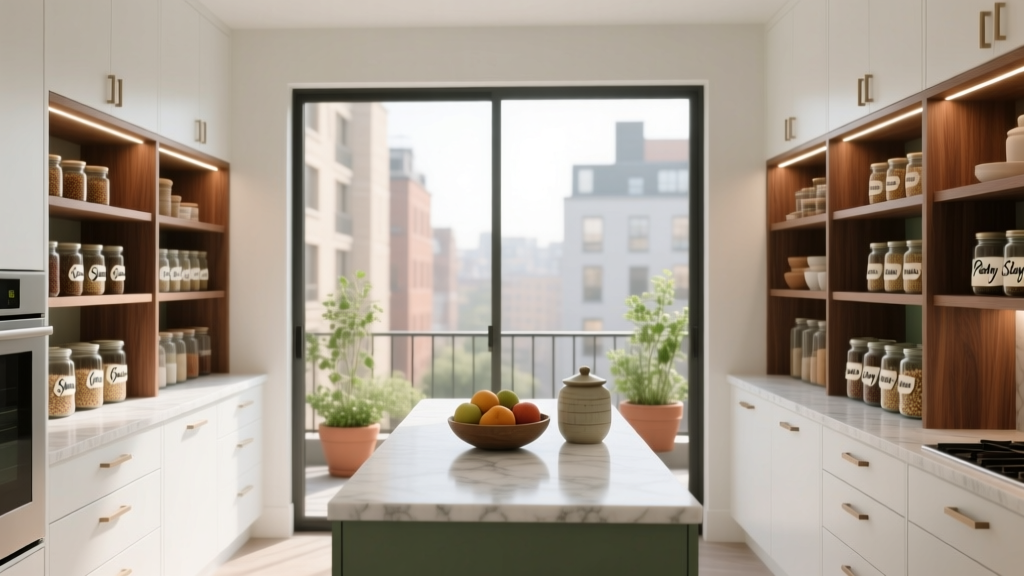 Kitchen Butlers Pantry Design Guide - The Decor Mag
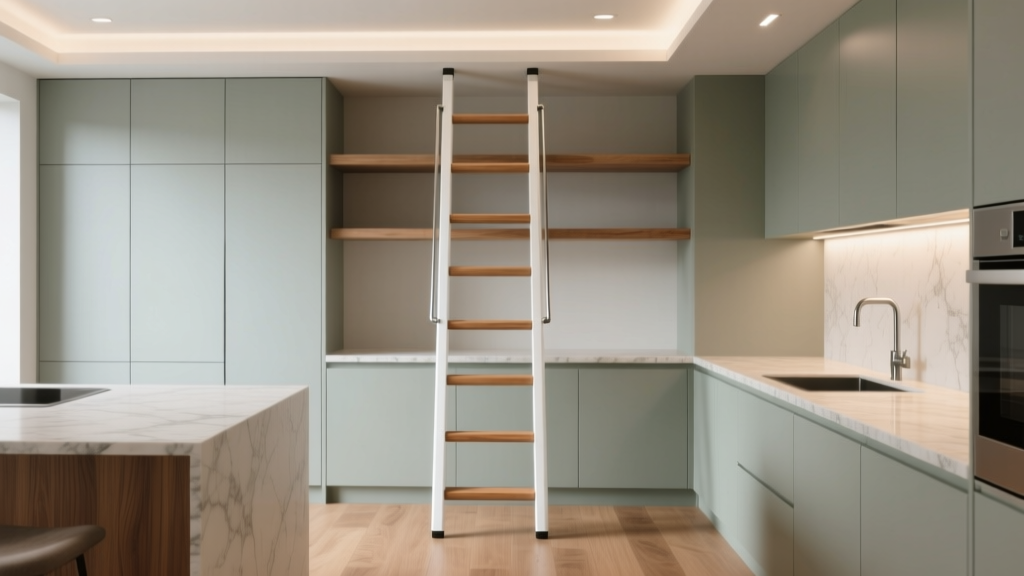 Best Kitchen Ladder for High Shelf Access - The Decor Mag
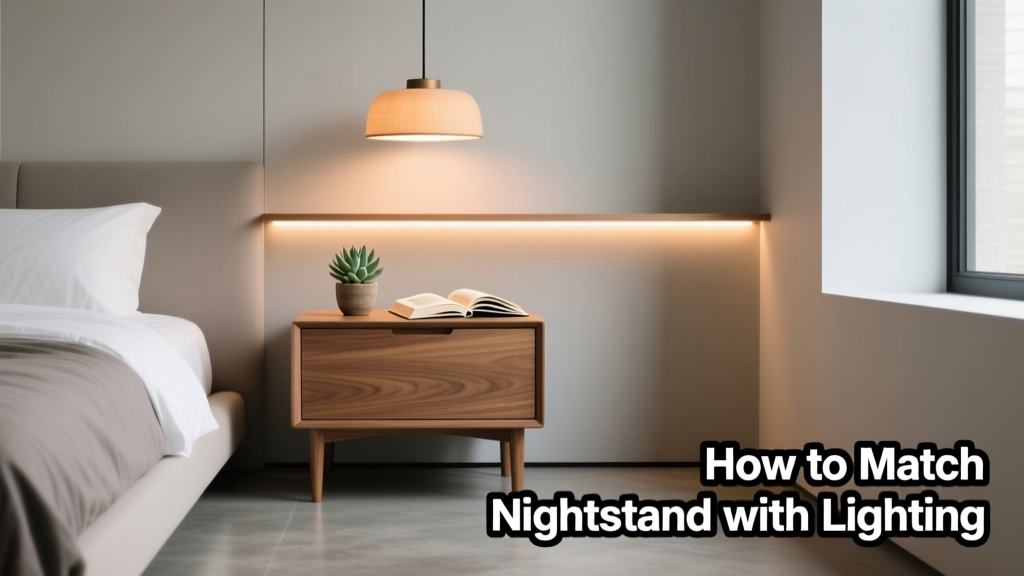 How To Match Nightstand With Lighting: A Practical, Design-Forward Guide
 Kitchen Warm Neutral Cabinet Colors - The Decor Mag
 Kitchen Leathered Quartzite Countertops - The Decor Mag