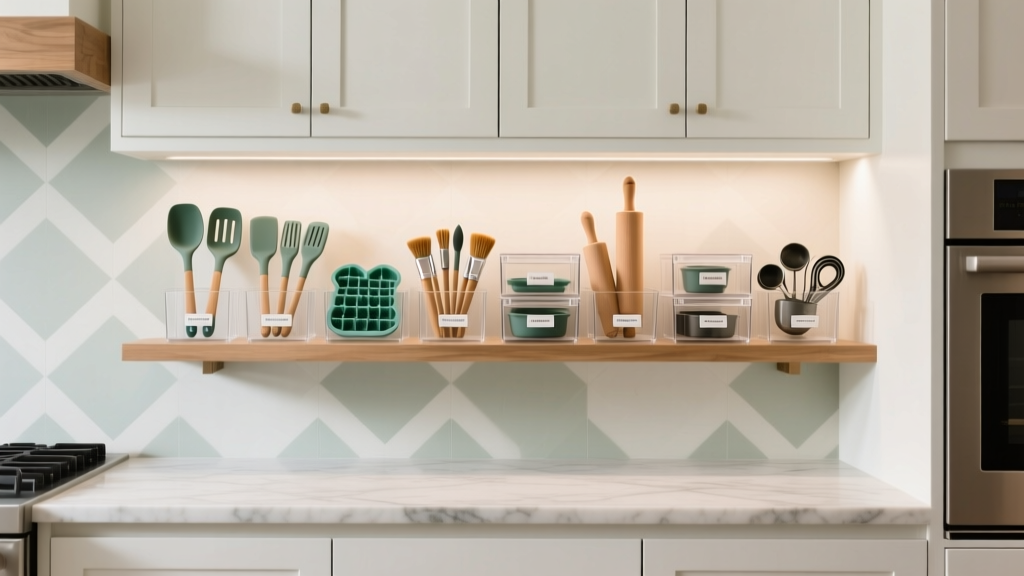
Best Kitchen Baking Tool Organization (2026)
A well-designed kitchen doesn’t just look beautiful—it performs. For avid home bakers, the difference between a frustrating baking session and a smooth, enjoyable one often comes down to how specialty baking tools are stored. Piping tips, cookie cutters, rolling pins, cake pans, proofing baskets, and stand mixer attachments are notoriously awkward to organize. They’re small, oddly shaped, easily duplicated, and frequently scattered across drawers and cabinets that were never designed for them.
If you’re planning a kitchen renovation or simply upgrading your kitchen organization, dedicating storage to baking tools pays off quickly. You’ll protect expensive equipment, reclaim counter space, reduce clutter, and make everyday baking faster. Better still, a smart system can be built into nearly any kitchen layout—galley, L-shaped, U-shaped, or open-concept—using a mix of timeless functionality principles and current kitchen design trends like integrated organizers, hidden pantries, and appliance garages.
Below is a practical, design-forward guide to the best ways to organize specialty baking tools, with layout ideas, specific measurements, material recommendations, budget ranges, and common mistakes to avoid.
Plan First: Audit Your Baking Tools and Define Your “Baking Zone”
Do a quick inventory (and be realistic)
Before buying bins or adding drawer inserts, take 20 minutes to list what you actually use. Most homeowners have “tool drift”—duplicates of measuring cups, multiple muffin tins, or rarely used novelty pans.
- Daily/weekly tools: measuring cups/spoons, silicone spatulas, whisks, mixing bowls, sheet pans, cooling racks
- Occasional specialty: piping bags and tips, tart rings, springform pans, bread lame, proofing baskets (bannetons)
- Seasonal/holiday: cookie cutters, shaped cake pans, decorative sprinkles and sanding sugars
Choose the right baking zone location
In kitchen design, the best organization follows workflow. A baking zone ideally sits near:
- Counter space: at least 30–36 inches of uninterrupted prep surface
- Oven: within a few steps for safe sheet-pan transfer
- Stand mixer location: either on the counter or in an appliance garage
- Pantry/flour storage: nearby to reduce trips across the kitchen
Renovation tip: If you’re redesigning cabinetry, aim for a dedicated 24–36 inch wide cabinet run (base + uppers) as a “baking hub.” Even a single 24-inch base cabinet with the right interior accessories can transform your storage.
Best Storage Layouts for Specialty Baking Tools
1) Deep drawer base cabinets (the gold standard for bakers)
Deep drawers are one of the most requested kitchen renovation upgrades—and for good reason. They’re more ergonomic than lower cabinets with shelves, and they let you store baking tools in a single layer (or neatly stacked) so you can see everything.
Recommended drawer dimensions (guideline ranges):
- Top drawer: 3–5 inches high for small tools and attachments
- Middle drawer: 6–10 inches high for mixing bowls, small appliances, containers
- Bottom drawer: 10–14 inches high for pots, large pans, bulk items
- Drawer depth: 21–24 inches is ideal for sheet pans and cutting boards
Best uses: piping kits, cookie cutters, pastry brushes, cupcake liners, cake boards, baking weights, hand mixer, digital scale.
Design trend tie-in: Many homeowners are choosing handleless, soft-close drawers with integrated organizers—sleek, minimal on the outside, highly functional inside.
2) Vertical tray dividers for sheet pans, cooling racks, and cutting boards
If you’ve ever wrestled a stack of sheet pans out of a cabinet, you already know why vertical storage matters. It prevents scratches, saves time, and keeps heavy bakeware from “avalanche stacking.”
Where to place them:
- In a 12–18 inch wide base cabinet near the oven
- In a tall pantry cabinet for extra capacity
- As a pull-out tray divider if space is tight
Slot spacing: Aim for 1.5–2 inches per slot for standard sheet pans and racks. If you store thick items (pizza stones, large cutting boards), allow 2.5–3 inches for a few wider sections.
3) Peg drawers and adjustable dividers for odd-shaped tools
Peg drawers (popularized by premium European cabinetry) are a practical, timeless solution for bowls, small pans, and containers. Adjustable pegs prevent sliding and clanking—especially useful for nesting mixing bowls and delicate bakeware.
Best for:
- Stainless mixing bowls and glass bowls
- Small cake pans and tart pans
- Food storage for pre-measured ingredients
Material choice: Hard maple pegs and a sealed wood base look warm and high-end. High-quality plastic peg systems are easier to clean and often more budget-friendly.
4) Appliance garage or lift-up mixer cabinet for stand mixer storage
Stand mixers are heavy (often 20–30+ pounds). Storing them too low is hard on your back; leaving them on the counter can crowd your workspace. Two design-forward solutions:
- Appliance garage: A dedicated counter nook with a door (tambour, pocket door, or lift-up). Great for keeping the mixer accessible while hiding cords and clutter.
- Mixer lift in a base cabinet: A pull-up platform that raises the mixer to counter height.
Clearance guideline: Plan roughly 15–18 inches of vertical clearance above the mixer for comfortable use, especially if you’ll add ingredients while mixing.
Budget range: Mixer lift hardware typically runs $150–$400 (plus installation). An appliance garage is more cabinetry-dependent and may add $500–$2,500+ depending on door style and finishes.
Organizing by Category: Tool-by-Tool Solutions That Work
Cookie cutters, piping tips, and small specialty pieces
These are the “tiny clutter culprits.” The goal is containment + visibility.
- Clear, lidded bins in a top drawer to prevent migration
- Drawer organizers with small compartments for tips and couplers
- Labeling: “Round tips,” “Star tips,” “Holiday cutters,” “Fondant tools”
Pro measurement tip: Choose drawer bins that are 2–3 inches tall for shallow drawers; taller bins waste vertical space and cause stacking.
Rolling pins, pastry mats, and long tools
Long tools do best in long, uninterrupted storage.
- Wide drawer (30–36 inches): best option if your layout allows
- Vertical bin inside a tall cabinet: great for silicone mats and poster-style rolling pin storage
- Wall rail with hooks: works in a baking nook, but keep it minimal for a clean kitchen design look
Maintenance advice: Wooden rolling pins should be kept dry and occasionally conditioned with food-safe mineral oil. Avoid sealing them in airtight containers while damp.
Mixing bowls, proofing baskets, and bulky bakeware
Bulky items need breathable, accessible storage.
- Deep drawers: nest bowls with a liner to reduce noise and wear
- Open-weave bins for bannetons (proofing baskets) to prevent trapped moisture
- Pan protectors (felt or fabric) between nonstick pans to prevent scratches
Flours, sugars, sprinkles, and baking decor
A baking pantry system is one of the most satisfying kitchen organization upgrades—especially during renovations when you can add a tall pantry cabinet or pull-out pantry.
- Airtight containers: square/rectangular canisters maximize shelf efficiency
- Lazy Susans: for small bottles (extracts, food coloring)
- Shallow bins: for sprinkles, piping gels, and decorations
Container material comparison:
- Plastic (BPA-free): lightweight, affordable; may stain from colorings over time
- Glass: best for odor resistance and longevity; heavier and can chip
- Stainless steel: durable, light-blocking; not transparent, so labeling is essential
Budget range: A cohesive pantry container set typically costs $50–$200. Premium modular systems can run $200–$500+ depending on brand and quantity.
Materials and Hardware: What Holds Up in Real Kitchens
Drawer boxes and slides
- Plywood drawer boxes (dovetailed if possible) outperform particleboard in longevity
- Soft-close full-extension slides are worth the upgrade—especially for heavy bakeware drawers
- Weight rating: choose 75–100 lb rated slides for deep drawers storing pans and small appliances
Drawer liners and interior finishes
- Textured liners: reduce sliding for metal tools and pans
- Washable EVA liners: easy maintenance, budget-friendly
- Custom-fit liners: higher cost but a polished, built-in look
Best countertop pairing for a baking zone
Current kitchen design trends favor durable, low-maintenance surfaces, but bakers also care about texture and temperature.
- Quartz: durable and consistent; great for everyday baking and easy cleanup
- Butcher block: warm and forgiving; requires regular sealing and careful moisture management
- Marble (or marble insert): ideal for pastry work due to cool surface; etches easily and needs more maintenance
Design approach: Consider a small marble or quartzite baking station insert (24–36 inches wide) within a larger quartz countertop plan for a balance of beauty and practicality.
Budget Considerations: From Quick Wins to Renovation-Level Upgrades
Under $100: Fast organization upgrades
- Clear lidded bins for drawers and pantry shelves
- Non-slip drawer liners
- Basic tray dividers (free-standing)
- Label system (water-resistant labels)
$100–$500: High-impact improvements
- Pull-out tray dividers
- Quality drawer inserts for utensils and small baking tools
- Lazy Susans and pull-out bins for a baking pantry shelf
- Upgraded canister system for flour and sugar storage
$500–$3,000+: Renovation-level specialty storage
- New deep drawer base cabinets near the oven
- Mixer lift cabinet hardware + professional installation
- Appliance garage with pocket doors
- Tall pantry cabinet with rollout trays
Renovation planning tip: If you’re prioritizing upgrades, start with deep drawers + vertical tray storage. Those two changes deliver the most day-to-day improvement for bakers.
Common Mistakes to Avoid
- Storing sheet pans horizontally in stacks: leads to noisy, inconvenient access and scratched finishes.
- Overbuying organizers before measuring: always measure internal drawer dimensions (width, depth, and height) and account for drawer box thickness.
- Ignoring workflow: placing baking tools far from the oven or primary prep surface creates unnecessary steps.
- Using open shelving for every item: it can look cluttered quickly; reserve open shelves for a few display-worthy pieces.
- Not planning for “growth”: bakers tend to accumulate tools. Leave 10–20% empty space in your system for future additions.
- Storing moisture-sensitive tools in airtight bins: bannetons and wooden tools need airflow to prevent odors and mildew.
Maintenance Advice: Keep Your System Clean and Functional
- Monthly reset: wipe drawers and organizers with a mild soap solution; dry thoroughly before replacing items.
- Prevent pantry pests: store flour and sugar in sealed containers; vacuum pantry corners quarterly.
- Label upkeep: use water-resistant labels or label holders; update categories when tools change.
- Protect nonstick surfaces: use pan separators and avoid metal-on-metal stacking.
FAQ: Kitchen Specialty Baking Tool Organization
What’s the best cabinet type for baking tools in a kitchen renovation?
Deep, full-extension drawers in a base cabinet are the most versatile. Pair them with a narrow vertical tray divider cabinet near the oven for sheet pans and cooling racks.
How much space should I dedicate to a baking zone?
A practical minimum is a 24-inch base cabinet plus 30–36 inches of counter space. If you bake often, a 36-inch drawer base and a nearby pantry section (or pull-out) makes the zone feel effortless.
Are pull-out organizers worth it?
For bakers, yes—especially pull-out tray dividers and rollout pantry trays. They improve visibility, reduce bending, and make heavy bakeware safer to access.
What’s the best way to store cookie cutters and piping tips?
Use shallow drawer bins with lids or compartmented organizers, sorted by category. Clear containers reduce duplicates because you can see what you already own.
Quartz or butcher block for a baking counter—what’s better?
Quartz wins for durability and low maintenance, while butcher block offers warmth and a softer working feel but needs regular sealing. Many homeowners choose quartz for the main counters and add a small pastry-friendly insert if they do precision baking.
How do I keep baking drawers from becoming cluttered again?
Use a “one-category-per-drawer section” rule, label bins, and keep a small empty buffer space. A 5-minute weekly reset (returning items to their labeled zones) prevents buildup.
Next Steps: Build a Baking Organization Plan That Fits Your Kitchen
Start by measuring your drawers and cabinets, then map your baking workflow—prep space, oven access, pantry storage, and mixer location. Upgrade the fundamentals first: deep drawers for daily tools, vertical storage for trays and racks, and a contained system for small specialty items. With the right layout and materials, your kitchen organization becomes a lasting feature of your kitchen design—not a temporary fix.
If you’re looking for more renovation-smart storage ideas, cabinetry guidance, and timeless kitchen design inspiration, explore more kitchen ideas on thedecormag.com.
More Articles
 Kitchen Countertop Edge Profiles: Best Choices (2026)
 Kitchen Waterfall Island Design Ideas - The Decor Mag
 Kitchen Herringbone Backsplash Installation - The Decor Mag
 Statement Kitchen Lighting Design (2026)
 Best Kitchen Faucet Styles for 2026 - The Decor Mag
 Best Kitchen Small Appliance Storage - The Decor Mag
 Best Pendant Lights for Kitchen Islands - The Decor Mag
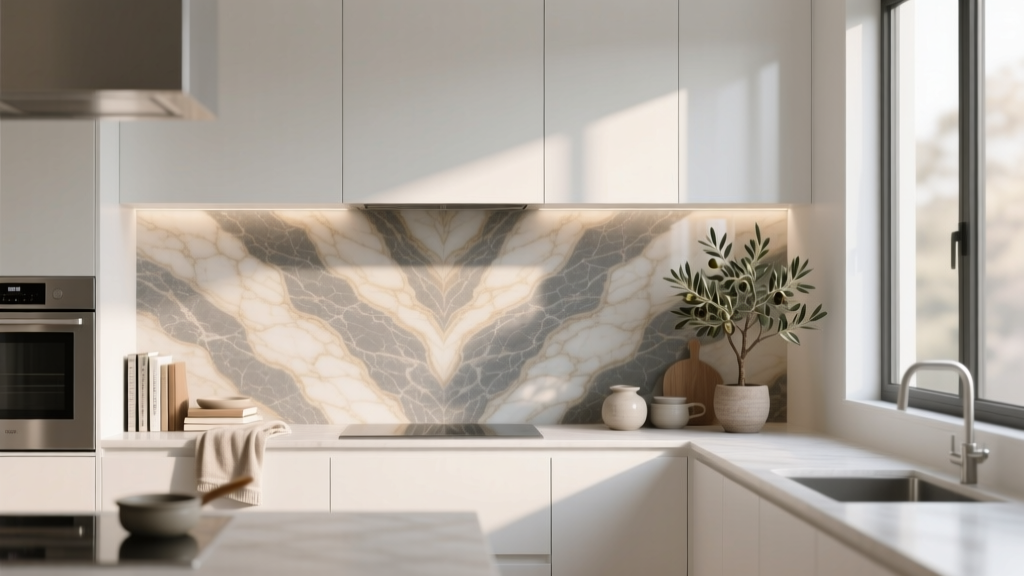 Kitchen Book-Matched Stone Backsplash - The Decor Mag
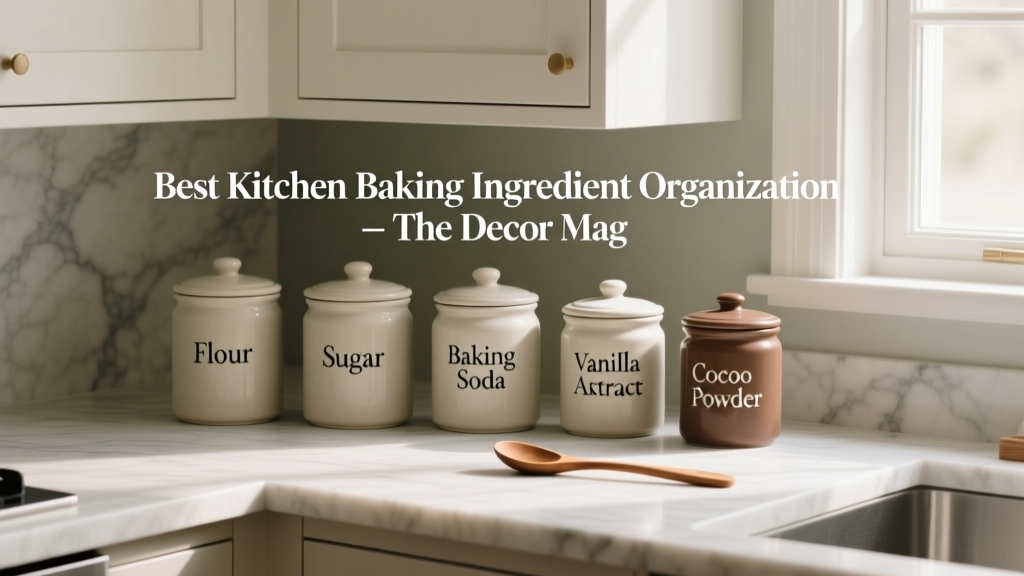 Best Kitchen Baking Ingredient Organization - The Decor Mag
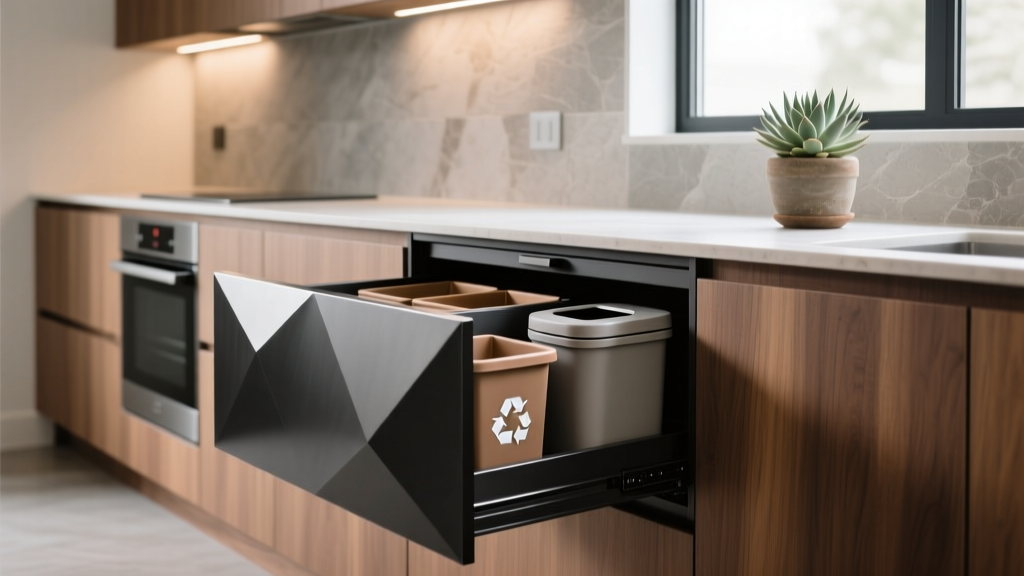 Best Kitchen Trash and Recycling Drawer - The Decor Mag