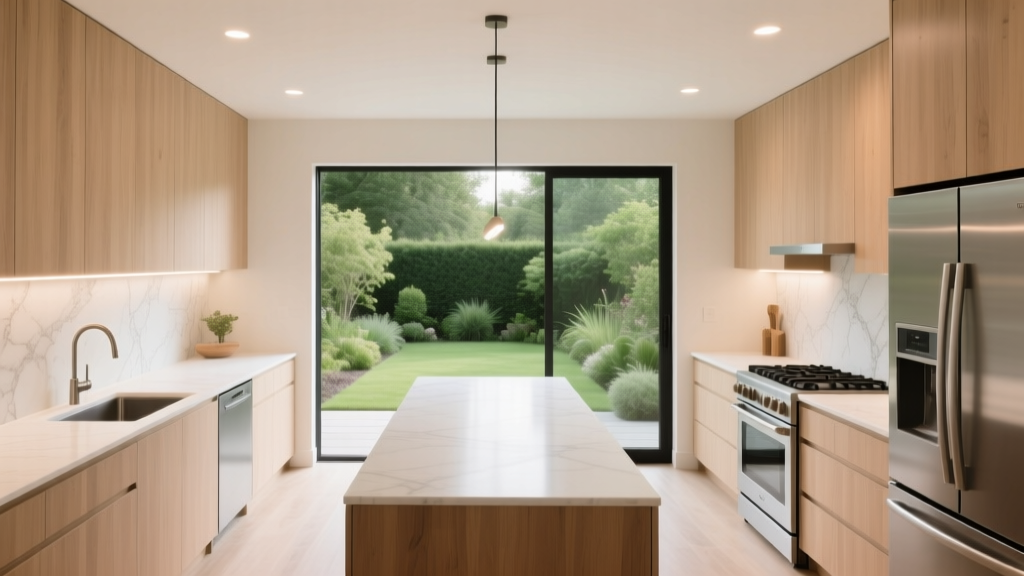
How to Design a Kitchen Work Triangle - The Decor Mag
A well-designed kitchen feels almost effortless. You can prep, cook, and clean without weaving around open doors, bumping into corners, or carrying heavy pots across the room. That ease is rarely an accident—it’s usually the result of smart planning, and one of the most useful planning tools is the kitchen work triangle.
The work triangle is a timeless kitchen design principle that helps organize the three main work zones: the sink, cooktop/range, and refrigerator. Even with today’s open-concept layouts, oversized islands, and multiple appliances, the concept still matters because it’s grounded in how people actually move through a kitchen.
If you’re planning a kitchen renovation or looking for ways to improve your current setup, refining your work triangle can reduce daily friction, improve traffic flow, and make your kitchen more enjoyable—whether you cook every night or mostly reheat and entertain.
What Is the Kitchen Work Triangle?
The kitchen work triangle connects the three primary task points:
- Sink (cleaning, rinsing, prep)
- Cooktop/range (cooking and heating)
- Refrigerator (food storage and retrieval)
The goal is to keep these points close enough for efficiency, but not so close that the kitchen feels cramped or unsafe.
Standard Work Triangle Measurements
Designers often use these classic guidelines as a starting point:
- Each leg of the triangle: 4–9 feet
- Total distance (sum of all three legs): 13–26 feet
- Triangle should not be blocked by major traffic paths
- Avoid obstacles that cut through the triangle (like an island that forces detours)
These aren’t rigid rules. They’re practical benchmarks that can be adjusted based on your household, your cooking habits, and the realities of your space.
Why the Work Triangle Still Matters (Even With Modern Kitchen Trends)
Current kitchen design trends lean toward open layouts, oversized islands, statement ranges, and hidden pantries. Some homeowners wonder if the triangle is outdated—especially with multiple cooks and multiple appliances.
Here’s why it remains relevant:
- Timeless functionality: The sink, fridge, and cooking surface are still the core of meal-making.
- Renovation ROI: Better flow can increase perceived quality and usability—two factors buyers notice.
- Safety: Shorter, clearer paths reduce spills, collisions, and trips (especially around hot cookware).
- Organization: A triangle-friendly layout supports smarter storage zoning and countertop planning.
That said, many modern kitchens work best with an updated approach: a strong triangle plus extra “stations” (coffee bar, baking zone, beverage fridge, pantry wall) that support how your home actually runs.
Step-by-Step: How to Design Your Kitchen Work Triangle
1) Start With How You Cook (and Who Cooks)
Before measuring anything, map your routines. Ask yourself:
- Do you cook daily or mostly on weekends?
- Is it usually one cook, or two people working together?
- Do kids or guests frequently pass through the kitchen?
- Do you prep at the island, at the sink run, or both?
Practical tip: If two people cook often, plan for two landing zones (two clear countertop areas) and consider a slightly expanded triangle or a second prep sink to reduce cross-traffic.
2) Place the Sink Where It Works Hardest
In many homes, the sink is the most-used “node” in the triangle. It’s used for washing hands, filling pots, rinsing produce, and cleanup.
Strong sink placement guidelines:
- Prioritize a sink location with counter space on both sides (ideally 18–24 inches minimum each side).
- Keep it close to the dishwasher to minimize drips and lifting.
- If you have a window you love, placing the sink beneath it can improve the feel of the space—just ensure lighting is adequate at night.
Maintenance advice: If you want a low-fuss sink, choose 16-gauge stainless steel with sound-deadening pads. It hides wear better than glossy finishes and is easy to clean with mild soap and a non-abrasive sponge.
3) Set the Cooktop/Range With Safety and Ventilation in Mind
The cooking zone needs breathing room. Avoid squeezing the range into a tight corner or placing it where people frequently walk behind the cook.
- Plan for 12–15 inches of landing space on at least one side of the cooktop (more is better).
- Aim for 24–36 inches of prep counter between sink and cooktop when possible.
- Install a properly sized vent hood; good ventilation is a quality-of-life upgrade that also protects cabinetry.
Trend + timeless note: Statement ranges and sculptural hoods are trending, but prioritize performance. A quieter, effective hood and a sensible landing zone will outlast any style moment.
4) Position the Refrigerator for Easy Access—Without Blocking Flow
The fridge gets traffic from cooks, kids, and guests. It should be easy to reach without forcing everyone into the main cooking path.
- Allow room for doors to open fully without colliding with an island or wall.
- Include a landing zone (15 inches minimum) nearby for groceries and drinks.
- If you entertain often, consider placing beverage storage (beverage fridge or drawer) outside the main triangle.
Practical measurement: In many kitchens, 42 inches is a comfortable walkway around islands; 48 inches is even better if multiple people cook or pass through.
5) Test the Triangle With Tape (Before You Build)
Once you have a plan, simulate it.
- Mark appliance footprints and cabinet runs on the floor with painter’s tape.
- Walk a typical routine: fridge → sink → prep → cook → plate → sink.
- Open imaginary doors: fridge, dishwasher, oven, trash pull-out.
- Check for pinch points and “traffic crosses” through the triangle.
This low-cost step can prevent expensive regrets—especially in a full kitchen remodel where moving plumbing or gas lines later can be costly.
Best Work Triangle Layouts (and When to Use Them)
Galley Kitchens
Galley layouts can be extremely efficient because everything is within reach.
- Place the sink on one side and the range on the other to split tasks.
- Keep the fridge near one end to reduce traffic through the cooking zone.
- Walkway clearance: 42 inches minimum; 48 inches for two cooks.
L-Shaped Kitchens
An L-shape naturally supports a clean triangle, often with the sink on one leg and the range on the other.
- Use the corner wisely (e.g., blind-corner pull-outs or a lazy Susan) so it doesn’t become dead space.
- Consider a small island only if it doesn’t cut through the triangle.
U-Shaped Kitchens
U-shaped kitchens can create an ideal triangle, but can feel tight if clearances are too small.
- Keep the triangle compact and counters continuous for prep.
- Maintain at least 42 inches between opposing runs; 48 inches is more comfortable.
Island Kitchens (Work Triangle + Work Zones)
Islands are a top kitchen design trend, but they can either improve flow or become a barrier.
- Use the island as a prep zone with trash pull-out and storage.
- If you put a sink in the island, ensure there’s adequate landing space and consider splash control.
- Avoid placing both the sink and cooktop on the island unless your space is large and ventilation is excellent.
Materials and Product Recommendations That Support a Better Triangle
Countertops: Durability vs. Maintenance
- Quartz: Low maintenance, stain resistant, consistent patterns. Great for busy families. Cost: $60–$120/sq ft installed (varies by market and slab).
- Granite: Natural stone, heat resistant, needs periodic sealing. Cost: $50–$120/sq ft installed.
- Butcher block: Warm, budget-friendly sections for prep zones; needs oiling and can stain. Cost: $40–$100/sq ft installed.
Design approach: If budget is tight, consider a “splurge-and-save” plan: quartz on the main perimeter (sink/cook zone) and butcher block or a value quartz on a secondary surface.
Flooring: Comfort and Cleanability
- Luxury vinyl plank (LVP): Water resistant, softer underfoot, budget-friendly. Cost: $3–$7/sq ft materials, plus installation.
- Porcelain tile: Durable and easy to clean; harder underfoot. Cost: $4–$12/sq ft materials.
- Engineered hardwood: Warmer look, more stable than solid wood; needs prompt spill cleanup. Cost: $6–$15/sq ft materials.
Maintenance advice: Choose a matte or textured finish to hide smudges and improve slip resistance—especially along sink-to-range paths where drips happen.
Storage Products That Improve Flow
- Pull-out trash/recycling near prep zone (often between sink and cooktop)
- Deep drawer bases for pots/pans near the range
- Pull-out pantry or pantry wall near the fridge for food grouping
- Drawer organizers for utensils in the prep zone
Budget Considerations: What the Work Triangle Impacts
Work triangle decisions affect cost because moving plumbing, gas lines, and electrical can quickly add up.
- Minor refresh ($2,000–$10,000): Improve triangle function with organization upgrades, lighting, new faucet/sink, and better storage inserts—without relocating major appliances.
- Mid-range kitchen renovation ($15,000–$40,000): Cabinet replacements, new countertops, upgraded appliances; limited layout changes.
- Major remodel ($50,000–$120,000+): Layout reconfiguration, moving plumbing/gas, custom cabinetry, larger islands, premium appliances.
Cost-saving strategy: Keep the sink and range close to existing plumbing and venting when possible. If you want an island, consider an island used for prep/seating rather than relocating the sink, which can require plumbing reroutes and venting solutions.
Common Kitchen Work Triangle Mistakes to Avoid
- Letting the island block the triangle: If you must detour around an island to reach the sink or range, the layout will feel clunky.
- Placing the range in a corner: This reduces landing space and increases burn risk from nearby walls/cabinetry.
- Forgetting landing zones: A fridge without nearby counter space becomes annoying immediately—especially during grocery unloading.
- Ignoring door swings: Refrigerator and dishwasher doors can collide or block walkways if not planned carefully.
- Designing for looks only: Open shelving and minimalist storage can look great, but daily function depends on smart zones and enough closed storage.
- Overstretching distances: If the sink, fridge, and range are too far apart, meal prep becomes a cardio session.
Practical Tips to Fine-Tune Your Triangle for Real Life
- Create zones around the triangle:
- Prep zone: knives, cutting boards, mixing bowls
- Cooking zone: oils, spices, utensils, sheet pans
- Cleanup zone: dishwasher tabs, towels, trash bags
- Prioritize lighting: Add under-cabinet LEDs over prep areas and a brighter fixture over the sink to support safe workflow.
- Choose hardware for longevity: Quality pulls/knobs and soft-close hinges reduce day-to-day friction and wear.
- Plan for outlets: Place outlets near prep zones and islands (code requirements vary). This prevents cords crossing walk paths.
FAQ: Kitchen Work Triangle Design
Is the kitchen work triangle outdated?
No. It’s still one of the most helpful kitchen layout tools for efficiency. Modern kitchens often combine the triangle with additional work zones (coffee station, pantry wall, beverage center) to suit today’s lifestyles.
What if I have two sinks?
Use the main sink as the triangle point and treat a prep or bar sink as a supporting station. A prep sink near the cooktop can reduce congestion if two people cook at once.
How does an island affect the work triangle?
An island can improve prep space and storage, but it shouldn’t block the path between sink, range, and refrigerator. Aim for 42–48 inches of clearance around it depending on traffic and number of cooks.
What’s better: work triangle or work zones?
They work best together. The triangle organizes the three core appliances; zones organize storage and counter space around your routine. If you have a large kitchen with multiple appliances, zones may matter even more—built on a sensible triangle.
Can I design a good work triangle in a small kitchen?
Yes. Small kitchens often have excellent triangles because distances are short. Focus on door swings, landing zones, and storage efficiency (drawers, pull-outs, vertical dividers) so the space stays functional.
Next Steps: Make Your Kitchen Feel Effortless
To design a kitchen work triangle that truly works, start by measuring your space and mapping your daily routine. Use the classic distance guidelines as a framework, then refine the plan with landing zones, clearances, and storage zoning. If you’re renovating, prioritize layout and flow first—finishes and style choices are much easier when the bones of the kitchen are right.
- Measure your current sink, range, and refrigerator distances.
- Identify where traffic crosses your cooking path.
- Plan landing zones and clearances (especially around an island).
- Choose durable, low-maintenance materials where the work happens most.
- Test the layout with tape and door-swing checks before committing.
Ready for more inspiration and practical renovation guidance? Explore more kitchen design ideas, organization upgrades, and layout tips on thedecormag.com.
More Articles
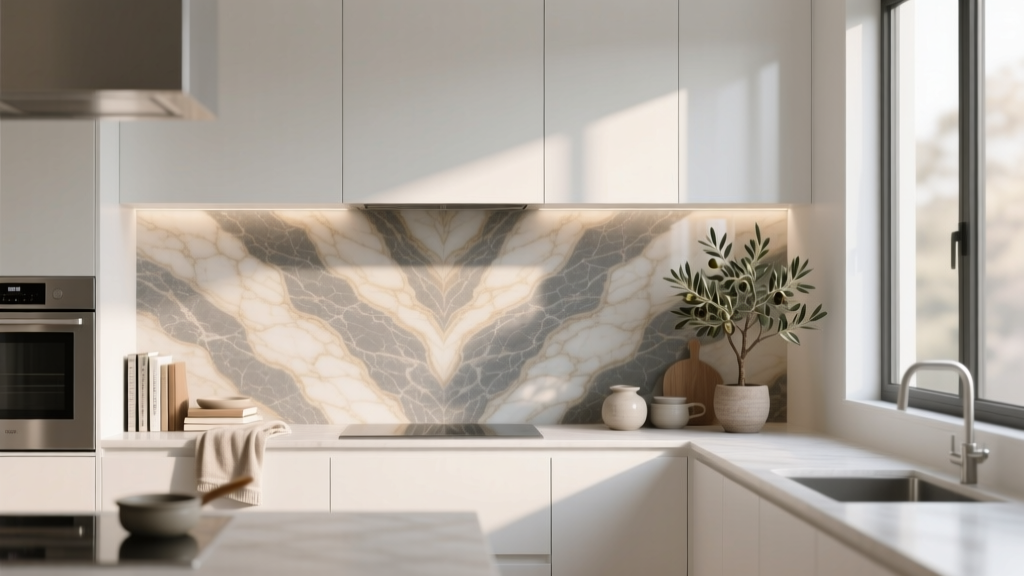 Kitchen Book-Matched Stone Backsplash - The Decor Mag
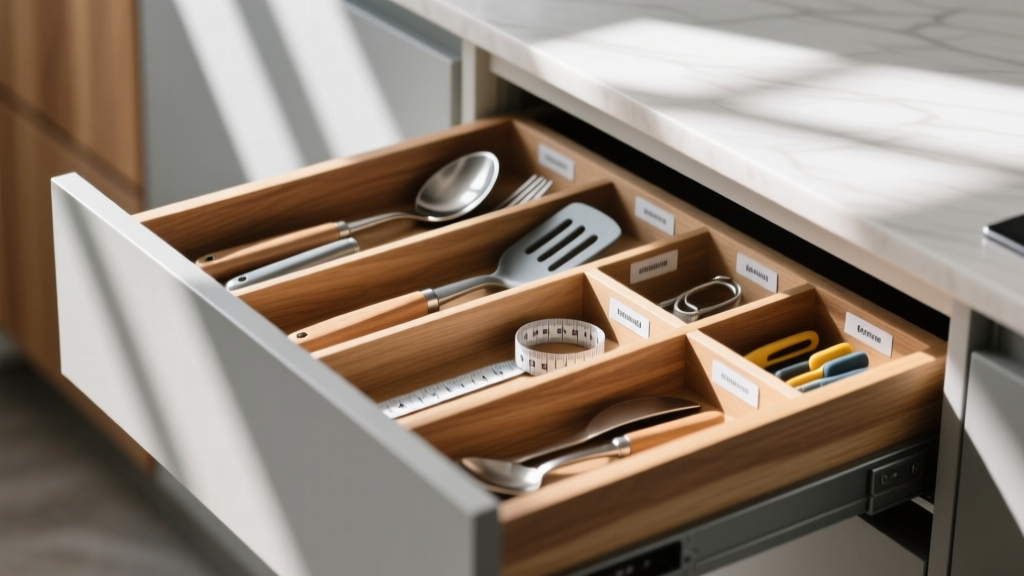 Kitchen Drawer Organization That Lasts (2026)
 How to Repair Sustainably: Practical Strategies for Extending the Life of Kitchen Appliances, Cookware, and Fixtures
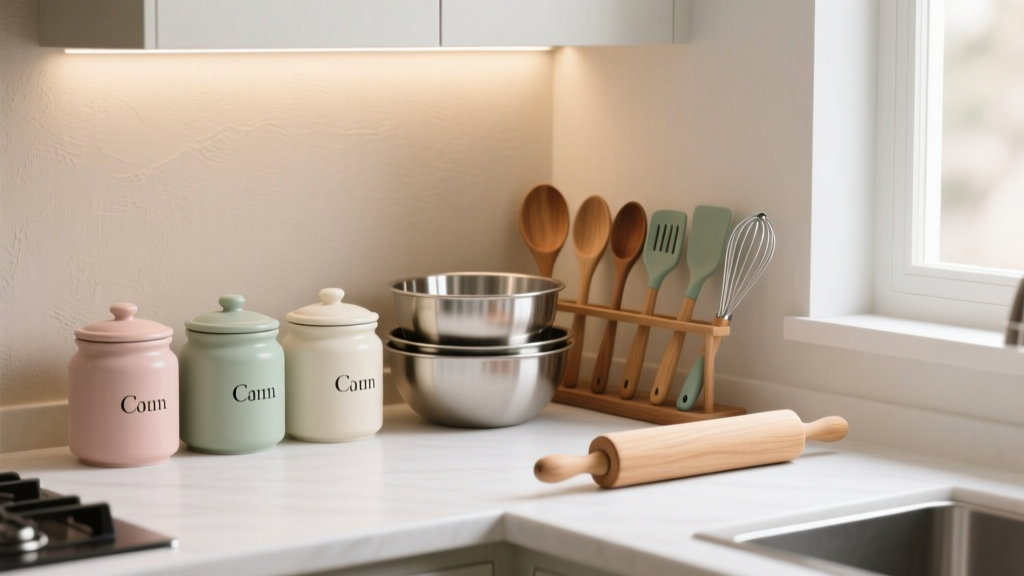 Best Kitchen Baking Supply Organization - The Decor Mag
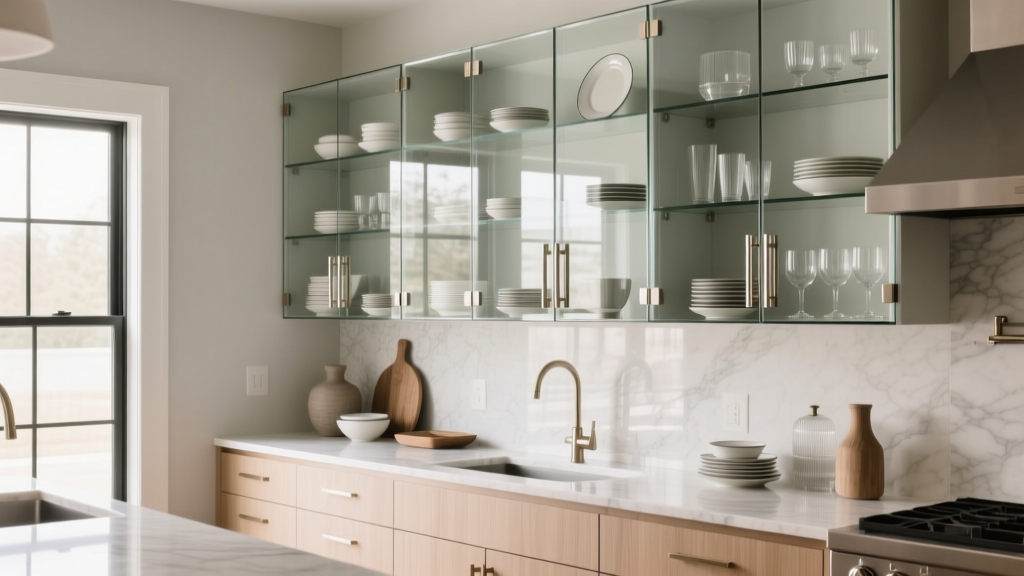 Kitchen Glass Front Cabinet Styling - The Decor Mag
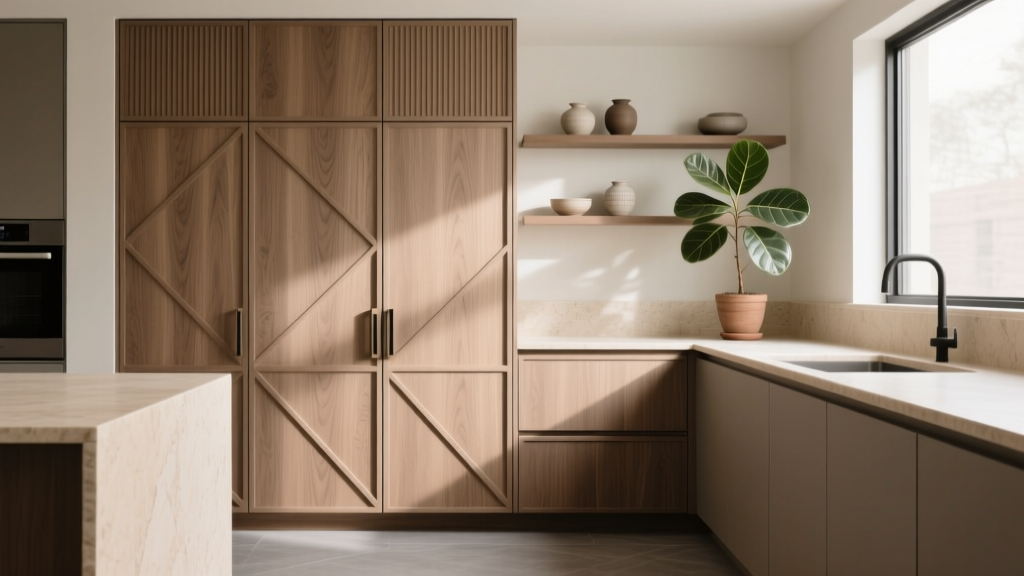 Kitchen Textured Cabinet Door Trends - The Decor Mag
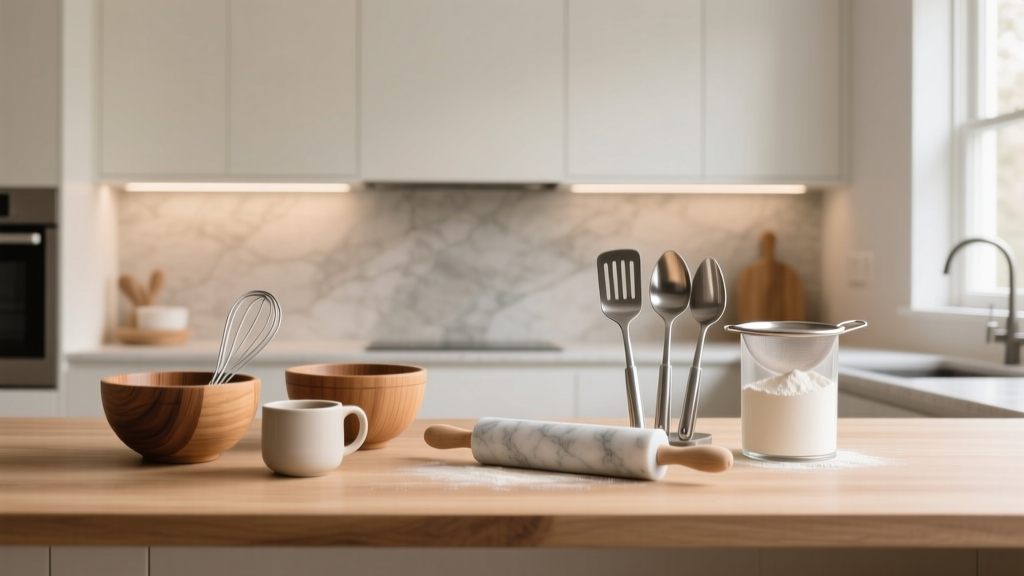 Baking Station Ideas for Kitchens (2026)
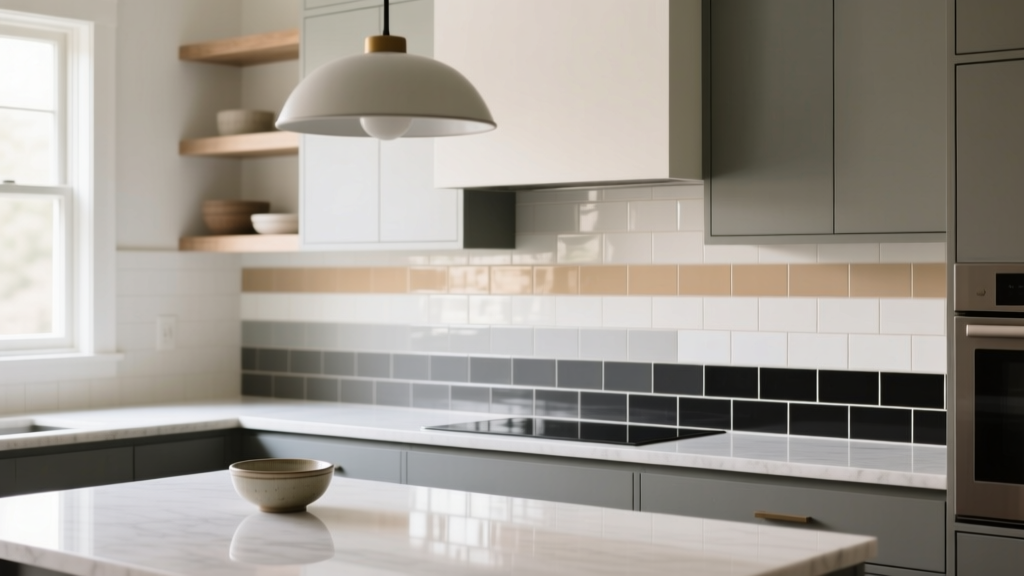 How to Choose Kitchen Backsplash Grout Color - The Decor Mag
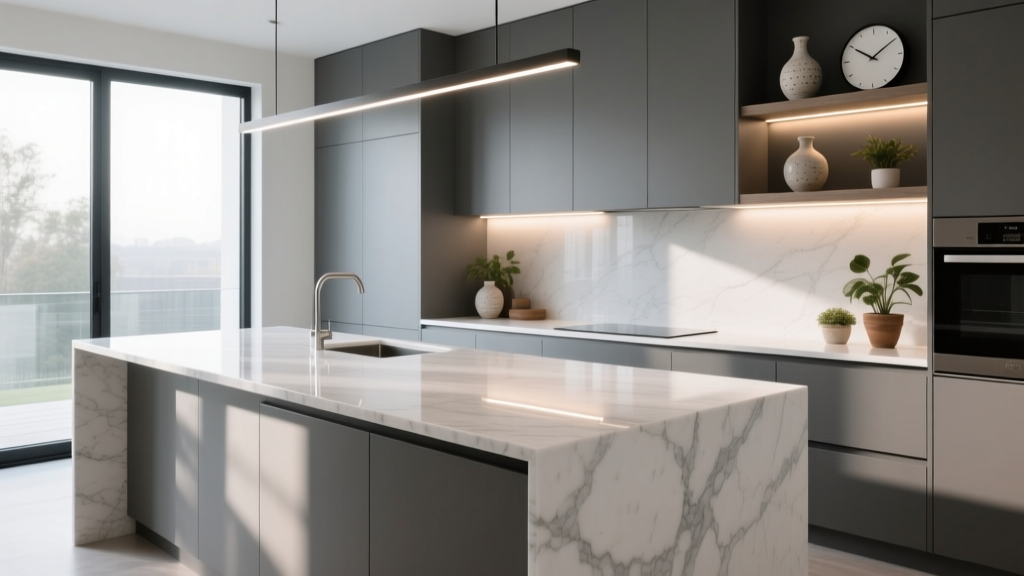 Kitchen Waterfall Island Design Ideas - The Decor Mag
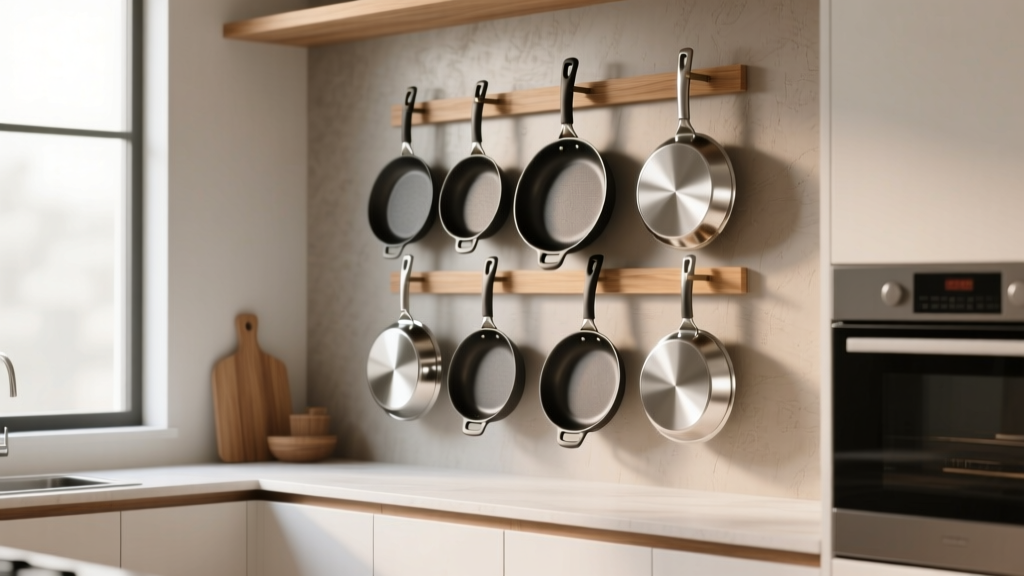 Best Kitchen Specialty Pan Storage - The Decor Mag