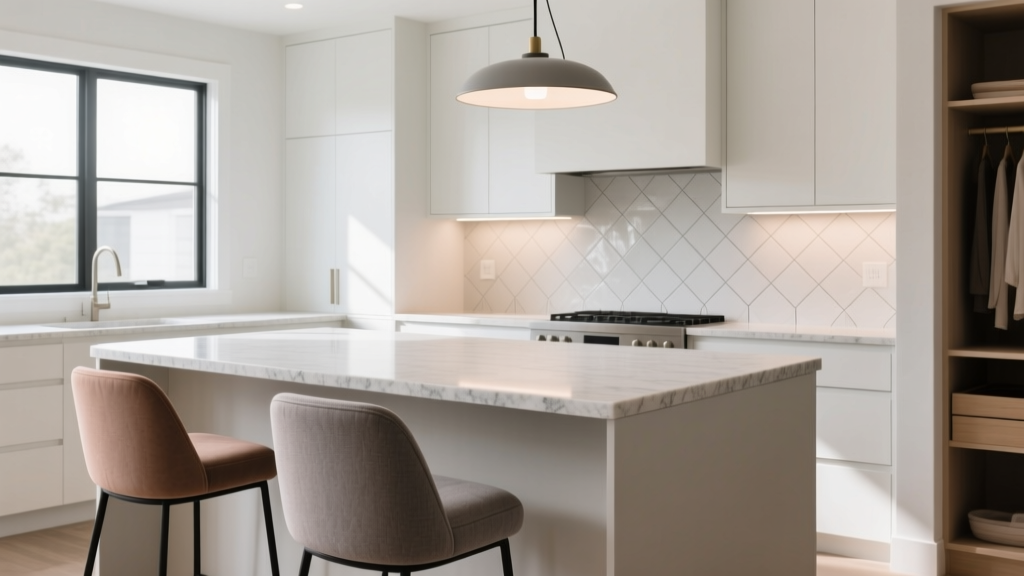
Kitchen Island Seating Overhang: How Much? (2026)
A kitchen island can be the most hardworking feature in your home—part prep station, part gathering spot, part homework hub, and often the unofficial place everyone gravitates toward. The detail that makes or breaks how comfortably people actually use it is the kitchen island seating overhang: the amount the countertop extends beyond the base to create legroom.
Get the overhang right and stools tuck in neatly, knees clear the cabinet doors, and guests can linger without feeling perched. Get it wrong and you’ll notice it every day—awkward posture, scuffed panels, wobbling stools, and the constant shuffle of chairs into circulation paths. Whether you’re planning a full kitchen renovation or adjusting an existing layout, choosing the proper overhang is one of the smartest, most cost-effective upgrades you can make.
This guide breaks down the measurements, structural requirements, countertop material considerations, budget planning, and common mistakes to avoid—so your island seating feels as good as it looks.
What Is Kitchen Island Seating Overhang (and Why It Matters)?
Seating overhang is the portion of the countertop that extends past the island cabinetry (or panels) to allow space for knees, feet, and stools. It impacts:
- Comfort: Enough knee clearance prevents guests from leaning forward or sitting sideways.
- Function: Proper sizing supports quick meals, entertaining, and kid-friendly use.
- Flow: Correct overhang paired with clearances keeps walkways open—key for small kitchen design and open-concept homes.
- Safety and durability: Overhang that’s too large without support can crack stone or loosen over time.
Standard Kitchen Island Overhang Measurements
Recommended Overhang Depth by Seating Type
Use these practical benchmarks when planning your island countertop overhang:
- Minimal / perch seating: 8–10 inches (best for quick coffee, limited comfort)
- Comfortable counter-height seating: 12 inches (most common recommendation)
- More comfortable / larger frames: 15 inches
- Bar-height seating: 12–15 inches (depending on stool style)
- Restaurant-style comfort: 18 inches (often requires added support and careful layout planning)
Rule of thumb: If your goal is everyday family seating, aim for 12–15 inches of overhang depth.
Counter Height vs. Bar Height (and Stool Pairing)
Overhang works together with island height and stool height. Most kitchen islands are:
- Counter height: 34–36 inches tall (pair with 24–26 inch seat height stools)
- Bar height: 40–42 inches tall (pair with 28–30 inch seat height stools)
Current kitchen design trends lean strongly toward counter-height islands for timeless functionality, better accessibility, and a more seamless sightline in open-plan homes.
Knee and Leg Clearance: The Make-or-Break Detail
Beyond depth, make sure the vertical clearance works:
- Knee clearance height: 9–10 inches minimum from the seat to the underside of the counter
- Overall legroom height: 24–27 inches from floor to underside of counter (varies by countertop thickness and build-up)
If you’re using a thick countertop edge (like a 2–3 inch mitered quartz look), confirm the underside doesn’t reduce usable knee space.
How Many Stools Fit? Spacing Guidelines That Feel Luxurious (Not Crowded)
A beautiful island still feels frustrating if seating is cramped. Plan stool placement with these spacing standards:
- Width per stool: 24 inches minimum (30 inches for extra elbow room)
- Space between stool centers: 24–26 inches is typical
- Stool depth allowance: 18–24 inches behind the island, plus walkway clearance
Quick planning example: A 7-foot (84-inch) seating run typically fits:
- 3 stools comfortably (about 28 inches each), or
- 4 stools tighter (about 21 inches each—better for kids than adults)
Clearances Around the Island
For kitchen renovation planning, circulation clearance is a top priority:
- Work aisles (prep/cooking zones): 42 inches minimum (48 inches ideal for two cooks)
- Seating walkway behind stools: 44–54 inches if the area is a main traffic path
If your kitchen is smaller, prioritize fewer stools with better spacing. A crowded island can make the entire kitchen feel tight.
Structural Support: When You Need Brackets, Corbels, or Posts
Overhang is not just a style decision—it’s a structural one. The heavier the countertop and the longer the cantilever, the more support matters.
General Support Guidelines
- Up to 10–12 inches: Often possible without additional support (depending on countertop material and substrate)
- 12–15 inches: Usually fine with stone/quartz if properly fabricated; support is often recommended
- 15–18+ inches: Typically requires hidden steel brackets, corbels, or legs/posts
Always confirm with your fabricator and contractor—especially for natural stone, porcelain slabs, or waterfall edge designs.
Support Options (and the Look They Create)
- Hidden steel brackets: Clean, modern, ideal for contemporary and minimalist kitchens
- Decorative corbels: Traditional, farmhouse, and transitional kitchens; can become a design feature
- Posts/legs: Great for large overhangs and furniture-style islands; slightly reduces knee space at corners
- Raised bar ledge (less common now): Adds separation but can trap clutter and disrupt sightlines
For today’s popular “sleek island” trend, hidden brackets paired with a slightly thicker edge detail offers a strong, high-end look without visual clutter.
Countertop Materials and Overhang Performance
Choosing the right island countertop material impacts both the safe overhang span and daily maintenance—especially in high-traffic family kitchens.
Quartz (Engineered Stone)
- Pros: Consistent look, low maintenance, stain resistant, popular for kitchen design trends
- Overhang: Strong, but long spans still need brackets
- Maintenance: Mild soap and water; avoid abrasive pads
- Cost range: $60–$120 per sq. ft. installed (varies by brand and thickness)
Granite (Natural Stone)
- Pros: Natural variation, durable, heat resistant
- Overhang: Can handle moderate overhang with proper thickness; brackets recommended for longer spans
- Maintenance: Seal periodically (often annually, depending on stone)
- Cost range: $50–$120 per sq. ft. installed
Marble
- Pros: Timeless luxury, beautiful veining
- Overhang: Structurally fine with support planning, but surface is more delicate
- Maintenance: Prone to etching and staining; seal and wipe spills immediately
- Cost range: $80–$200+ per sq. ft. installed
Butcher Block / Wood
- Pros: Warm, inviting, excellent for farmhouse and Scandinavian-inspired kitchens
- Overhang: Can work well; support depends on thickness and construction
- Maintenance: Regular oiling; avoid standing water
- Cost range: $40–$100 per sq. ft. installed
Porcelain Slab
- Pros: Heat resistant, stain resistant, modern look, can mimic marble
- Overhang: Often requires expert fabrication and proper substrate; support is key
- Maintenance: Easy wipe-down; avoid heavy impacts on edges
- Cost range: $70–$150+ per sq. ft. installed
Choosing the Right Overhang for Your Kitchen Layout
Single-Row Seating (Most Common)
Best for standard kitchens where the island faces the living or dining area. Recommended:
- Overhang: 12–15 inches
- Stools: 3–4 depending on island length
- Tip: Keep seating away from cooktops for safety and comfort
L-Shaped or Wraparound Seating
Great for entertaining, but corners can feel tight. Recommended:
- Overhang: 12 inches minimum
- Tip: Avoid placing a stool directly at the corner; allow corner clearance so knees don’t collide
Waterfall Edge Islands
Waterfall edges are still a strong trend in modern kitchen renovation projects. They look polished, but they can limit seating flexibility.
- Plan for: Slightly fewer stools due to side panels
- Tip: Consider one open side (no waterfall) where seating goes to maximize legroom
Product and Design Recommendations That Improve Comfort
Stool Features Worth Paying For
- Backrest: Better for daily use and longer sitting
- Footrest: Reduces leg fatigue (especially for kids)
- Swivel: Helpful when aisles are tight; look for “memory swivel” that returns to center
- Seat material: Performance fabric or wipeable faux leather for family-friendly kitchens
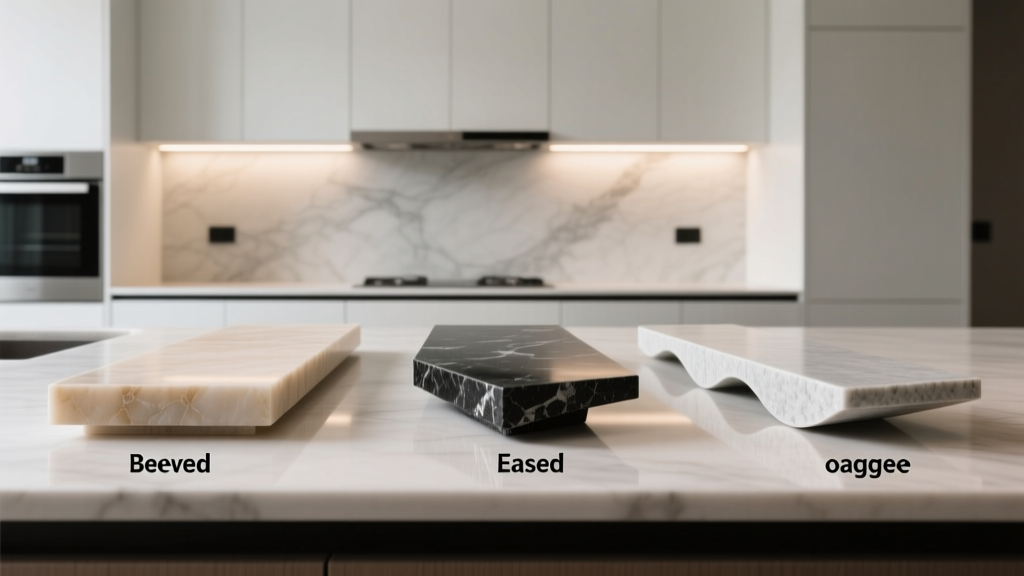
Edge Profiles That Feel Better
If you lean on your island often, edge shape matters:
- Eased edge: Clean and modern, minimal visual bulk
- Half bullnose: Softer on forearms, timeless
- Ogee: Traditional, more ornate (often better in classic kitchens)
Lighting and Outlet Planning for Seating Zones
- Pendant spacing: Typically 24–30 inches apart; bottom of pendant often 30–36 inches above the countertop
- Outlets: Include at least one accessible outlet for laptops and charging (code requirements vary)
Budget Considerations: Where the Money Goes
Kitchen island seating overhang decisions can affect both fabrication complexity and cabinetry needs. Common cost factors include:
- Longer countertop slab / more material: $200–$1,500+ added depending on size and material
- Support brackets: $50–$200 each (plus installation); hidden steel supports can add more
- Paneling and finished ends: $300–$2,000+ depending on millwork detail
- Upgraded stools: $150–$600 each for quality, durable options
Smart spending tip: If the budget is tight, keep the countertop material timeless and durable (quartz or granite) and invest in comfortable stools—you’ll feel that upgrade daily.
Common Mistakes to Avoid
- Choosing overhang based on looks alone: A dramatic cantilever can backfire without proper support and spacing.
- Forgetting walkway clearance behind stools: A beautiful kitchen becomes frustrating when traffic jams form.
- Underestimating stool width: Many upholstered stools need more than 24 inches each.
- Skipping knee clearance checks: Thick edges, support rails, or decorative panels can steal legroom.
- Placing seating too close to the cooktop or sink: Splatter zones and heat make seats less inviting.
- Not coordinating overhang with cleaning needs: Deep overhangs collect crumbs underneath—plan for easy wipe-down surfaces and access.
Maintenance Advice for a High-Use Seating Island
- Protect the underside: If kids’ shoes rub the panel, consider a durable end panel material or a wipeable finish.
- Use felt pads on stool legs: Prevents floor scratches and reduces noise.
- Clean daily touchpoints: Stool backs and footrests collect fingerprints—wipe weekly to keep a polished look.
- Mind the edge: Avoid sitting or climbing on unsupported overhang areas.
FAQ: Kitchen Island Seating Overhang
How much overhang do I need for comfortable seating at a kitchen island?
Plan for 12 inches minimum for comfortable seating. If you want a more relaxed sit (or have larger stools), 15 inches is often ideal—provided the countertop is properly supported.
Do I need brackets for a 12-inch island overhang?
Sometimes yes, sometimes no. Many stone and quartz installations can handle around 12 inches depending on thickness and fabrication, but brackets are often recommended for long spans, heavy use, or thinner slabs. Confirm with your fabricator and contractor.
How far apart should kitchen island stools be?
Aim for 24 inches per stool at minimum. For a more comfortable, upscale feel, plan 28–30 inches per stool—especially for upholstered or swivel models.
What’s the best island height for seating?
Counter height (34–36 inches) is the most timeless and versatile for modern kitchen design. It’s comfortable for kids and adults and pairs well with many stool styles.
Can a waterfall edge island still have comfortable seating?
Yes, but plan carefully. Waterfall panels can reduce usable width for stools and may limit side access. Many homeowners choose a waterfall on one end only, keeping the seating side open for better legroom.
What’s the most family-friendly countertop for an island seating area?
Quartz is a top choice for busy households because it’s low maintenance and stain resistant. Granite is also durable, while marble requires more care due to etching and staining.
Next Steps: Plan Your Overhang Like a Pro
Start by measuring your available aisle space, deciding how many stools you truly want to use daily, then choose an overhang depth that supports comfort—most kitchens land in the 12–15 inch range. From there, confirm structural support with your fabricator, select a durable countertop material, and test stool sizing before finalizing your kitchen layout.
If you’re gathering ideas for your kitchen renovation—from island layouts to storage, lighting, and seating styles—explore more practical kitchen design inspiration at thedecormag.com.
More Articles
 Kitchen Leathered Finish Granite Guide - The Decor Mag
 Kitchen Cabinet Interior Finish: Best Choices (2026)
 Best Kitchen Knife Block Storage Solutions - The Decor Mag
 Best Kitchen Specialty Tool Organization - The Decor Mag
 How to Create a Kitchen That Feels Timeless - The Decor Mag
 Best Kitchen Canister Set Displays - The Decor Mag
 Kitchen Ribbed Glass Front Cabinet Trend - The Decor Mag
 Kitchen Integrated Appliance Paneling - The Decor Mag
 World Kitchens Essentials: Core Tools, Ingredients, and Techniques Across Seven Global Cuisines
 Kitchen Countertop Edge Profiles: Best Choices (2026)