# Kitchen Island Prep Stations: Creating a Command Center for Summer Parties
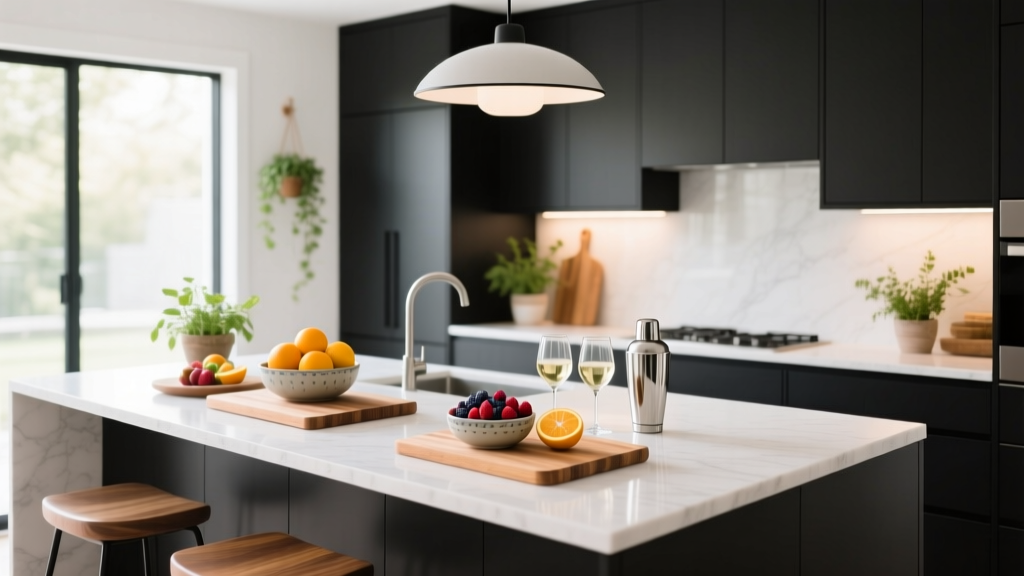
Your kitchen island is the single most important workspace for summer entertaining. While the grill master handles the backyard and guests mill about the patio, the island is where appetizers get assembled, drinks get mixed, and last-minute plating happens. Here's how to set it up as a true command center.
## The Anatomy of an Island Prep Station
A functional prep station needs four things: surface area, storage within arm's reach, task lighting, and power access. Let's break down each element.
## Surface Area: Zone Your Island Like a Pro
Divide your island into three functional zones:
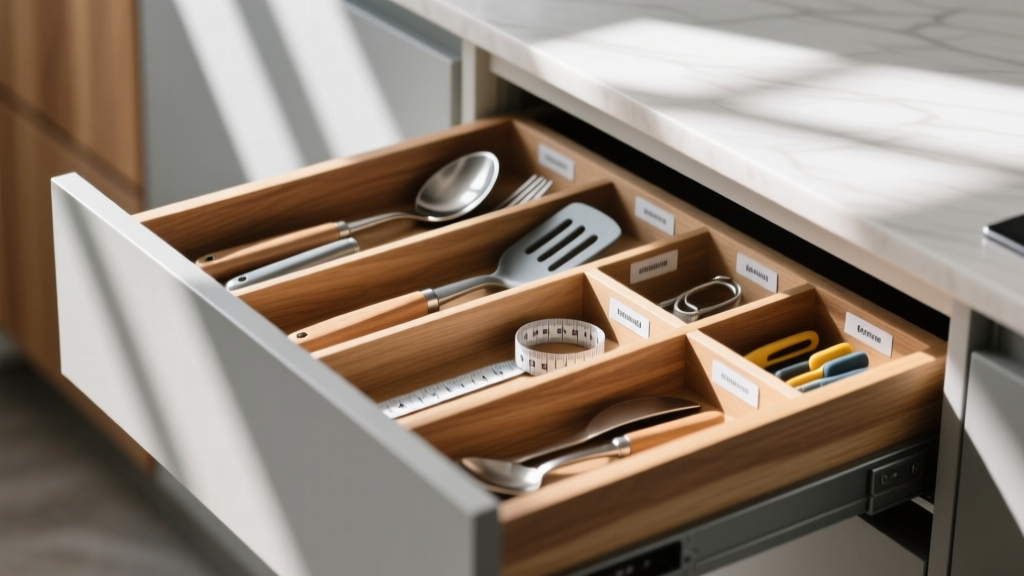
**Prep Zone (largest, closest to sink)**: Clear 24-36 inches of counter for cutting and assembly. Keep a large cutting board permanently stationed here. Store knives and utensils in a drawer directly below.
**Serving Zone (middle)**: Space for platters, bowls, and serving utensils. A small tray to corral condiments and garnishes. Room to stage finished dishes before they go to the table.
**Drink Station (edge nearest to guests)**: Glasses, ice bucket, bottle opener. A small tray for cocktail napkins and stirrers. Keeps thirsty guests from invading the prep zone.
## Storage: What Goes Where
The drawers and cabinets under your island should support the zones above:
- **Top drawer**: Utensils, measuring spoons, can opener, corkscrew
- **Second drawer**: Serving platters, large spoons, tongs
- **Cabinet**: Extra napkins, disposable plates for buffet overflow, trash bags
- **Pull-out trash**: If you have one, position it under the serving zone
## Lighting: The Most Overlooked Element
Most kitchen islands are lit from above, but the light comes from behind you—casting shadows exactly where you're working. Add under-cabinet LED strips (3000K for warm, flattering light), a small plug-in lamp on the counter for directional task lighting, and dimmable pendants that can go bright for prep and dim for party ambiance.
## Power Access: Outlets Matter
Summer parties mean blenders for frozen drinks, phone chargers for playlist control, and maybe a slow cooker keeping dips warm. Use a low-profile outlet cover that doesn't interfere with items placed over it, keep a multi-outlet strip in a drawer ready to deploy, and route cords along the back edge, never across prep surfaces.
## The Pre-Party Setup Checklist
**2 hours before:** Clear and sanitize all surfaces, set out cutting boards and knives, fill ice bucket and restock glasses, arrange serving platters in the serving zone.
**1 hour before:** Chop garnishes and store in small containers, set out condiments on a tray, plug in any appliances that need to warm up, test lighting levels.
**30 minutes before:** Final surface wipe-down, position trash receptacle accessibly but out of sight, set out a "guest self-serve" drink area away from prep.
An island that works as a command center during a party will serve you well for everyday cooking too. The key is intentional zoning—every item has a home, and every zone has a purpose.
 Kitchen Drawer Organization That Lasts (2026)
 Kitchen Mixed Material Countertop Design - The Decor Mag
 Kitchen Fluted Cabinet Door Trends - The Decor Mag
 How to Organize Family Life: Practical Systems for Calm, Connection, and Consistency
 Kitchen Cabinet Interior Finish: Best Choices (2026)
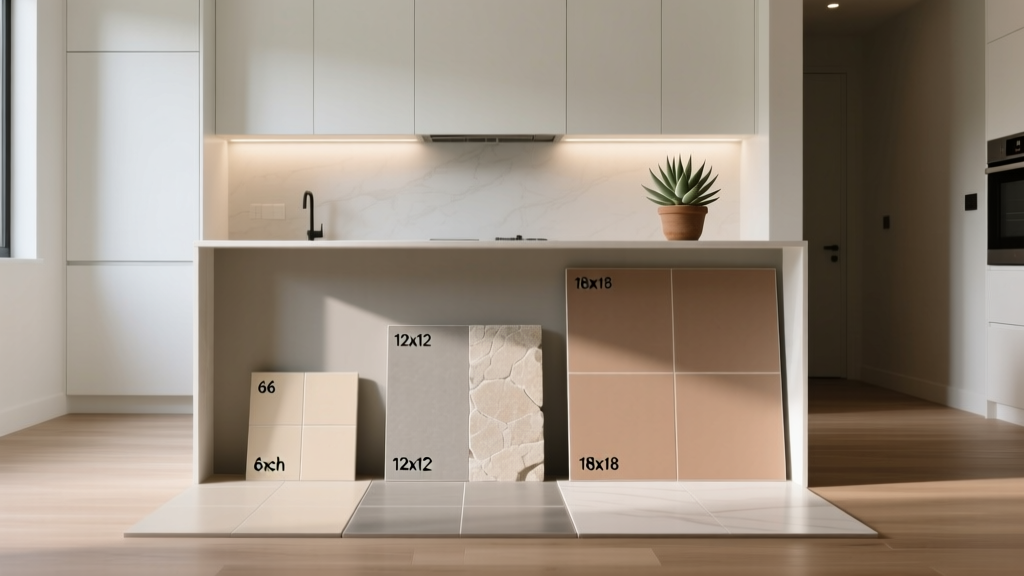 How to Choose Kitchen Floor Tile Size - The Decor Mag
 Kitchen That Inspires Cooking: Design Ideas (2026)
 Safety vs. Bedside: Why Kitchen Layout Decisions Must Prioritize Human Factors Over Aesthetic Convenience
 Kitchen Unlacquered Brass Hardware Patina - The Decor Mag
 Kitchen Honed Finish Countertop Appeal - The Decor Mag