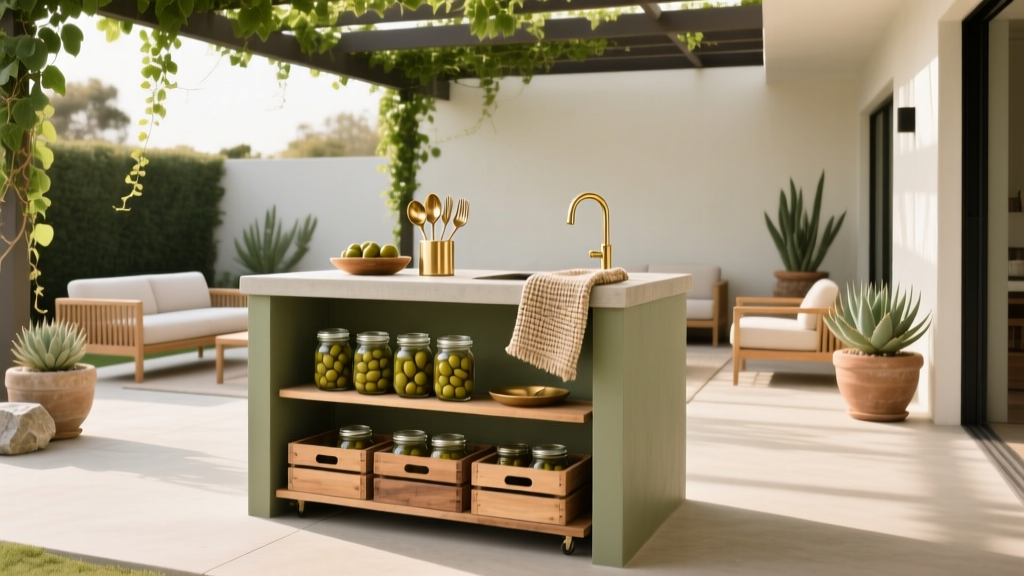
Best Outdoor Bar Olive and Pickle Station - The Decor Mag
Every memorable outdoor gathering has a moment when guests drift away from the grill and toward the “snack zone.” That’s where an outdoor bar olive and pickle station shines: it’s interactive, it feels elevated, and it turns simple patio entertaining into a curated experience. Instead of running inside for little extras, you create a dedicated outdoor living feature—part garnish bar, part appetizer hub, part conversation starter.
This station matters because it supports the way people actually host outdoors: casually, in waves, and often across seasons. A well-designed olive and pickle setup keeps hands busy (and drinks interesting), reduces traffic into the kitchen, and adds a polished touch to backyard bar design—whether you’re working with a compact balcony, a poolside patio, or a full outdoor kitchen.
Better yet, it’s one of the most cost-effective upgrades in outdoor living. With the right weather-ready materials, smart shade placement, and a layout that makes sense, an olive and pickle station can look custom-built without demanding a full remodel.
What Makes an Outdoor Olive and Pickle Station “The Best”?
The best stations balance three things: food safety, flow, and style. Olives and pickles are salty, acidic, and often brined—great for flavor, tough on finishes, and sensitive to heat. Design your station like a mini outdoor kitchen prep zone with an intentional footprint.
Non-Negotiables
- Temperature control: Keep items chilled and out of direct sun.
- Easy cleanup: Brine drips happen—surfaces should wipe clean fast.
- One-handed access: Guests should be able to serve themselves while holding a drink.
- Weather-ready storage: Tongs, napkins, and backup jars need a home that doesn’t get damp.
- Insect management: Covered containers and thoughtful placement minimize bugs.
Ideal Dimensions (That Actually Work on a Patio)
- Counter height: 36 inches (standard bar/prep comfort).
- Counter depth: 18–24 inches (deep enough for trays and a small ice bin).
- Minimum width: 36 inches for a small setup; 60–72 inches for a party-ready station.
- Serving zone clearance: Aim for 42 inches of walkway behind the station for smooth patio traffic flow.
Layout Ideas: Where the Station Should Live
Placement is the difference between a station that gets used all night and one that feels like an afterthought. Think like a landscape designer: align the station with existing “desire paths” between the grill, seating, and the back door.
Layout Option 1: The “Bar Buddy” (Best for Patios)
Set the station adjacent to your outdoor bar cart, beverage tub, or built-in bar. This keeps garnishes within arm’s reach for cocktails and mocktails.
- Best for: Entertaining-focused patios, pergola lounges, pool decks
- Pro tip: Place it on the shaded side of the bar so brine jars stay cooler.
Layout Option 2: The “Grill Sidekick” (Best for Outdoor Kitchens)
Integrate the station near the prep counter, not right next to the heat. Pickles and olives can double as burger toppers, skewers, and charcuterie accents.
- Best for: Outdoor kitchen design, built-in grilling stations
- Pro tip: Keep it at least 4–6 feet from the grill for heat and smoke control.
Layout Option 3: The “Garden Party Console” (Best for Yards)
Use a slim console table along a fence line, hedge, or garden wall. Add lighting and a decorative backdrop for a styled outdoor entertaining moment.
- Best for: Lawn entertaining, courtyard gardens, small yards
- Pro tip: Anchor the area with a weatherproof outdoor rug or pavers to reduce wobble on grass.
Furniture & Station Setups: From Simple to Showpiece
Choose a base that fits your space and your hosting style. The best outdoor bar olive and pickle stations start with a stable, weather-resistant “platform.”
Option A: Bar Cart Upgrade (Budget-Friendly + Flexible)
- Look for: Powder-coated aluminum or stainless steel carts (avoid untreated steel that can rust).
- Add: A removable tray, lidded containers, and a small ice pan.
- Best use: Apartment patios, renters, small decks
Budget range: $120–$450 for the cart, plus $40–$150 for accessories.
Option B: Outdoor Console or Buffet Table (Entertaining Sweet Spot)
- Look for: Teak, acacia (sealed), HDPE/polywood, or powder-coated aluminum.
- Design win: A lower shelf for backup jars, napkins, and a covered bin.
- Best use: Dedicated patio dining areas and pergola lounges
Budget range: $250–$900.
Option C: Built-In Counter Niche (High-End + Seamless)
- Look for: A small counter run in your outdoor kitchen or a built-in niche with an undercounter fridge drawer.
- Design win: A recessed ice well or drop-in cold pan for summer hosting.
- Best use: Year-round outdoor living, frequent hosting
Budget range: $1,200–$6,000+ depending on countertops, refrigeration, and masonry.
Materials That Handle Brine, Sun, and Spills
Pickles and olives bring acid and salt—two things that can stain, etch, or corrode the wrong surfaces. These materials consistently perform well in outdoor design.
Best Countertop & Surface Materials
- Porcelain slab: Highly stain-resistant, UV-stable, sleek modern look.
- Granite (sealed): Durable outdoors; choose darker or speckled patterns to hide drips.
- Concrete (properly sealed): Great style, but requires resealing and quick wipe-downs.
- Stainless steel: Food-safe and easy to sanitize; can show fingerprints but cleans fast.
Materials to Avoid (or Use Carefully)
- Marble: Etches easily from vinegar and brine.
- Unsealed natural stone: Can stain and absorb odors.
- Low-grade wicker surfaces: Brine can soak in and leave lingering smells.
Hardware & Accessories That Last
- 304 stainless steel tongs and spoons (rust-resistant)
- Borosilicate glass jars with gasket lids for airtight storage
- Melamine or enamelware trays for shatter resistance
- Silicone mats under jars to prevent slipping and protect finishes
Design the Station Like a Pro: The “3-Zone” Setup
For a station that feels effortless, divide the surface into clear zones. This keeps guests from crowding and prevents brine chaos.
- Chill Zone: Ice bin, cold pan, or a shallow tray nested in ice packs.
- Serve Zone: Lidded jars, small bowls, toothpicks/cocktail picks, tongs.
- Finish Zone: Napkins, small plates, discard bowl for pits/toothpicks, and a quick-wipe towel.
What to Stock (Crowd-Pleasing + Cocktail-Ready)
- Olives: Castelvetrano (buttery), Kalamata (bold), mixed pitted olives for easy snacking
- Pickles: Cornichons, dill spears, bread-and-butter slices, spicy pickled okra
- Bonus add-ins: Pickled onions, pepperoncini, caperberries, marinated artichokes
- Pairings: Marcona almonds, crackers, sliced citrus for garnish, simple cheeses (kept chilled)
Plants & Styling: Make It Feel Like a Destination
Your station should look like it belongs in the landscape, not like a folding table that landed there. Use plants, lighting, and backdrop elements to create an outdoor entertaining focal point.
Best Plant Choices Near a Bar Station
- Herbs for garnish: Rosemary, thyme, mint (keep in pots to control spread), basil in warm months
- Fragrant structure: Lavender (sunny climates), dwarf citrus in pots (mild winter regions), bay laurel topiary
- Low-litter greenery: Boxwood alternatives like dwarf yaupon holly (warm climates), compact arborvitae (cooler regions)
Climate-Smart Plant Tips
- Hot/sunny patios: Use heat-tolerant containers like glazed ceramic or composite, and add a drip saucer to reduce daily watering.
- Humid regions: Choose mildew-resistant herbs and give plants airflow; avoid crowding pots under a tight pergola corner.
- Cold winter climates: Use evergreen container plants and swap herbs seasonally; store fragile pots or use frost-proof planters.
Backdrops That Elevate the Look
- Slatted wood privacy screen (cedar or thermally modified wood)
- Outdoor-rated art panel or metal trellis with climbing jasmine (warm climates) or clematis (cooler zones)
- Pergola or shade sail to protect food and make the area inviting
Seasonal & Year-Round Outdoor Living Considerations
Olives and pickles can be a four-season station with the right setup. Think about sun angle, wind, and how you’ll store accessories between gatherings.
Summer: Keep It Cool and Covered
- Use a lidded ice bin or hotel pan set in ice.
- Add a small umbrella or position under a pergola for shade.
- Choose UV-stable trays and avoid clear plastics that can warp.
Fall: Add Warmth and Pairings
- Incorporate nuts, hearty crackers, and smoked olives.
- Use warm lighting: 2700K LED string lights or a rechargeable lantern.
Winter: Shelter + Smart Storage
- If you host outdoors in winter, place the station near a patio heater but not directly under it.
- Store serving tools in a weatherproof deck box or built-in cabinet to prevent corrosion.
Spring: Refresh and Replant
- Reseal stone or concrete surfaces if needed.
- Restart herb pots and clean jars thoroughly for a fresh season.
Maintenance & Food-Safe Upkeep
A station that’s easy to maintain gets used more often. Build simple routines into your outdoor kitchen and patio living habits.
- Daily/party day: Wipe surfaces with mild soap and water; avoid harsh acids on natural stone.
- Weekly (hosting season): Check for rust on tools; dry everything before storing.
- Seasonally: Reseal concrete or porous stone; oil teak if you prefer a richer tone (or let it silver naturally).
Common Mistakes to Avoid
- Placing it in full sun: Brine warms quickly and guests won’t linger. Prioritize shade.
- Using reactive metals: Non-stainless metals can corrode from salty brine and humidity.
- Skipping a discard bowl: Pits, picks, and used napkins pile up fast without a designated drop spot.
- Overcrowding the surface: Too many jars creates traffic jams. Offer fewer items, replenish as needed.
- Forgetting wind: Lightweight napkins and picks blow everywhere—use a weighted container or dispenser.
- Putting the station too close to seating: Guests standing and serving can block pathways and interrupt conversation.
Budget Ranges: What to Expect
- Starter (Under $200): Tray + lidded jars + stainless tongs + small ice tub on an existing table.
- Mid-Range ($250–$900): Outdoor console or bar cart + upgraded containers + lantern lighting + herb pots.
- Premium ($1,200–$6,000+): Built-in counter niche, porcelain/granite top, refrigeration drawer, and integrated lighting.
FAQ: Outdoor Bar Olive and Pickle Stations
How do I keep olives and pickles cold outside?
Use a shallow pan nested in ice (a hotel pan works beautifully), keep jars lidded between servings, and place the station in shade. For frequent summer hosting, consider an undercounter beverage fridge or drawer.
What’s the best material for an outdoor bar garnish station?
Porcelain slab and stainless steel are top performers for stain resistance and easy cleanup. Sealed granite is also excellent for outdoor countertops and holds up well to brine.
How do I prevent bugs around the station?
Choose containers with lids, avoid leaving open sweet mixers nearby, and use a small fan on low to discourage flying insects. Position the station away from dense shrubs where bugs gather at dusk.
Can I build this station into a small patio design?
Yes—use a slim 12–16 inch deep console or a compact bar cart. Keep the setup vertical with a small shelf riser, and store backups in a weatherproof deck box to reduce clutter.
What plants look best near an outdoor bar station?
Rosemary, lavender, dwarf citrus (in suitable climates), and potted mint or thyme provide fragrance and function. Choose low-litter plants to keep surfaces clean and reduce maintenance.
Your Next Steps: Create a Station You’ll Actually Use
Start by choosing your location: shaded, close to drinks, and out of the main traffic lane. Pick a weather-resistant base (bar cart, console, or built-in niche), then set it up using the 3-zone method—chill, serve, finish. Add a few herb pots and warm lighting, and you’ll have a polished outdoor entertaining feature that works for summer parties, fall happy hours, and even winter gatherings with a heater nearby.
For more patio living inspiration, outdoor kitchen ideas, and landscape design upgrades, explore the latest guides and expert tips on thedecormag.com.
More Articles
 How to Design a Prairie Garden - The Decor Mag
 How to Design a Fern Garden - The Decor Mag
 How to Create Privacy in Your Yard - The Decor Mag
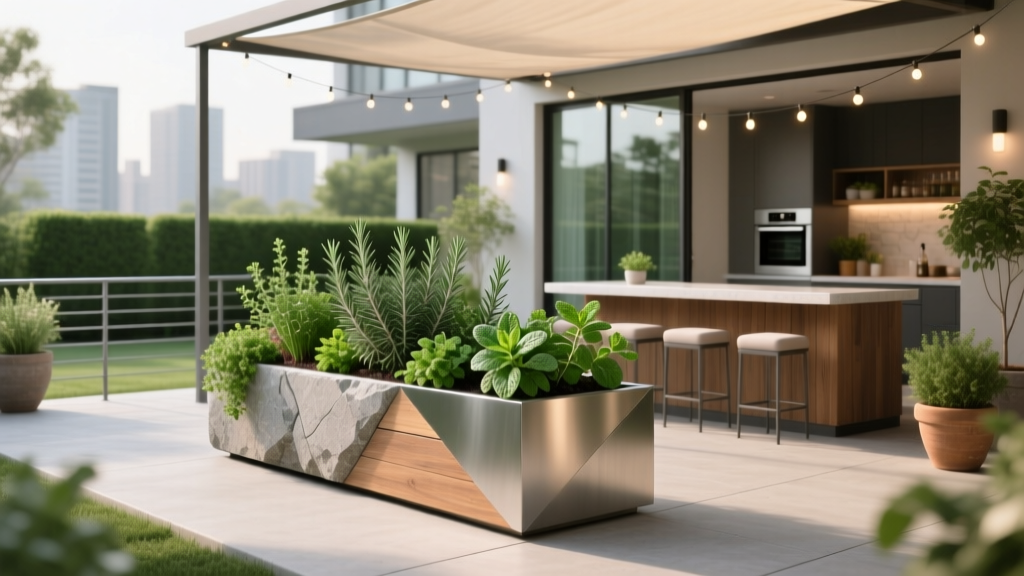 Best Outdoor Bar Herb Garden Planter - The Decor Mag
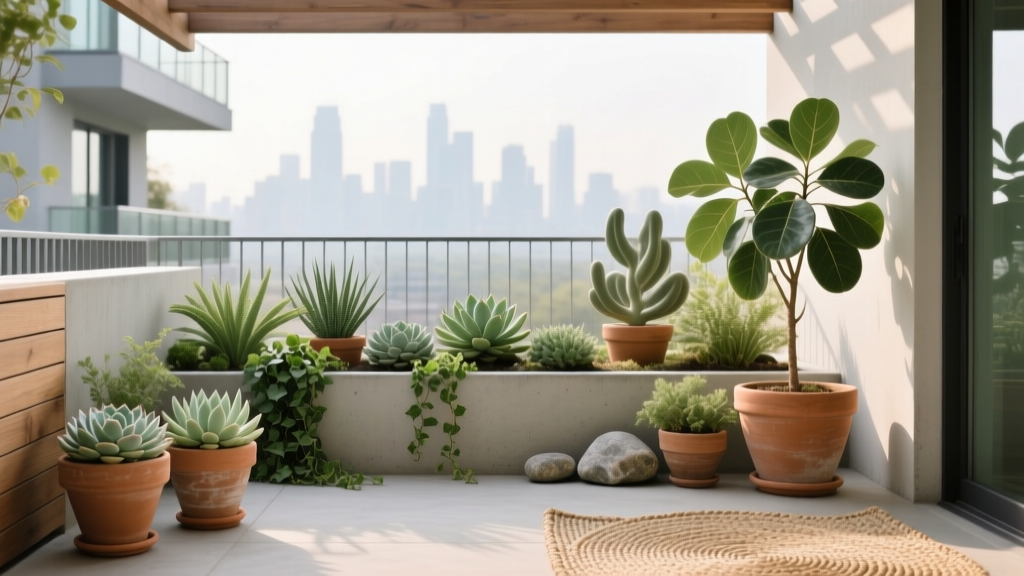 Container Garden Design Inspiration - The Decor Mag
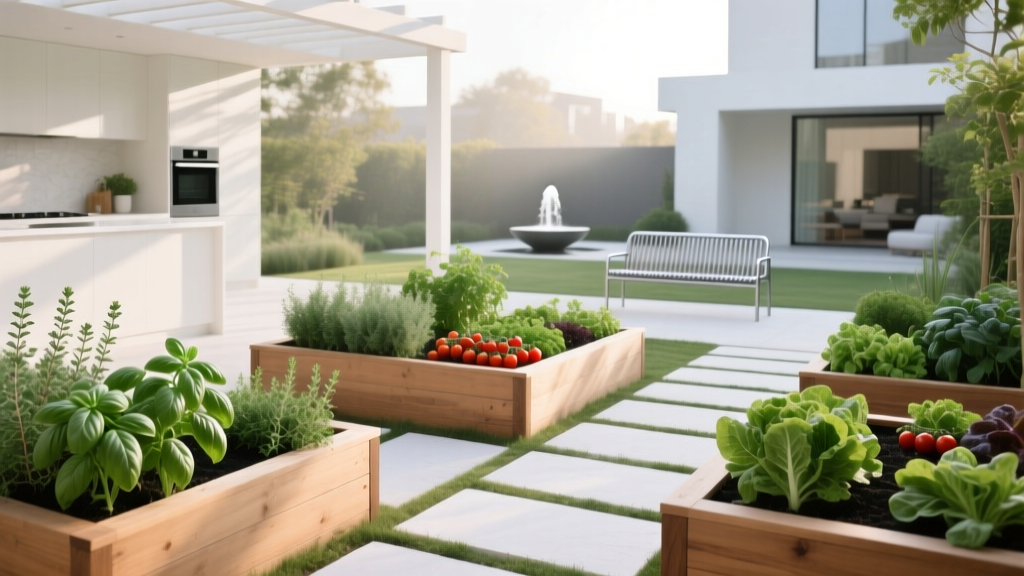 How to Design a Kitchen Garden Layout - The Decor Mag
 7 Bedside Common Mistakes That Sabotage Sleep, Safety, and Bedroom Functionality
 Premium Alternatives to Paint: Durable, Sustainable, and Aesthetic Solutions for Outdoor Living Surfaces
 Outdoor Built-In Grill Station Ideas - The Decor Mag
 Best Outdoor Dining Table Materials - The Decor Mag