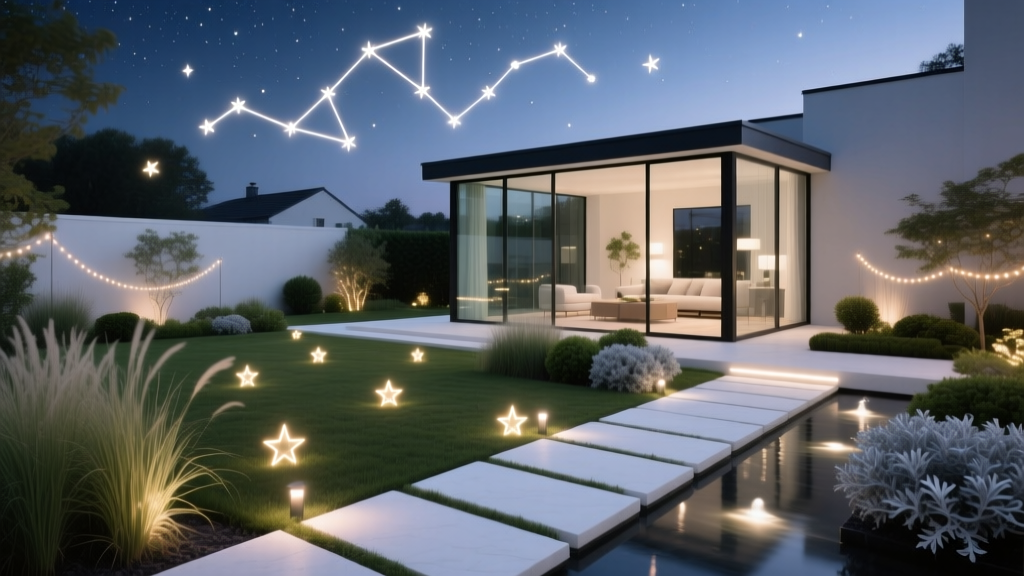
How to Create a Starlight Garden - The Decor Mag
There’s something transformative about stepping outside after dark and finding your yard still “alive”—not with harsh floodlights, but with a gentle constellation of glows, shadows, and scents. A starlight garden is designed specifically for nighttime outdoor living, turning patios, pathways, and planting beds into a calming retreat that feels luxurious, romantic, and deeply personal.
For homeowners, this matters because so much of outdoor life happens outside peak daylight hours: after dinner, during summer evenings, on crisp fall nights, or on those mild winter weekends when you want a hot drink under a blanket. A starlight garden extends the usable hours of your patio living space, increases perceived square footage, and creates an atmosphere that’s hard to replicate indoors.
The best part: you don’t need a sprawling estate or a massive renovation. With a smart lighting plan, reflective materials, night-friendly plants, and comfortable outdoor furniture, you can build a “night garden” that feels like your own backyard observatory—beautiful year-round and practical to maintain.
What Defines a Starlight Garden?
A starlight garden blends layered outdoor lighting, night-interest plants, and reflective hardscaping to create a soft, starry effect rather than a brightly lit yard. The goal is to guide movement, highlight texture, and encourage lingering—without glare.
- Low, warm lighting (typically 2200K–2700K) that feels candlelike
- Shimmer and reflection from water, pale gravel, light stone, or metallic accents
- Night-blooming and fragrant plants near seating areas
- Comfort-forward patio design that invites people to stay outside longer
- Thoughtful darkness—you want pockets of shadow to make the light feel special
Start With a Nighttime Plan (Before You Buy Anything)
Walk your yard at dusk and again after full dark. Notice where you naturally want to sit, which paths feel unsafe, and what features disappear. A starlight garden is less about adding more lighting and more about placing lighting in the right spots.
Map these four zones
- Arrival: driveway, gate, front walk, or side yard entry
- Circulation: steps, pathways, transitions between patio and lawn
- Destination: patio seating, fire pit, outdoor dining area
- Highlights: trees, sculptural plants, water features, textured walls, art
Practical layout approach (works for most yards)
- Keep the brightest light at transition points (steps, edges, gates), not at seating.
- Use multiple small lights instead of a few powerful fixtures.
- Place night-fragrant plants within 6–10 feet of chairs or dining areas.
- Anchor the design with one focal element: a small fountain, a single multi-trunk tree, or a pergola with soft lighting.
Layered Lighting: The Secret to a Starry Feel
Great outdoor lighting design uses layers—just like interior lighting. This is the fastest way to elevate patio living and landscape design without remodeling your entire yard.
Choose the right color temperature and brightness
- Best glow: 2200K–2700K (“warm white”) for a starlight ambiance
- Avoid: 4000K–5000K (cool white/blue) which can feel clinical and disrupt the mood
- Brightness guideline: aim for “enough to navigate,” not “bright as day”
Lighting types to combine (with where they work best)
- Path lights: low fixtures to define routes; space 6–10 feet apart for an even rhythm
- Step lights: recessed or surface-mounted on risers; improves safety without glare
- Uplights: aimed at trees, tall grasses, or textured walls for drama and depth
- Downlights (“moonlighting”): mounted in trees or pergolas to mimic soft starlight
- String lights: best when kept high and tight (pergola, cable system), not sagging overhead
- Accent lights: small spotlights for sculptures, boulders, or water features
Material recommendations for fixtures
- Coastal or humid climates: brass, copper, or marine-grade stainless steel (best corrosion resistance)
- Dry climates: powder-coated aluminum works well and is budget-friendly
- Look for: weather ratings appropriate to use (wet-location when exposed), and durable lenses (tempered glass)
Smart control for year-round outdoor living
To make your starlight garden effortless, add automation:
- Photocell + timer so lights turn on at dusk and off at a set time
- Dimmers for patio and pergola zones
- Separate zones: paths, seating, feature highlights
Budget ranges for lighting
- Budget-friendly ($150–$500): solar path lights (high quality), plug-in string lights, a few rechargeable lanterns
- Mid-range ($800–$2,500): low-voltage LED system for paths + uplighting for 1–3 focal points
- High-end ($3,000–$10,000+): full landscape lighting plan with premium fixtures, professional installation, multiple zones, and tree-mounted moonlights
Create “Constellations” With Reflective Materials
Starlight gardens are as much about surfaces as they are about fixtures. Reflective hardscaping helps small amounts of light travel farther, giving your yard that subtle sparkle.
Materials that glow at night
- Light gravel: decomposed granite in buff tones, pale limestone gravel, or crushed shell (regional)
- Pale pavers or stone: travertine (tumbled), light sandstone, creamy porcelain pavers (low maintenance)
- Reflective accents: brushed stainless planters, galvanized stock tank water features, glass mosaic in a fountain
- Water: even a small bowl fountain reflects pinpoints of light beautifully
Design approaches that feel starry (not spotlighted)
- Border lighting: hide LED strips under a bench edge or along a low wall cap for a floating glow
- Gravel “galaxy” zones: a pale gravel seating area with dark stepping stones creates contrast and visual depth
- Light-washed textures: graze a stone wall or cedar slat fence with a low fixture to emphasize shadows
Planting for Night Beauty: Fragrance, Silver Leaves, and Movement
Night garden plants should do at least one of three things: reflect light, release fragrance, or move gracefully in a breeze. Place the highest-impact plants where you spend time—near patios, outdoor dining areas, and fire pits.
Best plant traits for a starlight garden
- White or pale blooms that “float” at dusk
- Silver/gray foliage that catches moonlight and landscape lighting
- Fragrance that intensifies at night
- Ornamental grasses for soft motion and shadow play
Plant suggestions (mix and match by climate)
- Fragrant night standouts: night-blooming jasmine (Cestrum nocturnum, warm climates), Nicotiana (flowering tobacco), gardenia (mild climates), sweet alyssum for containers
- White bloomers: moonflower (Ipomoea alba, annual vine), white roses, hydrangea (many climates), Shasta daisy (summer)
- Silver foliage: lavender, lamb’s ear, Artemisia, dusty miller (annual), Russian sage (drier climates)
- Grasses for glow + movement: fountain grass (Pennisetum varieties), Mexican feather grass (warm/dry regions), switchgrass (Panicum virgatum, many climates)
- Structural evergreens: boxwood (where suitable), dwarf conifers, or tough native shrubs for year-round shape
Container planting for patios and small yards
If your outdoor living space is mostly a patio or deck, containers can deliver maximum night impact:
- Use light-colored pots (stone, sand, or soft gray) to reflect light.
- Combine: 1 thriller (upright grass or evergreen), 2 fillers (silver foliage), 1 spiller (white blooms trailing).
- Place fragrant containers at the corners of seating so scent drifts through the space.
Furniture and Comfort: Make the Night Invite You Outside
A starlight garden fails if it’s beautiful but not comfortable. Choose outdoor furniture that supports lingering—recline-friendly seating, cozy textiles, and surfaces for drinks and lanterns.
Furniture recommendations that suit the starlight vibe
- Deep seating: all-weather wicker, powder-coated aluminum, or teak with quick-dry cushions
- Fire feature seating: low lounge chairs or curved sectionals to create a “circle of light”
- Dining lighting compatibility: a pergola or umbrella with integrated lighting helps dining feel intimate
- Side tables: at least one per two seats—practical for candles, drinks, and blankets
Materials that perform well outdoors
- Teak: premium, ages to silver; excellent for year-round outdoor living
- Powder-coated aluminum: lightweight, rust-resistant, great value
- Outdoor fabrics: solution-dyed acrylic (excellent fade resistance), olefin (budget-friendly and durable)
Budget ranges for a patio seating setup
- $300–$900: compact conversation set + rechargeable lanterns + outdoor rug
- $1,200–$3,500: quality deep seating, layered lighting, and large planters
- $4,000–$12,000+: full outdoor living room with pergola, integrated lighting, and premium furniture
Seasonal Strategy: Keep the Magic Year-Round
A true starlight garden looks good in every season—even if your plants change dramatically.
- Spring: emphasize fresh whites (bulbs, early bloomers) and refresh solar lights; add new mulch to brighten beds
- Summer: prioritize fragrance near the patio; add shade by day (pergola/umbrella) to keep cushions comfortable at night
- Fall: add warm-textured throws, lanterns, and grasses at peak plume; adjust timers as dusk arrives earlier
- Winter: lean on evergreens, bark texture, and lighting; consider a portable heater or fire pit for cold nights
Climate and Maintenance Considerations
Hot, dry climates
- Use drought-tolerant plants (lavender, artemisia, rosemary where suitable) and mulch to reduce evaporation.
- Choose low-voltage LEDs with durable housings; heat can shorten the life of bargain solar units.
- Plan for dust: wipe fixtures and clean lenses every few months for maximum sparkle.
Humid, rainy, or coastal climates
- Select corrosion-resistant fixtures (brass, copper, marine-grade stainless).
- Elevate or protect electrical connections; use weather-rated transformers and connectors.
- Favor mildew-resistant outdoor fabrics and quick-dry cushion fills.
Cold or snowy climates
- Place path lights where snow shoveling won’t damage them; consider step lights on risers instead.
- Use evergreens and winter structure plants; rely on lighting to carry the aesthetic when blooms are gone.
- Check timers and photocells seasonally; shorter days can change how your lighting feels.
Common Mistakes to Avoid
- Overlighting the yard: too much brightness kills the “starlight” effect and creates glare.
- Using cool-white bulbs: 4000K+ feels harsh and can make plants look flat.
- Ignoring shadows: darkness is part of the design—use it to frame focal points.
- Spacing path lights like runway markers: too many identical lights looks commercial; vary with subtle uplights or downlights.
- Placing fragrance too far away: scented plants belong near seating and entries, not at the back fence.
- Forgetting maintenance access: leave room to prune, replace bulbs, and clean fixtures without stepping through beds.
FAQ: Starlight Garden Design
What’s the best type of lighting for a starlight garden: solar or wired?
Solar works well for small accents and sunny yards, but a low-voltage wired LED system is more reliable, brighter (when needed), and easier to control in zones. Many homeowners use a mix: wired for paths and focal points, solar or rechargeable lanterns for atmosphere.
How do I keep my patio from feeling too dark while still maintaining a “starry” mood?
Use layered lighting: soft downlighting overhead (pergola or tree), low path or step lights for navigation, and a few dimmable accent lights on plants or walls. Avoid a single bright fixture in the center of the patio.
What are the easiest plants to start with for nighttime impact?
Start with lavender (silver foliage), white hydrangea (big reflective blooms in many climates), and an ornamental grass for movement. Add a fragrant container near seating for instant payoff.
How much does it cost to create a starlight garden?
A simple version with containers, lanterns, and a few quality solar lights can run $300–$900. A well-designed low-voltage landscape lighting setup with upgraded patio elements often lands in the $1,500–$5,000 range. Full outdoor living renovations with premium fixtures and pergolas can exceed $10,000.
Will outdoor lighting attract bugs?
Any light can draw insects, but warm, low-intensity LEDs tend to be less attractive than bright, cool lights. Keep lights aimed downward or shielded, and place seating a bit away from the brightest fixtures.
Do I need a designer, or can I DIY a starlight garden?
You can DIY a lot—especially container planting and portable lighting. If you want tree-mounted downlights, multiple electrical zones, or a cohesive landscape lighting plan, a pro can help prevent expensive mistakes and improve safety.
Next Steps: Build Your Backyard Nightscape
To create your starlight garden, start small and build in layers. This weekend, try a simple upgrade: add two warm-glow lanterns, highlight one tree with an uplight, and place a fragrant container beside your favorite chair. Then expand with a pathway plan, reflective materials, and plants chosen for moonlit beauty.
When you’re ready, sketch your yard into zones, pick a warm lighting palette, and invest in comfort-forward outdoor furniture that supports year-round patio living. The payoff is immediate: more time outside, a more inviting landscape design, and a backyard that feels like a getaway—every night.
For more outdoor living ideas, patio design inspiration, and expert landscaping tips, explore the latest guides on thedecormag.com.
More Articles
 Best Outdoor Bar Muddler and Jigger Storage - The Decor Mag
 How to Create a Hugelkultur Garden Bed - The Decor Mag
 Best Outdoor Bar Trash Bin Hideaway - The Decor Mag
 Best Outdoor Bar Napkin Holder Ideas - The Decor Mag
 How to Design a Cottage Garden - The Decor Mag
 How to Create a Lantern Garden - The Decor Mag
 How to Design a Sensory Herb Garden - The Decor Mag
 Outdoor Kitchen Corner Cabinet Ideas - The Decor Mag
 Outdoor Living Budget Checklist: A Practical, Step-by-Step Planning Tool for Homeowners
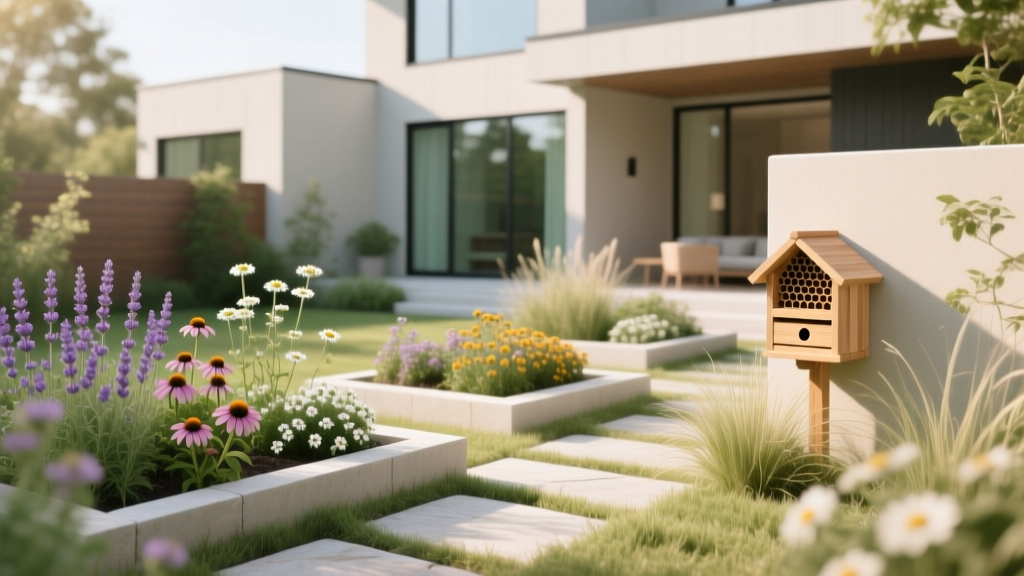 How to Design a Bee Garden - The Decor Mag