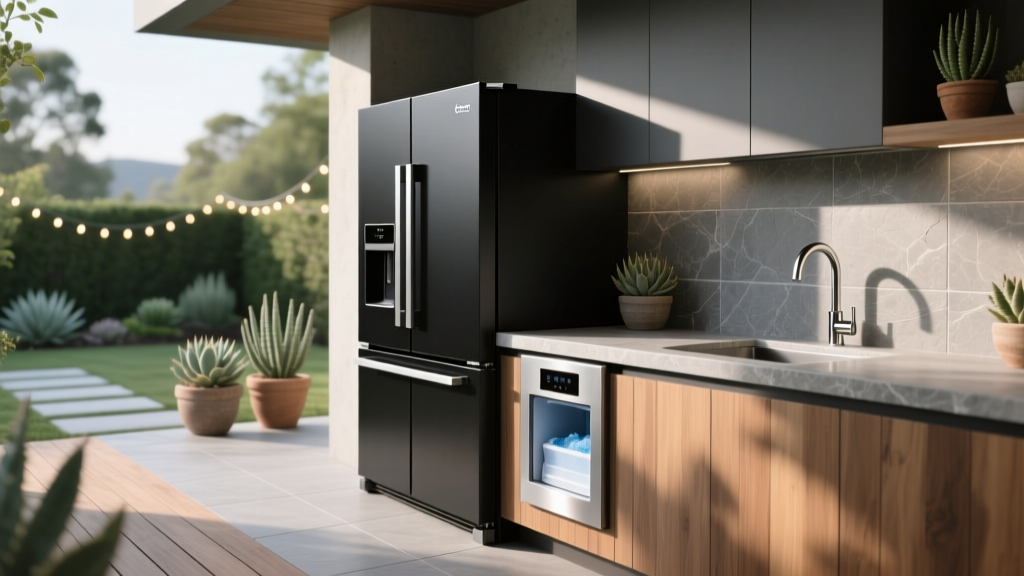
Outdoor Refrigerator and Ice Maker Setup - The Decor Mag
Nothing elevates outdoor living faster than a patio kitchen that works as smoothly as your indoor one. When cold drinks, fresh ingredients, and plenty of ice are always within arm’s reach, your backyard shifts from “nice place to sit” to a true entertaining zone—ready for weeknight dinners, weekend pool parties, and cozy fall gatherings around the fire pit.
An outdoor refrigerator and ice maker setup is one of those upgrades that feels luxurious, yet pays you back every single time you host. No more muddy trips inside, no more half-melted ice bags, no more crowding the indoor fridge with marinades and mixers. With the right layout, materials, and climate-smart choices, you can build a setup that looks custom, performs year-round, and blends beautifully into your landscape design.
Planning Your Outdoor Refrigerator and Ice Maker Zone
Start with how you actually entertain
Before picking appliances, think like a host. Where do people gather? Where do you prep food? Where do kids run through with dripping popsicles? A smart outdoor kitchen layout keeps cold storage close to the action but out of foot-traffic pinch points.
- Frequent grillers: Place the outdoor refrigerator near the prep counter, within 3–6 feet of the grill (close enough for easy access, far enough to avoid heat exposure).
- Cocktail-forward entertaining: Put the ice maker near your beverage station, bar counter, or seating zone.
- Pool patios: Consider a dedicated “wet zone” with a beverage fridge and ice maker near a towel storage cabinet and an outdoor shower path.
- Small patios: A single undercounter refrigerator (or refrigerator drawer) plus a compact ice maker can create a streamlined minibar feel.
Choose the right appliance types
Not all outdoor refrigeration is created equal. True outdoor-rated units are designed to handle temperature swings, humidity, and airflow challenges.
- Outdoor-rated undercounter refrigerator: Great all-purpose option for ingredients and drinks.
- Beverage center: Optimized racks and consistent temps for cans and bottles; often more efficient for entertaining.
- Refrigerator drawers: Sleek and ergonomic; ideal for keeping items organized (kid-friendly snack drawer, mixer drawer, produce drawer).
- Outdoor ice maker: Produces consistent ice without relying on bagged ice—excellent for frequent hosting.
- Combo approach: Beverage fridge + ice maker is the most flexible “party-ready” pairing.
Budget ranges to expect
Outdoor appliances and weatherproof construction can add up, but there’s a tier for nearly every homeowner.
- Starter (approx. $1,200–$3,000): One outdoor-rated undercounter fridge, basic framed island, simple electrical.
- Mid-range (approx. $3,000–$8,000): Outdoor fridge + ice maker, stone or porcelain countertop, dedicated circuits, upgraded doors/panels.
- High-end (approx. $8,000–$20,000+): Integrated outdoor kitchen suite, refrigeration drawers, premium ventilation, custom masonry island, lighting and smart controls.
Designing the Layout: Where the Fridge and Ice Maker Perform Best
The “cold triangle” for outdoor kitchen flow
Indoor kitchens use the work triangle concept; outdoors, think in zones: cold storage, prep, and heat. Your refrigerator and ice maker belong in the cold storage zone, ideally adjacent to prep.
- Cold zone: Refrigerator + ice maker + drinkware storage.
- Prep zone: Counter space (at least 24–36 inches clear), cutting board landing, trash/recycling pull-out.
- Heat zone: Grill, pizza oven, or cooktop—positioned to keep appliance fronts away from direct heat.
Recommended placement distances
- Keep refrigeration out of direct sun when possible—use a pergola, awning, or place on the shaded side of the island.
- Allow landing space beside the fridge door: at least 12–18 inches of counter.
- Don’t squeeze the ice maker into a dead corner—ice access should be smooth and social.
- Maintain clear walkways: 36 inches minimum around open doors; 42+ inches if multiple people gather.
Patio and yard design approaches that look intentional
Your appliances should feel like part of the outdoor living design—not an afterthought. A few layout styles that consistently work:
- Linear wall run: Best for narrow patios; appliances sit under a continuous counter against a wall or fence line.
- L-shaped island: Creates a natural bar perch and separates prep from seating.
- U-shaped entertaining hub: Maximum counter space and storage; excellent for serious hosts.
- Freestanding beverage station: A compact unit near seating, paired with a fire pit or lounge set for year-round outdoor living.
Materials That Hold Up Outdoors (and Look Designer-Level)
Cabinetry and island construction
Outdoor kitchens face moisture, UV, and temperature swings, so prioritize durable, low-maintenance materials.
- Marine-grade polymer (HDPE): Excellent for humid, coastal, or rainy climates; won’t rot or swell.
- Powder-coated aluminum: Sleek modern look; resists rust; good for contemporary patio design.
- Stainless steel frames: Strong and long-lasting; choose higher-grade stainless (especially near salt air).
- Masonry (block/stone veneer): Timeless and sturdy; pairs beautifully with outdoor fireplaces and stone patios.
Countertop recommendations
- Porcelain slab: Top pick for outdoor countertops—UV-stable, stain-resistant, and heat-friendly.
- Granite: Durable and classic; choose a dense, darker granite for better stain resistance and fewer visible marks.
- Concrete: Gorgeous for modern outdoor kitchens; requires sealing and occasional maintenance.
- Avoid: Most quartz outdoors (many brands discolor in UV exposure).
Flooring and patio surfaces around the setup
For safe footing near ice and drinks, select slip-resistant surfaces with good drainage.
- Textured porcelain pavers: Great traction and easy cleanup.
- Natural stone (thermal bluestone, travertine): Elevated look; stays cooler underfoot in many climates.
- Broom-finish concrete: Budget-friendly and practical for outdoor kitchen zones.
Utilities and Performance Essentials (Electric, Water, Drainage, Ventilation)
Power and safety
Outdoor refrigerators and ice makers typically require dedicated circuits and GFCI protection. Work with a licensed electrician and plan outlets early so cords aren’t visible or stretched.
- Use GFCI-protected outlets and circuits appropriate for your appliance specs.
- Plan task lighting over the cold zone for evening hosting.
- Consider smart outdoor lighting to extend patio living through the darker winter months.
Water line and drainage for ice makers
Most ice makers need a water supply and a way to drain. The drain can be a deal-breaker if not planned correctly.
- Gravity drain: Simplest if you can slope to an approved drain location.
- Drain pump: Useful when gravity drain isn’t possible; include access for maintenance.
- Winterization: In freeze-prone regions, shut off water, drain lines, and follow manufacturer instructions.
Ventilation and airflow
Undercounter refrigeration needs proper airflow. Starving the unit of ventilation leads to poor cooling and early failure.
- Use the manufacturer’s required clearances.
- Don’t block toe-kicks or vents with trim, rugs, or stored items.
- Keep refrigeration away from direct grill exhaust and high-heat zones.
Outdoor Styling: Furniture, Lighting, and Landscape Ideas That Make It Feel Like a Resort
Furniture recommendations for seamless entertaining
Match your seating plan to how guests move between the fridge, ice, and gathering areas.
- Bar-height counter seating: Two to four stools near the beverage/ice zone keeps guests out of the cook’s way.
- Modular outdoor sectional: Great for patios where people mingle; place it within sight of the kitchen, not directly in front of appliance doors.
- Dining set with easy-clean materials: Powder-coated aluminum frames, teak, or all-weather wicker with quick-dry cushions.
- Side tables everywhere: The simplest “pro hosting” move—add drink landing spots so guests aren’t balancing cups on planters.
Lighting that extends patio season
- Warm LED under-counter lighting: Makes the outdoor kitchen look high-end and improves safety.
- Pergola string lights or bistro lights: Adds ambiance and invites evening gatherings.
- Path lights: Guide guests between the patio, yard, and back door—especially useful in winter when it gets dark early.
Planting design around an outdoor kitchen
Use plants to soften hard surfaces while keeping maintenance realistic. Choose varieties that won’t dump berries, needles, or sticky sap near your appliances.
Great plant choices for outdoor kitchen borders (by style):
- Mediterranean/Herb-forward: Rosemary, thyme, sage, lavender (fragrant, drought-tolerant, and useful for grilling).
- Modern low-maintenance: Boxwood alternatives like inkberry holly (region-dependent), ornamental grasses (e.g., feather reed grass), agave (warm climates).
- Pollinator-friendly accents: Salvia, coneflower, catmint—place a bit farther from prep zones to reduce bee traffic right at the counter.
- Shade solutions near seating: Japanese maple (mild climates), serviceberry (multi-season interest), or pergola vines like star jasmine (warm climates) or clematis (cooler climates).
Placement tips:
- Keep plants 12–24 inches away from appliance vents and service panels.
- Use gravel or paver edging to reduce soil splash and keep the zone clean.
- Add large planters to frame the beverage station—easy to refresh seasonally (spring bulbs, summer annuals, fall mums, winter greens).
Climate and Year-Round Outdoor Living Considerations
Hot and sunny climates
- Prioritize shade (pergola, shade sail, roof extension) to reduce appliance strain and energy use.
- Choose light-colored countertops that stay cooler to the touch.
- Consider ceiling fans under covered patios for comfort during peak summer entertaining.
Cold and freeze-prone regions
- Select appliances rated for lower ambient temperatures if you plan to run them in shoulder seasons.
- Plan for winter shutdown: drain ice maker lines, clean and dry interiors, and use breathable covers.
- Use heaters (infrared or natural gas) and wind screening to extend patio season into fall and early winter.
Humid or coastal areas
- Look for corrosion-resistant construction (higher-grade stainless and marine-grade materials).
- Rinse exterior stainless occasionally with fresh water and wipe dry to reduce salt buildup.
- Keep airflow strong to prevent mildew around cabinetry and toe-kicks.
Maintenance Checklist for Outdoor Refrigerators and Ice Makers
- Weekly: Wipe handles and gaskets; check for spills and sticky residue.
- Monthly: Clean stainless with a non-abrasive cleaner; confirm vents are unobstructed.
- Seasonally: Deep clean interior shelves and bins; inspect door seals; clean condenser coils if accessible.
- Ice maker care: Follow manufacturer cleaning cycles; replace water filters on schedule for clear ice and better taste.
Common Mistakes to Avoid
- Buying an indoor fridge for outdoor use: It may fail quickly due to heat, moisture, and poor ventilation.
- Ignoring ventilation clearances: Tight cabinetry and blocked vents cause overheating and weak cooling.
- Placing appliances in full sun: Leads to temperature struggles, higher energy use, and shorter lifespan.
- Forgetting drainage planning for the ice maker: A beautiful install can become a headache without a proper drain solution.
- Skipping landing space: No counter beside the fridge means constant juggling during hosting.
- Overcrowding the walkway: Doors swing into traffic and guests cluster in awkward spots.
FAQ: Outdoor Refrigerator and Ice Maker Setup
Do I really need an outdoor-rated refrigerator?
Yes if it will live outside full-time. Outdoor-rated units are built to handle heat, humidity, and temperature swings common in patio living. Using an indoor unit outdoors often leads to poor performance and early failure.
Can an outdoor ice maker be installed without a drain?
Most models require drainage. If gravity drainage isn’t possible, a drain pump may work depending on the unit and local codes. Plan this early with your contractor or plumber.
What’s the best place to put the ice maker for entertaining?
Place it near your beverage center—close to seating but not in the cook’s main prep path. A dedicated drink station with counter space for garnishes and cups makes hosting feel effortless.
How do I protect my outdoor refrigerator and ice maker in winter?
In freeze climates, shut off and drain water lines to the ice maker, dry the interior, and use a breathable cover. If you keep the fridge running, verify it’s rated for low ambient temperatures.
What countertop material looks high-end and holds up best outdoors?
Porcelain slab is a standout for outdoor kitchen design: UV-stable, stain-resistant, and durable through seasonal changes. Granite is also a proven choice when properly sealed.
How much space should I allow around appliance doors?
Plan for at least 36 inches of clearance for traffic and comfortable door swing. If you often host larger groups, 42 inches (or more) helps prevent bottlenecks.
Next Steps: Build a Backyard Setup You’ll Use Every Week
Start by mapping your patio or deck and choosing the zone where guests naturally gather. From there, pick outdoor-rated appliances sized for your entertaining style, plan for shade and ventilation, and select weatherproof materials that complement your landscaping and outdoor design. Add layered lighting, a few well-placed planters, and seating that encourages people to stay awhile—your outdoor kitchen will feel like the heart of the yard in every season.
For more outdoor living inspiration, patio design ideas, and landscape upgrades that make your home feel like a retreat, explore the latest guides on thedecormag.com.
More Articles
 Outdoor Pergola Post Base Options - The Decor Mag
 Outdoor Retractable Awning Guide - The Decor Mag
 7 Bedside Common Mistakes That Sabotage Sleep, Safety, and Bedroom Functionality
 How to Design a Tropical Garden Oasis - The Decor Mag
 The Best Reading Color for Outdoor Living Spaces: Science, Design, and Real-World Performance
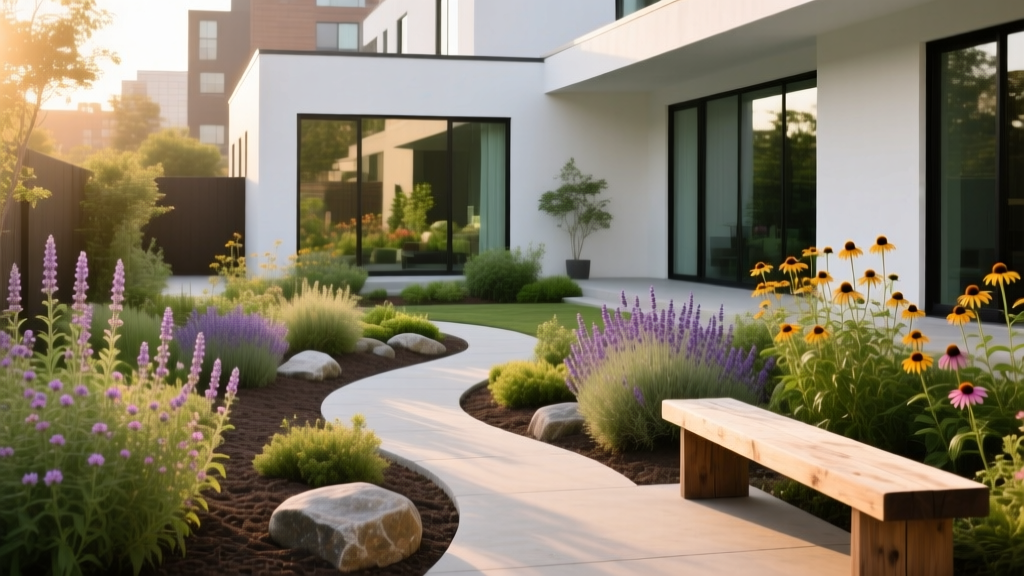 How to Design a Pollinator Pathway - The Decor Mag
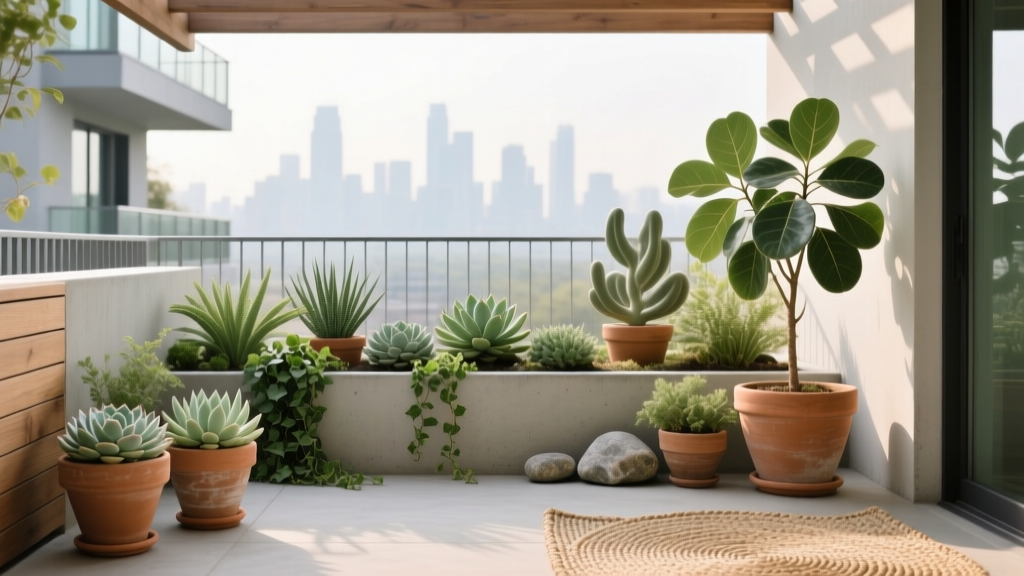 Container Garden Design Inspiration - The Decor Mag
 Best Outdoor Bar Nut Bowl Collection - The Decor Mag
 Performance Alternatives to Styling: Why Functionality Should Anchor Outdoor Living Design
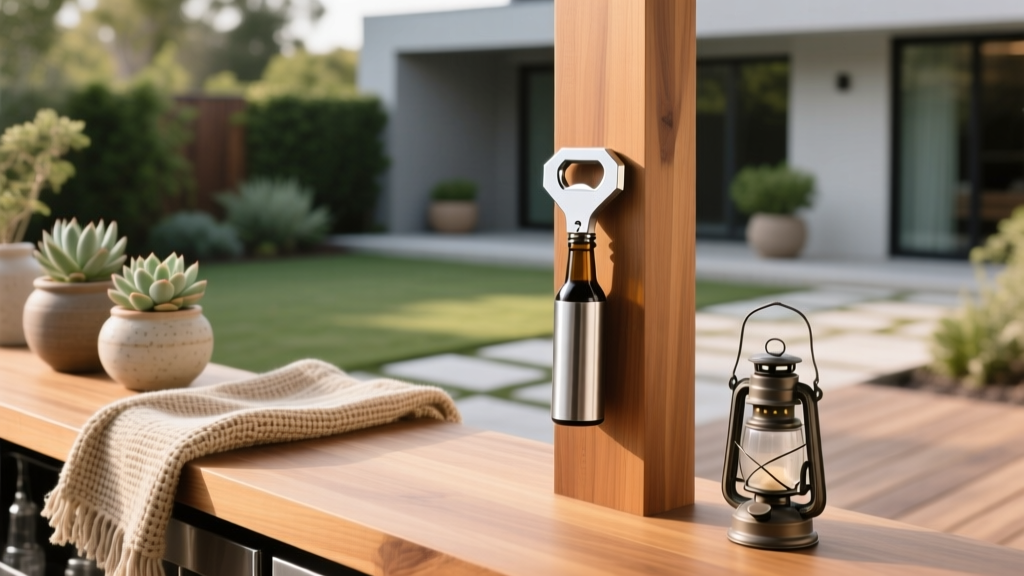 Best Outdoor Bar Bottle Opener Mount - The Decor Mag