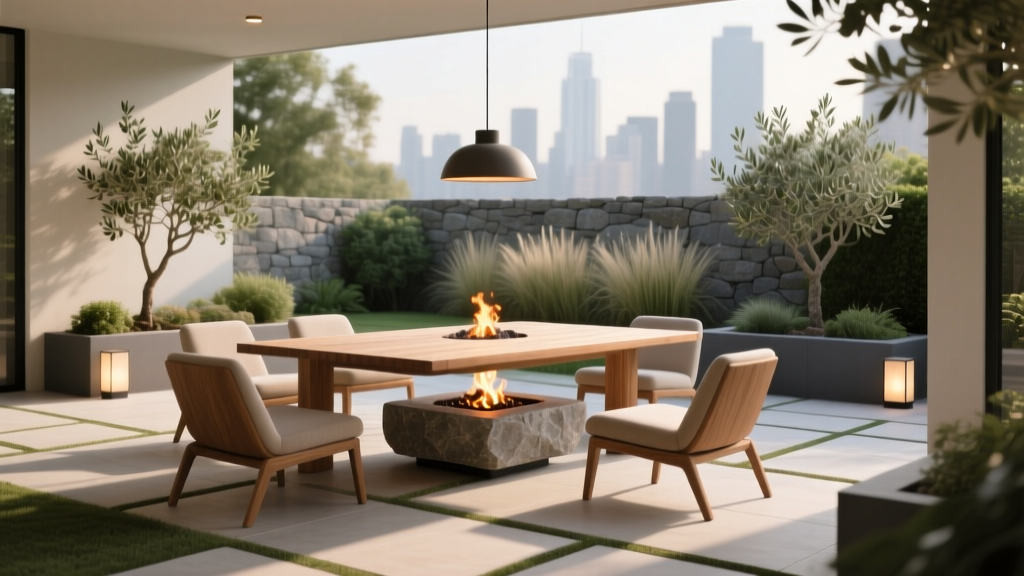
How to Create an Outdoor Dining Area - The Decor Mag
Outdoor dining changes the way a home feels. A simple table in the right spot can turn an ordinary patio into a place where weeknight dinners linger, weekend brunch becomes a ritual, and summer gatherings feel effortless. It’s not just about having somewhere to eat—it’s about creating an outdoor living space that pulls you outside more often, makes entertaining easier, and adds genuine value to your home.
The best outdoor dining areas combine smart layout planning, weather-ready materials, and a few landscaping moves that make the space feel intentional. Whether you’re working with a compact balcony, a suburban deck, or a sprawling backyard, the same principles apply: comfort, circulation, shade, lighting, and durability. Get those right, and your outdoor dining setup can feel as functional as an indoor room—only with fresh air and a better view.
Below, you’ll find expert design guidance, specific furniture and material recommendations, climate and maintenance tips, common mistakes to avoid, and budget ranges to help you build a patio dining area that works across seasons.
1) Start With the “Why”: How You’ll Actually Use the Space
Before shopping for a table or stringing lights, define what outdoor dining means for your household. Your answers shape the layout, furniture size, and the kind of shade and cooking setup you’ll need.
- Daily family dinners: Prioritize comfort, easy-to-clean surfaces, and quick-access to the kitchen.
- Weekend entertaining: Plan for extra seating, serving space, and ambient lighting.
- Quiet coffee and breakfast: A small bistro set near morning sun may be perfect.
- Year-round patio living: Think overhead cover, heaters, wind protection, and layered lighting.
Quick sizing rule: Choose seating first, then select a table that fits with comfortable clearance around it.
2) Choose the Best Location: Comfort, Convenience, and Views
Great outdoor dining areas feel easy to use—close enough to the kitchen for serving, but positioned for comfort and atmosphere. Walk your yard or patio at different times of day to see where sun, shade, and wind land.
Ideal placement guidelines
- Distance to kitchen: Aim for 10–25 feet when possible for quick trips and fewer spills.
- Sun exposure: Morning sun is pleasant; harsh afternoon sun often requires shade.
- Wind: Avoid “wind tunnels” between the house and a fence or garage; use hedges or screens if needed.
- Views and privacy: Face the table toward a garden bed, water feature, or landscaped focal point—not the trash bins or AC unit.
Pro layout tip: Build a “service lane”
If you’re hosting often, create a clear path from kitchen to grill to table. A straight, unobstructed route reduces congestion and makes your outdoor living space feel professionally planned.
3) Plan the Layout: Clearance, Circulation, and Zones
Outdoor dining succeeds or fails based on how it moves. Cramped layouts lead to bumped chairs and awkward traffic patterns. Use these measurements as your baseline:
- Chair pull-back clearance: 36 inches behind chairs (minimum), 42–48 inches for comfortable circulation.
- Dining zone size: Table dimensions + at least 36 inches on all sides.
- Walkways: 36 inches minimum; 48 inches is ideal for two people passing.
- Table-to-grill clearance: 48 inches minimum for safety and flow.
Simple, proven layout options
- Classic dining-focused patio: Table centered under an umbrella or pergola, grill and storage off to one side.
- Dining + lounge combo: Dining table near the house; a separate lounge zone (sofa/chairs) 6–10 feet away to prevent crowding.
- Garden dining nook: Table set in gravel or pavers near a planting border, framed with tall plants for a “room” effect.
4) Pick Weather-Ready Surfaces: Patio Materials That Perform
Your patio or deck surface sets the tone and determines long-term maintenance. Choose materials that match your climate, lifestyle, and desired look.
Top outdoor flooring and patio materials
- Concrete (broom finish or stamped): Budget-friendly, durable, modern. Add an outdoor rug to warm it up. Seal to resist stains.
- Concrete or clay pavers: Great traction and repairability; easy to expand later. Excellent for patio living and pathways.
- Natural stone (bluestone, slate, limestone): Premium look and longevity; choose finishes with slip resistance.
- Gravel (decomposed granite or pea gravel): Charming and cost-effective. Use edging and a compacted base to prevent shifting.
- Composite decking: Low-maintenance option for decks; resists rot and splinters, great for families.
Material tip for dining areas: Avoid uneven cobbles or very deep gravel directly under chairs; you’ll fight wobbling legs. If you love gravel, opt for decomposed granite (DG) compacted with stabilizer and use sturdy chairs with wider feet.
5) Choose Outdoor Dining Furniture That Lasts
Furniture is where comfort meets durability. Focus on materials that can handle sun, moisture, and temperature swings with minimal fuss.
Best frame materials (and where they work)
- Powder-coated aluminum: Lightweight, rust-resistant, ideal for humid or coastal climates. Modern and easy to move.
- Teak: Naturally weather-resistant hardwood; ages to a silvery patina. Great for classic or coastal patio designs.
- Stainless steel: Sleek and strong; best in covered areas or when you can wipe it down regularly (coastal salt air requires care).
- All-weather wicker (resin): Comfortable and casual; choose UV-rated resin and quick-dry cushions.
Tabletop materials to consider
- Porcelain or ceramic tile: Heat-resistant and stylish; check grout maintenance and chip resistance.
- HPL (high-pressure laminate): Excellent for sun and stains; a smart mid-range choice.
- Stone (granite, quartzite): Elegant and durable; seal as recommended.
- Solid teak: Warm and timeless; needs periodic cleaning, optional oiling if you want to keep the color.
Seating comfort upgrades that make a big difference
- Quick-dry cushions: Look for solution-dyed acrylic (like Sunbrella-type fabrics) for fade resistance.
- Swivel chairs at table ends: Makes conversation easier in mixed seating arrangements.
- Bench seating on one side: Space-saving for small patios and great for families.
Shopping shortcut: If you live in a rainy climate, prioritize mesh sling chairs (fast drying) or quick-dry foam cushions with breathable covers.
6) Add Shade and Shelter for All-Day (and Year-Round) Use
Shade turns a sunny patio into a comfortable outdoor room. Shelter extends your outdoor dining season into shoulder months and makes summer heat more manageable.
Shade options ranked by flexibility
- Market umbrella: Budget-friendly, easy to reposition. Choose a cantilever umbrella for larger tables or tighter spaces.
- Shade sail: Modern look, excellent for large areas. Needs strong mounting points and proper tension.
- Pergola: Adds structure and style; pair with retractable canopy, shade fabric, or climbing vines.
- Covered patio or pavilion: Best for true year-round outdoor living; supports lighting, fans, and heaters.
Seasonal comfort essentials
- Summer: Ceiling fan under cover, misting option in dry climates, light-colored cushions, and breathable fabrics.
- Fall/Spring: Infrared heater, cozy throws in a weatherproof storage bench, wind screens (outdoor curtains or slatted panels).
- Winter (mild climates): Fire table or patio heater, weather-rated rugs, and an overhead cover to keep the area usable after rain.
7) Use Plants to Create Privacy, Atmosphere, and a “Room” Feel
Landscaping is what separates a basic patio from a designed outdoor dining area. Plants soften hard surfaces, improve privacy, and make the space feel like a destination.
Best plant strategies around a dining zone
- Frame the area: Place tall planters or shrubs behind seating to define the edge of the “room.”
- Layer heights: Combine low groundcovers, medium shrubs, and tall grasses for depth.
- Control fragrance: Add herbs nearby (great for cooking) but avoid overwhelming scents right at the table.
- Mind the mess: Avoid heavy droppers (sticky fruit, excessive petals) directly over dining surfaces.
Plant suggestions (mix and match by style and climate)
- For structure and privacy: Boxwood (mild climates), podocarpus (warm climates), clumping bamboo (non-invasive varieties), arborvitae (cooler climates), waxleaf privet (many regions).
- For movement and modern texture: Fountain grass, feather reed grass (Calamagrostis), blue fescue, lomandra (warm climates).
- For low-shed color: Lavender (dry climates), salvia, gaura, rosemary (also functional), coneflower (pollinator-friendly).
- For containers near the table: Dwarf citrus (warm climates), bay laurel, olive (warm/dry), coleus (shade), geraniums (sun).
Bug-smart planting tip: Place mosquito-attracting water sources away from dining. Use fans (they disrupt flight), and plant lemongrass, rosemary, or lavender nearby—but don’t rely on plants alone for mosquito control.
8) Lighting That Makes Outdoor Dining Feel Magical (and Safe)
Lighting is the fastest way to elevate patio living after dark. Combine task lighting (for eating and serving) with ambient lighting (for mood) and safety lighting (for steps and pathways).
A simple outdoor lighting plan
- Overhead glow: String lights under a pergola, chandelier-style pendant (rated for outdoor use), or bistro lights anchored to poles.
- Table lighting: Rechargeable LED lanterns or candles in windproof hurricanes.
- Path and step lighting: Low-voltage LED path lights, step lights, or solar lights as a supplement.
- Accent lighting: Uplights on a feature tree or grazing light along a textured wall or fence.
Warmth matters: Choose warm white (around 2700K) to flatter food, faces, and landscaping.
9) Outdoor Dining on a Budget: What It Costs and Where to Spend
You can create a beautiful outdoor dining area at many price points. The trick is investing where it improves comfort and longevity.
Budget ranges (typical)
- Budget-friendly ($300–$1,200): Bistro set or basic 6-seat set, umbrella, solar/path lighting, container plants, outdoor rug.
- Mid-range ($1,200–$5,000): Quality aluminum or resin-wicker dining set, cantilever umbrella or shade sail, low-voltage lighting, upgraded planters, grill cart or small prep station.
- High-end ($5,000–$20,000+): Teak or premium metal furniture, pergola or pavilion, built-in outdoor kitchen components, natural stone patio, professional landscape lighting and planting design.
Where to spend vs. save
- Spend: Shade (comfort), seating (ergonomics), and durable tabletop surfaces.
- Save: Decor accents, lanterns, and seasonal textiles (swap them over time).
10) Climate and Maintenance Considerations
The most beautiful outdoor spaces are the ones that stay easy to live with. Match materials and plant choices to your climate, and you’ll spend more time dining and less time fixing.
By climate
- Hot and sunny: Choose UV-stable materials, light-colored cushions, and shade coverage. Consider heat-friendly patio materials (light concrete, porcelain pavers) rather than dark stone that absorbs heat.
- Rainy and humid: Prioritize rust-resistant aluminum, fast-drying sling seating, and mildew-resistant fabrics. Add drainage and keep planters elevated with feet.
- Coastal: Rinse metal furniture regularly, avoid untreated steel, and choose marine-grade hardware when possible.
- Cold/snowy: Use freeze-thaw rated pavers/stone, store cushions in winter, and avoid porous materials that crack if not sealed properly.
Simple maintenance routine
- Weekly (in season): Quick wipe-down of the table, shake out rugs, and check for standing water.
- Monthly: Clean cushions (spot clean), inspect umbrella hardware, sweep debris from corners.
- Seasonally: Reseal stone/concrete as needed, refresh mulch in nearby beds, prune plants to maintain circulation and views.
Common Mistakes to Avoid
- Buying furniture before measuring: Always map your dining zone with painter’s tape or cardboard templates.
- Ignoring shade: A gorgeous table in full afternoon sun won’t get used.
- Too little clearance: Tight spacing makes every meal feel cramped—especially with guests.
- Choosing high-maintenance materials: If you don’t want to seal stone yearly, choose porcelain pavers or composite decking instead.
- Overplanting near the table: Thorny plants, heavy shedders, and fast growers can become constant chores.
- Only using one type of light: Overhead string lights alone can feel dim at the table; add lanterns or a pendant for task lighting.
FAQ: Outdoor Dining Area Design
What size patio do I need for a dining table?
For a comfortable setup, plan for the table size plus at least 36 inches of clearance on all sides. A typical 6-seat rectangular table often needs a space around 10' x 12' (or larger) to allow chairs to pull out and people to pass.
What’s the most durable material for outdoor dining furniture?
Powder-coated aluminum is one of the most durable, low-maintenance choices for most climates. Teak is also extremely long-lasting if you like natural wood and don’t mind periodic cleaning.
How do I create privacy around an outdoor dining area?
Use a mix of tall planters, hedges, and vertical elements like slatted screens or trellises. Clumping bamboo (non-invasive types), arborvitae, ornamental grasses, and pergolas with outdoor curtains are popular privacy solutions.
What’s the best lighting for outdoor dining?
Layer lighting: overhead string lights or a pendant for ambient glow, table lanterns for task lighting, and low-voltage path lights for safety. Choose warm white bulbs (around 2700K) for an inviting look.
How can I make my outdoor dining area work in cooler seasons?
Add wind protection (screens or curtains), an overhead cover if possible, and a heat source such as an infrared heater or fire table (used safely with proper clearance). Weatherproof storage for cushions also makes it easier to use the space spontaneously.
Next Steps: Build Your Outdoor Dining Area This Weekend
Start with a simple plan you can execute in stages:
- Measure and mark the dining zone (include chair clearance and walkways).
- Choose shade (umbrella now, pergola later if desired).
- Invest in a durable table and comfortable seating that suits your climate.
- Frame the space with plants using containers or a border bed for privacy and atmosphere.
- Layer lighting so the space feels welcoming after sunset.
With the right layout, weather-ready materials, and a few landscaping upgrades, your patio dining area can become the heart of your outdoor living space—ready for casual weeknights, holiday meals, and year-round patio living.
For more inspiring outdoor design, landscaping ideas, and patio living upgrades, explore the latest guides on thedecormag.com.
More Articles
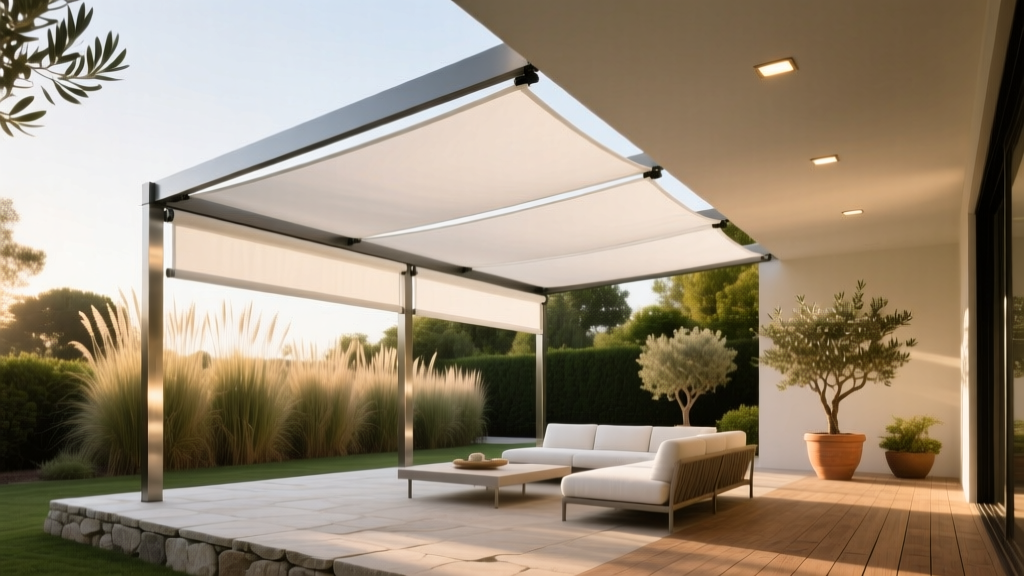 Outdoor Pergola Motorized Shade System - The Decor Mag
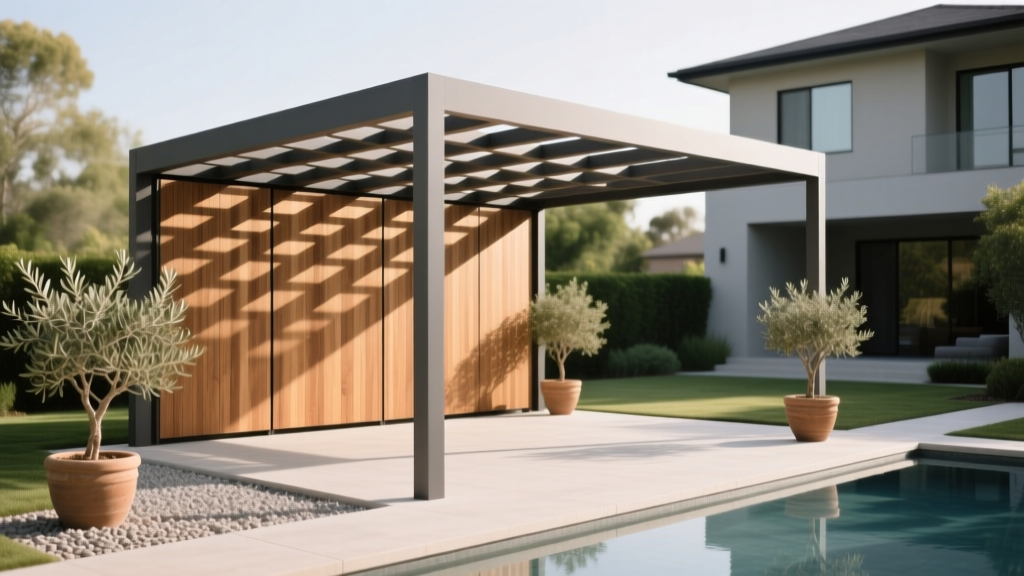 Outdoor Pergola Lattice Roof Pattern - The Decor Mag
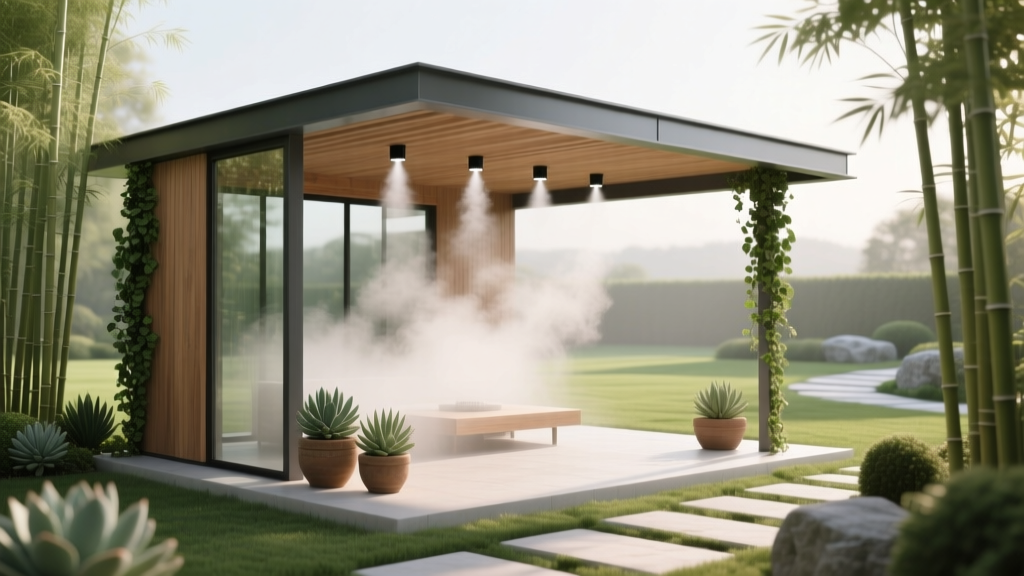 Outdoor Pavilion Misting System Setup - The Decor Mag
 How to Create a Potager Garden - The Decor Mag
 Outdoor Kitchen Storage Cabinet Guide - The Decor Mag
 Outdoor Hammock and Swing Ideas - The Decor Mag
 How to Design a Fragrant Garden Path - The Decor Mag
 How to Design a Dragonfly Garden - The Decor Mag
 Best Outdoor Bar Nut Bowl Collection - The Decor Mag
 How to Design a Bee Garden - The Decor Mag