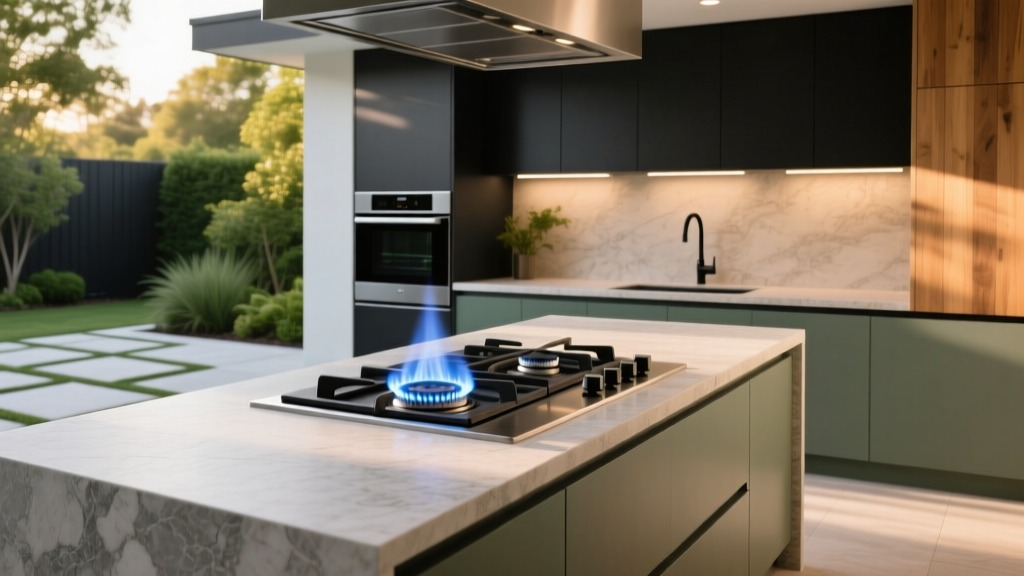
Outdoor Kitchen Power Burner Installation - The Decor Mag
An outdoor kitchen changes how you use your patio, garden, or backyard—turning quick weeknight dinners into relaxed, open-air meals and weekend gatherings into full-on hosting experiences. If you love cooking beyond burgers and hot dogs, a power burner is the upgrade that brings real range to outdoor living: searing steaks, boiling seafood, frying, simmering sauces, and handling oversized pots without monopolizing your grill.
Power burners (sometimes called side burners or high-BTU burners) are the workhorses of a well-designed outdoor kitchen. Installed correctly, they make your space more functional, safer, and more enjoyable year-round. Installed poorly, they can become a headache—uneven heat, wind issues, damaged countertops, and frustrating clearances that make cooking feel cramped.
This guide walks you through outdoor kitchen power burner installation from a design-forward homeowner perspective: choosing the right burner, planning a layout, picking durable materials, understanding fuel and ventilation needs, and avoiding common mistakes—so your outdoor kitchen looks beautiful and performs like a dream.
Why Add a Power Burner to Your Outdoor Kitchen?
A power burner elevates patio cooking in ways a standard grill can’t—especially if you entertain, cook diverse cuisines, or want your outdoor kitchen to function like an indoor one.
- High-heat capability: Many power burners range from 30,000–60,000+ BTUs for fast boils and intense searing.
- Versatility: Ideal for woks, crawfish boils, lobster pots, cast-iron frying, paella pans, and stockpots.
- Better flow when hosting: Keeps “messy” frying or aromatic cooking outdoors, reducing indoor odors and cleanup.
- Year-round use: Great for soups, mulled cider, and warm sauces in cooler seasons—especially with wind protection and task lighting.
Planning Your Outdoor Kitchen Layout Around a Power Burner
Choose the Right Location: Heat, Wind, and Workflow
Think of your outdoor kitchen as a work triangle—grill, sink, prep zone—then place the power burner where it supports that flow. Most homeowners tuck it near the grill, but it needs its own breathing room.
- Best placement: Adjacent to a prep counter (18–24 inches minimum), with landing space for hot pans.
- Avoid tight corners: Corners trap heat and crowd your arms when lifting heavy pots.
- Wind exposure: If your patio is windy, place the burner behind a short wind guard wall or within an L-shaped island that blocks cross-breezes.
- Ventilation clearance: Keep ample space from walls, overhead structures, pergola fabric, and low-hanging branches.
Recommended Layouts That Feel Great to Cook In
- L-shaped outdoor kitchen: Ideal for separating hot cooking (grill + burner) from prep and serving.
- U-shaped outdoor kitchen: Best for serious entertainers; provides generous counter space and keeps guests out of the cooking lane.
- Galley layout: Works for narrow patios; place the burner on the “cook” side and keep the opposite run for serving and bar seating.
Design Tip: Keep Guests Comfortable (and Out of the Splash Zone)
Power burners often involve boiling, splatter, and steam. Place bar seating at least 4–6 feet from the burner edge. If you love the social energy of a chef-facing setup, add a raised bar ledge (6–10 inches higher than the cook surface) as a subtle shield.
Choosing the Right Power Burner: Features That Matter
Not all outdoor power burners are created equal. Select one that matches how you cook and how your outdoor kitchen is built.
Key Specs and Features
- BTU range:
- 15,000–25,000 BTU: light simmering and standard sautéing
- 30,000–45,000 BTU: versatile sweet spot for most households
- 50,000–70,000+ BTU: wok cooking, big boils, rapid recovery in cold weather
- Burner style: Brass burners resist corrosion and hold up well in coastal climates.
- Ignition: Look for reliable electronic ignition plus a manual backup option.
- Control range: True low simmer control is underrated—especially for sauces and glazes.
- Stainless steel grade: 304 stainless is a solid target for weather resistance.
Budget Ranges (Appliance Only)
- Entry-level: $300–$700 (good for occasional use; may have fewer wind-resistant features)
- Mid-range: $700–$1,500 (better burners, thicker stainless, improved control)
- Premium: $1,500–$3,500+ (high BTUs, premium materials, refined fit/finish)
Outdoor Kitchen Power Burner Installation: What the Process Really Involves
Power burner installation touches multiple systems—fuel, ventilation, fire safety clearances, and countertop fabrication. Many homeowners handle the design and island build, then bring in licensed pros for gas and electrical connections.
Step-by-Step Overview
- Confirm the fuel type: Natural gas (plumbed line) or propane (tank). Choose early—burners are often configured for one or the other.
- Verify cutout dimensions: Follow the manufacturer’s spec sheet exactly (cutout width, depth, and corner radius).
- Plan ventilation and access: Provide access doors for shutoff valves and service, plus ventilation panels as required by your island construction.
- Build the island structure: Non-combustible framing is preferred—steel studs and cement board are common.
- Install countertop and heat protection: Use appropriate insulating liners/heat shields if specified.
- Run gas line (and electrical if needed): Licensed installation is strongly recommended for safety and permitting.
- Set and secure the burner: Level the unit, fasten per manufacturer instructions, and verify proper clearances.
- Pressure test and leak test: Confirm connections and safe operation before regular use.
- Finish details: Seal countertop edges, add backsplash/wind guards, and finalize lighting.
Gas vs. Propane: What Works Best for Your Yard?
- Natural gas: Best for frequent cooks and seamless year-round outdoor living. No tank swaps. Typically higher upfront cost due to plumbing run.
- Propane: Great for flexibility and lower install complexity. Plan a safe, ventilated tank storage compartment and easy access for refills.
Budget range for gas line installation: $500–$2,500+ depending on distance, trenching, permits, and local labor rates.
Electrical Considerations
Some burners use electricity for ignition, LED lighting, or safety features. If your outdoor kitchen also includes a refrigerator, outlets, or under-counter lighting, plan a dedicated outdoor-rated GFCI-protected circuit. A weatherproof outlet inside the island can be helpful for rotisserie accessories, phone charging, or small appliances—just keep cords away from hot zones.
Best Materials for a Durable, Beautiful Power Burner Zone
Countertops That Handle Heat and Weather
- Concrete: Modern, customizable, and heat-tolerant. Seal regularly to resist stains and freeze-thaw damage.
- Granite: A classic for outdoor kitchens—durable, heat-resistant, and low-maintenance. Choose darker, denser varieties for fewer stains.
- Porcelain slabs: Excellent for sun exposure, stains, and easy cleaning. Great for a sleek, contemporary patio.
- Avoid (or use with caution): Many quartz products aren’t ideal outdoors due to UV exposure and discoloration.
Island Construction and Finish Materials
- Framing: Galvanized steel studs with cement board for a strong, non-combustible core.
- Veneers: Stone veneer, stucco, or brick for timeless outdoor design. Choose materials that match your patio hardscape for a cohesive look.
- Hardware: Marine-grade stainless or powder-coated exterior pulls for longevity in humid or coastal climates.
Smart Design Add-Ons That Make Cooking Easier
- Wind guard: Low-profile stone or metal panel to stabilize flame in breezy yards.
- Backsplash: Porcelain tile, stainless, or stacked stone behind the burner to simplify cleaning.
- Task lighting: Warm LED under-counter strips plus an overhead downlight for safe evening cooking.
- Heat-safe landing zone: A dedicated 18–24 inch counter section for hot pots and utensils.
Furniture and Styling Recommendations for a Functional Outdoor Kitchen Patio
Once the burner is installed, the surrounding patio living setup determines how often you’ll actually use the space.
- Dining set: Powder-coated aluminum or teak stands up to weather and looks polished near an outdoor kitchen.
- Bar seating: Choose stools with quick-dry cushions and a footrail; keep them 4–6 feet from the burner edge.
- Serving cart: A stainless or all-weather wicker cart is a game-changer for moving ingredients from indoors to the outdoor prep area.
- Shade: Pergolas, slatted roof structures, or offset umbrellas can improve comfort—just maintain proper clearances from heat and flames.
Budget range for a cohesive patio dining + lounge zone: $1,500–$6,000 depending on materials, cushion quality, and size.
Plant Suggestions: Landscaping That Complements an Outdoor Kitchen
Landscaping around an outdoor kitchen should feel lush but stay practical. Prioritize plants that handle heat, occasional splatter, and foot traffic—while avoiding anything overly fragrant or messy right next to cooking surfaces.
Best Plants for Outdoor Kitchen Borders
- Herbs (in pots or raised planters): rosemary, thyme, oregano, sage (great near prep areas, not directly beside burner heat)
- Evergreen structure: boxwood (cooler climates), dwarf yaupon holly (warm climates), pittosporum (mild coastal)
- Ornamental grasses: fountain grass (check invasiveness locally), blue fescue (cooler climates), muhly grass (warm climates)
- Low-mess flowering options: lavender (dry climates), salvia, lantana (warm climates), coneflower (temperate)
Placement Tips
- Keep plants at least 2–3 feet from the burner area to reduce fire risk and heat stress.
- Avoid plants that drop sticky fruit, needles, or heavy petals onto countertops.
- Use large planters as soft “walls” to define zones and guide traffic away from hot surfaces.
Climate and Year-Round Outdoor Living Considerations
- Cold climates: Choose a burner with strong heat output and wind resistance for winter cooking. Use a fitted cover and shut off gas lines seasonally if recommended. Concrete countertops need proper sealing to handle freeze-thaw cycles.
- Hot/sunny climates: Porcelain and granite handle UV well; provide shade for comfort. Consider light-colored hardscapes to reduce heat buildup around the cooking zone.
- Coastal/humid climates: Prioritize 304 stainless (or better), rinse surfaces periodically to remove salt, and use marine-grade hardware. Keep covers breathable to prevent trapped moisture.
- Rainy regions: Plan drainage around the island base and choose slip-resistant patio pavers or textured concrete for safe footing.
Maintenance Checklist: Keep Your Power Burner Performing Like New
- Weekly (during heavy use): Wipe surfaces, clean grates, and check burner ports for clogs.
- Monthly: Inspect ignition performance, tighten loose knobs/fasteners, and clean drip areas.
- Seasonally: Deep clean, inspect gas lines (visually), replace batteries for ignition if applicable, reseal stone/concrete as needed, and wash protective covers.
Common Mistakes to Avoid
- Placing the burner too close to seating: Steam and splatter are real—give the cook space.
- Skipping landing space: No counter space for hot pans leads to rushed, unsafe juggling.
- Ignoring wind: A burner in a wind tunnel will frustrate you every time you cook.
- Choosing the wrong countertop material: UV-sensitive surfaces can fade; porous surfaces can stain without sealing.
- Poor access for service: If you can’t easily reach shutoff valves or connections, maintenance becomes expensive and stressful.
- DIY gas work without permits: This can create safety hazards and insurance issues. Use licensed professionals where required.
FAQ: Outdoor Kitchen Power Burner Installation
How many BTUs do I need for an outdoor power burner?
For most homeowners, 30,000–45,000 BTUs offers the best balance of fast boiling and controllable cooking. If you do frequent seafood boils or wok cooking, consider 50,000+ BTUs and add wind protection.
Can I install a power burner under a pergola or covered patio?
Often yes, but it depends on local codes and manufacturer clearance requirements. You’ll need adequate overhead clearance and ventilation, and you should avoid cooking directly beneath low wood beams or fabric canopies.
What’s better for an outdoor kitchen: propane or natural gas?
Natural gas is ideal for frequent use and convenience. Propane works well when running a gas line is costly or impractical—just plan safe tank storage and ventilation.
Do I need special ventilation panels in my outdoor kitchen island?
Many installations require ventilation, especially with propane. Requirements vary by island construction and burner specs, so follow the manufacturer guidelines and local building codes.
What countertop is best next to a high-heat power burner?
Granite, concrete (properly sealed), and porcelain slab countertops perform well outdoors and tolerate heat. Always follow the appliance’s insulation and clearance requirements.
How much does it cost to add a power burner to an outdoor kitchen?
Expect roughly $800–$4,000+ total for many projects, including the burner, island modifications, and basic installation. Complex gas runs, premium appliances, and high-end countertops can push totals higher.
Next Steps: Turn Your Patio Into a True Outdoor Cooking Destination
- Decide how you cook: boils, wok meals, frying, simmering—then pick the BTU range and features that match.
- Sketch your layout: prioritize landing space, guest flow, and wind protection.
- Select durable materials: choose outdoor-rated countertops, non-combustible island construction, and weather-resistant finishes.
- Plan utilities early: finalize gas type, access panels, and electrical needs before counters are fabricated.
- Book the right pros: use licensed trades for gas and electrical work when required, and confirm permits.
A power burner adds serious capability to your outdoor kitchen—making your backyard feel like a complete, year-round living space. For more patio ideas, outdoor kitchen inspiration, and landscape design guidance, explore the outdoor living features at thedecormag.com.
More Articles
 Outdoor Trellis and Climbing Plant Ideas - The Decor Mag
 Outdoor Retractable Awning Guide - The Decor Mag
 Best Outdoor Swinging Chair Picks - The Decor Mag
 How to Design a Rooftop Terrace - The Decor Mag
 Outdoor Living Performance: 7 Costly Mistakes That Sabotage Durability, Comfort, and Value
 Outdoor Kitchen Gas Line Planning - The Decor Mag
 7 Bedside Common Mistakes That Sabotage Sleep, Safety, and Bedroom Functionality
 How to Incorporate Water Features Outdoors - The Decor Mag
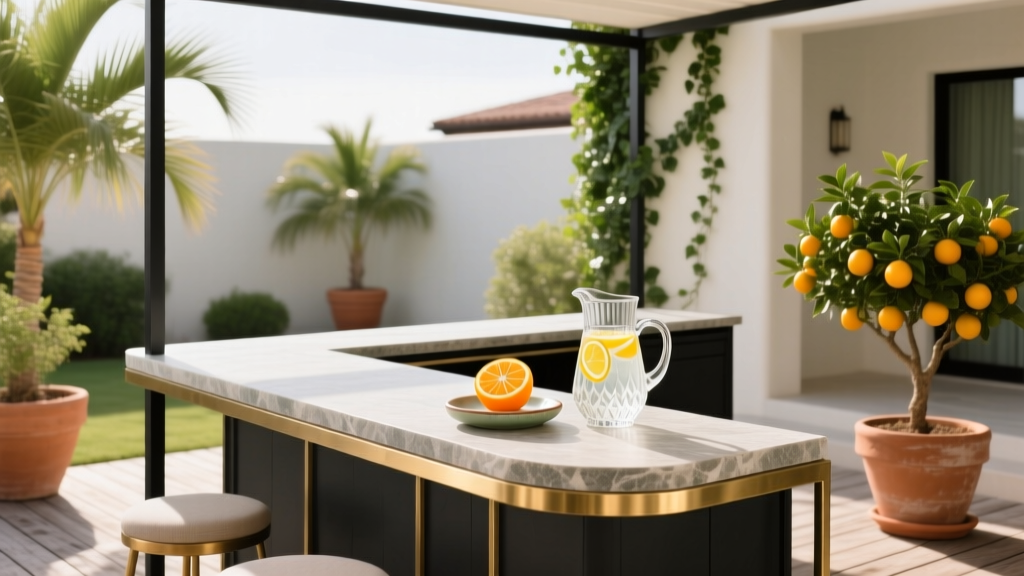 Best Outdoor Bar Orange Twist Station - The Decor Mag
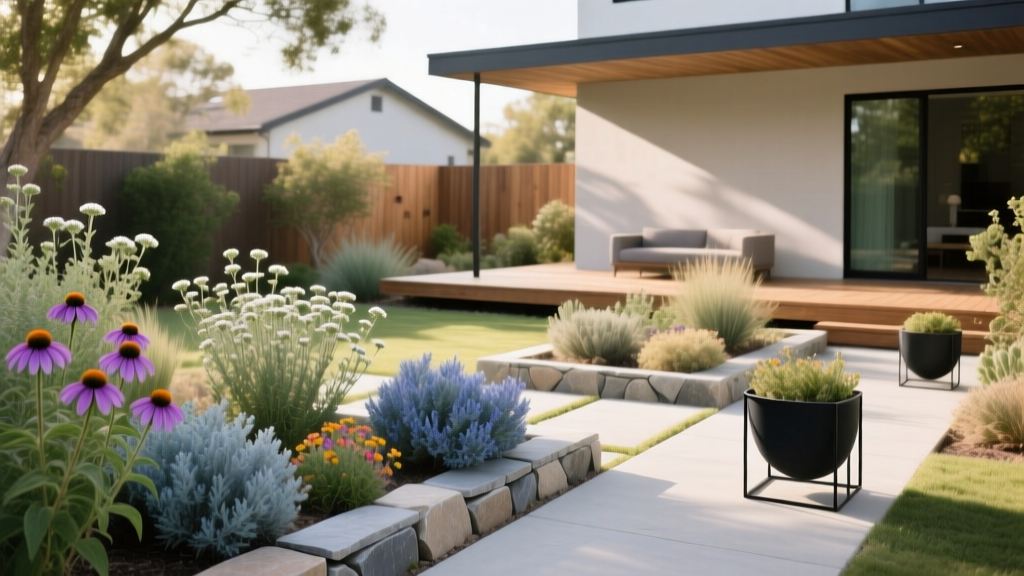 How to Design a Native Plant Garden - The Decor Mag