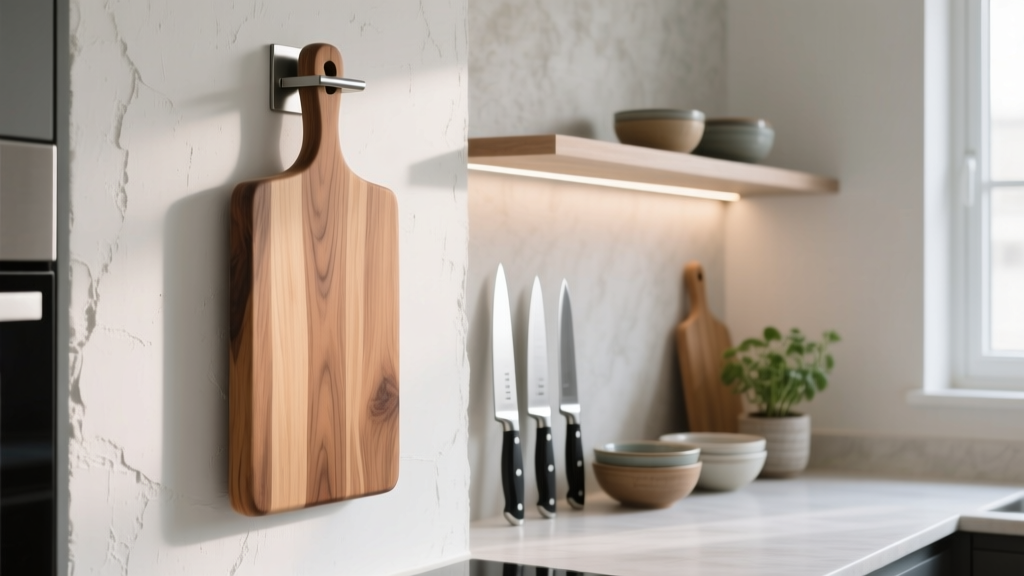
Best Kitchen Cutting Board Wall Mount Ideas - The Decor Mag
Cutting boards are one of those kitchen essentials you use daily—then end up stacking in a drawer where they warp, trap odors, or become a noisy, cluttered pile. A well-planned kitchen cutting board wall mount solves several renovation-era frustrations at once: it frees up base cabinet space, improves workflow, and turns utilitarian pieces into a design feature.
Wall-mounted cutting board storage also aligns with today’s most popular kitchen design trends: warm wood accents, organized “zone” planning (prep, cook, clean), and open shelving done with intention rather than clutter. Whether you’re remodeling or simply upgrading kitchen organization, the right wall mount keeps boards accessible, clean, and visually cohesive.
Below are practical, design-forward ways to mount cutting boards on the wall—complete with measurements, material comparisons, cost ranges, and common pitfalls to avoid—so you can choose a solution that looks custom and functions like a pro kitchen.
Plan First: Where a Cutting Board Wall Mount Works Best
Before buying hardware, choose a location that supports your kitchen workflow and keeps boards away from grease, steam, and splashes.
Best locations by kitchen “zone”
- Prep zone (ideal): Near your primary counter space, knife storage, and compost/bin pullout.
- Pantry wall: Great for larger households with multiple boards and serving boards.
- Inside a coffee bar or beverage nook: Works well for small boards used for lemons, pastries, and snacks.
- Near the fridge: Convenient for quick chopping, but avoid spots where doors swing into the boards.
Key spacing measurements (use these as a baseline)
- Mount height: 48–60 inches from the floor to the center of the display for most adults.
- Counter clearance: Keep mounts at least 18 inches above countertops to avoid bumping appliances and to allow easy cleaning.
- Board separation: Plan 1 to 1.5 inches between boards for airflow and easy grab-and-go.
- Depth allowance: Most cutting boards are 0.75–1.5 inches thick; allow 2 inches of depth if stacking multiple boards in one rack.
Safety and durability checklist
- Keep boards at least 24 inches from open flames (gas cooktops, ranges) and away from direct steam (kettle zones).
- Anchor into studs when possible, especially for heavier butcher-block boards.
- Choose finishes that tolerate humidity—particularly in smaller kitchens with limited ventilation.
1) Minimalist Rail System with S-Hooks (Flexible and Renter-Friendly)
A wall-mounted rail with adjustable hooks is one of the most flexible kitchen organization upgrades. It works especially well in modern and Scandinavian-inspired kitchens where clean lines matter.
Recommended materials and hardware
- Stainless steel rail: Durable, easy to wipe, and matches most appliances.
- Powder-coated aluminum: Great in matte black or white for a contemporary look.
- Hooks: Choose wide, rounded hooks to avoid denting wood boards.
Best for
- Small to medium boards with hanging holes
- Homeowners who want a solution that can evolve (add utensils, towels, small baskets)
Cost range
- Budget: $20–$60 (basic rail + hooks)
- Mid-range: $60–$150 (longer rails, better finishes, integrated accessories)
Pro tips
- If your boards don’t have holes, add a leather loop strap secured with a short stainless screw on the back edge (keeps the front clean).
- Mount the rail so the board bottoms sit 6–10 inches above the backsplash for easier wiping.
2) Vertical Slot Rack (Like a Wall-Mounted “File Organizer”)
Vertical slot racks store boards on edge, improving airflow and reducing warping—one of the most timeless functionality principles for wood board care. These are excellent for homeowners who prioritize performance and cleanliness over display.
Material options compared
- Sealed hardwood (oak, maple): Warm and durable; best for modern organic kitchens and transitional spaces.
- Bamboo: Affordable and light; can show wear faster in humid kitchens unless well-finished.
- Powder-coated steel: Sleek, strong, and easy to sanitize; ideal for contemporary kitchens.
Recommended dimensions
- Slot width: 1.25–1.75 inches per slot accommodates most boards.
- Rack height: 12–18 inches is practical for standard 10x14 to 12x18 boards.
- Slot count: 3–5 slots for most households; 6–8 for avid cooks or entertainers.
Cost range
- Budget: $25–$50 (smaller racks, lighter materials)
- Mid-range: $50–$120 (thicker steel, better finishes, larger capacity)
- Custom: $150–$400 (built to match cabinetry or trim profiles)
Design approach
- Match rack finish to cabinet hardware (brushed nickel, matte black, brass) for a cohesive renovation look.
- If your kitchen leans warm, pair a steel rack with a walnut or oak accent shelf above for balance.
3) Floating Shelf + Leaning Board Display (Trend-Forward but Controlled)
Leaning cutting boards against a backsplash on a floating shelf is a popular kitchen design trend—especially in “quiet luxury” and modern farmhouse kitchens. The key is to keep it curated, not cluttered.
Best shelf specs
- Depth: 6–8 inches (deep enough for boards, shallow enough to avoid crowding)
- Length: 24–48 inches for most walls
- Thickness: 1.5–2 inches reads substantial and intentional
Add a discreet board stop
To prevent sliding, install one of the following along the shelf edge:
- 1/4-inch metal rod (minimal look)
- Low-profile wood lip (1/2 inch tall)
- Clear silicone bumpers placed on the shelf surface
Cost range
- DIY shelf: $30–$120 (wood + brackets or floating hardware)
- Pre-made floating shelf: $80–$250
- Custom millwork shelf: $300–$800+ (depending on wood species and length)
Maintenance advice
- Wipe the shelf weekly; oil-finished wood shelves may need a refresh coat annually.
- Don’t store damp boards here—air-dry first to avoid moisture rings and mildew behind boards.
4) Peg Rail or Pegboard Wall (Customizable for Busy Kitchens)
Peg rails and modern pegboard walls are back in a big way, especially in family kitchens and creative cooking spaces. They support “adaptable storage,” a renovation-friendly approach that changes with your needs.
Peg rail vs. pegboard: which is better?
- Peg rail: Minimal, timeless, easier to clean; best for a few boards and towels.
- Pegboard: Maximum flexibility and capacity; best for small kitchens needing vertical storage.
Recommended materials
- Painted wood peg rail: Great for matching trim or cabinetry color.
- Metal pegboard: More durable and moisture-friendly than MDF in kitchens.
Cost range
- Budget: $20–$80 (small peg rail, basic hooks)
- Mid-range: $100–$250 (larger pegboard systems with accessories)
- Built-in feature wall: $400–$1,200+ (custom panels, lighting, integrated shelves)
Layout tip
- Reserve a 24–36 inch wide section for boards, and keep at least 4 inches of clearance from neighboring items to prevent clacking and scratches.
5) Cabinet-Side or End-Panel Mount (Looks Built-In Without a Full Remodel)
If you want boards accessible but don’t want to visually “busy up” the backsplash, mount storage to a cabinet end panel. This approach looks custom and keeps the work zone cleaner—ideal in minimalist kitchens.
Best mounting styles
- End-panel vertical slots: Slim, clean, and highly functional.
- Two-bracket cradle: Holds one large board like a display piece.
- Low-profile hook system: Works for boards with holes or loops.
Measurements that matter
- Keep the mount at least 2 inches from cabinet edges to reduce chipping and impact.
- If near an aisle, ensure the board doesn’t project into a walkway; aim for no more than 2.5 inches total depth beyond the cabinet face.
Cost range
- Budget: $15–$50
- Mid-range: $50–$150
- Custom panel integration: $200–$600
6) Magnetic Wall Strips and Hidden Cleats (Best for Thin Boards)
Magnetic solutions can look striking in contemporary kitchens, but they’re not universal. They work best for thinner boards or lightweight serving boards—especially those with metal inlays or added steel discs on the back.
What works well
- Magnetic knife strip + board discs: Add small metal discs to the back of lightweight boards.
- French cleat style ledge: A hidden cleat supports the board’s weight while keeping hardware invisible.
Budget considerations
- Magnetic strip: $30–$120
- Hardware + discs: $10–$30
- Custom cleat install: $100–$300+
Caution
- Skip magnets for heavy end-grain butcher blocks; the risk of slipping and damaging counters isn’t worth it.
Design Recommendations: Make Wall-Mounted Boards Look Intentional
Wall-mounted cutting boards can either elevate a kitchen or read as random storage. These design approaches keep the look curated—especially helpful during a kitchen renovation when you’re choosing finishes.
Curate by shape, tone, and scale
- Limit display to 2–4 boards in one view for a clean aesthetic.
- Mix shapes thoughtfully: one rectangular work board, one paddle board, one round board.
- Stick to a consistent wood tone family (light maple/oak, mid walnut/teak, or mixed but intentionally contrasted).
Coordinate with current kitchen design trends
- Warm metals: Brass hooks or rails pair well with walnut boards and creamy cabinet colors.
- Matte black accents: Powder-coated racks look sharp against white tile or slab backsplashes.
- Natural textures: Wood boards soften stone countertops and add “lived-in” warmth.
Smart lighting upgrade
- Add under-shelf LED strips (2700K–3000K warm white) to highlight boards and brighten prep zones.
- Expect costs of $20–$60 for basic plug-in strips and $80–$200 for hardwired, dimmable kits.
Maintenance Advice: Keep Boards Cleaner and Longer-Lasting
- Airflow matters: Choose mounts that allow boards to dry fully. Avoid tight stacks with no gaps.
- Oil schedule: Mineral oil or board cream every 3–6 weeks for frequently used wood boards; less often for occasional use.
- Cleaning routine: Wash with mild soap, rinse quickly, and dry immediately. Avoid soaking.
- Deodorize: Coarse salt + lemon scrub monthly for wood boards (especially garlic and onion use).
- Avoid dishwashers: Heat and prolonged moisture are the fastest route to warping and splitting.
Common Mistakes to Avoid
- Mounting too close to the stove: Grease buildup turns “display” into grime, and heat can dry out wood faster.
- Skipping proper anchors: Drywall-only mounting can fail over time—especially with heavy boards.
- Storing boards damp: This leads to mildew odor and can stain walls or backsplashes.
- Overcrowding: Too many boards on one rail looks cluttered and makes daily use annoying.
- Ignoring thickness: A mount designed for 1/2-inch boards won’t safely hold a 1.5-inch end-grain block.
- Choosing porous materials near sinks: Unsealed wood racks can swell or discolor in splash zones.
FAQ: Kitchen Cutting Board Wall Mount Ideas
What’s the best wall mount for heavy butcher-block cutting boards?
Use a vertical slot rack made from steel or a French cleat ledge anchored into studs. Look for mounts rated for the weight and keep the board’s bottom supported rather than relying only on hooks.
How high should I mount a cutting board rack on the wall?
Aim for 48–60 inches from the floor to the center of the rack or display. If mounting above a countertop, keep it at least 18 inches above the counter surface for clearance and easy cleaning.
Is it hygienic to store cutting boards on the wall?
Yes—often more hygienic than stacking in a drawer—if boards are fully dry and spaced for airflow. Avoid placing them right next to the stove or where they’ll be splashed by the sink.
Can I wall-mount cutting boards without drilling (renter-friendly options)?
For lightweight boards, heavy-duty adhesive hooks can work, but drilling is safer long-term. If you need no-drill storage, consider a freestanding vertical board organizer on the counter or inside a cabinet instead of risking a fall.
What materials are best for a cutting board wall rack in a humid kitchen?
Powder-coated steel and stainless steel handle moisture best. If you prefer wood, choose sealed hardwoods (like oak) and keep the rack away from direct sink splash zones.
How many cutting boards should I keep accessible?
For most households: 2–4 boards within easy reach (one larger prep board, one raw-protein board, one small utility board, and optionally a serving board). Store extras elsewhere to avoid visual clutter.
Next Steps: Choose a Mount That Fits Your Kitchen Renovation Goals
Start by identifying your prep zone, then decide whether you want boards to be display-forward (floating shelf, rail system) or function-forward (vertical slot rack, cabinet-side mount). Measure your largest board, check thickness, and pick a mount that supports airflow and daily use. If you’re updating finishes, match your rack hardware to cabinet pulls for a cohesive, renovated look.
For more kitchen renovation ideas, organization upgrades, and layout inspiration, explore the latest guides on thedecormag.com.
More Articles
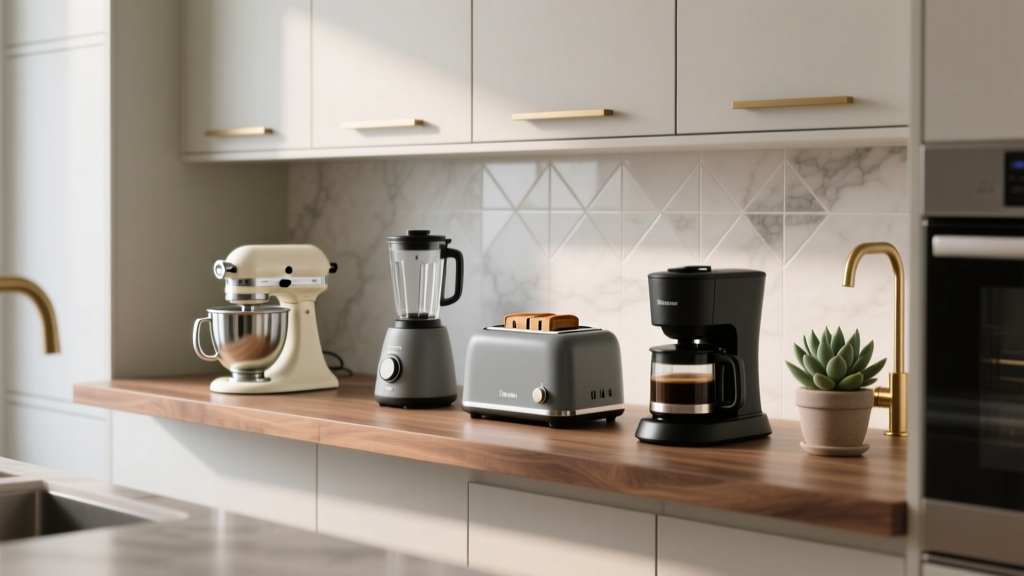 Best Kitchen Small Appliance Storage - The Decor Mag
 Best Kitchen Baking Ingredient Organization - The Decor Mag
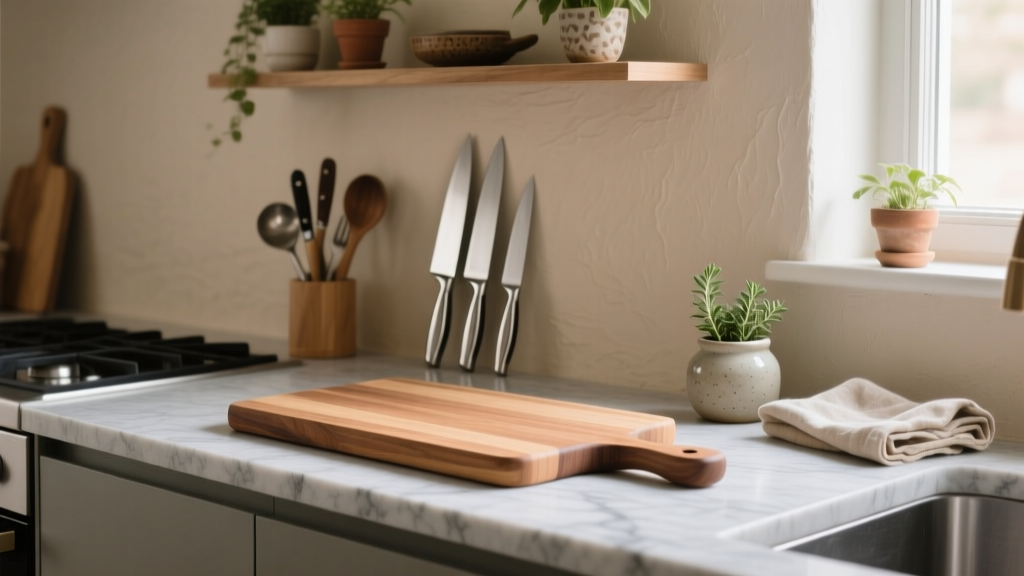 Best Kitchen Cutting Board Care Products - The Decor Mag
 The Wood Checklist: A Practical Guide for Selecting, Verifying, and Maintaining Hardwood Countertops, Cutting Boards, and Butcher Blocks
 Chef Kitchen Design: Transform Your Space (2026)
 Scandinavian Kitchen Design Guide - The Decor Mag
 Kitchen Soapstone Countertop Guide - The Decor Mag
 Kitchen Natural Light Design Tips (2026)
 Kitchen Cabinet Depth Standards (2026)
 Best Kitchen Knife Block Storage Solutions - The Decor Mag