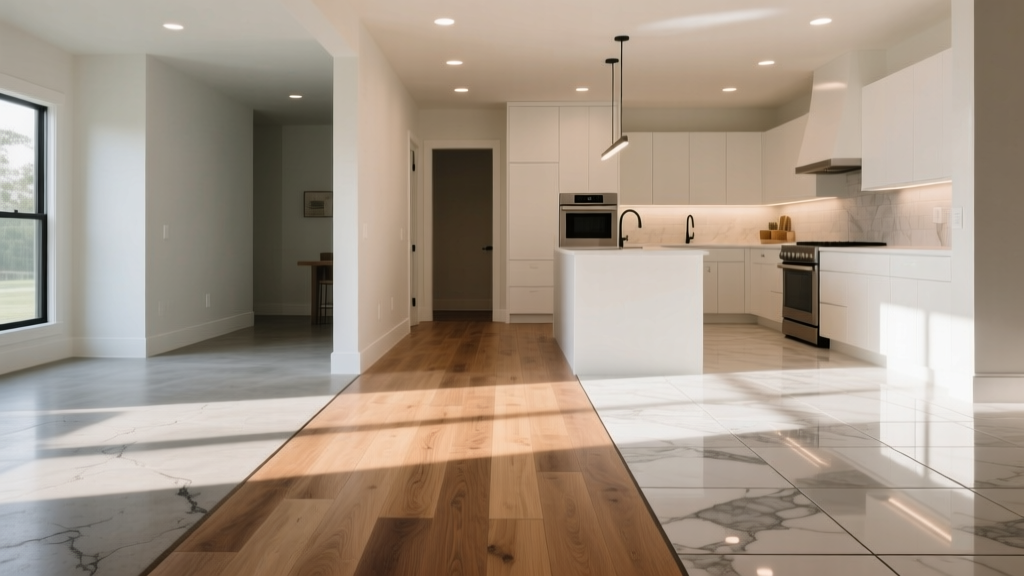
Best Kitchen Flooring Options for Durability - The Decor Mag
The kitchen is where life happens—morning coffee, weeknight dinners, spilled juice, muddy shoes, dropped pans, and the constant in-and-out traffic that can destroy the wrong floor in a few years. When homeowners plan a kitchen renovation, cabinetry and countertops often steal the spotlight, but the flooring is the workhorse that quietly determines how well the space performs day after day.
Durable kitchen flooring isn’t just about choosing a “tough” material. It’s about selecting the right combination of wear layer, water resistance, slip resistance, subfloor compatibility, and maintenance level for your household. The best option for a busy family with pets might differ from the best choice for an avid home chef who spends hours at the stove—or a homeowner preparing for resale in a competitive market.
This guide breaks down today’s best kitchen flooring options for durability, with realistic cost ranges, design recommendations, measurements to know before you buy, and common mistakes that can shorten a floor’s life.
What “Durable” Really Means for Kitchen Flooring
In a kitchen, durability is a mix of performance categories. Use this checklist when comparing products:
- Water resistance: Handles spills, wet mopping, and sink or dishwasher mishaps.
- Scratch and dent resistance: Stands up to chair legs, pet nails, grit, and dropped utensils.
- Stain resistance: Resists oil, wine, tomato sauce, and food dyes.
- Slip resistance: More grip underfoot—especially important near the sink and range.
- Heat and fade tolerance: Sunlight from windows and heat near ovens shouldn’t discolor or warp the floor.
- Repairability: Individual pieces can be replaced (ideal for busy kitchens).
Key Measurements and Specs to Look For
- Wear layer (for LVP/LVT): Aim for 12–20 mil in kitchens; 20 mil is excellent for heavy traffic.
- Tile thickness: Many porcelain tiles are 8–10 mm thick; thicker can feel sturdier, but quality and installation matter more than thickness alone.
- Grout joint width: For rectified porcelain, 1/16" is common; many installers prefer 1/8" in kitchens for better tolerance and durability.
- Slip rating: Look for a DCOF (Dynamic Coefficient of Friction) around 0.42+ for level interior wet areas (ask your retailer for specs).
- Subfloor flatness (for plank floors): Many manufacturers require within 3/16" over 10 feet to prevent joint failure.
Top Durable Kitchen Flooring Materials (Ranked by Real-World Performance)
1) Porcelain Tile: The Durability Benchmark
For homeowners who prioritize long-term performance, porcelain tile remains one of the toughest kitchen flooring options. It’s dense, highly water-resistant, stain-resistant, and unfazed by most kitchen accidents.
Best for: Busy households, high-end renovations, homeowners who want a timeless, resale-friendly floor.
Design recommendations:
- Large-format tile (e.g., 12"x24" or 24"x24") is a current kitchen design trend that reduces grout lines for easier cleaning.
- Matte or textured finishes offer better traction than polished tile.
- Wood-look porcelain planks (often 8"x48" or similar) deliver the warmth of wood with tile-level durability—great for modern farmhouse, transitional, and Scandinavian kitchens.
Cost range:
- Material: $3–$12 per sq. ft. (designer lines can run higher)
- Installed: $10–$25+ per sq. ft. depending on layout, subfloor prep, and region
Maintenance: Sweep grit frequently; mop with a pH-neutral cleaner. Use a high-performance grout (see below) to reduce staining.
Pro tip: Ask your installer about epoxy grout or high-performance grout options—more stain-resistant and easier to maintain than standard cement grout, especially around cooking zones.
2) Luxury Vinyl Plank (LVP/LVT): Practical, Comfortable, and Water-Friendly
Modern luxury vinyl plank is one of the most popular kitchen renovation choices because it’s comfortable underfoot, highly water-resistant (and often waterproof), and available in convincing wood and stone visuals. It’s also more forgiving on dropped dishes than tile.
Best for: Families, pet owners, DIY-friendly updates, budget-smart renovations with a high-end look.
What to look for:
- Wear layer: Choose 12–20 mil for kitchens; heavier traffic homes should lean 20 mil.
- Core type: SPC (stone-plastic composite) is rigid and dent-resistant; WPC is slightly softer and quieter.
- Edge profile: Micro-bevels can hide minor subfloor imperfections; tight-locking systems reduce gapping.
Layout ideas:
- Staggered plank layout is classic and forgiving.
- Herringbone or chevron LVP is trending and elevates mid-range kitchens—budget extra for waste and labor.
- Wide planks (7"–9") look contemporary and visually expand smaller kitchens.
Cost range:
- Material: $2–$7 per sq. ft.
- Installed: $5–$12 per sq. ft.
Maintenance: Sweep often to avoid micro-scratches; damp mop with manufacturer-approved cleaner. Use felt pads under stools and chairs.
Product approach: Prioritize commercial or “light commercial” rated lines for the kitchen. These typically have thicker wear layers, tougher coatings, and better warranties.
3) Engineered Hardwood: Real Wood Beauty with Better Stability
If you love the warmth of wood in kitchen design but need more stability than solid hardwood, engineered hardwood is a durable compromise. It handles humidity swings better than solid wood, and premium finishes can be very scratch-resistant.
Best for: Open-concept layouts where you want continuous wood flooring from living areas into the kitchen.
Durability tips:
- Choose a factory-finished plank with a strong topcoat (often aluminum oxide).
- Look for a thicker wear layer if you want the option to refinish (many quality products offer ~2–4 mm veneer; more can be better).
- Avoid ultra-gloss finishes—matte and satin hide wear and align with current design trends.
Cost range:
- Material: $4–$12 per sq. ft.
- Installed: $8–$18 per sq. ft.
Maintenance: Clean spills quickly; use a wood-safe cleaner; keep rugs near the sink. Consider a dehumidifier if humidity swings are extreme.
Reality check: Engineered wood can perform beautifully in kitchens, but it’s not “set it and forget it.” If your home sees frequent standing water, porcelain tile or LVP may be a better fit.
4) Sheet Vinyl: Seam-Friendly and Budget-Smart
Sheet vinyl has come a long way. It’s an underrated durable option for kitchens because it can be installed with minimal seams, making it highly water-resistant and easy to clean.
Best for: Tight budgets, rentals, laundry-to-kitchen zones, households that want soft underfoot comfort.
Cost range:
- Material: $1–$4 per sq. ft.
- Installed: $3–$8 per sq. ft.
Maintenance: Gentle sweeping and damp mopping; avoid abrasive scrubbers that can dull the finish.
Design recommendation: Choose modern patterns like concrete-look, stone-look, or subtle checkerboard for a refreshed, design-forward kitchen without the tile price tag.
5) Natural Stone (Slate, Granite, Travertine): Beautiful, but Higher Maintenance
Natural stone can be extremely durable, but it’s more porous and maintenance-heavy than porcelain. It’s best for homeowners who are committed to sealing and careful cleaning.
Best for: Luxury kitchens, classic design styles, homeowners who value natural variation.
Cost range:
- Material: $5–$20+ per sq. ft.
- Installed: $15–$35+ per sq. ft.
Maintenance: Regular sealing (frequency depends on stone type and sealer), pH-neutral cleaners only, wipe spills promptly to avoid etching and stains.
Best Flooring Choices by Kitchen Scenario
High-Traffic Family Kitchen (Kids + Pets)
- Top pick: LVP with a 20 mil wear layer or matte porcelain tile
- Why: Scratch resistance, water tolerance, easier spot-repairs (replace planks/tiles)
- Add-ons: Washable runner rugs (with non-slip backing) in front of sink and range
Open-Concept Main Floor (Kitchen + Living Connected)
- Top pick: Engineered hardwood or wood-look porcelain planks
- Why: Visual continuity for modern kitchen design; fewer transitions
- Tip: Use a flush transition or matching reducer strip only where necessary to keep the flow seamless
Rental or Quick Refresh Kitchen Renovation
- Top pick: Sheet vinyl or mid-range LVP
- Why: Faster installation, lower cost, forgiving maintenance
- Tip: Choose neutral tones (warm oak, greige, soft concrete) for broad appeal
Design Trends That Also Improve Durability
- Matte finishes: Hide scuffs and reduce slip risk compared to glossy surfaces.
- Warmer neutrals: Warm oak looks, soft taupes, and natural stone visuals are trending and timeless.
- Fewer grout lines: Large-format porcelain and refined grout colors reduce visible wear and simplify cleaning.
- Continuous flooring: Running the same flooring through pantry and adjacent spaces creates a calmer, more spacious feel—and fewer transition points to fail.
Budget Planning: Cost Ranges and Where to Spend More
Kitchen flooring budgets should account for more than materials. Plan for:
- Demolition and disposal: $1–$3 per sq. ft. (varies)
- Subfloor repair/leveling: $0.50–$3+ per sq. ft. (sometimes more for major issues)
- Underlayment: $0.30–$1.00 per sq. ft. depending on system
- Trim and transitions: $50–$300+ depending on layout complexity
Where it pays to upgrade:
- LVP with a thicker wear layer and a more rigid core
- Porcelain tile with rectified edges (for a cleaner look) and high-quality grout
- Professional subfloor prep—many “flooring failures” start underneath the floor
Common Mistakes That Reduce Kitchen Floor Durability
- Choosing the wrong finish: Polished tile looks sleek but can be slippery in real kitchens.
- Ignoring subfloor flatness: Uneven subfloors cause LVP joints to separate and tiles to crack.
- Underestimating water exposure: If you routinely have wet floors near the sink, favor waterproof options and use sealed edges and mats.
- Picking grout that stains easily: Light grout in a heavy-cooking kitchen can yellow or darken quickly without the right product and sealer.
- Skipping protective pads: Chair and stool legs can chew through finishes faster than foot traffic.
- Using harsh cleaners: Abrasives and steam mops can damage vinyl and degrade some finishes over time.
Maintenance Tips to Keep Kitchen Floors Looking New
- Daily/weekly: Sweep or vacuum with a hard-floor setting to remove grit (the #1 scratch culprit).
- Spill strategy: Wipe up quickly, especially oils and acidic liquids near grout or natural stone.
- Protect high-wear zones: Use a 2' x 3' or 2' x 6' washable runner near the sink and prep areas.
- Furniture protection: Felt pads under stools and chairs; replace pads when they flatten.
- Entry control: If your kitchen connects to the outdoors, a durable doormat reduces grit dramatically.
FAQ: Durable Kitchen Flooring
What is the most durable kitchen flooring overall?
Porcelain tile is one of the most durable choices for kitchens thanks to its density, water resistance, and stain resistance. Pair it with a matte finish and high-performance grout for the best real-life results.
Is luxury vinyl plank really waterproof for kitchens?
Many LVP products are marketed as waterproof, especially those with SPC cores and tight click-lock systems. The floor may resist water, but water can still reach the subfloor through seams at edges, cabinets, or transitions if spills sit too long. Good installation and prompt cleanup matter.
What flooring is best if I drop things often while cooking?
LVP and sheet vinyl are more forgiving than tile and can reduce breakage when dishes fall. If you prefer tile, consider adding anti-fatigue mats near prep zones and the sink.
Can I run hardwood flooring into the kitchen?
Yes—engineered hardwood is usually a better kitchen choice than solid hardwood due to improved stability. Choose a durable factory finish, keep humidity controlled, and wipe spills quickly.
What’s the best grout color for a durable, low-maintenance kitchen tile floor?
Mid-tone grout (warm gray, greige, or taupe) tends to hide everyday discoloration better than bright white. If you want a light grout look, consider epoxy grout or a premium stain-resistant grout system.
How do I choose flooring that works with kitchen cabinets and countertops?
Start with undertones: match warm floors (honey oak, warm beige stone) with warm cabinet finishes, and cooler floors (gray concrete, cooler taupes) with crisp whites or cooler grays. In most kitchen renovations, keeping flooring slightly quieter than the countertop creates a balanced, timeless look.
Next Steps: Choose a Floor That Fits Your Real Kitchen
To select the right durable kitchen flooring, start with how you live: your traffic level, your cleaning style, and how often water ends up on the floor. Then narrow it down by performance—porcelain tile for maximum toughness, LVP for comfort and water-friendly practicality, engineered hardwood for warmth and continuity, or sheet vinyl for a cost-effective refresh.
Before purchasing, bring home large samples, view them in morning and evening light, and confirm installation requirements—especially subfloor flatness, transitions, and moisture considerations. A durable floor is as much about smart prep and correct installation as the surface you see.
For more kitchen design, renovation planning, and organization ideas that make everyday life easier, explore the latest guides and inspiration on thedecormag.com.
More Articles
 How to Repair Sustainably: Practical Strategies for Extending the Life of Kitchen Appliances, Cookware, and Fixtures
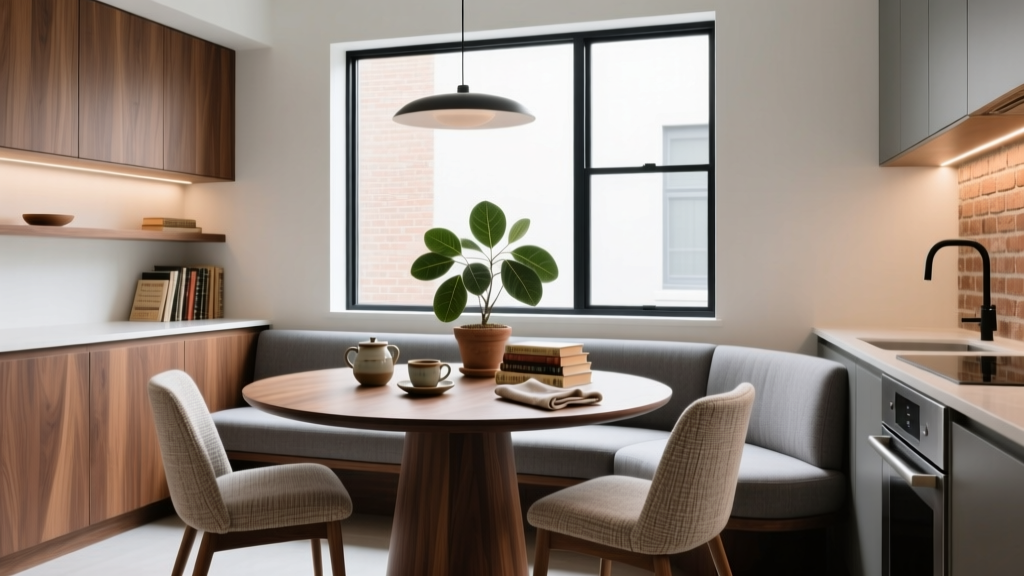 Kitchen Breakfast Nook Design Inspiration - The Decor Mag
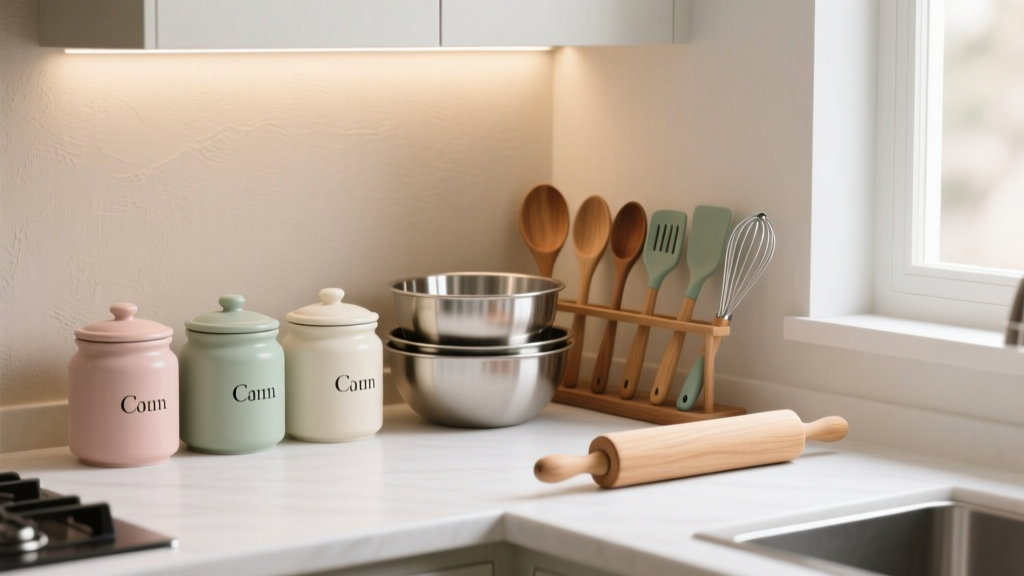 Best Kitchen Baking Supply Organization - The Decor Mag
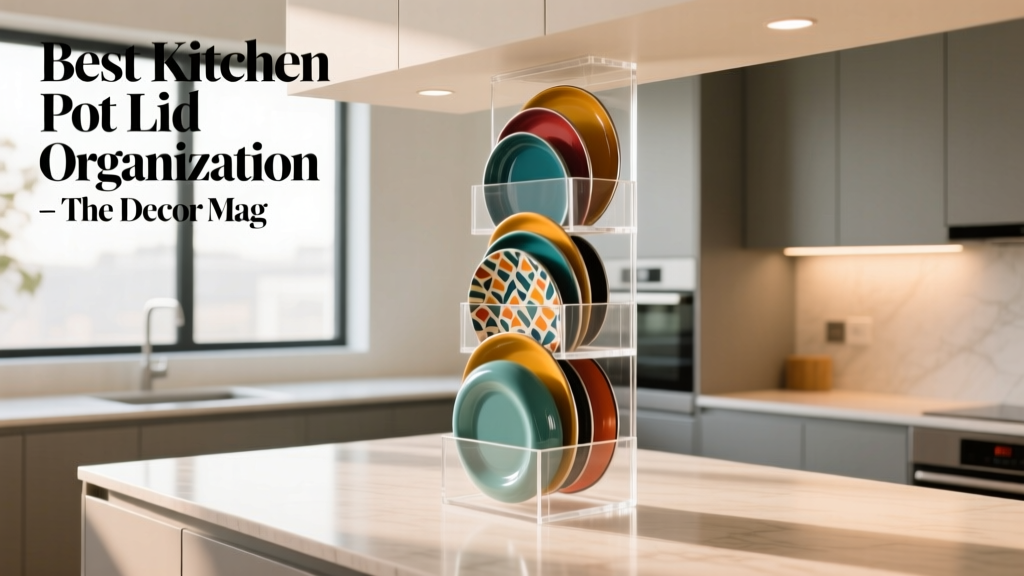 Best Kitchen Pot Lid Organization - The Decor Mag
 Kitchen Honed Finish Countertop Appeal - The Decor Mag
 Best Kitchen Spice Drawer Inserts - The Decor Mag
 Open Shelving in Kitchens: Ideas & Tips (2026)
 Pantry Organization: Fresh Produce & BBQ Storage (2026)
 How to Design a Kitchen with a Scullery - The Decor Mag
 Kitchen Drawer Organization That Lasts (2026)