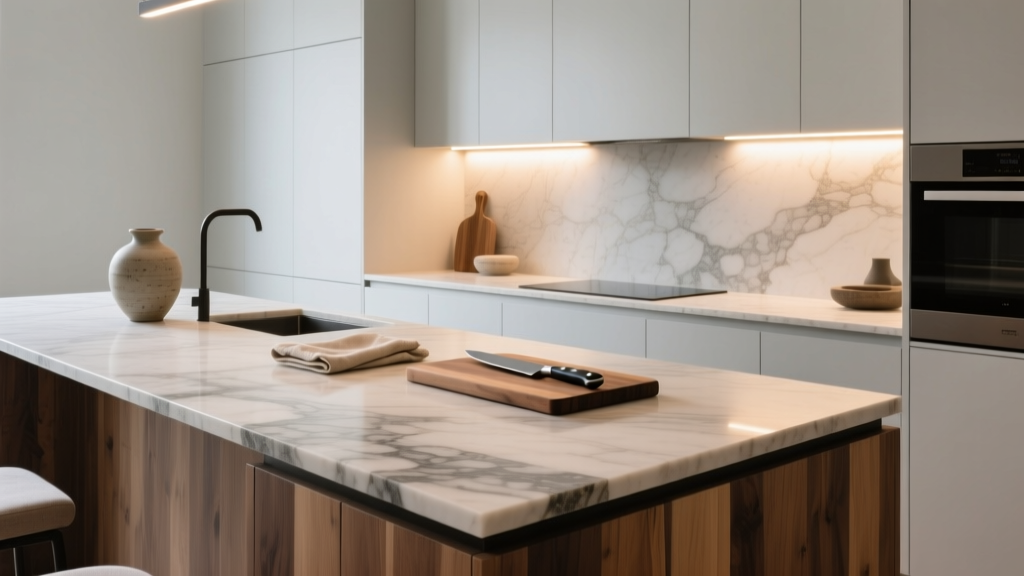
Kitchen Mixed Material Countertop Design - The Decor Mag
Countertops do more than provide a work surface—they set the tone for your entire kitchen renovation. In today’s kitchens, homeowners want spaces that feel curated, not cookie-cutter. That’s where mixed material countertop design comes in: blending two (or more) countertop materials to improve function, add visual depth, and often use your budget more strategically.
Mixing materials is also a practical response to how kitchens are used now. One area may need serious durability for daily prep, while another is better served by a warm, furniture-like surface for seating, serving, or styling. With the right plan, a mixed countertop layout can look intentional, elevate your kitchen design, and make everyday cooking easier.
This guide breaks down the best countertop material pairings, real-world layout ideas, cost ranges, and common mistakes to avoid—so you can confidently choose a combination that fits your style, lifestyle, and budget.
Why Mix Countertop Materials?
Function-first zoning (the smartest reason)
Mixed materials allow you to assign the right surface to the right task. A few examples:
- Primary prep zone: choose a durable, low-maintenance material (quartz, granite, porcelain).
- Baking zone: add marble or stainless steel for temperature-friendly rolling and pastry work.
- Serving/entertaining zone: use wood for warmth and a softer, furniture feel.
- Wet zone (sink area): prioritize stain and water resistance (quartz, granite, porcelain, stainless).
Design impact without a full remodel
Pairing materials can make a standard kitchen feel custom—especially in popular renovation layouts like islands, peninsulas, and coffee bars. It’s a current kitchen design trend that still aligns with timeless functionality: clear work zones, durable surfaces where you need them, and comfort where you gather.
Budget control
Mixed materials can reduce the amount of expensive stone you need. A common strategy: splurge on a statement island top and use a more budget-friendly (but durable) material on perimeter counters.
Planning Your Mixed Material Countertop Layout
Start with how you use your kitchen
Before selecting finishes, map your daily workflow:
- Where do you prep most often?
- Where do you unload groceries and set bags down?
- Do you bake frequently?
- Do you entertain and serve buffet-style from the island?
- Is the kitchen also a homework/remote-work zone?
Practical measurements that influence material choices
- Standard countertop depth: 24 inches (most base cabinets). Islands often run 36–48 inches deep.
- Typical countertop height: 36 inches finished height.
- Seating overhang: 12 inches minimum for casual seating; 15 inches is more comfortable. Use proper support brackets beyond 12 inches (check fabricator specs).
- Work aisle clearance: aim for 42 inches for one cook; 48 inches for two cooks (a timeless kitchen planning guideline).
- Seam planning: long runs and islands may require seams; some patterns and materials hide seams better than others.
Decide where the “feature” belongs
In most kitchen renovations, the island is the natural focal point. A strong approach is to place the more expressive material on the island (waterfall edges, dramatic veining, or a warm butcher block) and keep the perimeter consistent and quiet.
Best Mixed Countertop Material Pairings (With Pros, Cons, and Use Cases)
Quartz + Wood (Butcher Block)
Why it works: Quartz delivers low-maintenance durability; wood adds warmth and a high-end, tailored look. This is one of the most popular mixed material countertop trends for contemporary and transitional kitchens.
- Best layout: quartz on perimeter + butcher block on island (or a dedicated baking/prep station).
- Pros: practical, inviting, works with most cabinet colors.
- Cons: wood requires routine sealing and careful water management.
Maintenance tips:
- Use trivets for hot pans (quartz can be heat sensitive; wood can scorch).
- Keep wood dry around sinks; wipe standing water quickly.
- Plan to oil/condition butcher block monthly (varies by finish and usage), or choose a sealed finish for easier care.
Granite + Marble (Performance + Luxury)
Why it works: Granite holds up to daily cooking, while marble delivers a classic, bakery-inspired surface for rolling dough. This pairing feels timeless and upscale.
- Best layout: granite on main perimeter (especially near sink/cooktop) + marble on a smaller baking zone or island section.
- Pros: high-end look; marble is excellent for pastry work.
- Cons: marble etches from acids (lemon, vinegar) and can stain; it’s not “set-and-forget.”
Maintenance tips:
- Use cutting boards and wipe acidic spills immediately.
- Seal marble regularly (schedule depends on stone and sealer; many homeowners reseal every 6–12 months).
- Embrace patina if you love a lived-in, European kitchen feel.
Porcelain Slab + Wood (Modern, Durable, and Warm)
Why it works: Porcelain is gaining momentum in current kitchen design trends for its heat resistance, UV stability, and sleek look. Wood keeps it from feeling too clinical.
- Best layout: porcelain on island and backsplash (a cohesive “slab look”) + wood on a breakfast bar or coffee nook.
- Pros: highly stain resistant; great for bright, sunlit kitchens; modern aesthetic.
- Cons: edges can be more vulnerable to chipping; fabrication can be specialized.
Stainless Steel + Stone (Chef’s Kitchen Meets Showpiece)
Why it works: Stainless is the ultimate sanitary, heat-friendly prep surface. Pairing it with quartz or granite keeps the kitchen warm and residential.
- Best layout: stainless around the cooktop or sink + stone elsewhere.
- Pros: heat resistant, seamless options around sinks, professional look.
- Cons: scratches and fingerprints are part of the package (many people like the patina).
Quartz + Quartzite (Lookalike vs. Natural Statement)
Why it works: Quartz offers predictable patterns and durability. Quartzite (natural stone) provides one-of-a-kind veining and depth. Mixing them can give you a “best of both” result.
- Best layout: quartz on perimeter + quartzite on island for the wow factor.
- Pros: design impact; excellent resale appeal when well-coordinated.
- Cons: quartzite pricing varies widely; sealing is typically needed.
Design Approaches That Look Intentional (Not Random)
1) Island statement + perimeter workhorse
The most foolproof mixed material layout. Keep perimeter counters consistent for visual calm and easy cleaning, then treat the island as furniture.
2) Multi-level island (with caution)
Raised bar tops were popular in older kitchens, but current renovation trends favor one-level islands for accessibility and cleaner sightlines. If you do mix heights, use it intentionally—like a lower baking station (30–32 inches high) for rolling dough or kids’ projects.
3) Dedicated zones: baking, coffee, or beverage station
A small section of contrasting countertop can be powerful. Examples:
- Marble pastry station: 24–36 inches wide is often enough for rolling dough.
- Coffee bar: pair wood with a durable stone backsplash and add outlets under upper cabinets.
- Wet bar: use stone or porcelain for stain resistance, with an easy-to-wipe backsplash.
4) Waterfall edge as an accent
Waterfall edges remain popular in modern kitchens. If budget is a concern, consider a waterfall on one side only, or use the premium material on the waterfall while choosing a more budget-friendly surface elsewhere.
Material Cost Ranges and Budget Considerations
Pricing varies by region, thickness, edge profile, and installation complexity. These ranges are typical installed costs per square foot:
- Laminate: $25–$60/sq ft
- Butcher block: $50–$120/sq ft
- Quartz: $70–$150/sq ft
- Granite: $60–$140/sq ft
- Marble: $80–$200+/sq ft
- Quartzite: $90–$250+/sq ft
- Porcelain slab: $90–$200+/sq ft
- Stainless steel: $150–$300+/sq ft
Budget-saving strategies that still look high-end:
- Use the premium material on the island only; keep perimeter in quartz or even laminate with a modern edge.
- Choose a simpler edge profile (eased edge is often less expensive than ogee).
- Keep seams out of focal areas; fewer seams can mean less fabrication time.
- Limit waterfall edges or use them selectively.
- Consider remnant slabs for smaller zones (baking station, coffee bar).
How to Coordinate Colors, Patterns, and Finishes
The goal is contrast with cohesion. Use one of these coordination formulas:
Option A: Same undertone, different material
- Warm white quartz perimeter + warm walnut butcher block island.
- Greige stone perimeter + oak prep surface.
Option B: Contrast with a “bridge” element
If your countertops are quite different, use cabinetry, hardware, or backsplash to connect them:
- Black honed granite perimeter + white veined quartz island, tied together with black cabinet hardware and a warm wood floor.
- Stainless prep zone + quartz perimeter, tied together with stainless appliances and a matching faucet finish.
Option C: Texture contrast (timeless and elegant)
- Honed/ matte stone paired with a satin wood top.
- Leathered granite paired with polished quartz (use cautiously; keep other finishes calm).
Maintenance and Longevity: What Homeowners Should Know
- Quartz: easy daily cleaning with mild soap; avoid harsh abrasives; use trivets for hot pans.
- Granite: durable; may need periodic sealing; wipe oils and wine promptly.
- Marble: will etch; seal routinely; use coasters and cutting boards.
- Butcher block: avoid standing water; oil/condition; sand out minor scratches if unfinished or oil-finished.
- Porcelain: excellent stain/heat resistance; use care with heavy impacts on edges.
- Stainless: clean with microfiber; expect scratches; choose a brushed finish for a more forgiving look.
Common Mistakes to Avoid
- Mixing too many bold patterns: If one countertop has strong veining, keep the other quieter.
- Ignoring thickness and edge details: A 2cm quartz next to a thick butcher block can look mismatched without intentional edge design.
- Placing high-maintenance stone in the hardest-working zone: Marble around the main sink and cooktop is a common regret for busy households.
- Not planning for water exposure: Wood near a sink can swell or stain unless properly sealed and maintained.
- Skipping samples in your lighting: Undertones change dramatically under warm LEDs vs. daylight. View samples beside cabinet doors, flooring, and backsplash tile.
- Forgetting workflow and clearances: A beautiful island isn’t functional if your aisles are too tight (aim for 42–48 inches).
FAQ: Mixed Material Countertops
Are mixed material countertops still in style?
Yes—especially the “statement island + simpler perimeter” approach. It fits current kitchen design trends while staying practical and timeless, since it supports clear work zones and better durability where it matters.
What’s the easiest mixed countertop combination to maintain?
Quartz + quartzite-look quartz (two quartz styles) is often the lowest maintenance while still giving contrast. For true mixed materials, quartz + porcelain is also very easy-care.
Can I mix two different quartz colors?
Absolutely. It’s a smart way to mix materials without juggling very different maintenance needs. Keep one quiet (solid or subtle pattern) and let the other be the feature.
How do I prevent butcher block from getting damaged on an island?
Use a protective finish (oil or sealed), wipe spills quickly, avoid placing it directly next to the dishwasher venting area if possible, and maintain it regularly. Plan a 12–15 inch seating overhang with proper brackets to prevent sagging and cracks over time.
Do mixed countertops hurt resale value?
Not when they look intentional and cohesive. In many markets, a well-designed mixed countertop kitchen reads as custom and can improve resale appeal—especially if the primary work surfaces are durable and the palette is broadly appealing.
What’s the best way to choose materials during a kitchen renovation?
Start with your lifestyle (cooking frequency, kids, entertaining), then pick the durable “workhorse” material first. After that, select a secondary material that adds warmth or character, and test both in your kitchen lighting next to cabinet and flooring samples.
Next Steps: How to Make Mixed Material Countertops Work in Your Kitchen
- Define zones: prep, cooking, baking, serving, coffee/bar.
- Choose the workhorse surface first: quartz, granite, or porcelain for most homeowners.
- Select a complementary secondary material: butcher block for warmth, marble for baking, stainless for pro-level function.
- Confirm measurements: 42–48 inch aisles, 12–15 inch seating overhang, and a plan for seams and edges.
- Get samples and view them at home: morning, afternoon, and evening lighting.
- Talk with your fabricator early: to confirm edge profiles, thickness transitions, and support requirements.
A mixed material countertop design can transform a kitchen from standard to custom—without sacrificing everyday performance. For more inspiring renovation ideas, countertop guidance, and kitchen organization tips, explore the latest at thedecormag.com.
More Articles
 Best Kitchen Appliance Garage Ideas - The Decor Mag
 Pantry Organization: Fresh Produce & BBQ Storage (2026)
 Best Kitchen Cleaning Supply Storage - The Decor Mag
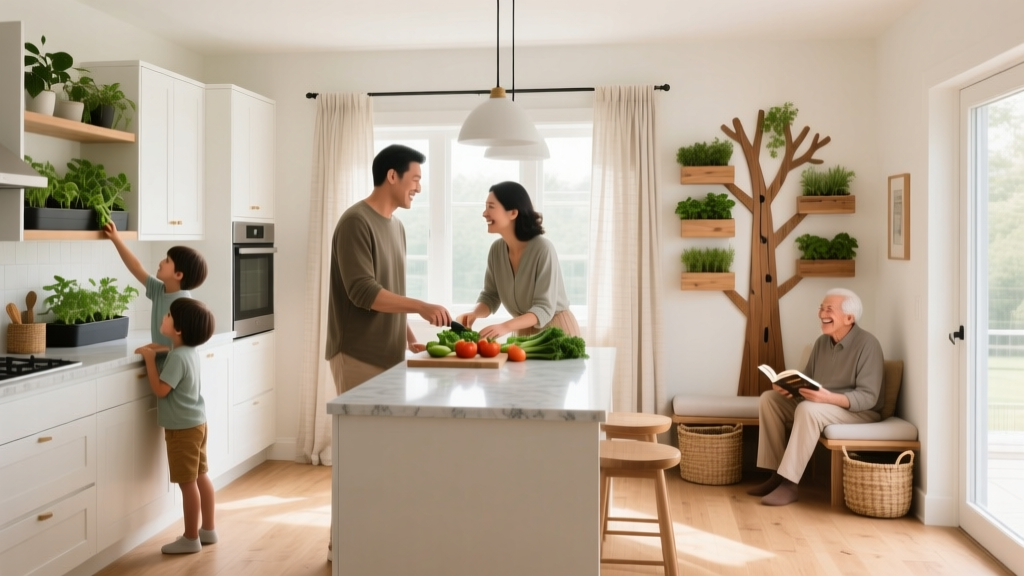 Kitchen That Grows With Your Family (2026)
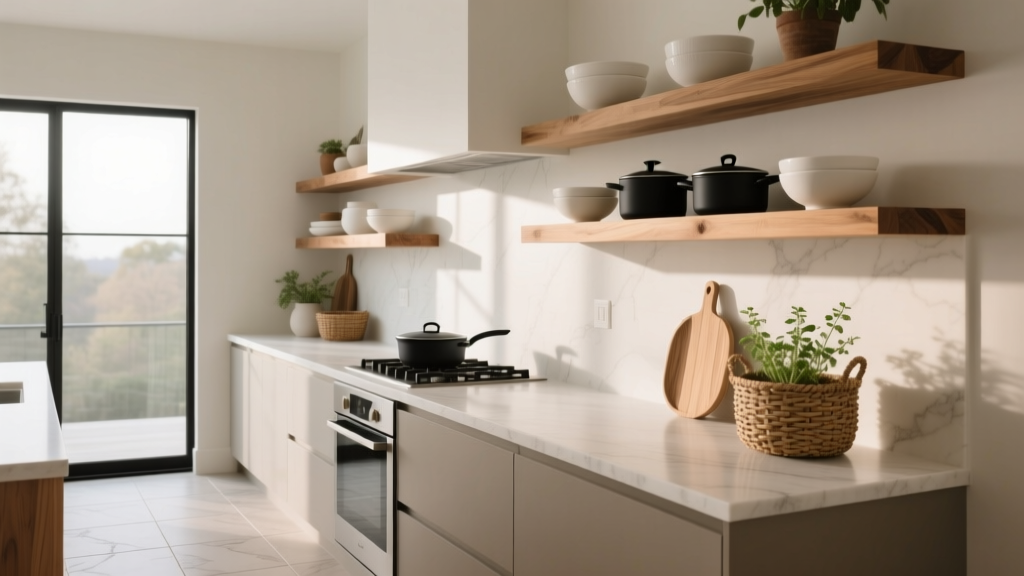 Open Shelving in Kitchens: Ideas & Tips (2026)
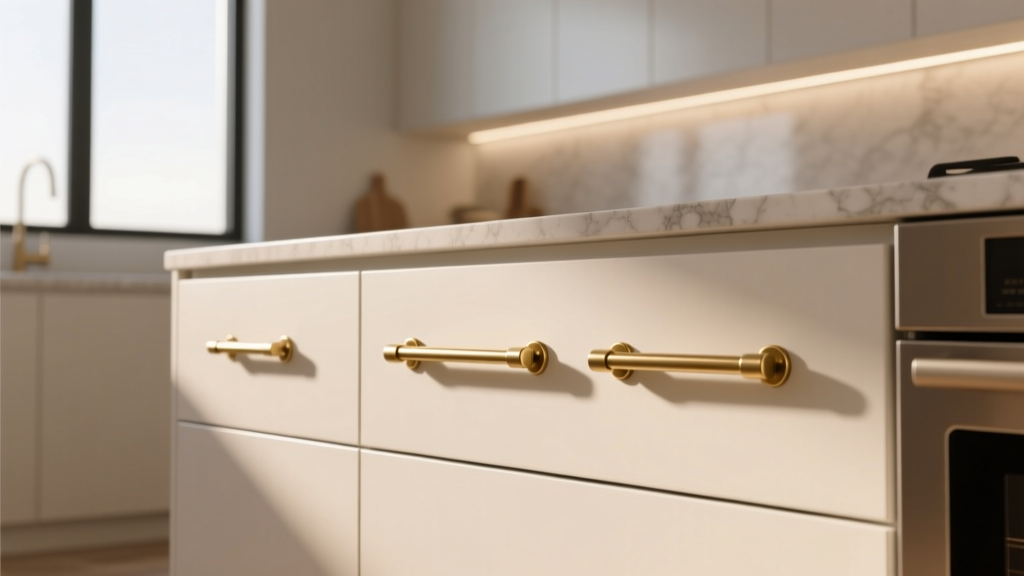 How to Choose Kitchen Cabinet Pull Length - The Decor Mag
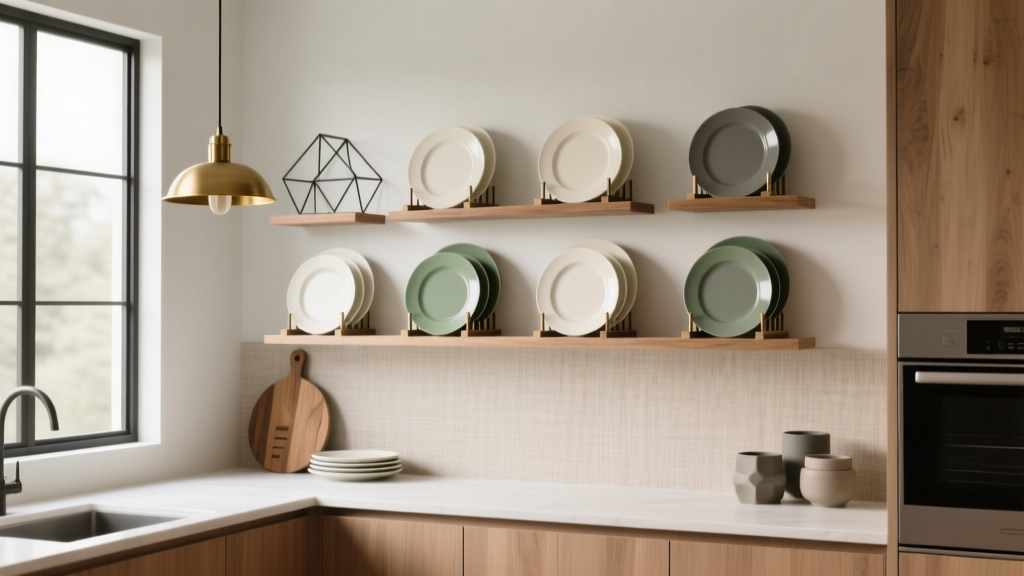 Best Kitchen Plate Rack Display Options - The Decor Mag
 How to Choose Kitchen Sink Configuration - The Decor Mag
 Blue and Fluted Cookware Compared: A Kitchen Specialist’s Deep-Dive Analysis of Le Creuset vs. Staub
 Best Kitchen Baking Sheet Vertical Storage - The Decor Mag