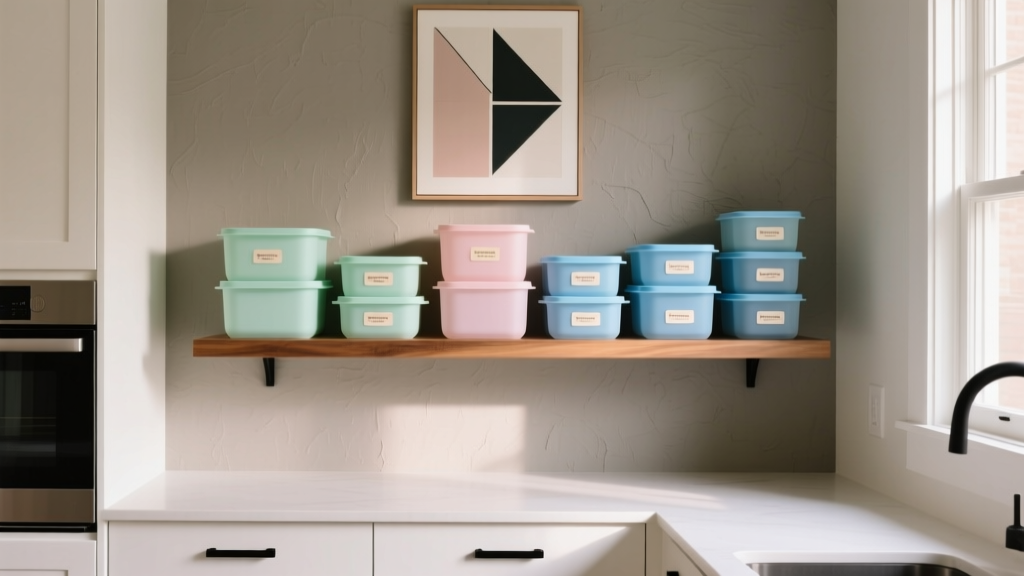
Best Kitchen Tupperware Organization - The Decor Mag
Tupperware clutter is one of the fastest ways to make an otherwise beautiful kitchen feel chaotic. Stacks topple, lids vanish, and that one oversized container you use weekly ends up buried behind mismatched pieces you haven’t touched in years. For homeowners planning a kitchen renovation—or simply upgrading their current setup—smart food storage organization is a high-impact improvement that costs far less than a full remodel, yet delivers daily convenience.
Good kitchen Tupperware organization isn’t just about tidiness. It’s about workflow, zoning, and using cabinet real estate efficiently. When containers and lids have a clear “home,” you reduce time spent searching, prevent warping and breakage, and make meal prep and leftovers simpler. Better still, modern storage solutions align with current kitchen design trends: clean-lined interiors, hidden organization, and flexible systems that adapt as your needs change.
Whether you’re redesigning a pantry, optimizing base cabinets, or finally addressing that unruly plastic container drawer, the strategies below blend timeless functionality principles with practical measurements, material recommendations, cost ranges, and maintenance tips.
Start With a Quick Audit: What You Own vs. What You Use
Before buying organizers or reworking cabinets, sort what you have. This step alone often frees up 30–50% of the space.
The 20-Minute Container Reset
- Empty everything onto a counter or table.
- Match lids to bases. Recycle missing-lid items immediately.
- Remove damaged pieces: warped lids, cracked containers, stained plastic that won’t come clean.
- Create 3 groups:
- Daily use (meal prep, leftovers)
- Occasional use (party platters, specialty sizes)
- Donate/recycle (extras and duplicates)
Right-Size the Set (Recommended Core Counts)
- 1–2 person household: 10–16 containers total, mostly small/medium
- 3–5 person household: 18–28 containers, balanced sizes
- Meal-prep heavy: Add 8–12 uniform containers for stacking consistency
A streamlined, cohesive set is easier to store and aligns with the minimalist-but-functional direction of contemporary kitchen renovation planning.
Choose the Best Storage Zone: Where Tupperware Should Live
The ideal location depends on how your kitchen functions. The goal is to keep containers near where you pack food and unload the dishwasher.
Best Placement Options (Ranked by Real-World Convenience)
- Deep drawer near the dishwasher (top choice for most kitchens)
- Base cabinet with pull-out organizer (excellent for retrofits)
- Pantry shelf zone (best when containers are used for dry goods and bulk storage)
- Upper cabinet (only if you have lightweight, uniform sets)
Suggested Measurements for Smooth Access
- Deep drawer depth: 18–24 inches is ideal
- Drawer height: 8–10 inches for stacked containers; 10–12 inches if you store tall meal-prep boxes
- Pull-out base organizer width: 12–18 inches works well for a dedicated container pull-out
- Lid storage zone: 3–5 inches of vertical clearance for upright lid filing
If you’re renovating, ask your kitchen designer to include at least one deep drawer bank near the cleanup zone—this is a current trend that also happens to be one of the most timeless choices for everyday organization.
Best Layouts for Kitchen Tupperware Organization
1) Drawer-First Layout (Most Renovation-Friendly)
Deep drawers are the gold standard for kitchen organization because you can see everything at once—no crouching and reaching into dark cabinets.
How to set it up:
- Front of drawer: Most-used containers (small/medium)
- Middle: Larger containers stacked by size
- Back: Specialty pieces (divided trays, salad bowls)
- Side zone: Lids filed vertically in a divider bin
Pro tip: Use non-slip drawer liner to prevent stacks from sliding when opening/closing.
2) Base Cabinet Pull-Out Layout (Best for Existing Kitchens)
If you have traditional base cabinets, a pull-out organizer instantly improves visibility. Look for full-extension slides so you can access the back without unloading the front.
Recommended specs:
- Full-extension soft-close slides rated 75–100 lb for durability
- Solid bottom shelf (prevents small lids from falling through wire)
- Raised sides to keep stacks stable
3) Pantry Shelf Layout (Best for Bulk + Dry Storage)
If your containers double as pantry canisters, treat them like a pantry system. Keep matching shapes together and label for consistency.
Best practice: Place frequently used containers between shoulder and waist height (roughly 36–60 inches from the floor).
Organizers and Products That Make the Biggest Difference
You don’t need dozens of gadgets. A few well-chosen inserts and dividers create order that lasts.
Must-Have Organizer Types
- Adjustable lid dividers (for upright “file” storage)
- Stacking shelf risers (for shallow cabinets to create levels)
- Clear bins with handles (great for grouping by size)
- Drawer peg systems (high-end option for customized zones)
- Pull-out cabinet trays (ideal retrofit for base cabinets)
Materials Comparison: What Holds Up Best
- Bamboo: Warm, on-trend, durable. Best for drawers and visible storage. Avoid soaking; wipe clean.
- Stainless steel: Extremely durable, sleek, easy to sanitize. Higher cost, can scratch cabinetry if not padded.
- Clear acrylic/PP plastic: Budget-friendly, easy to clean, great visibility. Acrylic can crack if dropped; polypropylene is more forgiving.
- Powder-coated metal: Strong and stable. Good for lid racks and pull-outs; check for chip-resistant coating.
Budget Ranges (Typical U.S. Pricing)
- Basic drawer bins + lid dividers: $20–$60
- Mid-range modular drawer organization set: $60–$150
- Pull-out cabinet tray (single): $80–$250 (plus installation if needed)
- Custom drawer inserts/peg systems: $200–$600+ per drawer depending on brand and customization
If you’re planning a kitchen renovation, allocating even 2–5% of cabinetry budget toward interior organization typically yields outsized daily benefits.
Container Choices That Store Better (and Look Better)
Sometimes the “organization problem” is really a “container mismatch problem.” A cohesive set stacks neatly, nests efficiently, and reduces lid chaos.
Best Container Styles for Easy Organization
- Uniform modular sets: Same footprint with different heights; easiest stacking and lid matching
- Nesting sets with shared lids: Fewer lids; less clutter
- Square/rectangular over round: Better space efficiency in drawers and refrigerators
Material Recommendations (Plastic vs. Glass vs. Silicone)
- Glass containers: Heavier but resist stains and odors; ideal for homeowners prioritizing longevity. Store in lower drawers to avoid lifting strain.
- High-quality BPA-free plastic: Lightweight and budget-friendly. Choose thick-walled options that resist warping.
- Silicone collapsible containers: Great for small kitchens; best used selectively because lids and shapes vary.
Design-forward tip: If your kitchen leans modern or transitional, matching glass sets with neutral lids look clean and intentional in open shelving or pantry zones.
How to Organize Lids So They Never Go Missing
Lids are the make-or-break detail. The best approach is to store them vertically and grouped by size.
Reliable Lid Storage Methods
- Vertical file method (best overall): Use an adjustable divider inside a drawer or bin. Store lids like folders.
- Door-mounted rack (space-saving): Works well inside a pantry door or cabinet door, but ensure clearance so the door closes easily.
- Dedicated narrow pull-out (renovation upgrade): A 6–9 inch-wide pull-out can be a lid tower if planned into cabinetry.
Clearance check: For door-mounted solutions, leave at least 1/2–3/4 inch clearance between the rack and shelf edges to prevent rubbing or dents.
Maintenance: Keep It Organized Without Constant Rework
The best kitchen organization systems are easy to maintain. If it takes more than a minute to put something away, it won’t last.
Weekly 2-Minute Reset
- Return lids to the vertical divider (no stacking “just for now”)
- Restack by size (largest on bottom)
- Remove any unmatched pieces immediately
Cleaning and Care Tips
- Prevent plastic stains: Rinse tomato-based sauces promptly; store red sauces in glass when possible.
- Reduce odor retention: Air-dry fully before lidding; don’t store containers sealed when empty.
- Protect drawer interiors: Use washable liners under stacks and bins.
- Avoid warped lids: Keep lids away from high heat in the dishwasher; place on the top rack.
Common Mistakes to Avoid
- Overbuying organizers before editing your containers: You’ll end up organizing clutter instead of solving it.
- Storing lids flat in a pile: This creates instant mess and slows down meal prep.
- Mixing too many brands and shapes: Mismatched footprints waste drawer space and complicate stacking.
- Using tall stacks in deep cabinets: If you can’t see the bottom, you won’t use what’s there.
- Ignoring workflow: Containers should live near the dishwasher and food prep zone, not across the kitchen.
- Choosing cheap, flimsy pull-outs: Weak slides sag over time; invest in quality hardware for base cabinet solutions.
Kitchen Design Trends That Support Better Organization
Many of today’s best kitchen design trends are really about hidden function:
- Deep drawer banks replacing lower doors for better accessibility
- Integrated pull-outs with soft-close hardware and full-extension slides
- Butler’s pantry or secondary prep zone for staging lunches and leftovers
- Minimalist countertop styling supported by smarter internal storage
These ideas aren’t just aesthetic—they reduce daily friction and keep your kitchen looking calm, even when it’s busy.
FAQ: Kitchen Tupperware Organization
What’s the best way to store plastic containers and lids?
Store containers nested by size in a drawer or pull-out, and store lids vertically using adjustable dividers. This prevents lid avalanches and makes matching fast.
Should I store containers with lids on?
Not usually. Storing with lids on consumes far more space and traps moisture if anything is slightly damp. Keep lids separated and only close containers when in use.
Are drawers better than cabinets for food storage containers?
Yes for most kitchens. Drawers provide top-down visibility and easier access. If you have cabinets, adding a full-extension pull-out tray creates similar functionality.
How many containers should I keep after decluttering?
Keep enough for your weekly rhythm. A practical baseline is 10–16 pieces for smaller households and 18–28 for families, plus a few larger pieces for leftovers and gatherings.
What’s the most durable container material for a renovated kitchen?
Glass is the most durable for stains and odors and looks great in organized drawers and pantries. High-quality BPA-free plastic is lighter and often more budget-friendly, but may stain over time.
How do I organize Tupperware in a small kitchen with limited cabinets?
Use a single deep drawer or one pull-out cabinet tray as a dedicated zone, prioritize a uniform modular set, and add a vertical lid divider. Collapsible silicone pieces can help, but keep them minimal to avoid mismatched clutter.
Actionable Next Steps for a Cleaner, More Functional Kitchen
- Edit your collection down to matched, frequently used pieces.
- Pick one dedicated zone (ideally a deep drawer near the dishwasher).
- Set up a lid filing system with adjustable dividers.
- Invest in one upgrade that fits your budget: drawer bins, a pull-out tray, or a modular container set.
- Do a weekly 2-minute reset to keep the system stable.
A well-organized container setup makes a kitchen feel larger, calmer, and more enjoyable to use—exactly the outcome homeowners want when refining a kitchen design or planning a renovation.
For more smart kitchen organization ideas, renovation planning tips, and design inspiration, explore the latest guides on thedecormag.com.
More Articles
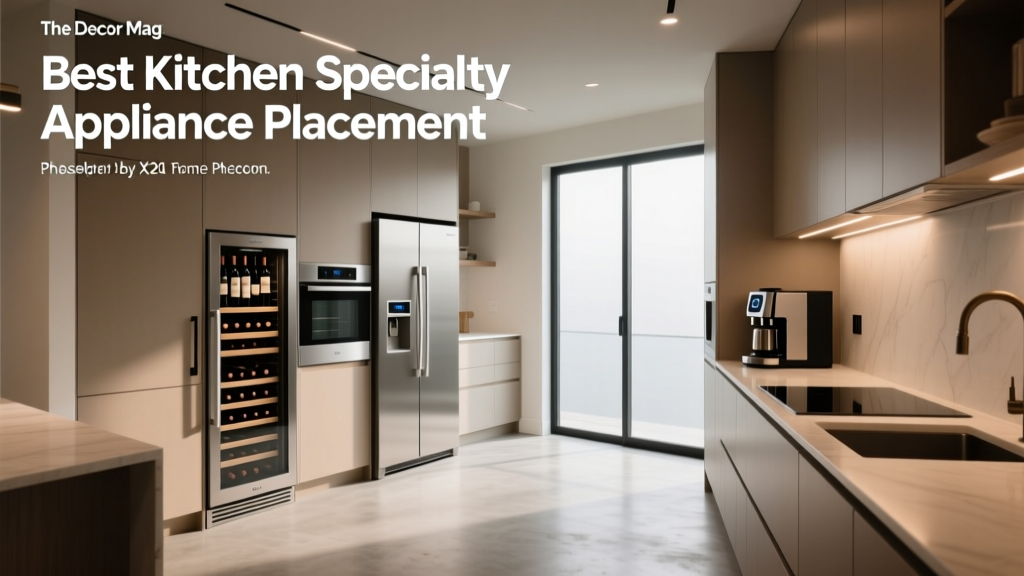 Best Kitchen Specialty Appliance Placement - The Decor Mag
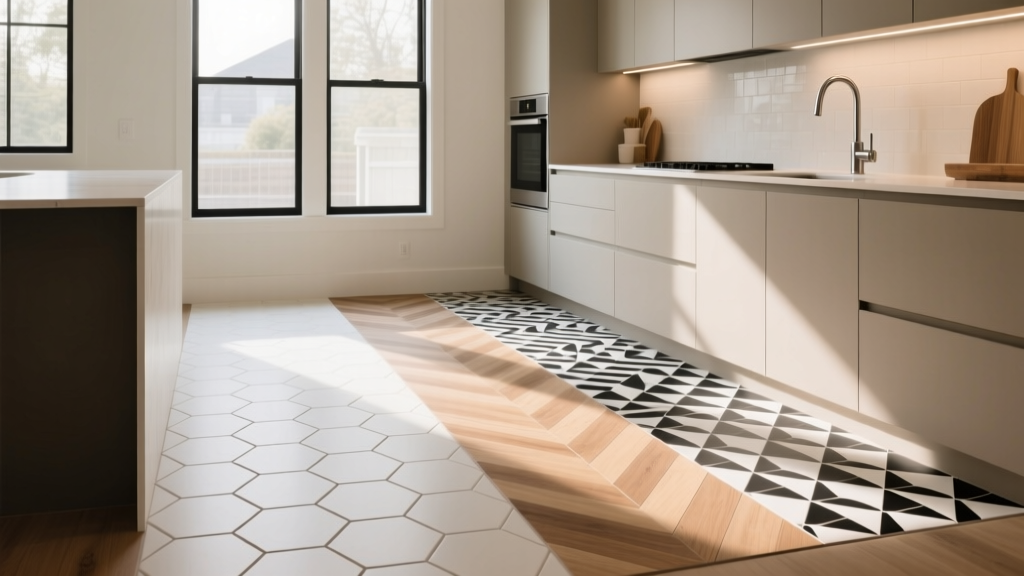 How to Choose Kitchen Floor Tile Pattern - The Decor Mag
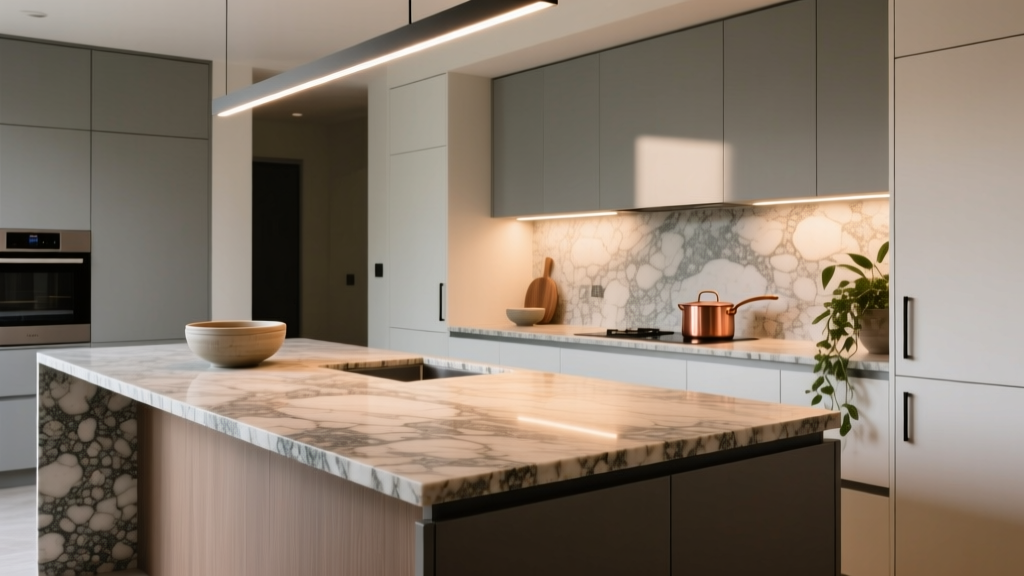 Kitchen Leathered Finish Granite Guide - The Decor Mag
 Wall Trends 2026: Material Innovation, Adaptive Surfaces, and Human-Centered Design in Residential Kitchens
 How to Organize Family Life: Practical Systems for Calm, Connection, and Consistency
 Professional Kitchen Design: Tips for 2026
 Kitchen Integrated Look Appliance Paneling - The Decor Mag
 Best Kitchen Oil and Vinegar Storage - The Decor Mag
 Kitchen Backsplash Pattern Scale: How to Choose (2026)
 Kitchen Reeded Glass Cabinet Ideas - The Decor Mag