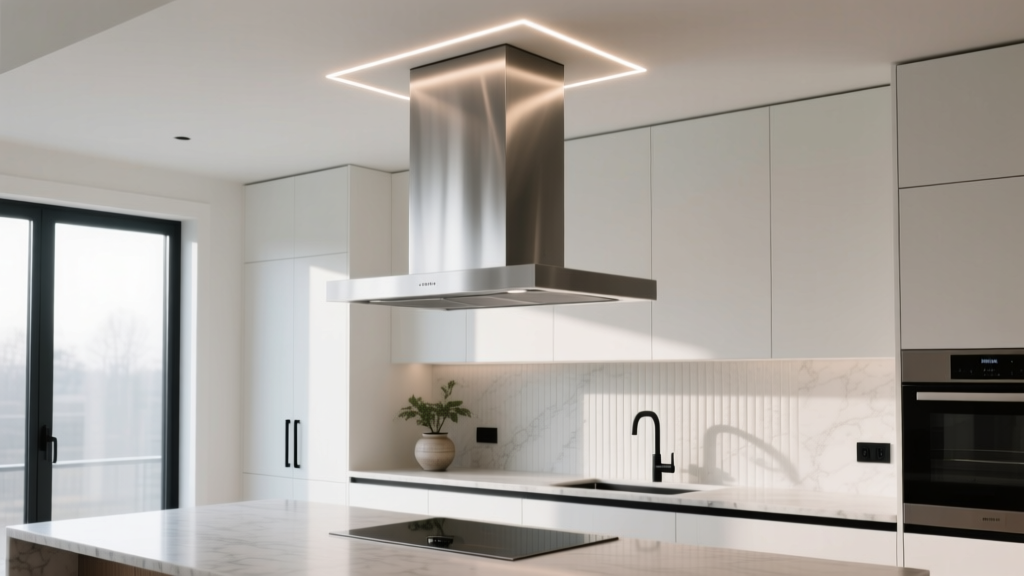
How to Choose the Right Kitchen Hood Vent - The Decor Mag
A beautiful kitchen renovation isn’t just about cabinetry, countertops, and statement lighting. The air you breathe while cooking—and the way your kitchen smells and feels afterward—can make your space either a joy to use or a constant frustration. A well-chosen kitchen hood vent quietly protects your finishes, improves indoor air quality, and keeps your open-concept home from smelling like last night’s dinner.
Today’s kitchen design trends lean toward larger ranges, open shelving, and kitchens that flow into living areas. That makes effective ventilation more essential than ever. The good news: you can find a hood that matches your style (sleek stainless, plaster-look statement pieces, minimalist inserts) while delivering the performance your cooktop actually needs.
This guide breaks down the practical choices—vent type, size, airflow, noise, and installation—so you can select a kitchen hood vent that looks intentional and works hard for years.
Start with Your Cooking Style and Kitchen Layout
Before comparing models, clarify how your kitchen is used. A hood vent should be sized and selected for real life, not just showroom photos.
Ask yourself these questions
- How often do you cook? Daily cooking needs more consistent performance and easier-to-clean filters.
- What kind of cooking? High-heat searing, wok cooking, frying, and frequent grilling create more smoke and grease.
- Gas or electric? Gas produces more combustion byproducts and typically benefits from stronger ventilation.
- Is your kitchen open to other rooms? Open layouts need better odor control and often higher airflow.
- Where can ductwork go? Straight, short duct runs vent best; complicated routes can reduce performance.
Match the hood style to the layout
- Wall-mounted chimney hood: Classic choice for ranges on a wall; works in most renovation scenarios.
- Under-cabinet hood: Space-saving for smaller kitchens; great when uppers run to the cooktop.
- Insert/liner inside a custom surround: Ideal for a built-in look (popular in warm modern and transitional kitchens).
- Island hood: Needs higher airflow due to cross drafts; visually prominent in open-concept designs.
- Downdraft ventilation: Best when overhead venting is impossible; generally less effective for smoke and high-heat cooking.
Ducted vs. Ductless: Choose the Right Venting Method
Ducted (vented to the outdoors)
Ducted hoods remove smoke, odors, moisture, and grease from your home. This is the gold standard for kitchen ventilation and the best choice for most kitchen renovations.
- Pros: Best performance, better odor control, reduces moisture buildup, helps protect cabinetry and paint.
- Cons: Higher installation cost; requires a path for ductwork through wall or ceiling.
Ductless (recirculating)
Ductless hoods filter air through grease and charcoal filters, then return it to the room. This can work for light cooking or when ducting isn’t feasible (condos, interior kitchens).
- Pros: Easier installation; no exterior vent required.
- Cons: Less effective at removing moisture/odors; charcoal filters must be replaced regularly; can leave lingering smells.
Practical recommendation
If you can duct to the outdoors, do it. If you must go ductless, choose the highest-quality recirculating model you can afford and commit to a filter replacement schedule.
Size Matters: Hood Width, Depth, and Mounting Height
Choosing the right size is one of the most overlooked parts of kitchen design—and it directly affects how well your hood captures smoke and grease.
Hood width
- Choose a hood that’s at least as wide as your cooktop.
- For better capture (especially on gas), go 3 inches wider on each side when possible.
Examples:
- 30-inch range: consider a 30–36 inch hood
- 36-inch range: consider a 36–42 inch hood (space permitting)
Hood depth (coverage)
Standard depths range from about 18 to 24 inches. Deeper hoods capture more effectively, especially for front burners.
- 18–20 inches: common for under-cabinet hoods
- 21–24 inches: excellent for serious cooking and high-output ranges
Mounting height
Check the manufacturer’s spec sheet, but these guidelines help during planning:
- Electric cooktops: typically 20–24 inches above the cooking surface
- Gas ranges: typically 24–30 inches above the cooking surface
Mounting too high reduces capture; mounting too low can feel cramped and may violate safety guidance for certain models.
How Much Power Do You Need? Understanding CFM
CFM (cubic feet per minute) measures how much air a hood moves. Higher CFM can mean better smoke capture, but it must be balanced with proper ducting and noise control.
Rule-of-thumb calculations
- Electric: a common baseline is 100 CFM per linear foot of cooktop width.
- 30-inch cooktop (2.5 ft): start around 250 CFM
- 36-inch cooktop (3 ft): start around 300 CFM
- Gas: a common guideline is 100 CFM per 10,000 BTU of total burner output (check your range specs).
When to step up to higher CFM
- Frequent frying, searing, or wok cooking
- Open-concept kitchen connected to living/dining areas
- Island cooktop (more cross-drafts)
- Higher-BTU professional-style ranges
Make-up air: the code and comfort factor
Many regions require make-up air systems when hood capacity exceeds a certain threshold (often around 400 CFM, but local codes vary). Make-up air brings fresh air back into the home so the hood doesn’t backdraft fireplaces or pull air from undesirable places. If you’re planning a high-CFM hood, discuss make-up air early with your contractor or HVAC professional.
Noise Levels: What to Know About Sones
A powerful hood that’s too loud won’t get used. Noise is often rated in sones (lower is quieter).
- 1–3 sones: quiet conversation-friendly range for low/medium speeds
- 4–6 sones: noticeable but manageable
- 7+ sones: loud—often avoided unless used briefly at high speed
Design choices that reduce noise
- Choose the largest duct size recommended (often 6–8 inches round, depending on CFM).
- Keep duct runs short and straight; avoid multiple elbows.
- Consider an in-line or remote blower if you want performance with less kitchen noise (great for open-concept layouts).
Ductwork Basics: Performance Depends on the Path
Even an excellent hood can underperform with poor duct design. During a kitchen renovation, duct routing should be part of the early plan—alongside cabinetry and lighting.
Best practices for ducting
- Go as straight as possible: each elbow can reduce airflow.
- Use smooth, rigid metal ducting: it’s safer and performs better than flexible duct.
- Match duct size to the hood’s requirements: undersized ducting increases noise and reduces capture.
- Vent to the exterior: never terminate in the attic or crawl space.
Materials and Finishes: Style Meets Durability
Your hood is a focal point. Current kitchen design trends include statement hoods in plaster-look finishes, wood surrounds, and slim-profile European-style canopies. Whichever look you choose, prioritize surfaces that can handle heat, grease, and frequent cleaning.
Material comparisons
- Stainless steel: timeless, durable, and easy to wipe down; shows fingerprints unless brushed or treated.
- Powder-coated metal (black/white/colored): on-trend and sleek; choose a high-quality coating to resist chipping.
- Custom wood hood surround (with metal liner): warm and popular in transitional kitchens; requires a proper liner and clearances to protect wood.
- Plaster or plaster-look surrounds (with liner): a major trend for soft, sculptural form; pair with a robust insert/liner and plan for occasional touch-ups.
Design-forward recommendations
- For a timeless kitchen: a simple stainless chimney hood or a clean-lined under-cabinet model.
- For a statement look: a custom surround (plaster or wood) with a high-performance liner.
- For minimalists: a concealed insert with matching cabinetry panels or a slim under-cabinet hood.
Filters, Lighting, and Controls: The Features That Matter
Filter types
- Baffle filters (stainless): best for heavy cooking; durable; often dishwasher-safe.
- Mesh filters (aluminum): common in budget models; can clog faster; may require more frequent cleaning.
- Charcoal filters (ductless): necessary for recirculating hoods; replace per manufacturer guidance (often every 3–6 months depending on cooking frequency).
Lighting
- LED lighting is the current standard: efficient, bright, and long-lasting.
- Look for warmer color temperatures (around 2700K–3000K) if your kitchen lighting is warm, so the cooktop area doesn’t look harsh.
Controls
- Simple push buttons are reliable and easy to clean.
- Touch controls look sleek but can show smudges.
- Heat/smoke sensors can be helpful for busy households, but prioritize core performance first.
Cost Ranges and Budget Planning
Kitchen hood vent costs vary widely based on airflow, build quality, blower type, and whether you’re ducting to the outside.
Typical price ranges (hood unit only)
- Budget: $150–$500 (basic under-cabinet and simple ductless models)
- Mid-range: $500–$1,500 (better motors, improved lighting, quieter operation, more style options)
- High-end: $1,500–$5,000+ (premium finishes, pro-style performance, custom liners, in-line/remote blowers)
Installation and ductwork budget
- Simple replacement (existing ductwork): $200–$800
- New duct run through wall/ceiling: $800–$2,500+
- Make-up air system (if required): often $1,500–$6,000+ depending on scope and HVAC integration
Where to spend, where to save
- Spend on: correct sizing, quiet operation, and quality filters (especially baffle filters for frequent cooking).
- Save on: extra “smart” features you won’t use; prioritize performance and a finish that fits your kitchen design.
Common Mistakes to Avoid
- Choosing a hood that’s too small: a 30-inch hood over a 36-inch range is a frequent renovation regret.
- Ignoring ducting requirements: undersized ductwork and too many elbows reduce airflow and increase noise.
- Mounting the hood too high: it looks fine but captures poorly, especially on front burners.
- Going ductless by default: recirculating hoods are often selected for convenience, not performance.
- Overbuying CFM without planning make-up air: can trigger code issues and comfort problems.
- Skipping maintenance planning: hard-to-access filters lead to grease buildup and reduced efficiency.
Maintenance Tips for Long-Lasting Performance
- Clean baffle/mesh filters regularly: every 3–6 weeks for frequent cooking; every 6–8 weeks for lighter use.
- Wipe down the hood exterior weekly: use a non-abrasive cleaner appropriate for the finish (stainless cleaner for stainless, mild soap for powder coat).
- Replace charcoal filters on schedule for ductless models (commonly 3–6 months).
- Check for airflow changes: if the hood suddenly feels weak, filters or ducting may be clogged.
- Use the right fan speed: start the hood 1–2 minutes before cooking and let it run 5–10 minutes after to clear residual moisture and odors.
FAQ: Kitchen Hood Vents
What size hood vent do I need for a 30-inch range?
At minimum, choose a 30-inch hood. For better capture—especially with gas—consider a 36-inch hood if your layout allows.
How many CFM do I need for a gas range?
A common guideline is 100 CFM per 10,000 BTU of total burner output, but the best answer depends on your cooking habits, hood size, and duct design. If you cook at high heat often, step up in airflow and prioritize good ducting.
Are ductless range hoods worth it?
Ductless (recirculating) hoods can help with light cooking and small spaces, but they’re less effective at removing humidity and odors. If ducting outdoors is possible, a ducted hood is the better long-term renovation choice.
What’s the quietest type of kitchen hood?
Models with an in-line or remote blower are often the quietest because the motor isn’t directly above your head. Also look for low sone ratings at the speeds you’ll use most.
Do I need make-up air for my range hood?
Maybe. Many areas require make-up air above certain airflow levels (often around 400 CFM), but requirements vary. Ask your contractor or local building department early in your kitchen renovation planning.
How often should I clean range hood filters?
For frequent cooking, plan on cleaning filters every 3–6 weeks. If you cook less often, every 6–8 weeks may be enough. Ductless charcoal filters should be replaced (not washed) based on the manufacturer’s schedule.
Next Steps: A Simple Checklist Before You Buy
- Measure your cooktop width and confirm your ideal hood width (same size or wider).
- Confirm mounting height based on your model and cooking surface type.
- Decide ducted vs. ductless and map the duct route if ducted.
- Estimate needed airflow (CFM) based on cooking style and range output.
- Choose materials/finish that fit your kitchen design and cleaning preferences.
- Budget for installation, ductwork, and possible make-up air.
A kitchen hood vent is one of the most functional upgrades you can make—one that supports cleaner air, a fresher home, and a kitchen that truly works for how you live. For more practical renovation advice, kitchen organization tips, and design inspiration, explore more kitchen ideas on thedecormag.com.
More Articles
 Kitchen Design for Cooking: Functional Ideas (2026)
 Kitchen Fluted Cabinet Door Trends - The Decor Mag
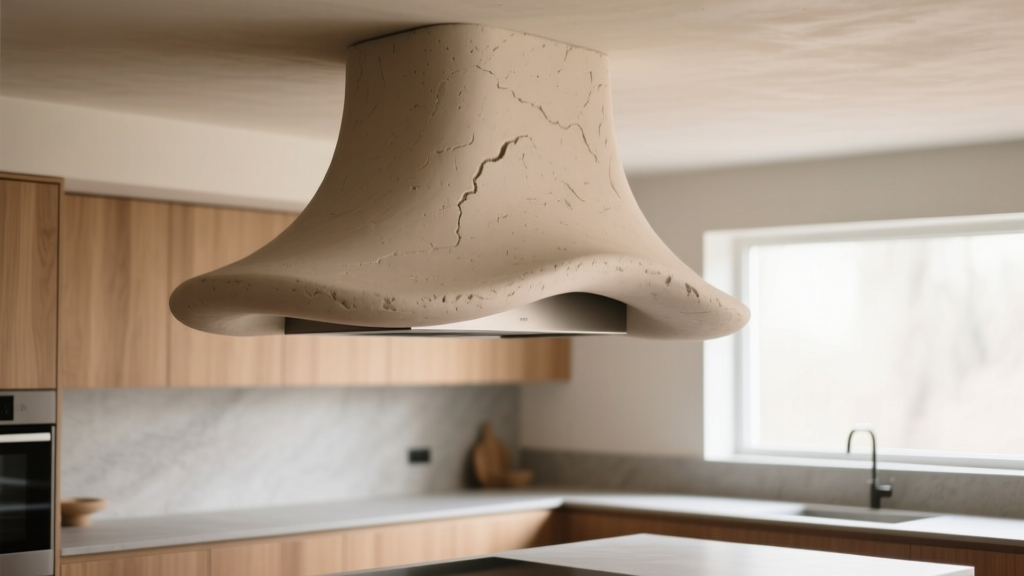 Kitchen Plaster Range Hood Organic Look - The Decor Mag
 Kitchen Style & Function: Design Tips (2026)
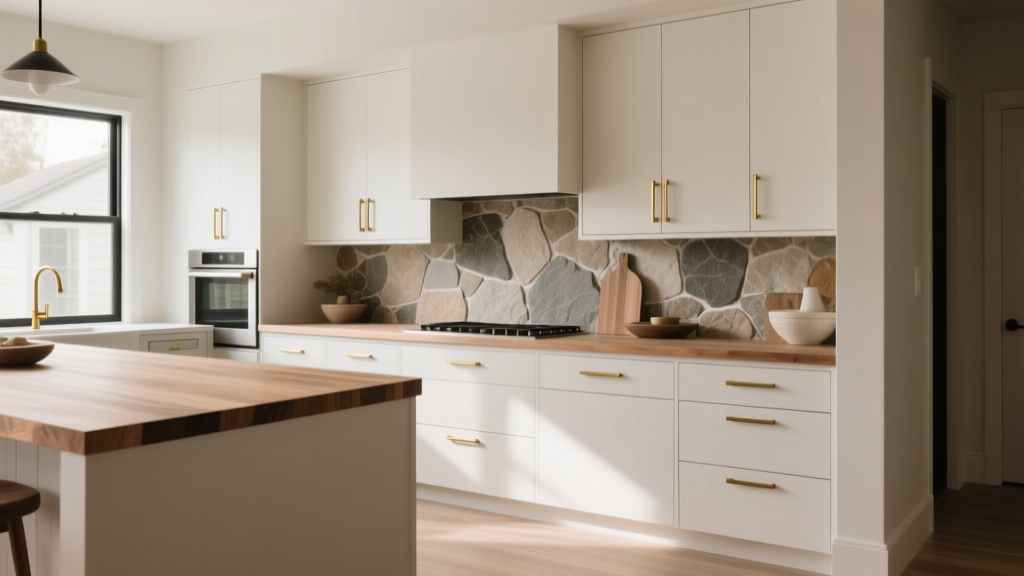 Kitchen Layered Materials Design Guide - The Decor Mag
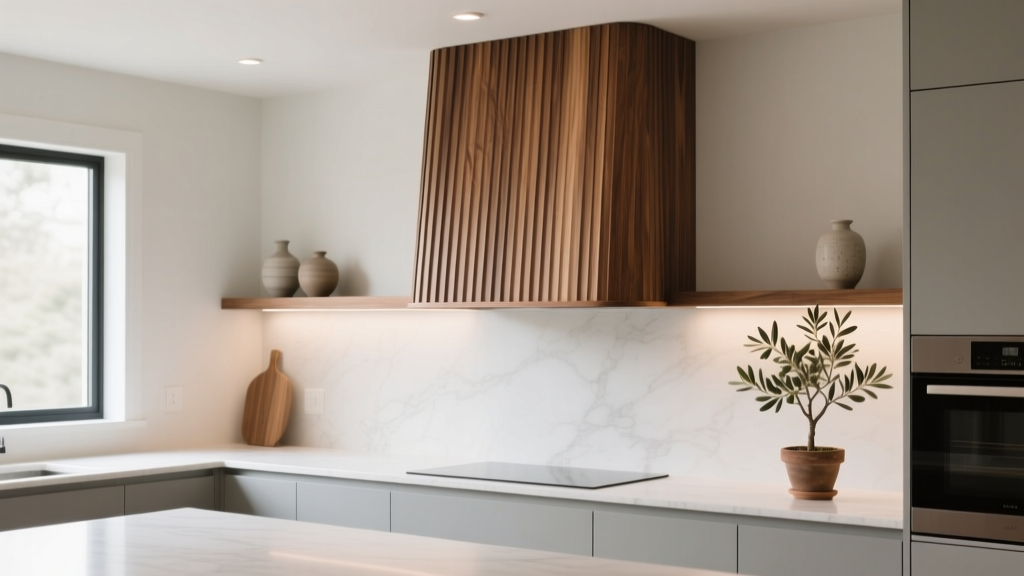 Kitchen Fluted Wood Range Hood Cover - The Decor Mag
 Wall Trends 2026: Material Innovation, Adaptive Surfaces, and Human-Centered Design in Residential Kitchens
 Best Kitchen Spice Organization Solutions - The Decor Mag
 Walk-In Pantry Kitchen Design Ideas (2026)
 Kitchen Brass Hardware Renaissance - The Decor Mag