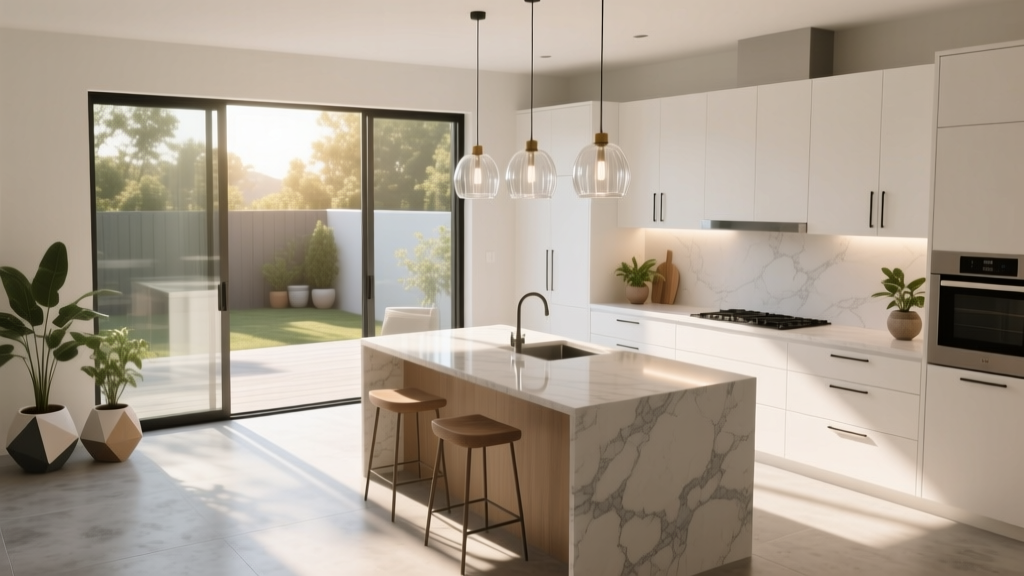
Kitchen Natural Light Design Tips (2026)
Natural light can make a kitchen feel bigger, cleaner, and more welcoming—often without adding a single square foot. It highlights finishes, improves mood, and can even reduce daytime energy use. For homeowners planning a kitchen renovation, light is one of the most valuable “materials” you can build with because it affects everything: layout, cabinetry, paint color, countertops, and how you use the space day to day.
Many kitchens lose daylight due to blocked windows, bulky upper cabinets, poor lighting placement, or dark finishes that absorb rather than reflect. The good news: maximizing natural light doesn’t always require major structural work. Smart choices—like swapping a door, changing a window treatment, choosing the right cabinet color, or adjusting the layout—can dramatically brighten a kitchen.
This guide breaks down practical ways to design a light-filled kitchen, with specific measurements, product and material recommendations, cost ranges, and common mistakes to avoid—so your renovation dollars go toward changes you’ll see and feel every day.
Start with a Daylight Audit: Know Where Your Light Comes From
Before choosing finishes or moving walls, look at how natural light behaves in your kitchen. Spend a day taking notes (and photos) in the morning, midday, and late afternoon.
What to evaluate
- Window orientation: South-facing windows (in the Northern Hemisphere) generally provide the most consistent light; north-facing tends to be softer; east brings bright mornings; west can create glare and heat later in the day.
- Obstructions: Deep porches, exterior trees, neighboring buildings, and interior tall cabinets can block daylight.
- Shadow zones: Corners, pantry walls, and areas under soffits often stay dim even on sunny days.
- Glare and heat: If the room overheats or you avoid using parts of the kitchen because of harsh sun, you need light control, not less glass.
Quick measurement tips
- Measure window width/height and note sill height. Typical kitchen window sills range from 36–42 inches off the floor, often aligning with countertops.
- If you’re considering enlarging a window, check header height and how close the window is to cabinets, plumbing, and appliances.
- For seating areas or breakfast nooks, plan for daylight to reach eye level when seated (around 42–48 inches).
Layout Strategies That Preserve and Amplify Daylight
Layout is one of the biggest drivers of natural light because it determines what blocks windows and how far light can travel.
Prioritize clear paths from windows into the room
- Keep tall elements away from windows: Avoid placing pantry towers, built-in refrigerators, or full-height cabinets directly adjacent to a primary window wall when possible.
- Use lower-profile storage near glass: Base drawers, open shelves, or shorter cabinets preserve window lines.
- Consider a “window wall” moment: A sink centered under a window remains a timeless, functional choice that also keeps the view open.
Island and peninsula placement: don’t create a light dam
Islands are a leading kitchen design trend, but they can block light if oversized or positioned poorly.
- Maintain clearance: Plan for 42 inches minimum around an island (or 48 inches for multi-cook kitchens or high-traffic routes).
- Keep island height standard: A typical island is 36 inches high. Avoid adding tall raised bars that act as visual barriers.
- Use leggy furniture-style islands: Open bases or turned legs allow light to pass through, keeping the room airy.
Open-concept and “light borrowing” options
If your kitchen is enclosed, you can borrow light from adjacent rooms without fully removing walls.
- Widen doorways: Expanding a doorway or adding a cased opening often brightens a kitchen more than a small new window.
- Add interior glass: Consider a fixed glass panel, transom window, or French doors to pull light from a brighter space.
- Half walls or pass-throughs: A pass-through over a peninsula can transfer daylight while maintaining some separation.
Windows, Doors, and Skylights: High-Impact Upgrades
If your budget allows, adding or upgrading glazing is the most direct way to increase natural light. The key is balancing brightness with insulation, privacy, and glare control.
Upgrade existing windows for clearer light
- Choose low-iron glass if you want maximum clarity (less green tint than standard glass).
- Select slim frames: Modern fiberglass or aluminum-clad wood frames can maximize glass area compared to bulky vinyl profiles.
- Consider operable styles: Casement and awning windows open fully and can improve ventilation—useful near cooktops.
Budget range: Window replacement typically runs $700–$2,500 per window installed depending on size, frame material, and region. Enlarging an opening can increase costs to $2,000–$6,000+ due to structural work.
Bring in light with doors
- Full-lite or half-lite exterior doors: A back door with glass can brighten a kitchen more than an extra recessed light ever will.
- Sliding or French patio doors: Excellent for kitchens that open to a patio; they visually expand the room and increase daylight.
Budget range: A new exterior door with glass often falls around $1,200–$4,000 installed. A sliding patio door may range $2,500–$7,000+ depending on size and performance.
Skylights and solar tubes for window-poor kitchens
- Skylights: Best for kitchens under a roof (not a second floor). Choose venting skylights for heat release.
- Solar tubes (tubular daylighting devices): Great for smaller kitchens or areas like pantries and hallways—bright without major framing changes.
Budget range: Solar tubes often cost $800–$2,000 installed. Skylights typically run $2,000–$6,500+ depending on size, shaft depth, and roof complexity.
Glare control without losing brightness
- Sheer roller shades: Preserve daytime light while softening harsh sun.
- Top-down/bottom-up shades: Let light in from above while maintaining privacy.
- UV-filtering window film: Helps reduce fading and glare; choose high-quality films that won’t haze over time.
Cabinetry and Storage Choices That Don’t Steal the Sun
Kitchen organization and storage matter for light because clutter and bulky cabinetry create visual heaviness. Today’s trend toward streamlined, functional kitchens pairs perfectly with a daylight-forward approach.
Rethink upper cabinets
- Stop uppers before a window: Don’t “cap” a window with cabinets unless you need that storage desperately.
- Use open shelving strategically: One or two shelving runs can keep the wall visually light. Use it for everyday items and keep it tidy.
- Glass-front cabinets: They reflect light and feel lighter than solid doors—especially when paired with subtle interior lighting.
Prefer drawers and smart base storage
- Deep drawers reduce the need for extra uppers and improve kitchen organization.
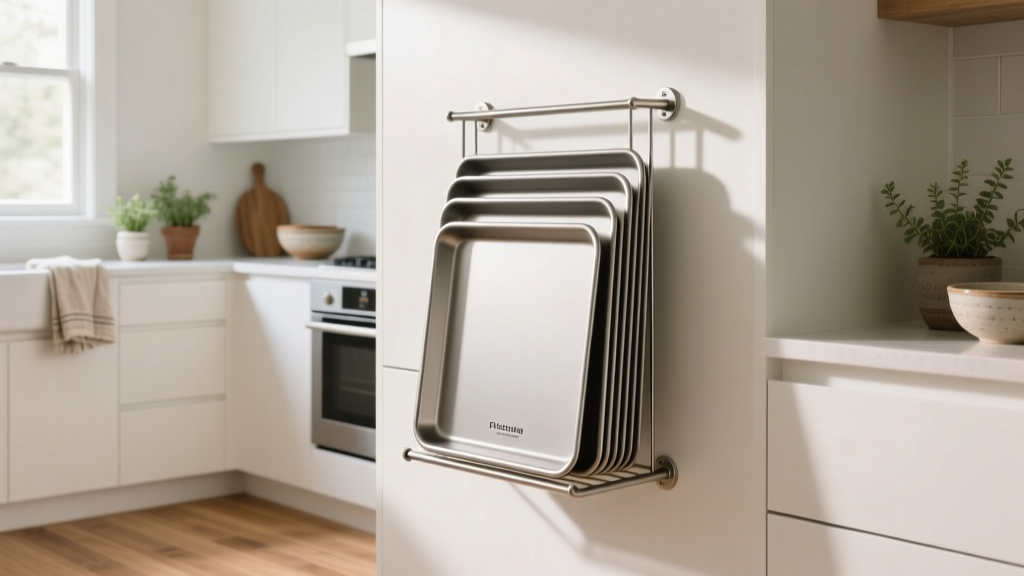
- Add pull-out trash/recycling, tray dividers, and vertical baking-sheet storage to cut counter clutter (which often darkens the room visually).
Hardware and finish details that reflect light
- Brushed nickel and polished chrome bounce light softly and suit timeless kitchens.
- Warm brass is a current trend that adds glow—especially in kitchens with creamy whites and natural wood.
- Avoid overly distressed or matte-black-heavy schemes if your kitchen lacks daylight; they can read visually heavy in low light.
Materials That Multiply Daylight: Paint, Countertops, Floors, and Backsplashes
If windows are the source of light, surfaces are how you spread it. The goal is controlled reflectivity: bright enough to lift the room, not so glossy that it creates glare.
Paint and wall finishes
- Choose a light, warm neutral to avoid a sterile look while still reflecting light. Soft whites, warm off-whites, and pale greiges work well.
- Use satin or eggshell on walls for gentle reflectance and easier cleaning than flat paint.
- For trim and ceilings, a higher-reflectance white can help bounce daylight deeper into the kitchen.
Countertop comparisons
- Quartz (polished): Bright, consistent, easy maintenance; reflects light well. Cost: $60–$120 per sq. ft. installed.
- Quartzite: Natural stone with depth and movement; can be bright but may need sealing. Cost: $90–$200+ per sq. ft. installed.
- Marble: Luminous and timeless; etches and stains more easily—best for lower-traffic households or those okay with patina. Cost: $80–$200+ per sq. ft. installed.
- Butcher block: Warm and trend-friendly; absorbs light more than stone but adds glow when paired with light cabinetry. Requires oiling. Cost: $40–$100 per sq. ft. installed.
Backsplashes that brighten without overpowering
- Glossy ceramic subway tile: A classic that reflects light. Consider 3x12 or 4x12 for a modern proportion.
- Handmade-look zellige: A current trend; uneven glaze scatters light beautifully while hiding smudges.
- Full-height slab backsplash: Quartz or quartzite slab behind the range or sink reduces grout lines and can look sleek and bright.
Budget range: Tile backsplash installed often costs $25–$75 per sq. ft.. Slab backsplashes frequently range $80–$200+ per sq. ft. depending on material and fabrication.
Flooring that supports a brighter kitchen
- Light oak or white oak: Timeless, forgiving, and warm—excellent for natural light kitchens.
- Light-toned LVP: Budget-friendly, durable, water-resistant; quality varies widely.
- Large-format porcelain tile: Reflective options available; fewer grout lines when using larger sizes like 12x24.
Budget range: LVP installed: $4–$9 per sq. ft.. Hardwood installed: $8–$18 per sq. ft.. Porcelain tile installed: $10–$25 per sq. ft..
Lighting Design That Works With Daylight (Not Against It)
Natural light changes throughout the day. A great kitchen lighting plan supports that rhythm—so the room feels bright at noon and still functional at night.
Layer your lighting
- Ambient: Recessed lights or a central fixture for overall illumination.
- Task: Under-cabinet LED strips for countertops, pendants over islands, and focused light at the sink.
- Accent: Toe-kick lighting, in-cabinet lighting, or a picture light over open shelves.
Color temperature guidance (Kelvin)
- 2700K–3000K: Warm, welcoming; pairs well with wood and warm whites.
- 3000K–3500K: Crisp but not clinical; good for modern kitchens and high-function cooking zones.
- Avoid mixing wildly different temperatures in one open kitchen—consistency keeps the space calm and bright.
Daylight-friendly fixture placement
- Place recessed lights 24–30 inches from upper cabinets to wash light down cabinet faces and reduce shadows on counters.
- Use dimmers so you can match artificial lighting to the natural light level (especially helpful at dusk).
Maintenance and Upkeep: Keep Your Kitchen Bright Long-Term
A light-filled kitchen stays that way when surfaces are cared for. Grease, dust, and water spots can dull reflective finishes quickly—especially near windows and the range.
- Windows: Clean inside glass monthly in cooking-heavy homes. Degrease frames and sills where residue collects.
- Glossy backsplashes: Use a gentle, non-abrasive cleaner to avoid micro-scratches that reduce shine.
- Paint: Keep a small labeled jar of touch-up paint. High-traffic zones near trash and sink benefit from scrubbable finishes.
- Cabinet finishes: Matte cabinets show fingerprints; satin or semi-matte often balances modern style with easier upkeep.
Budget Planning: Where Natural-Light Improvements Deliver the Best ROI
If you’re balancing renovation priorities, these upgrades tend to have strong visual impact per dollar:
- Low-cost ($50–$500): Swap heavy window treatments for sheers; add a large mirror on a side wall; repaint in a light reflective color; replace dark hardware with brighter finishes.
- Mid-range ($500–$5,000): Add under-cabinet lighting; replace a solid exterior door with a half-lite or full-lite door; install a solar tube; upgrade backsplash to a brighter material.
- Higher investment ($5,000–$25,000+): Enlarge windows; add a patio door; reconfigure layout to move tall storage away from windows; install skylights; replace dark flooring with lighter finishes.
Common Mistakes That Make Kitchens Feel Darker
- Overbuilding the island: Too large, too tall, or placed directly in the light path from windows.
- Wall-to-wall upper cabinets: Especially on window walls—this blocks daylight and creates visual heaviness.
- Choosing flat, ultra-matte dark finishes in low-light rooms: Matte can be beautiful, but in a dim kitchen it often absorbs what little light you have.
- Ignoring glare control: Removing all window coverings can make the kitchen uncomfortable, then you end up closing blinds and losing daylight anyway.
- Poor artificial lighting placement: Recessed lights centered in the room often create shadows on counters (where you actually work).
- Too much visual clutter: Crowded counters, open shelves overloaded with items, and busy patterns reduce the “bright” feeling even with good windows.
FAQ: Designing a Kitchen for Maximum Natural Light
How can I make my kitchen brighter without replacing windows?
Start with reflective, light finishes (paint, backsplash, countertops), simplify window treatments, add under-cabinet lighting, and reduce tall visual blocks near windows. Even swapping to glass-front uppers or open shelving in one zone can make a noticeable difference.
What cabinet colors work best in a natural light kitchen?
Warm whites, soft creams, pale greige, and light natural wood tones (like white oak) reflect daylight while staying timeless. If you love darker cabinets, consider a two-tone approach: light uppers and a deeper island or base cabinets.
Are skylights worth it in a kitchen renovation?
If your kitchen sits directly under the roof and feels chronically dim, skylights or solar tubes can be high-impact. Choose models with strong energy performance and consider shades for summer heat and glare control.
What’s the best backsplash finish for reflecting light?
Glossy ceramic tile and lightly textured, glazed tiles (like zellige-style) are strong choices because they bounce and scatter light. If you prefer a seamless look, a polished slab backsplash in quartz can also brighten the room.
How do I avoid glare while keeping the kitchen bright?
Use light-filtering shades (sheer roller shades or top-down/bottom-up styles) and consider UV-filtering window film on harsh exposures. Inside, choose satin finishes over high-gloss for large surfaces to reduce hotspots.
Will open shelving make my kitchen look brighter?
Often, yes—because it reduces visual mass. The tradeoff is maintenance: open shelves look best when curated and wiped down regularly to prevent grease and dust buildup.
Actionable Next Steps for a Brighter Kitchen
- Map your daylight: Photograph your kitchen at three times of day and identify shadow zones.
- Remove light blockers: Replace heavy window treatments, clear clutter from counters, and reconsider any tall storage near windows.
- Choose reflective, practical finishes: Light paint in eggshell/satin, a bright backsplash, and a countertop finish that suits your maintenance preferences.
- Improve the lighting plan: Add under-cabinet LEDs and dimmers so your kitchen works beautifully after sunset.
- Consider structural upgrades if needed: If your kitchen still feels dim, price out a door with glass, a solar tube, or a window enlargement based on your renovation budget.
Natural light is one of the most powerful kitchen design tools you can invest in—whether you’re doing a full kitchen renovation or making targeted upgrades for better everyday living. For more practical kitchen ideas, layout inspiration, and timeless home decor guidance, explore the latest on thedecormag.com.
More Articles
 Best Kitchen Rug Options for Comfort - The Decor Mag
 How To Match Styling With Fluted Cabinet Doors, Countertops, and Hardware
 Kitchen Fluted Cabinet Door Trends - The Decor Mag
 Heirloom Kitchen Design: Timeless Ideas for 2026
 Best Kitchen Pot and Pan Storage Ideas - The Decor Mag
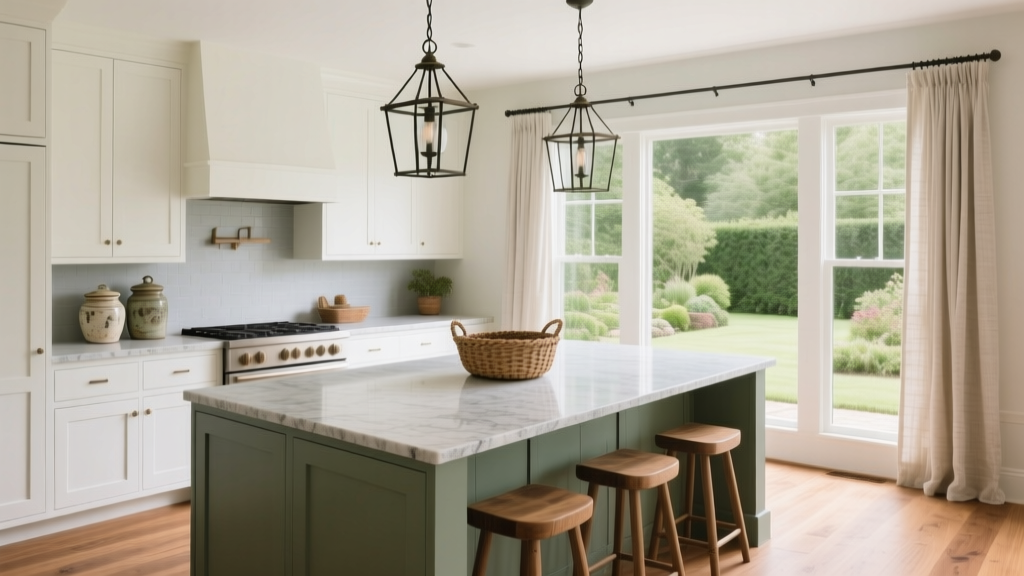 Farmhouse Kitchen Decor Inspiration - The Decor Mag
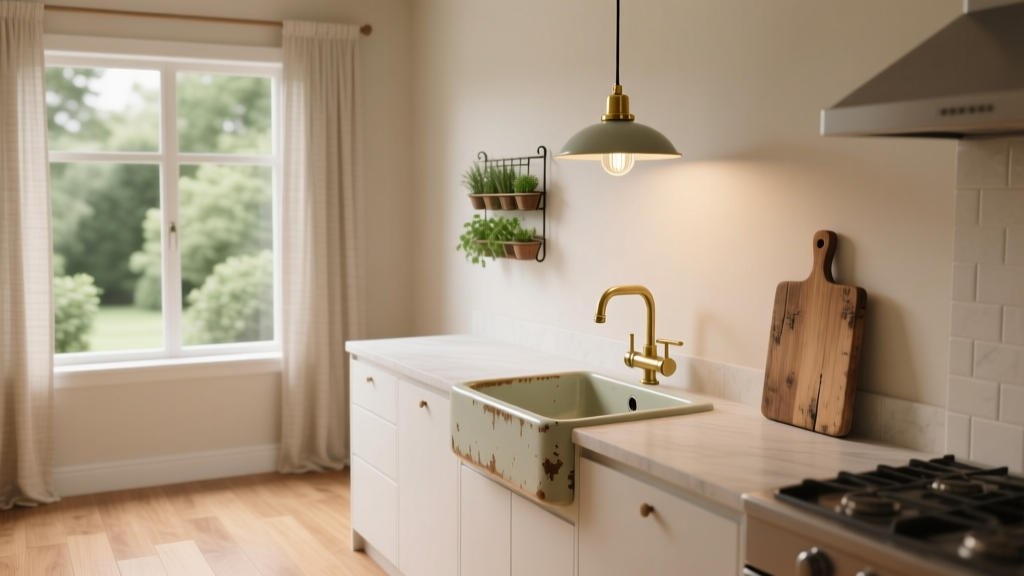 Vintage Kitchen Decor: Ideas & Tips (2026)
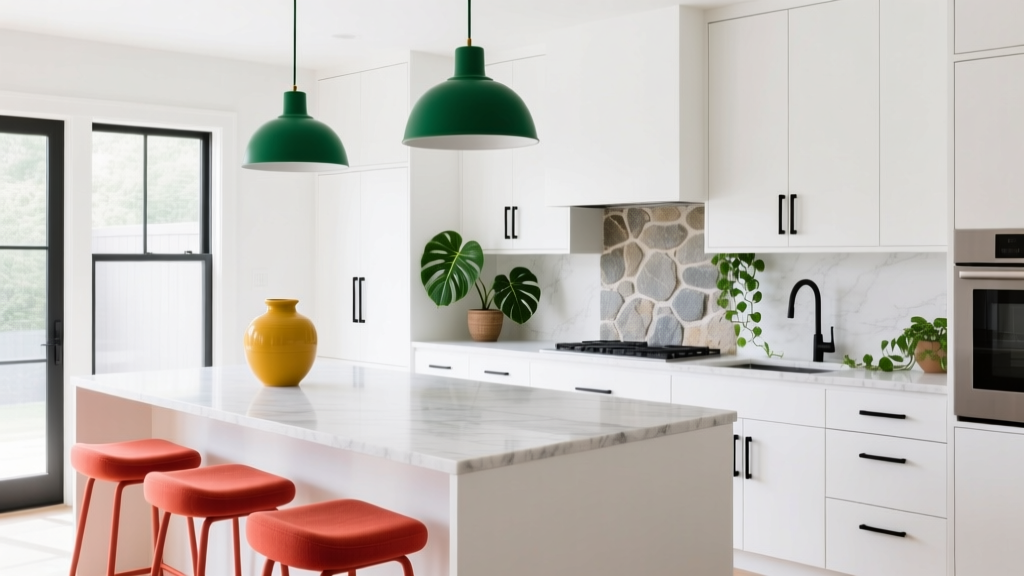 How to Incorporate Color in a White Kitchen - The Decor Mag
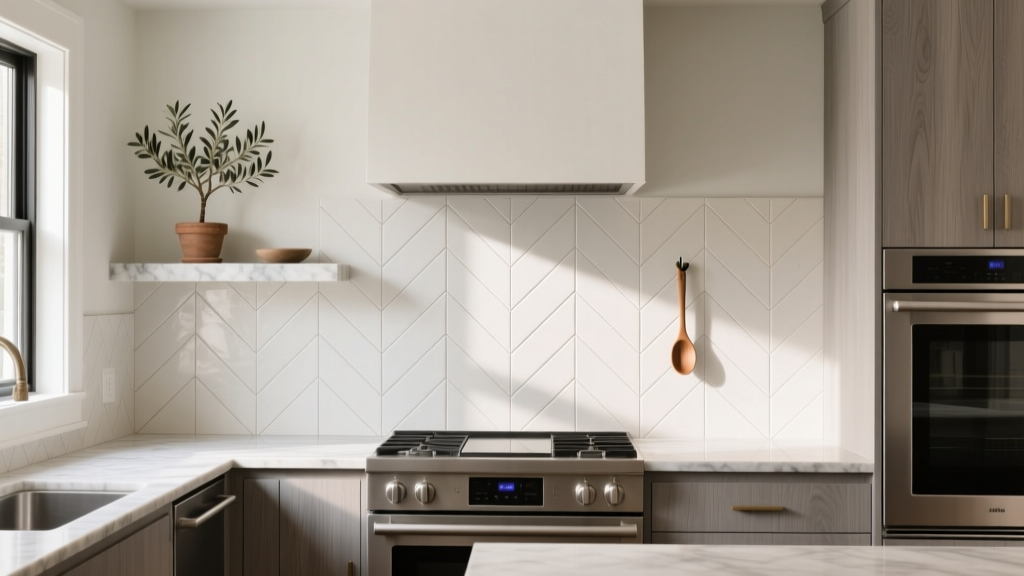 Kitchen Herringbone Backsplash Installation - The Decor Mag
 Best Kitchen Baking Sheet Vertical Storage - The Decor Mag