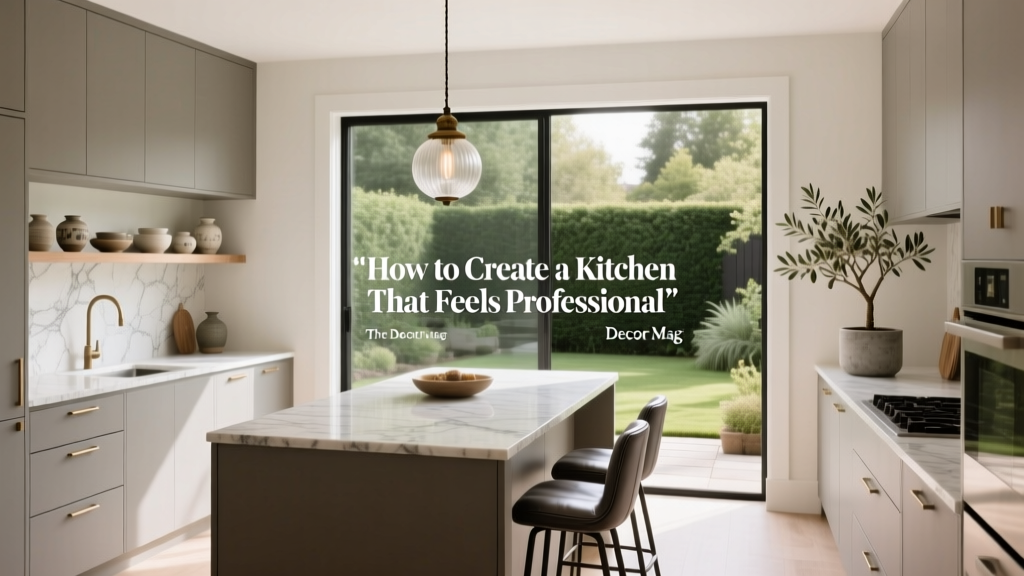
Professional Kitchen Design: Tips for 2026
A professional-feeling kitchen isn’t about copying a restaurant line or filling your counters with gadgets. It’s about designing a space that works with speed, precision, and ease—where tools are easy to reach, surfaces are durable, and cleanup is effortless. When your kitchen supports the way you actually cook, everything feels smoother: weeknight dinners, weekend baking, hosting, meal prep, and even the daily coffee routine.
For homeowners planning a kitchen renovation (or looking for high-impact upgrades), the “pro kitchen” goal is especially appealing because it blends today’s kitchen design trends—clean lines, smart storage, mixed materials—with timeless functionality principles: workflow, resilience, and organization. The result is a kitchen that looks sharp, performs under pressure, and stays comfortable for family life.
This guide breaks down practical, design-forward ways to get that professional feel—whether you’re doing a full kitchen remodel or making targeted improvements. Expect specific measurements, material comparisons, budget ranges, maintenance advice, and common mistakes to avoid.
What Makes a Kitchen Feel “Professional” at Home?
Professional kitchens are optimized for consistent output: efficient movement, durable materials, reliable ventilation, and storage that keeps essentials visible and accessible. At home, you can borrow these principles without sacrificing warmth or style.
- Workflow-first layout: Short, logical paths between prep, cooking, cleanup, and storage.
- Durable, low-fuss materials: Heat-resistant counters, easy-clean backsplashes, hardwearing floors.
- Powerful ventilation and lighting: Clear air and bright task zones eliminate friction.
- Smart organization: Tools near where you use them, fewer “junk zones,” more purpose-built storage.
- Built-in capacity: Enough counter landing space and storage for real cooking, not just display.
Start with the Layout: The Fastest Route to a Pro-Level Feel
Think in Zones, Not Just the Work Triangle
The classic kitchen work triangle (sink, cooktop, fridge) still matters, but a zone-based layout feels more modern and more professional. Aim for clear, dedicated areas:
- Prep zone: Counter space near sink and fridge, knife storage, mixing bowls, trash/compost pull-out.
- Cooking zone: Range/cooktop, spices, oils, utensils, sheet pans.
- Cleanup zone: Sink, dishwasher, cleaning supplies, towel storage.
- Storage zone: Pantry, dry goods, small appliances, containers.
- Serving/landing zone: Space to plate food and set down groceries or hot pans.
Measurements That Make a Kitchen Feel Efficient
Small dimensional decisions have an outsized impact on professional performance. These are widely used renovation guidelines:
- Aisle width: 42 inches minimum for one cook; 48 inches is ideal for two cooks or busy traffic.
- Work aisles in a kitchen with an island: 42–48 inches between counters and island seating side (more if multiple stools).
- Landing space: At least 15 inches of counter next to the fridge handle side; 12–18 inches on both sides of the range if possible.
- Prep counter: Aim for 36 inches of uninterrupted prep space (more is better).
- Counter height: Standard 36 inches; consider 38 inches for taller cooks or a dedicated baking zone at 34–35 inches for rolling dough.
- Walkways: Keep major paths free of open appliance doors—especially dishwasher and oven.
Layout Approaches That Feel Professional
- Galley kitchens: Naturally efficient; upgrade with better lighting, integrated storage, and strong ventilation.
- L-shape with island: Great for zoning; ensure the island doesn’t pinch aisles below 42 inches.
- U-shape kitchens: Maximum counter and storage; avoid making corners dead zones with smart corner solutions.
- Scullery or pantry wall (trend-forward): Hide small appliances and prep mess; a dedicated beverage station keeps the main cook zone clear.
Choose Materials Like a Pro: Performance, Longevity, and Maintenance
Countertops: Quartz vs. Granite vs. Stainless Steel vs. Butcher Block
A professional-feeling kitchen needs counters that handle heat, impacts, and constant wiping. Here’s a practical comparison:
-
Quartz (engineered stone):
Durable, stain-resistant, low maintenance; not a fan of direct high heat (use trivets).
Cost: $60–$120+ per sq ft installed.
Best for: Busy households, low-fuss cleaning, modern kitchen design. -
Granite (natural stone):
Heat tolerant and tough; needs periodic sealing depending on stone type.
Cost: $50–$120+ per sq ft installed.
Best for: Cooks who want natural variation and good heat resistance. -
Stainless steel:
The restaurant standard—heatproof, sanitary, and seamless options exist; shows scratches and fingerprints but reads authentically “pro.”
Cost: $100–$250+ per sq ft installed.
Best for: Serious cooking zones, modern/industrial kitchens, easy sanitizing. -
Butcher block:
Warm and timeless; requires oiling and careful moisture management; can scratch but can also be refinished.
Cost: $40–$100+ per sq ft installed.
Best for: A dedicated prep/baking area or island top with character.
Pro move: Mix materials. For example, quartz around the perimeter for easy care + a butcher block baking station + a small stainless insert by the range for hot-pan landing.
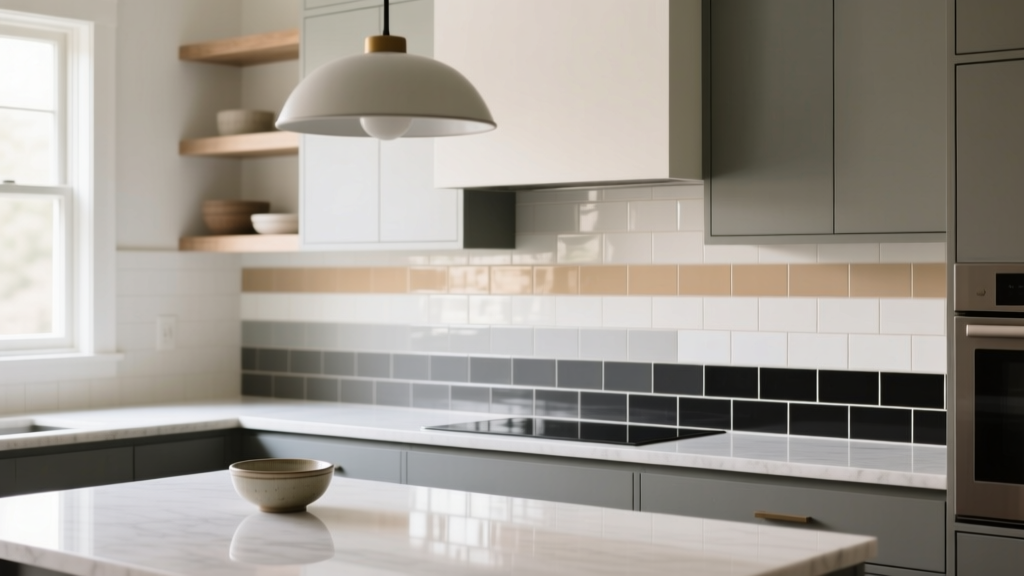
Backsplash: Easy-Clean Surfaces with Timeless Style
Trends lean toward full-height slabs and larger-format tile, but the most “professional” choice is the one that cleans quickly.
- Porcelain tile (larger format): Fewer grout lines, strong durability. Cost: $15–$45 per sq ft installed.
- Ceramic subway tile: Classic, budget-friendly, works in nearly any renovation style. Cost: $10–$30 per sq ft installed.
- Quartz or stone slab backsplash: Minimal seams, premium look, easy wipe-down. Cost: $40–$100+ per sq ft installed.
- Stainless backsplash behind the range: Peak pro function; pair with warmer finishes elsewhere. Cost: $25–$70+ per sq ft installed.
Maintenance tip: If you love tile, choose a high-performance grout (epoxy or advanced stain-resistant grout) to keep it looking fresh with less scrubbing.
Flooring Built for Traffic, Spills, and Standing
- Porcelain tile: Extremely durable and water-resistant; can feel hard underfoot. Cost: $10–$30 per sq ft installed.
- Luxury vinyl plank (LVP): Softer, budget-friendly, great for remodels; choose a thick wear layer (20 mil+). Cost: $4–$12 per sq ft installed.
- Engineered wood: Warmer look; better than solid wood for kitchens but still needs spill vigilance. Cost: $8–$20 per sq ft installed.
Pro comfort upgrade: Use an anti-fatigue mat at the sink and prep zone. Choose a sleek, wipeable style that matches your kitchen decor.
Professional-Grade Appliances: Where to Spend (and Where Not To)
Range vs. Cooktop + Wall Oven
For a professional feel, it’s less about brand name and more about performance and ergonomics.
- Freestanding range: Efficient footprint, often best value. Cost: $900–$4,000+.
- Pro-style range (gas or dual fuel): High-output burners, stronger build. Cost: $3,500–$12,000+.
- Cooktop + wall oven: Flexible placement and better accessibility; ideal for multi-cook kitchens. Cost: $2,500–$10,000+ combined.
Real-world tip: If you sauté, sear, and stir-fry often, prioritize burner power and pan stability. If you bake weekly, prioritize oven performance, convection quality, and even heat.
Ventilation: The Most Underrated “Pro Kitchen” Feature
Great ventilation makes the whole room feel more professional—less lingering odor, less grease, better comfort. Aim for a properly sized hood vented to the exterior.
- Hood width: At least as wide as the cooking surface; ideally 3 inches wider on each side for heavy cooking.
- Mounting height: Commonly 24–30 inches above the cooktop (follow manufacturer specs).
- Power (CFM): Many homes do well with 300–600 CFM; heavy gas cooking may justify 600–1,200 CFM, but check local codes and makeup air requirements.
- Noise: Look for lower sones at typical speeds; quiet ventilation gets used more often.
Budget: $300–$1,200 for basic hoods; $1,200–$4,000+ for premium, quieter, higher-capacity models plus installation.
Dishwasher and Sink Upgrades That Change Daily Life
- Quiet dishwasher: Look for 44 dBA or lower for open-plan kitchens. Cost: $700–$1,800+.
- Single-bowl deep sink (stainless or fireclay): Handles sheet pans and stock pots easily. Cost: $250–$1,200+.
- Pull-down faucet with strong spray: Choose solid brass internals and a reputable cartridge. Cost: $150–$600.
Lighting Like a Working Kitchen: Bright, Layered, and Flattering
Professional kitchens are bright. The goal at home is layered lighting that supports cooking and still feels inviting.
- Ambient lighting: Recessed lights or a flush-mount ceiling fixture for overall brightness.
- Task lighting: Under-cabinet LED strips to eliminate shadows on counters.
- Accent lighting (trend-forward): Toe-kick lighting or interior cabinet lighting for a polished look.
Lighting specs that work:
- Color temperature: 2700K–3000K for warm, livable kitchens; 3000K–3500K if you prefer a crisper, more “commercial” feel.
- CRI: 90+ helps food and finishes look true-to-life.
- Dimmers: Add flexibility—bright for prep, softer for dining and entertaining.
Storage and Organization: Where the “Pro” Feeling Really Comes From
Upgrade Cabinets with Pro-Style Interiors
You don’t need all-new cabinetry to improve kitchen organization. These add-ons create immediate function:
- Full-extension, soft-close drawers: Easier access and visibility than deep shelves.
- Pull-out trash + recycling: Place near prep for fast cleanup.
- Spice pull-out: Install near the cooking zone (not across the kitchen).
- Tray divider cabinet: Store sheet pans, cutting boards, and platters vertically.
- Corner solutions: LeMans-style pull-outs or lazy Susans to reduce wasted space.
Budget: $50–$200 per organizer insert for basic options; $200–$800+ for premium pull-outs and retrofits per cabinet, plus installation.
Countertop Strategy: Clear Surfaces, Fast Access
A professional kitchen keeps counters as open as possible while keeping key tools within reach.
- Keep on the counter: Knife block or magnetic strip, salt, cooking oil, a utensil crock (only if you use it daily).
- Store nearby (not on the counter): Stand mixer, blender, air fryer—use an appliance garage, pantry shelf, or pull-out appliance lift.
- Create a “landing strip”: A 18–24 inch zone near the fridge for groceries and meal prep staging.
Finishes and Details That Read Professional (Without Feeling Cold)
Modern kitchen trends lean toward mixed metals, warmer woods, and cleaner cabinet fronts. A professional vibe comes from restraint and consistency.
- Cabinet hardware: Choose one finish (or two at most). Matte black and brushed brass remain popular; brushed nickel is timeless.
- Faucet finish: Stainless/brushed finishes hide water spots better than polished chrome.
- Cabinet door style: Shaker is timeless; slab fronts feel more contemporary and “chef-forward.”
- Open shelving (trend): Use sparingly—one short run for daily dishes looks intentional; too much becomes visual clutter.
Budget Planning: Three Paths to a Professional-Feeling Kitchen
1) Refresh (Approx. $500–$5,000)
- Upgrade lighting (under-cabinet LEDs, dimmers)
- Replace faucet and add a deeper sink if feasible
- Add drawer organizers, pull-out trash, spice storage
- Swap hardware for a cohesive finish
- Invest in one standout “workhorse” item (quiet dishwasher or better ventilation)
2) Mid-Range Renovation (Approx. $15,000–$45,000)
- New countertops + backsplash
- Improved layout (minor wall or island changes)
- New appliances where performance matters most
- Cabinet upgrades (refacing or semi-custom) with smarter interiors
- Flooring replacement if current material is hard to maintain
3) Full Remodel (Approx. $50,000–$150,000+)
- Layout reconfiguration for true zoning
- Custom or high-end semi-custom cabinetry
- Pro-style range + high-capacity hood with exterior venting
- Premium surfaces (slab backsplash, upgraded flooring)
- Added pantry/scullery or dedicated beverage station
Smart spending tip: Put money into ventilation, lighting, and storage. These deliver daily performance, regardless of countertop brand or cabinet door profile.
Common Mistakes That Keep Kitchens from Feeling Professional
- Undersized ventilation: A beautiful range with a weak hood leads to greasy surfaces and lingering odors.
- Too little landing space: Without counter space near the fridge and cooktop, cooking feels chaotic.
- Over-islanding: An oversized island can choke traffic flow and create awkward work aisles.
- Choosing materials for looks only: High-maintenance stone, delicate grout, or easily scratched finishes can become daily annoyances.
- Not planning outlets: Add outlets where you actually prep—especially island ends, appliance garages, and coffee stations (per code).
- Open shelving overload: It looks styled on day one, cluttered by week two—keep it limited and purposeful.
Maintenance Habits That Preserve a Pro Look
- Use a nightly reset: Clear counters, wipe the cooktop, and run a quick sink clean—5 minutes keeps the space feeling “service ready.”
- Protect surfaces: Trivets for hot pans on quartz, cutting boards for knives on all counters.
- Clean ventilation filters regularly: Many metal filters can go in the dishwasher; check your hood’s manual and set a monthly reminder.
- Seal natural stone when needed: If water no longer beads, it’s time. Use a penetrating sealer and follow product directions.
FAQ: Creating a Professional-Feeling Kitchen
How can I make my kitchen feel professional without remodeling?
Focus on lighting, organization, and workflow. Add under-cabinet task lighting, use drawer organizers and a pull-out trash setup, declutter countertops, and keep your most-used tools within one step of the prep and cooking zones.
Are pro-style ranges worth it for most homeowners?
They’re worth it if you cook often and will benefit from higher-output burners, larger ovens, and sturdier construction. If you mainly do light cooking, you may get more value from a quiet dishwasher, better ventilation, and improved storage.
What’s the best countertop for a “pro kitchen” look and real-life durability?
Quartz offers the best balance for many homes: durable, stain-resistant, and easy to maintain. Stainless steel is the most authentically professional and the easiest to sanitize, but it’s pricier and shows scratches. Granite is excellent for heat tolerance but may require sealing.
How wide should my kitchen aisles be?
Plan for 42 inches minimum for a single-cook kitchen. If two people cook together often, 48 inches feels noticeably more comfortable—especially near the range and sink.
What’s the biggest design upgrade for a professional feel?
Proper ventilation plus layered lighting. A strong, quiet hood vented outside and bright, shadow-free task lighting make the kitchen feel cleaner, more capable, and more enjoyable to work in.
Next Steps: Turn Your Kitchen into a Space That Works Like a Pro
Start by observing one week of cooking: where you prep, where clutter collects, and what slows you down. Then prioritize upgrades that improve flow and reduce friction—better lighting, smarter storage, adequate landing space, and ventilation that can keep up. If a renovation is on the horizon, bring measurements and zone goals to your designer or contractor so the kitchen plan supports your daily routines, not just the showroom look.
For more renovation guidance, kitchen organization ideas, and up-to-date kitchen design trends, explore more inspiration and expert tips on thedecormag.com.
More Articles
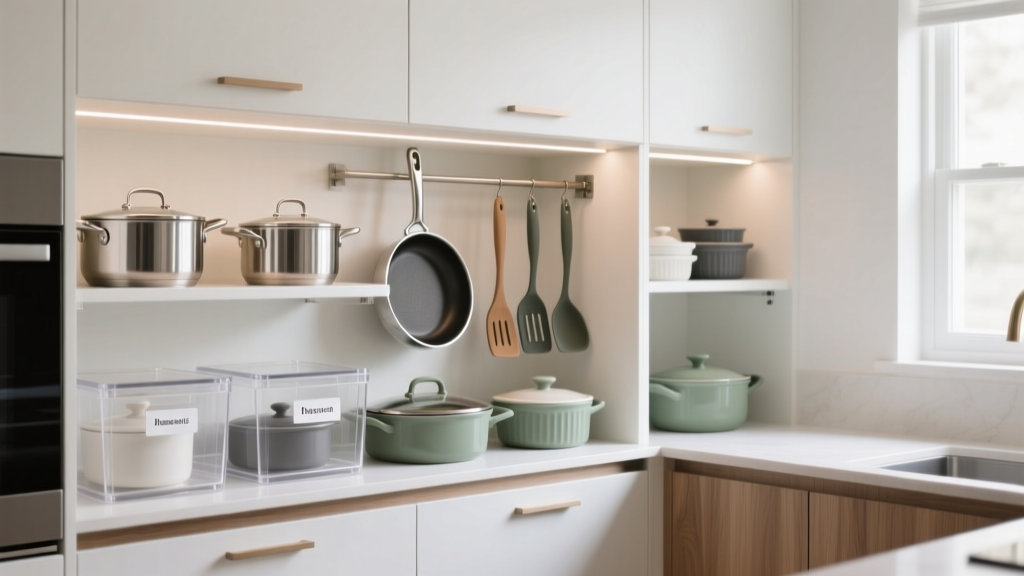 Best Kitchen Cookware Organization: Cabinet Solutions (2026)
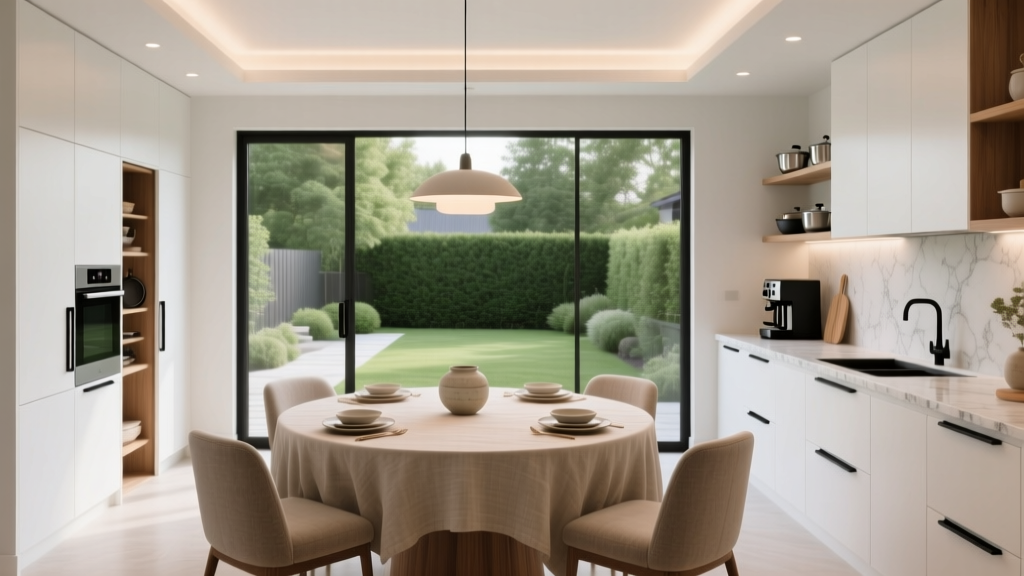 How to Design a Kitchen with an Eat-In Area - The Decor Mag
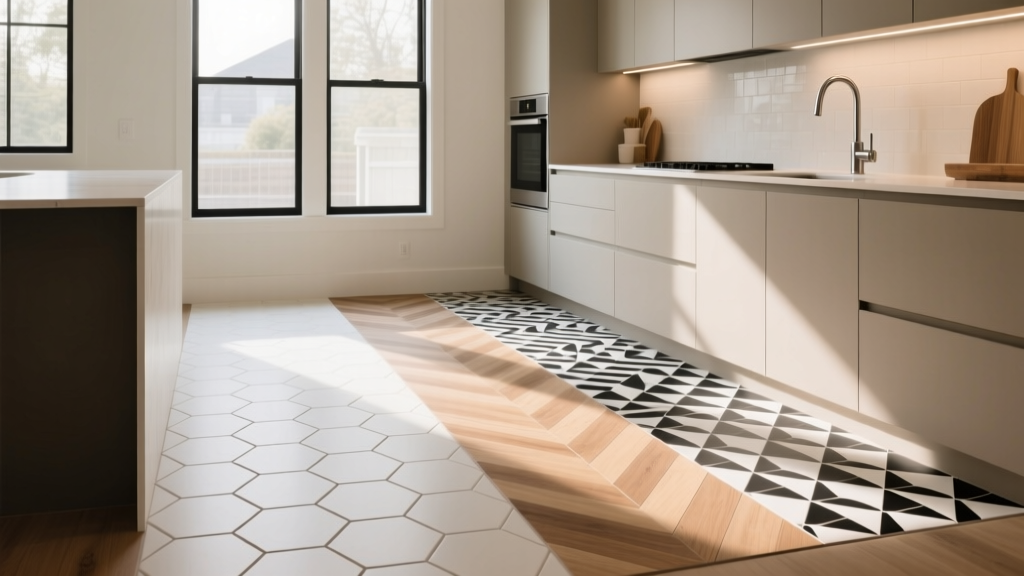 How to Choose Kitchen Floor Tile Pattern - The Decor Mag
 How to Design a Kitchen for Entertaining - The Decor Mag
 Best Kitchen Mug Display Ideas - The Decor Mag
 Kitchen to Outdoor Flow Design (2026)
 Kitchen Leathered Finish Granite Guide - The Decor Mag
 Modern Kitchen Design Trends for 2026 - The Decor Mag
 How to Choose Kitchen Appliances That Last - The Decor Mag
 How to Choose Kitchen Backsplash Grout Color - The Decor Mag